


设计稿
设计稿地址: http://129.226.179.254/cos/%E4%BA%AC%E4%B8%9C%E9%A1%B9%E7%9B%AE%E8%AE%BE%E8%AE%A1%E7%A8%BF.zip
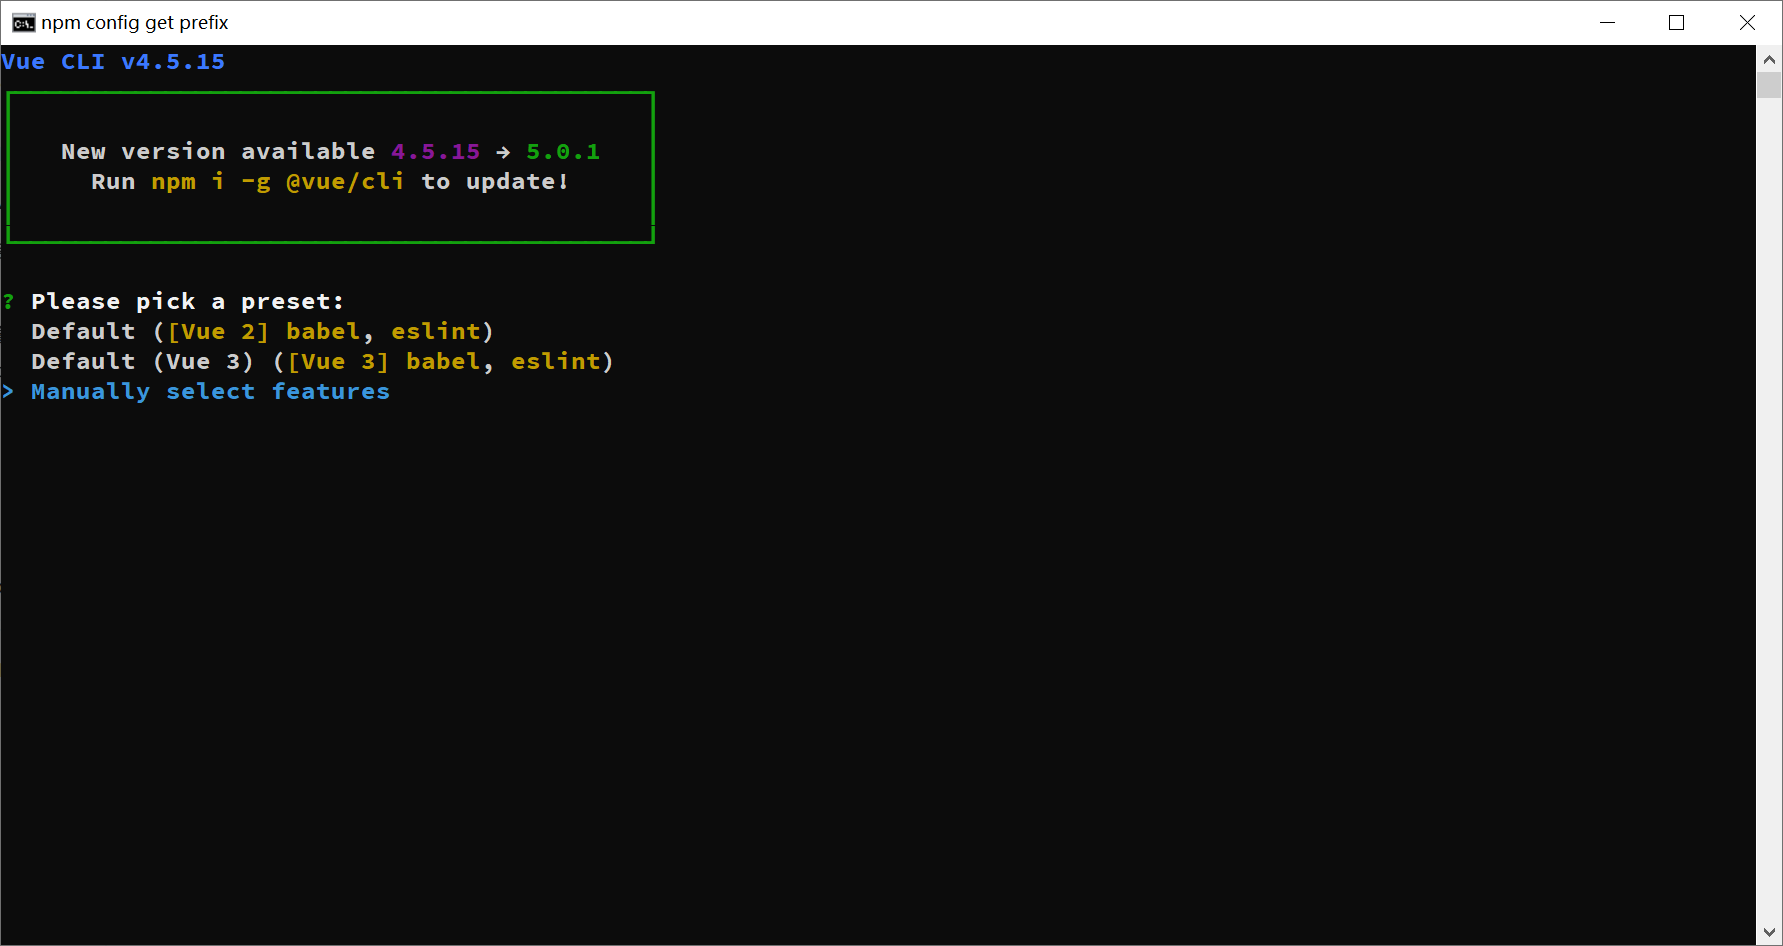
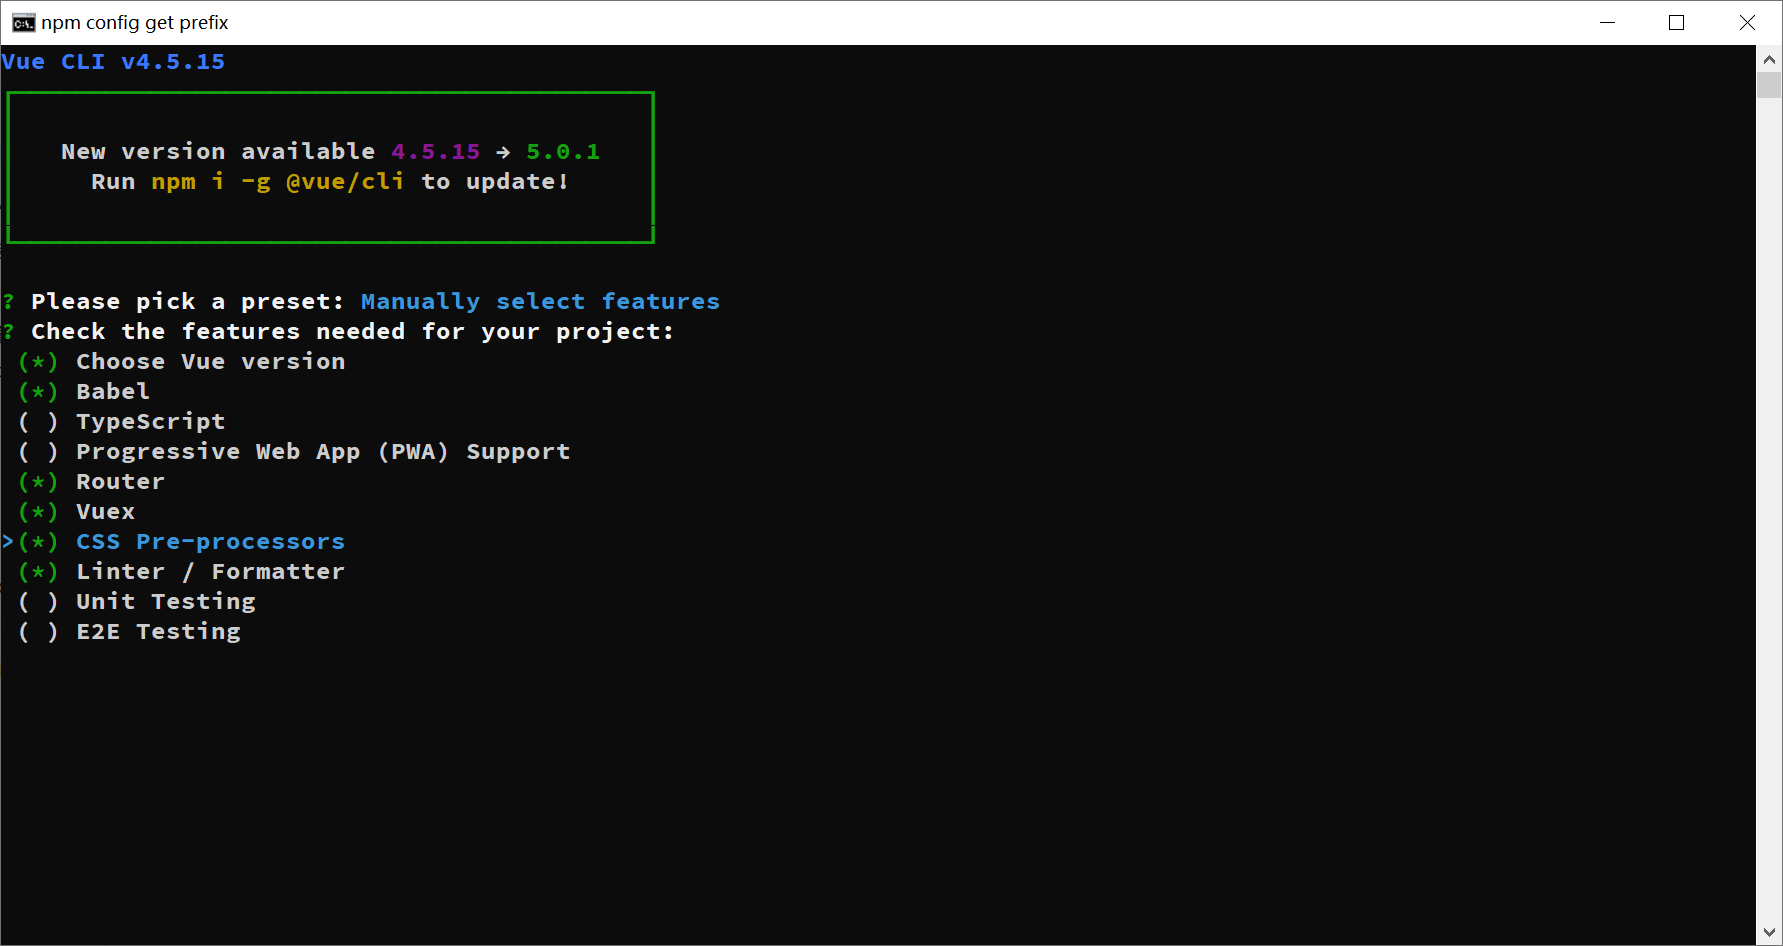
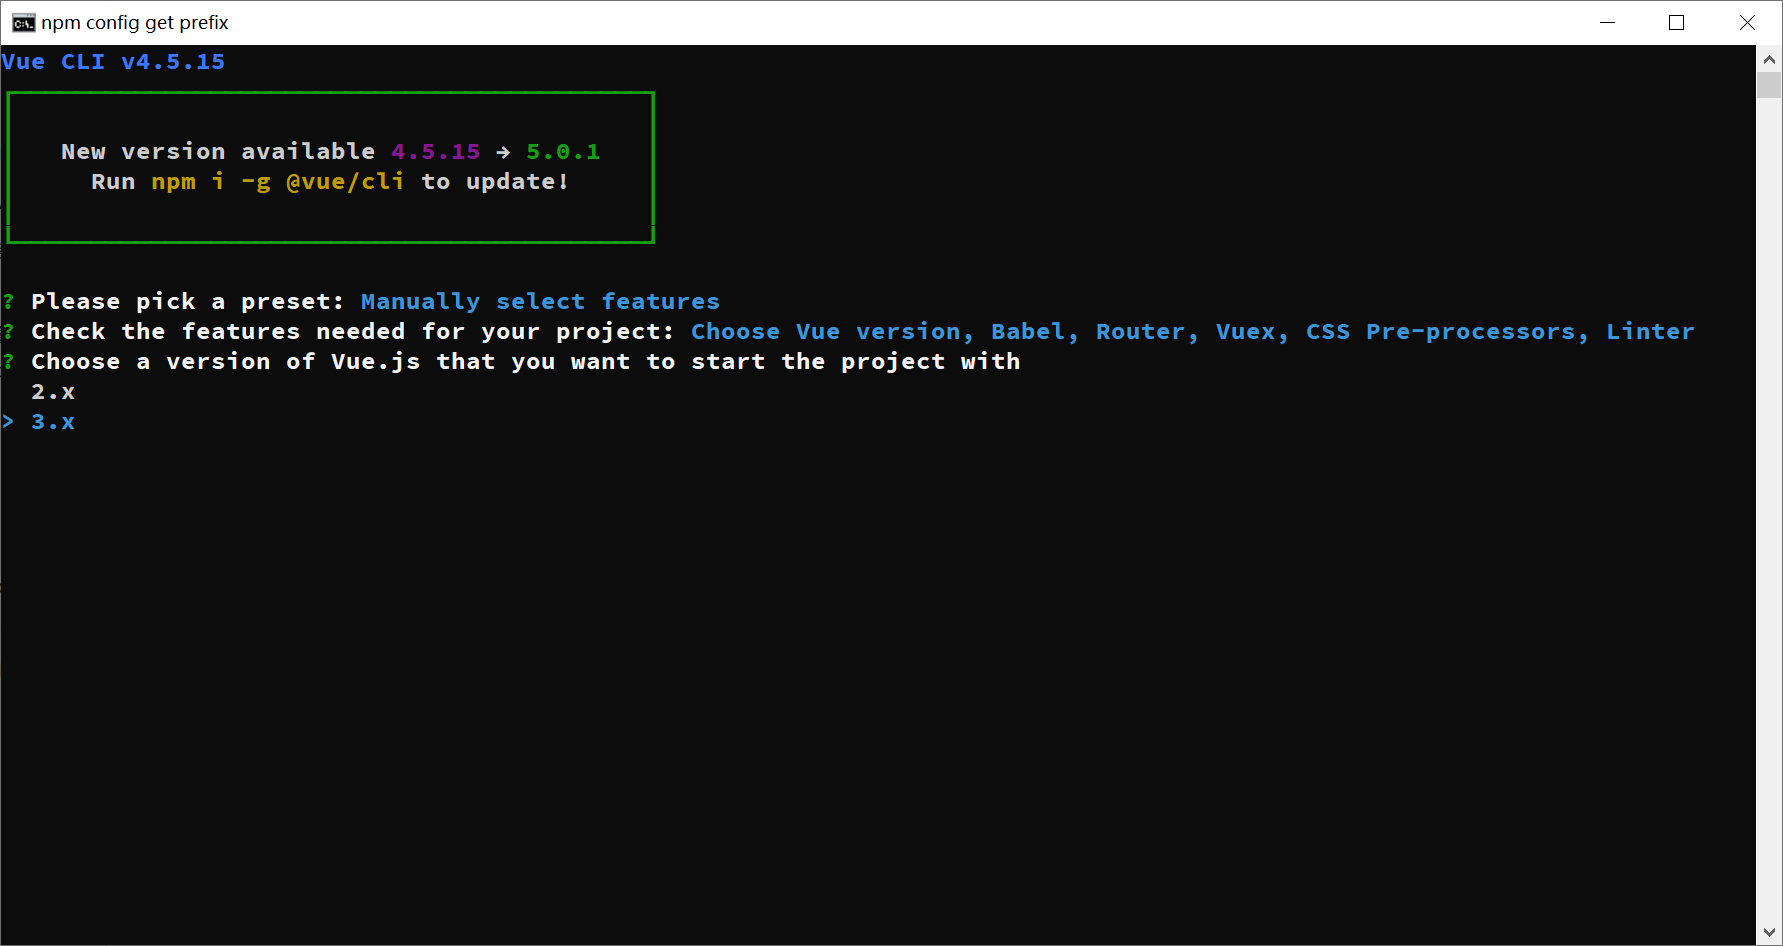
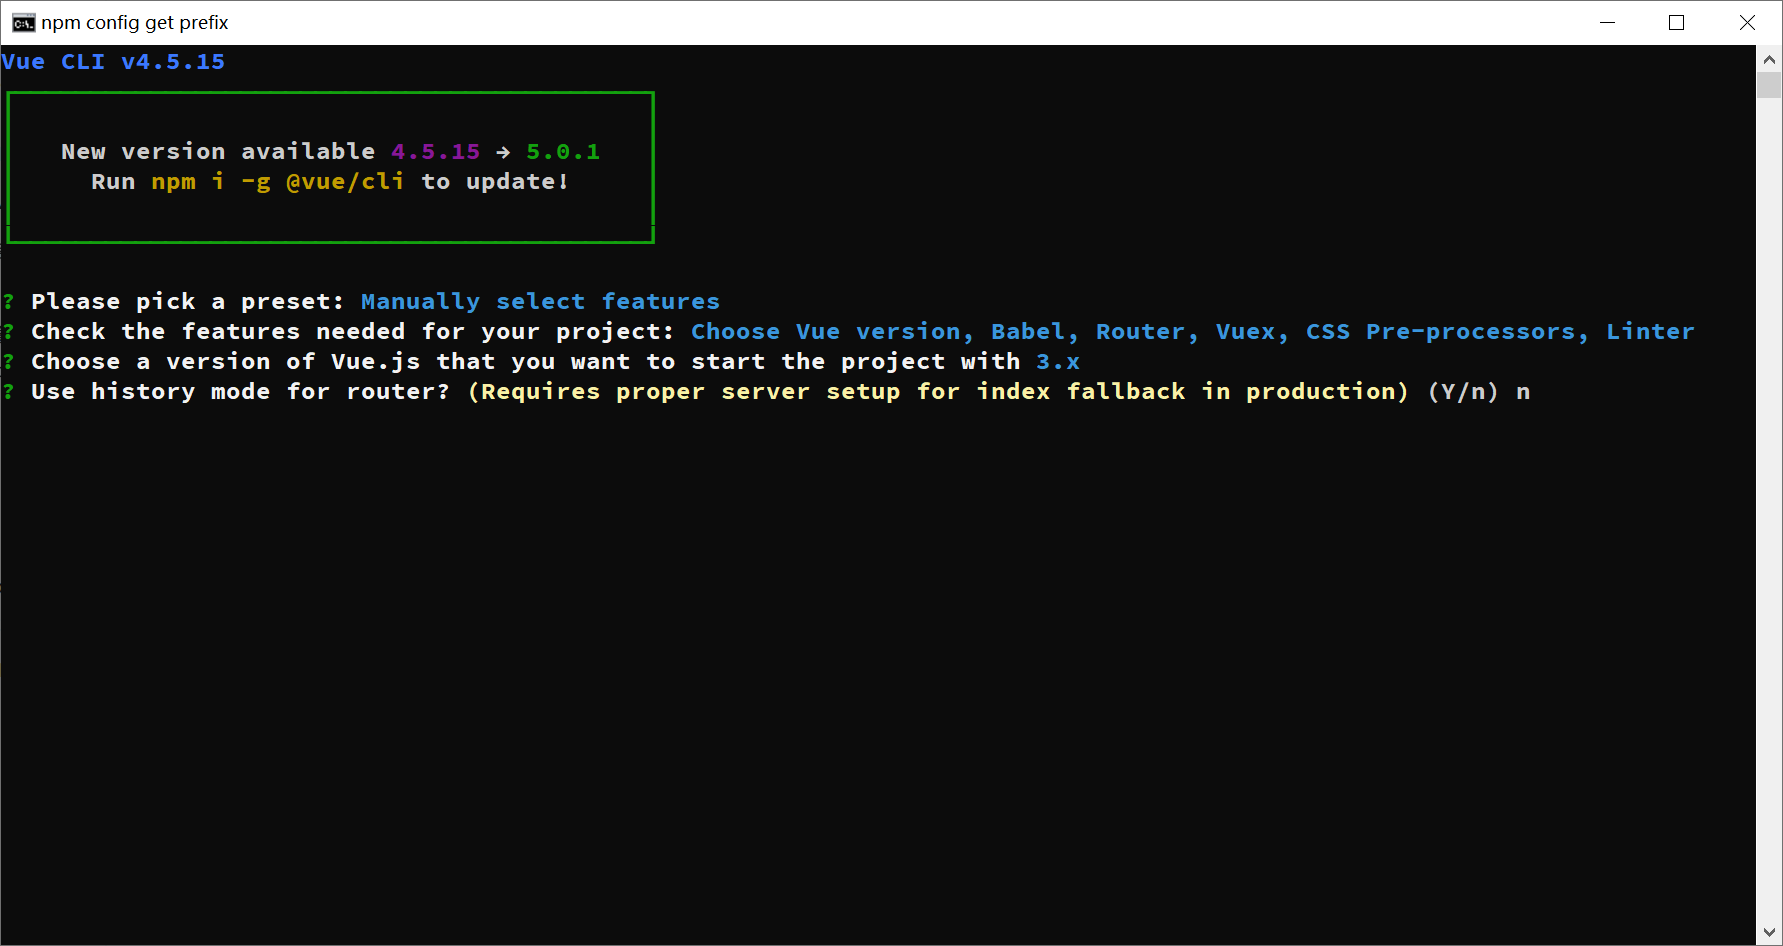
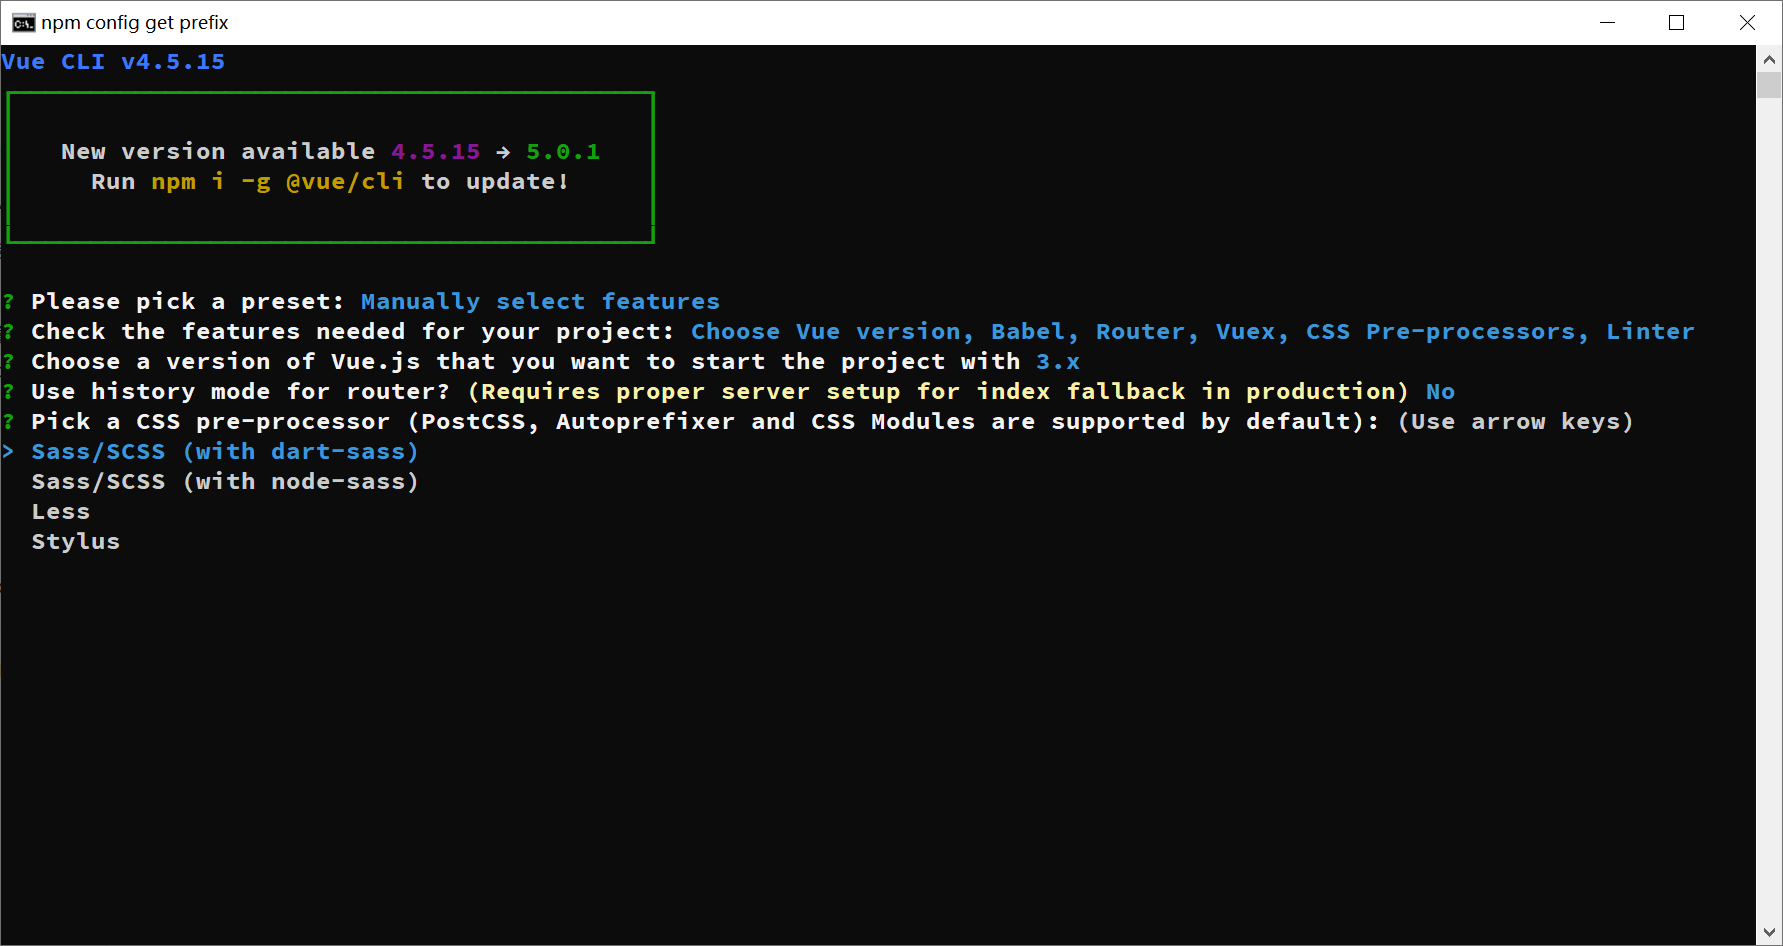
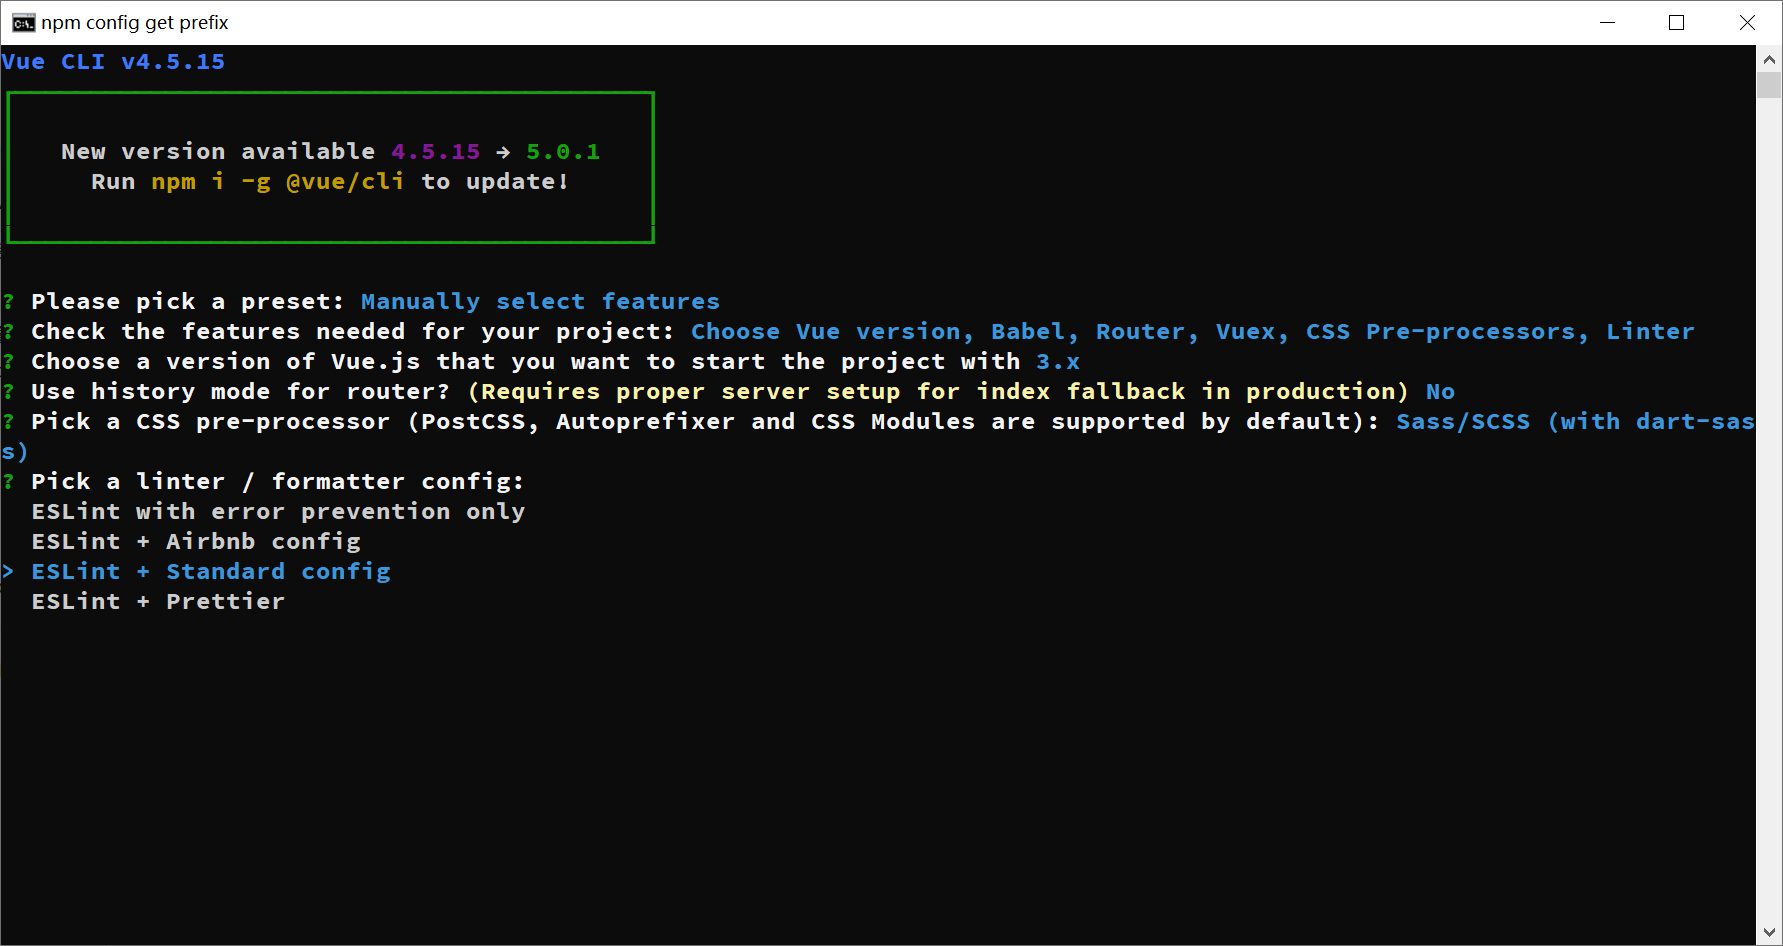
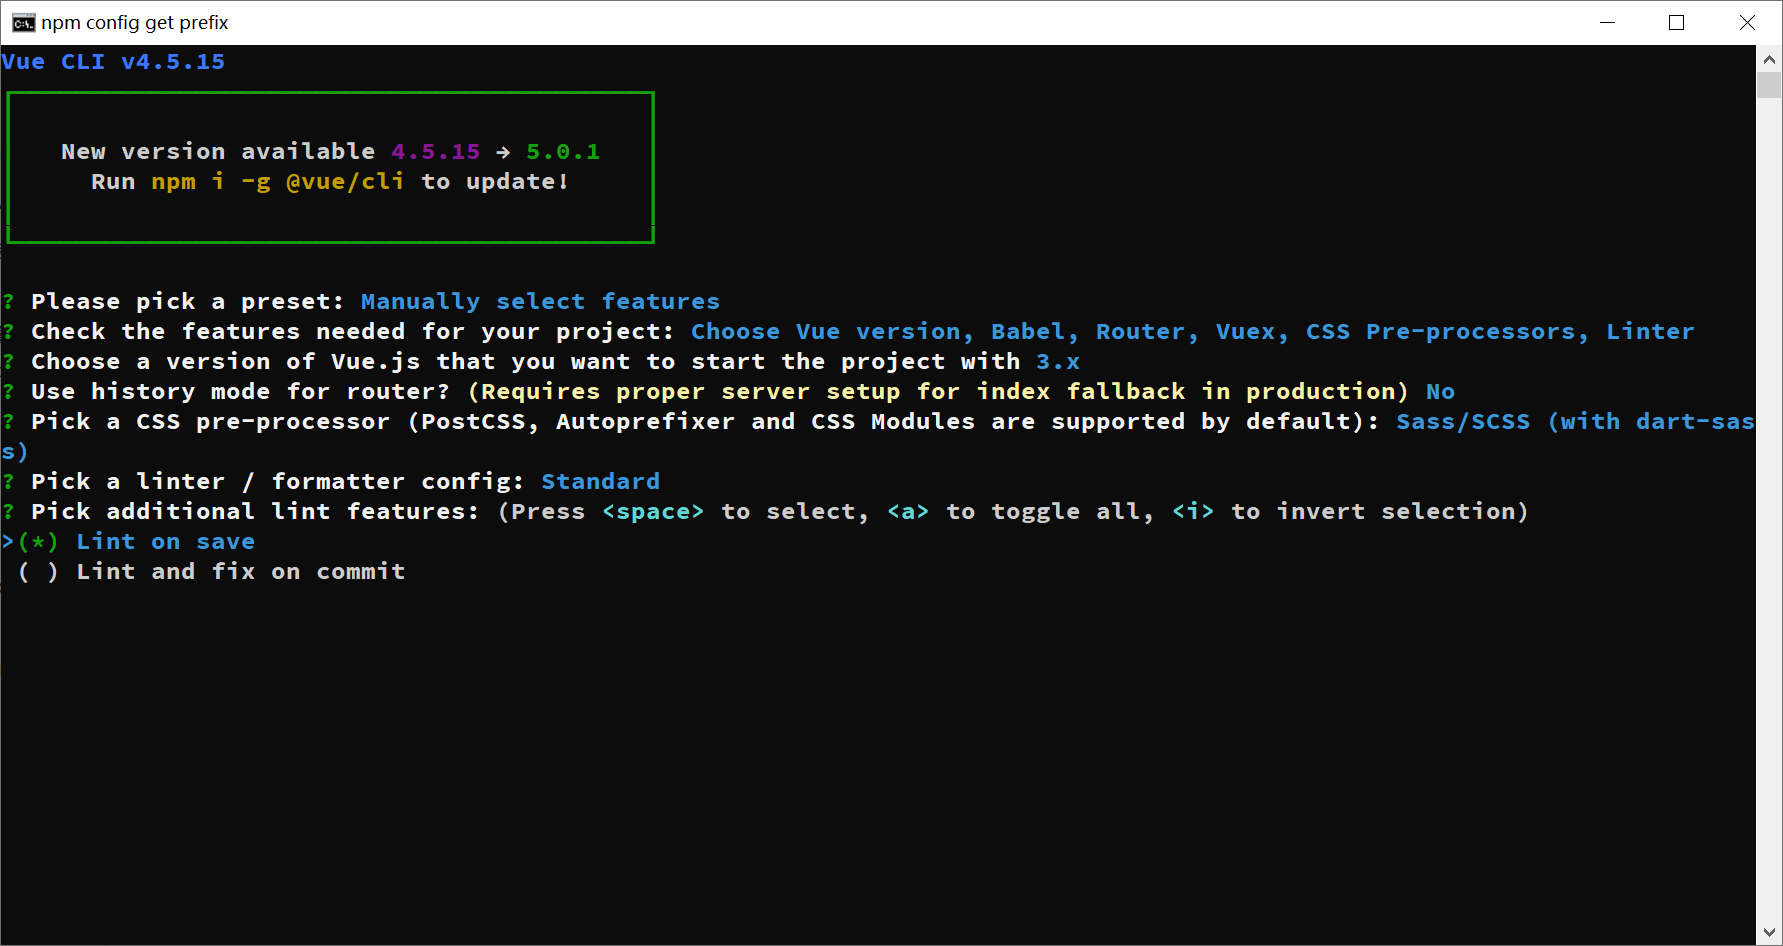
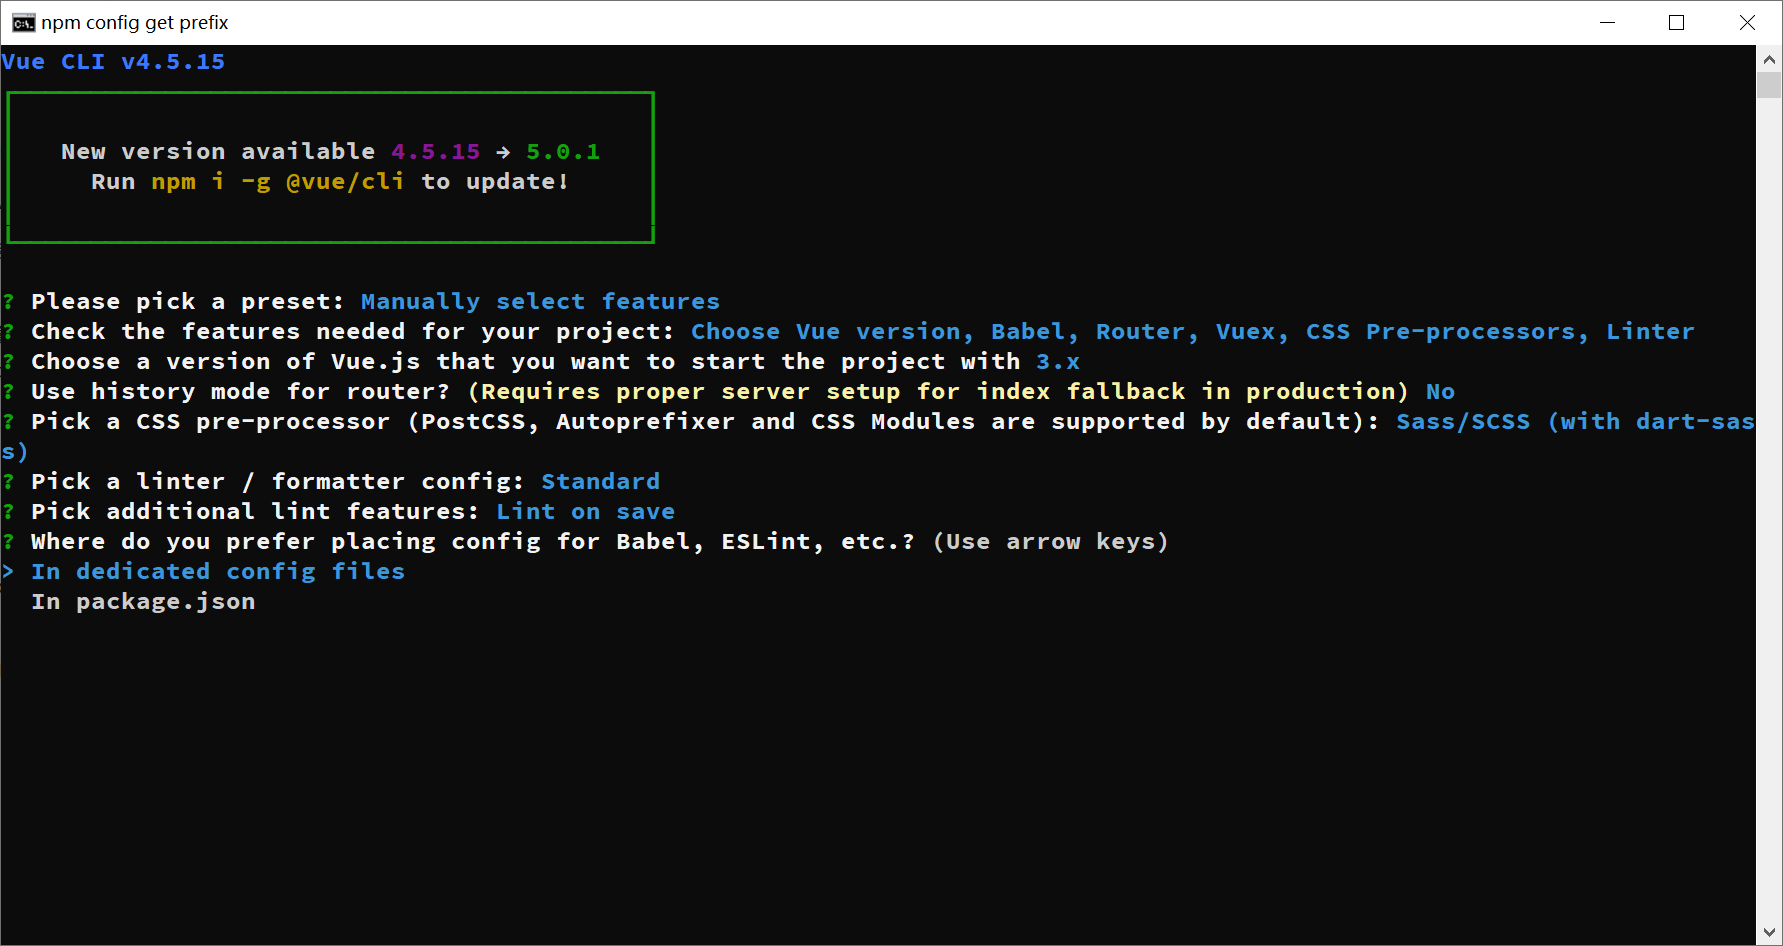
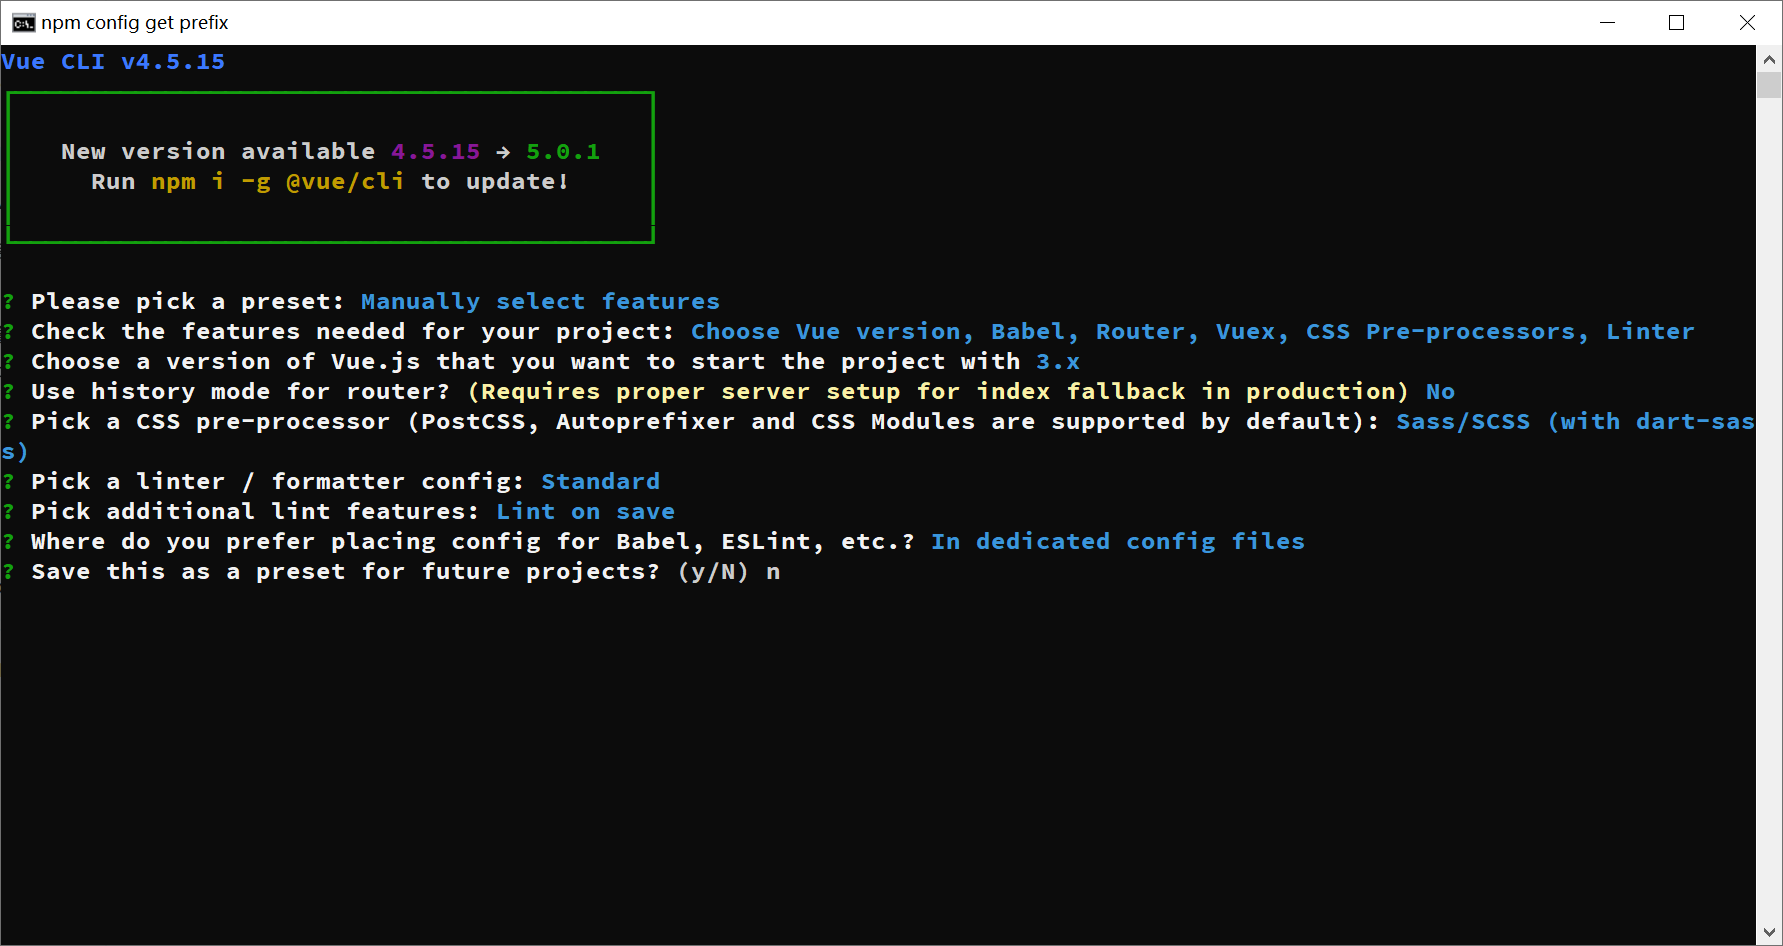
使用脚手架创建项目
选择要写项目的文件夹位置, 运行如下命令
vue create jd

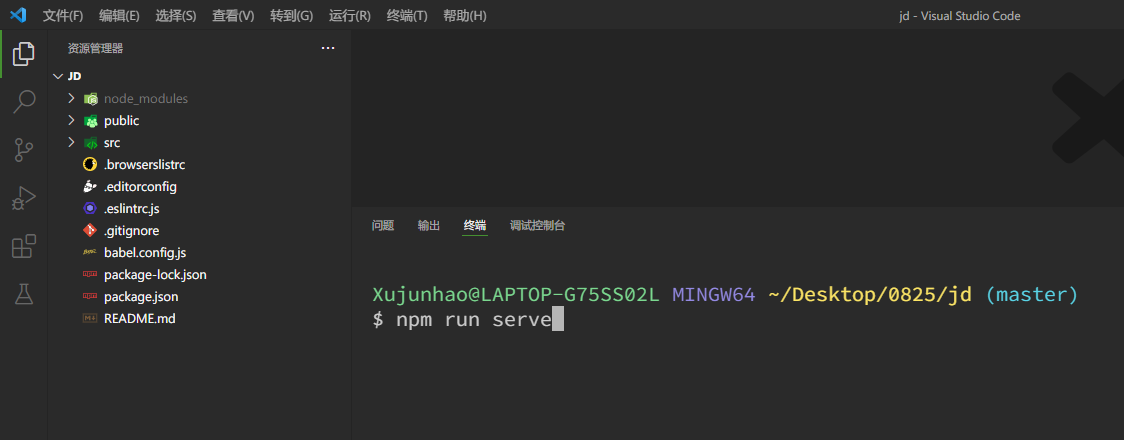
把项目导入到 vscode, 运行项目进行测试

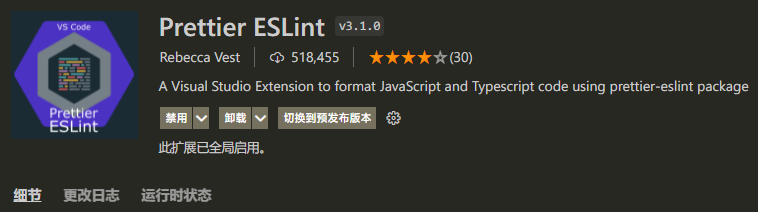
安装插件
我们需要安装三个插件, 一个是 eslint(代码规范化校验), 一个是 vetur(识别.vue 文件), 一个是prettier eslint(自动把你的代码格式化成符合eslint规范的代码)

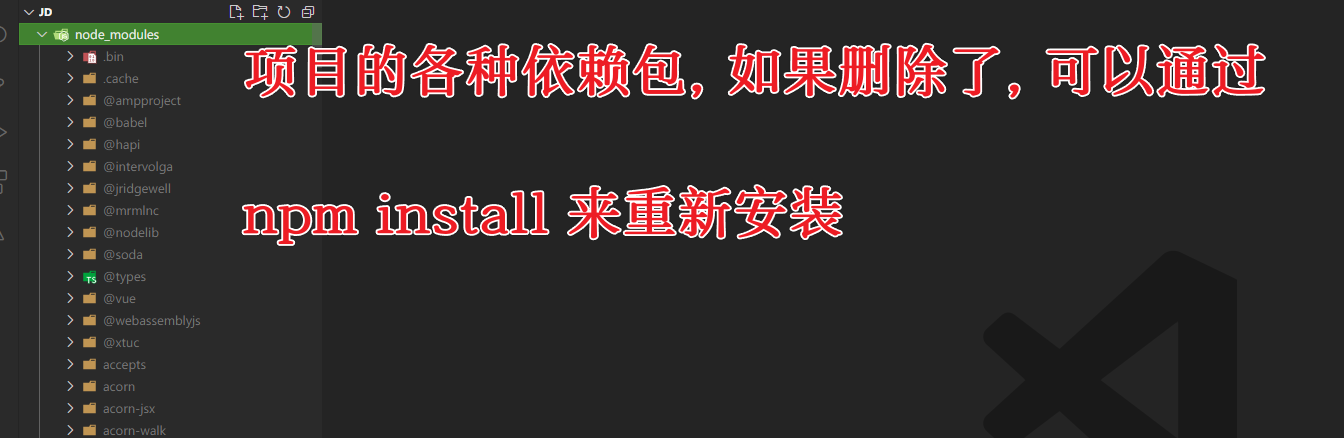
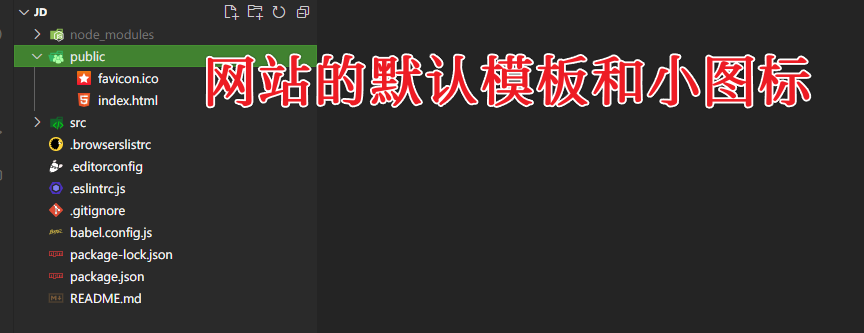
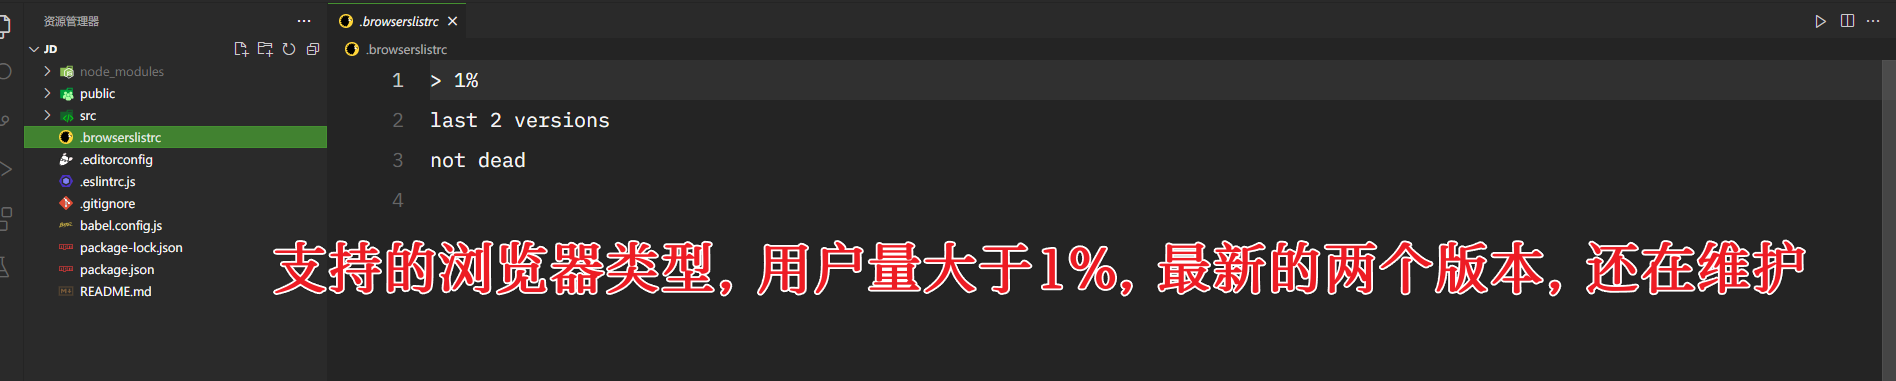
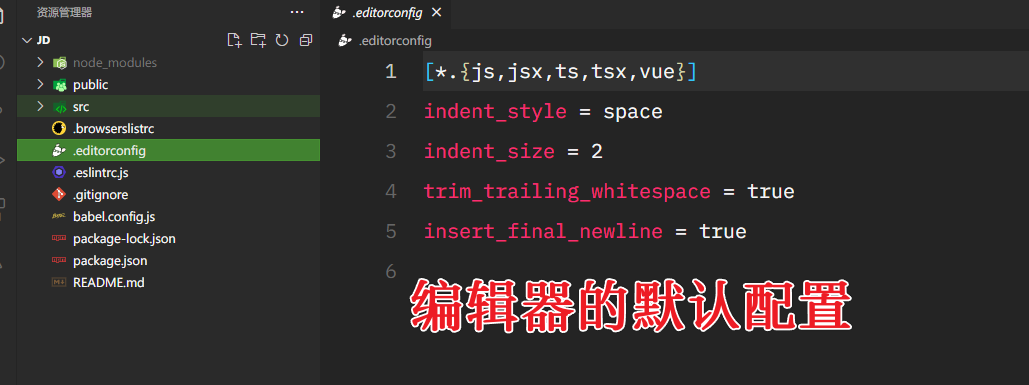
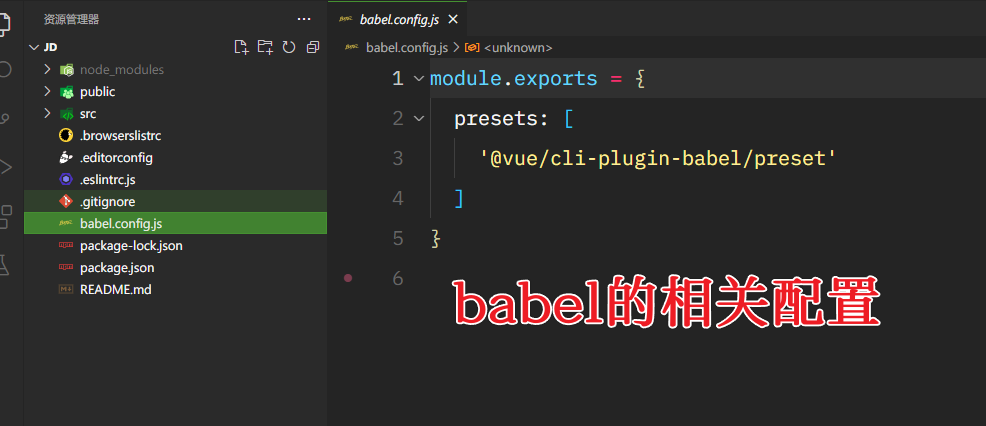
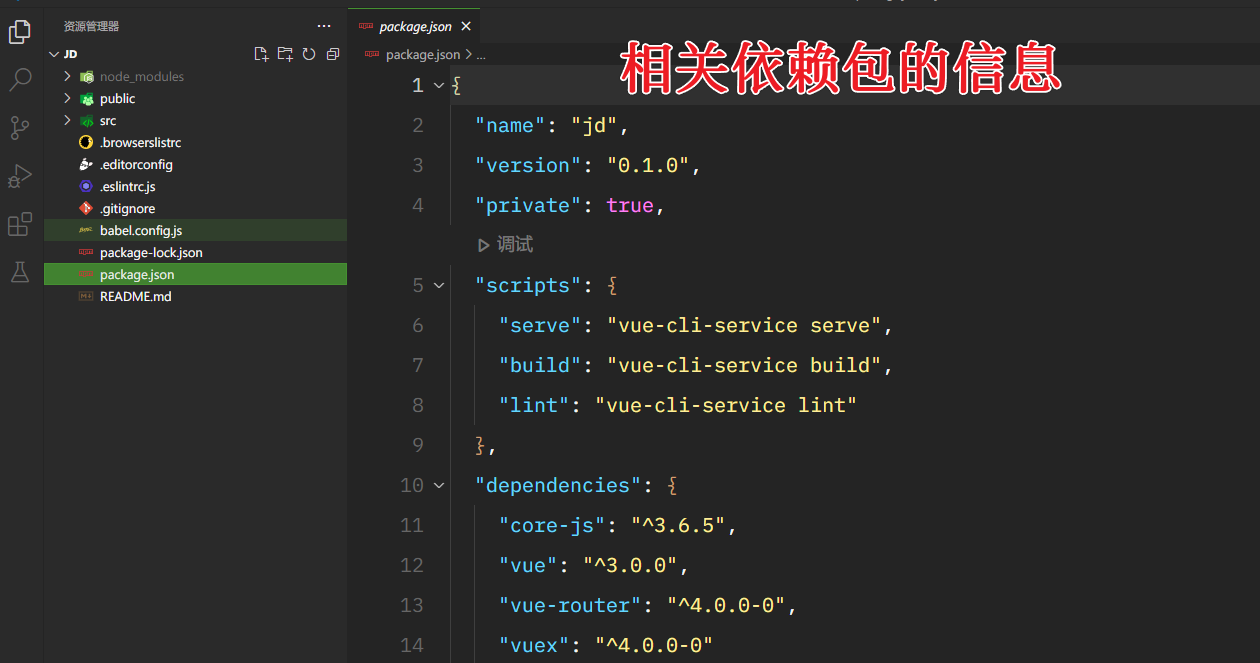
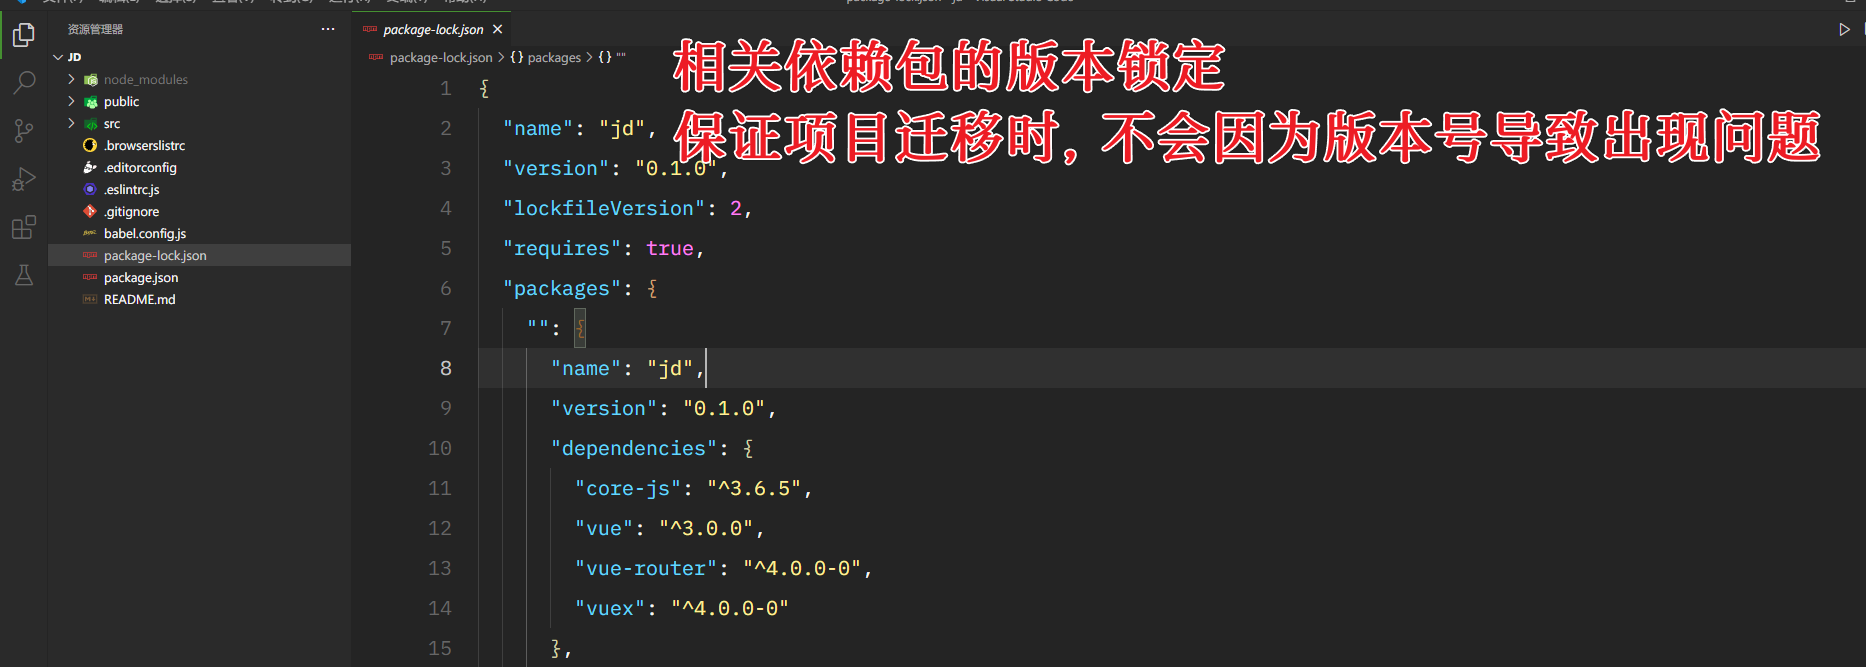
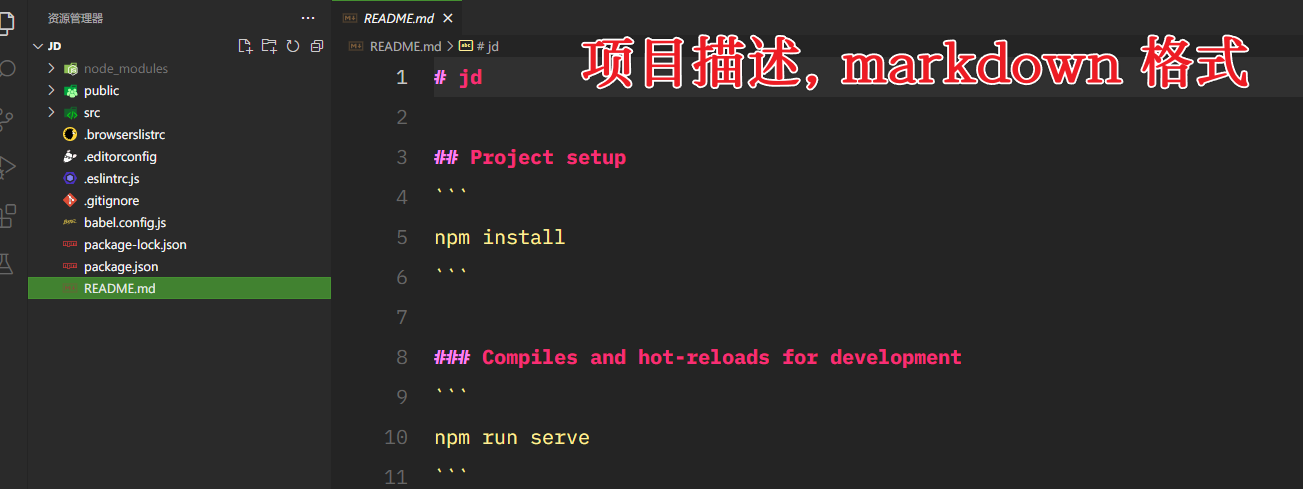
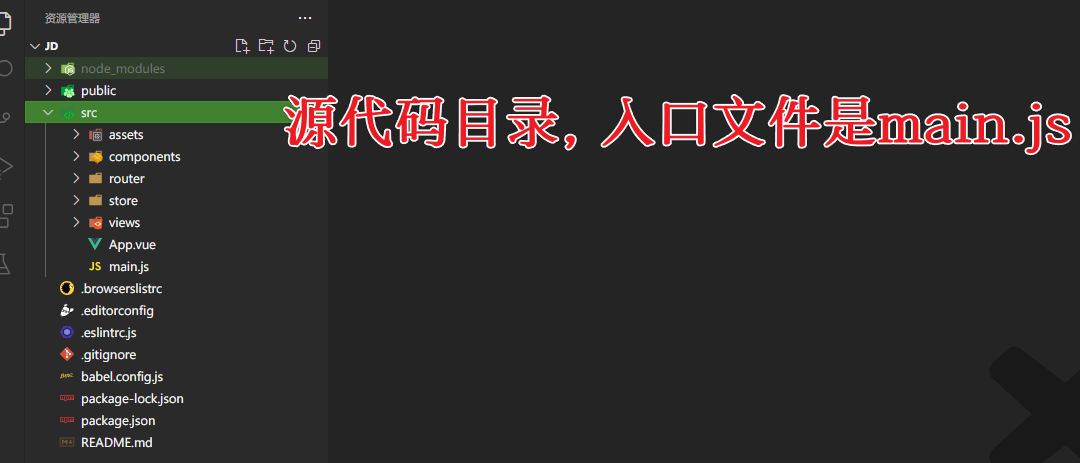
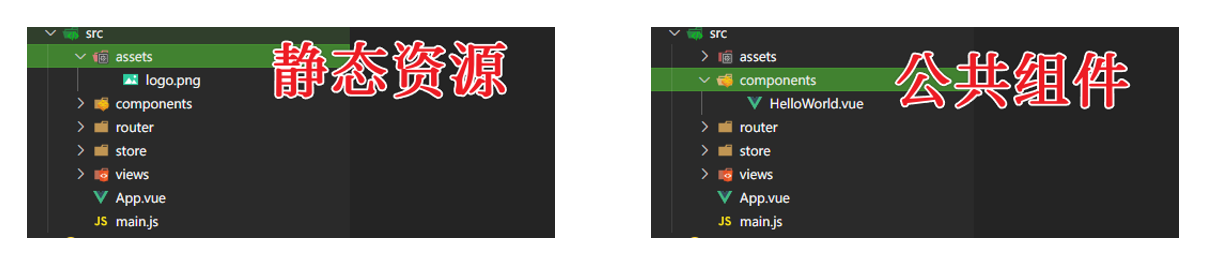
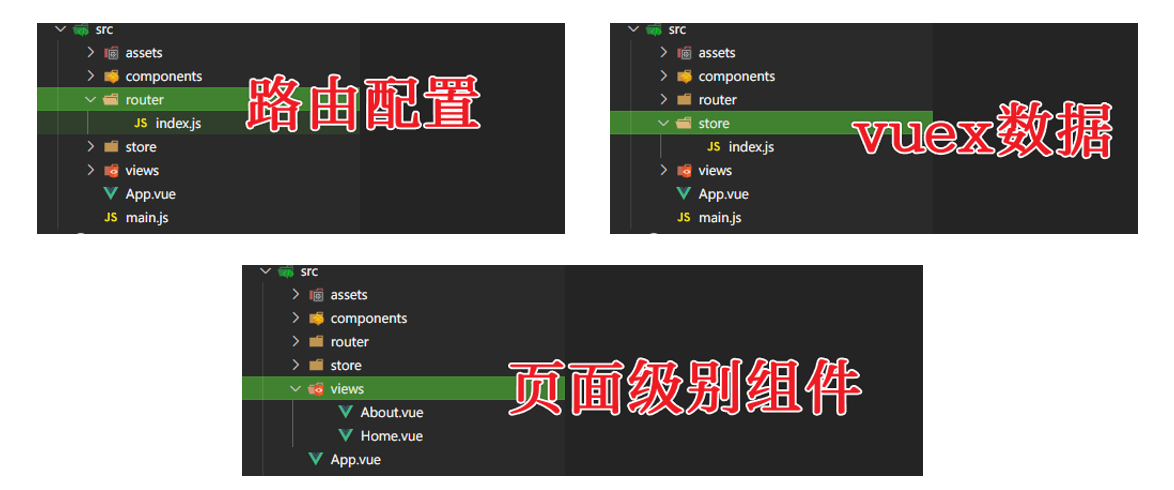
项目目录结构
设置项目基础 CSS
我们知道, 不同的浏览器, 有些默认样式是不同的, 比如 padding, margin, 为了抹平各个浏览器之间的差异, 我们通常会写
reset.css, 类似于下面这样
* {

	margin: 0;
	padding: 0;
}
我们还有另外一个办法, 就是安装一个
normalize.css介绍: https://www.oschina.net/p/normalize-css?hmsr=aladdin1e1
安装的命令如下:
npm install normalize.css
在 main.js 中引入
// src\main.js
// ...
import "normalize.css";

createApp(App).use(store).use(router).mount("#app");
接下来创建 base.scss
// src\style\base.scss
html {
	font-size: 1px;
}

body {
	font-size: 12rem;
}
我们使用 rem 进行布局, 所以需要设置 html 的字体大小, 同时需要设置 body 的字体大小, 不然其他元素会继承 html 的字体大小
然后在 main.js 中引入
// src\main.js
// ...
import "./style/base.scss";
createApp(App).use(store).use(router).mount("#app");
我们修改一下 App.vue, 看一下基础样式是否能正常使用
<template>hello world</template>
经过测试, 发现样式可以正常生效, 如果不确定, 可以给字体加个颜色即可
CSS 的 BEM 命名法
随着项目越来越大, css 的代码量水涨船高, 随着代码量上升, css 变的越来越不好维护, 这时候我们针对 css 类名的命名就需要有一定的规范, 方便我们更好的维护代码, BEM 命名法是其中的一种, BEM 代表 block, element, modifier


示例代码
<form action="">
	username: <input type="text" /> password: <input type="text" />
	<button>submit</button>
</form>
BEM 命名示例
<form action="" class="login-form">
	username: <input type="text" class="login-form__input login-form__input_success" /> password:
	<input type="text" class="login-form__input login-form__input_fail" />
	<button>submit</button>
</form>
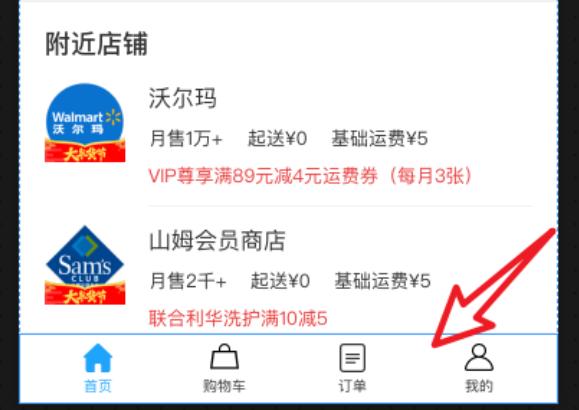
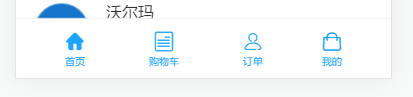
开发首页 docker
编写 html 代码
<template>
	<!-- src\App.vue -->
	<div class="docker"></div>
</template>
根据设计稿编写 scss 代码
// src\App.vue
.docker {
	width: 375rem;
	height: 49rem;
	position: fixed;
	bottom: 0;
	left: 0;
	background: #ffffff;
	box-shadow: 0 -1rem 1rem 0 #f1f1f1;
}
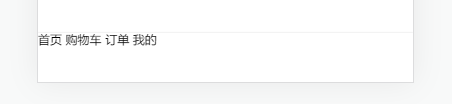
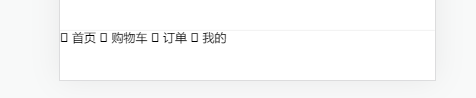
这样就有一个最基本的效果

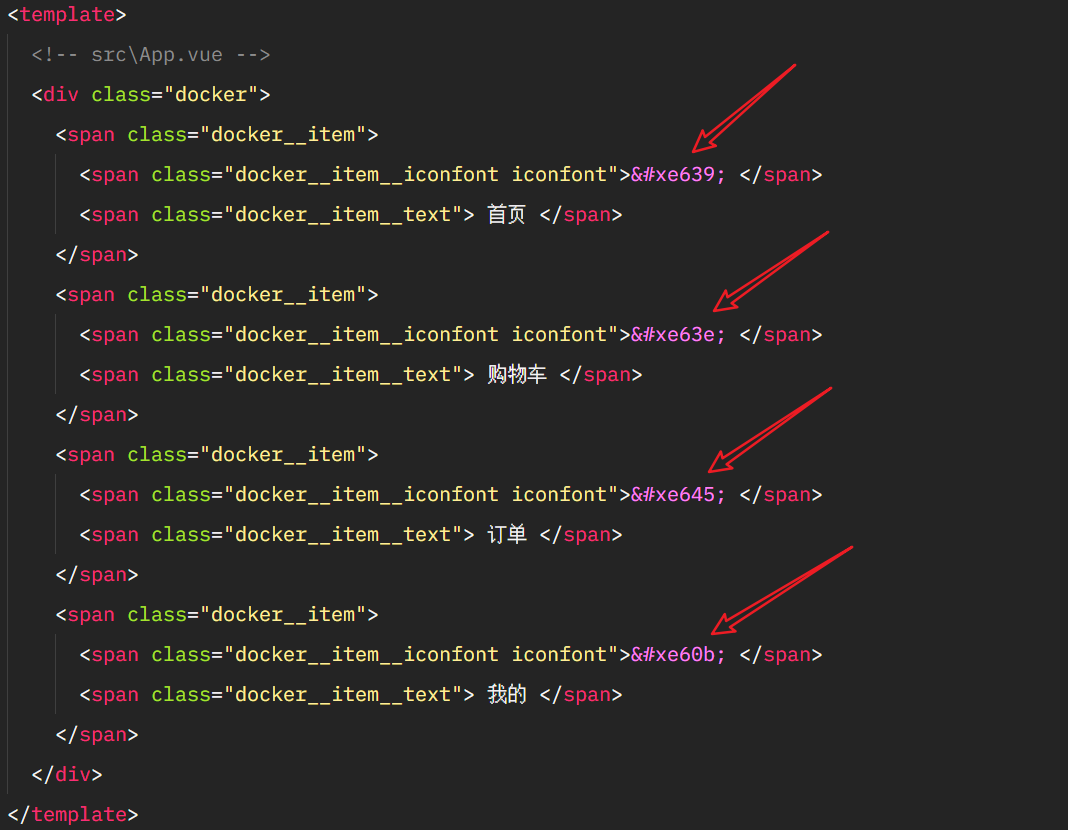
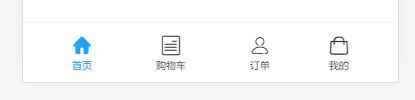
继续编写 html
<!-- src\App.vue -->
<div class="docker">
	<span class="docker__item">
		<span class="docker__item__iconfont iconfont"> </span>
		<span class="docker__item__text"> 首页 </span>
	</span>
	<span class="docker__item">
		<span class="docker__item__iconfont iconfont"> </span>
		<span class="docker__item__text"> 购物车 </span>
	</span>
	<span class="docker__item">
		<span class="docker__item__iconfont iconfont"> </span>
		<span class="docker__item__text"> 订单 </span>
	</span>
	<span class="docker__item">
		<span class="docker__item__iconfont iconfont"> </span>
		<span class="docker__item__text"> 我的 </span>
	</span>
</div>
阶段性效果
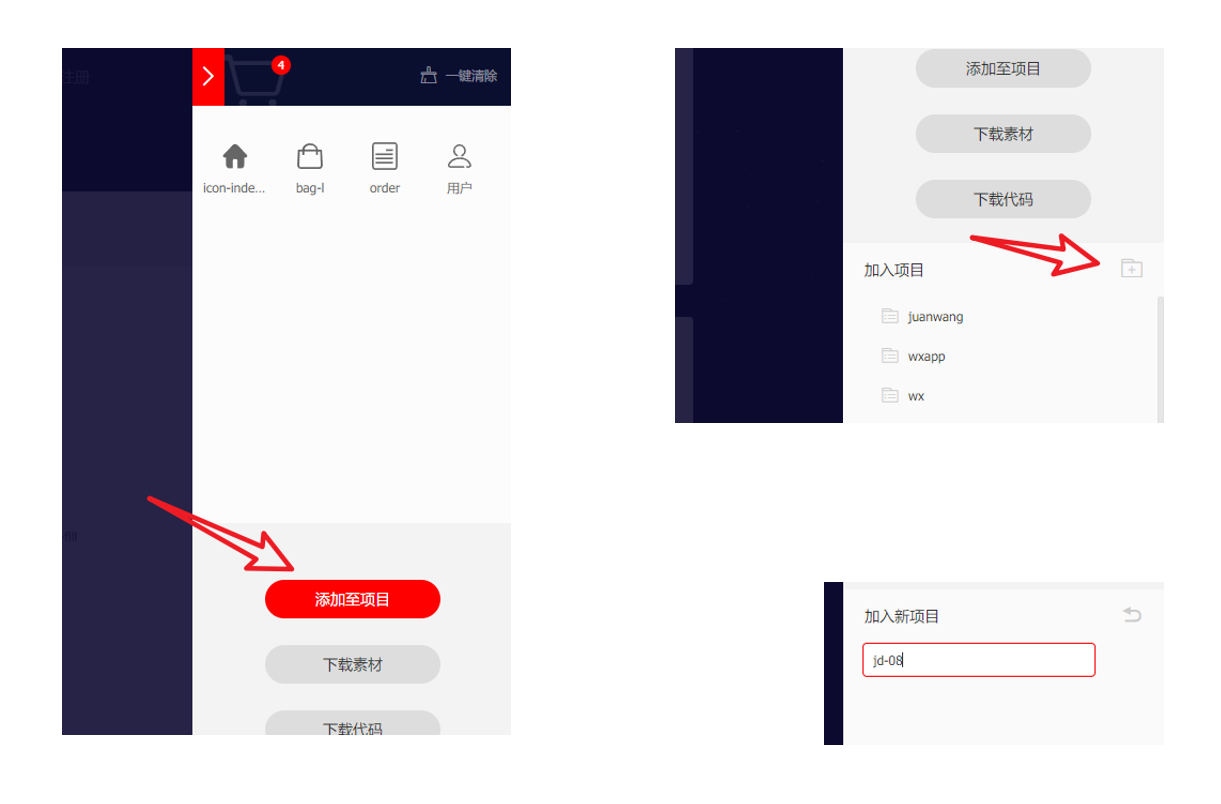
我们还需要字体图标

阿里图标库: https://www.iconfont.cn/
我们根据效果图自己搜索类似的图标即可
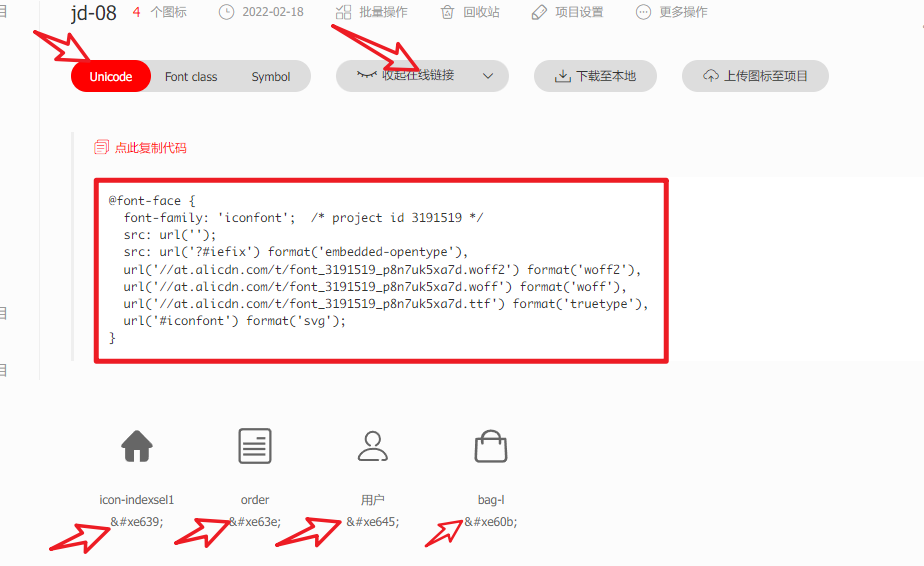
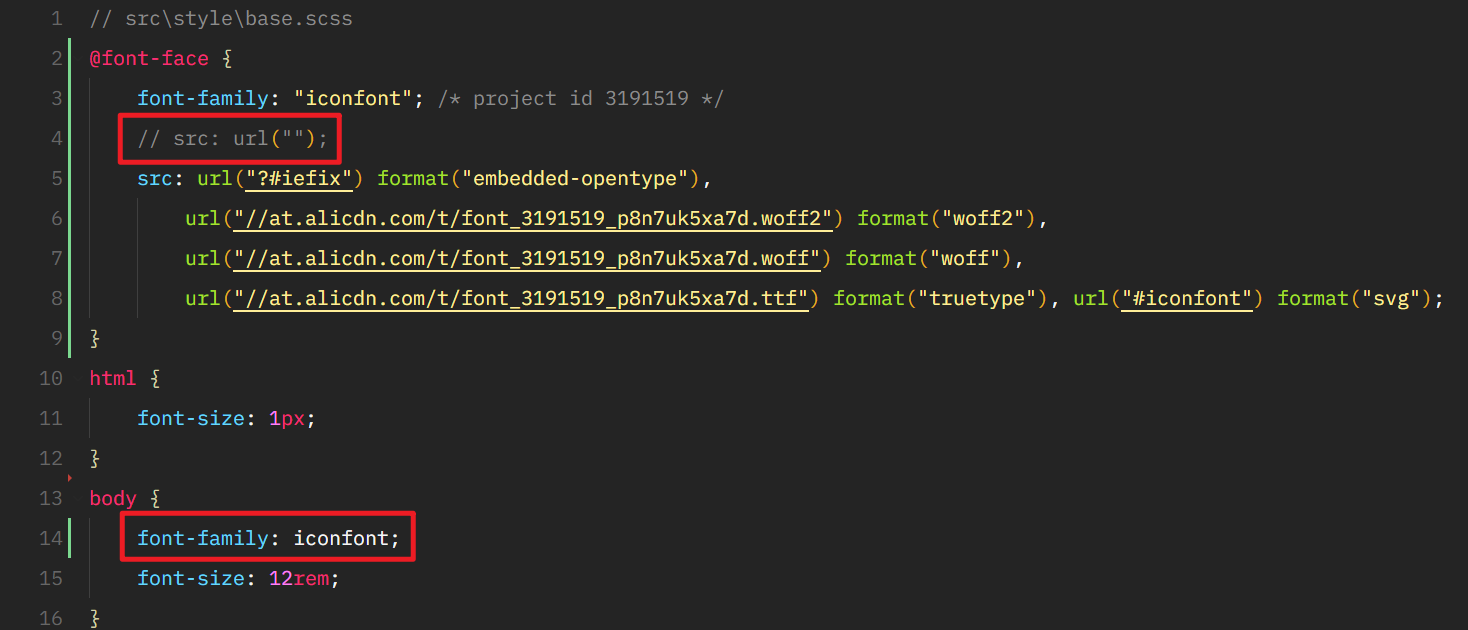
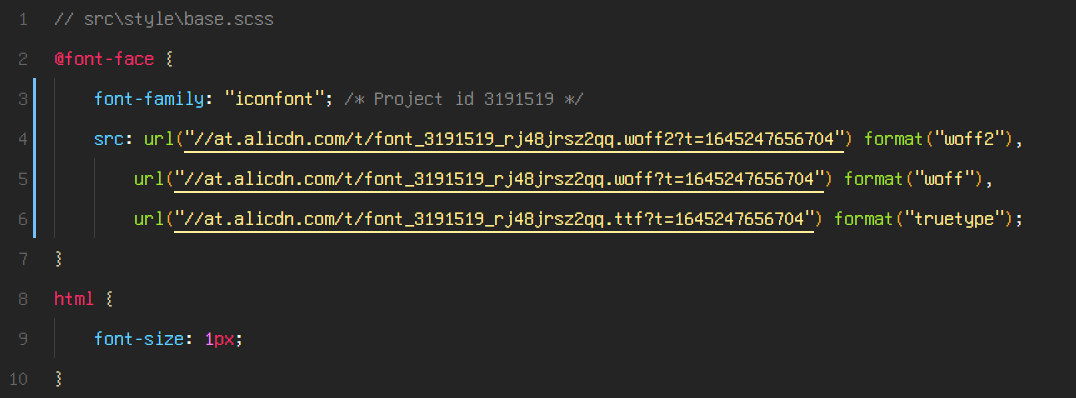
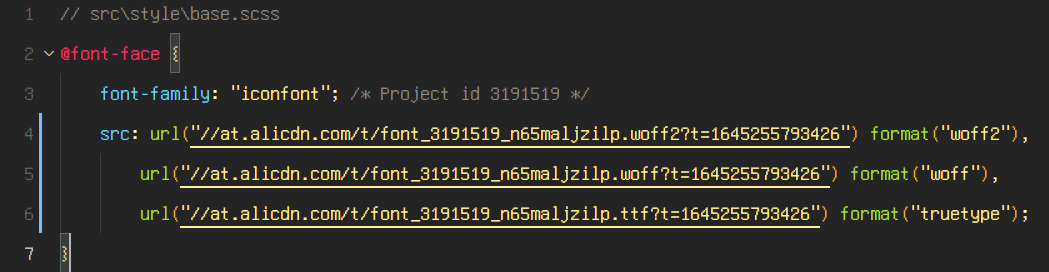
把线上的 css 代码, 复制到 base.scss
// src\style\base.scss
@font-face {
	font-family: "iconfont"; /* project id 3191519 */
	src: url("");
	src: url("?#iefix") format("embedded-opentype"), url("//at.alicdn.com/t/font_3191519_p8n7uk5xa7d.woff2") format("woff2"),
		url("//at.alicdn.com/t/font_3191519_p8n7uk5xa7d.woff") format("woff"), url("//at.alicdn.com/t/font_3191519_p8n7uk5xa7d.ttf")
			format("truetype"), url("#iconfont") format("svg");
}
html {
	font-size: 1px;
}
body {
	font-size: 12rem;
}
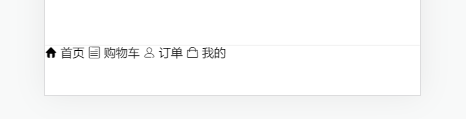
修改 html 代码, 主要是添加字体对应的 unicode
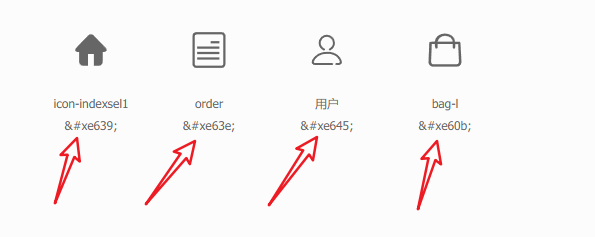
查看页面, 发现并没有生效
需要修改 css 代码
接下来, 我们就可编写底部 docker 的 css 样式了
// src\App.vue
.docker {
	width: 375rem;
	height: 49rem;
	position: fixed;
	bottom: 0;
	left: 0;
	background: #ffffff;
	box-shadow: 0 -1rem 1rem 0 #f1f1f1;
	display: flex;
	justify-content: space-evenly;
	align-items: center;
	padding-top: 10px;
}
.docker__item {
	display: flex;
	flex-direction: column;
	align-items: center;
}
.docker__item__iconfont {
	font-size: 20px;
}
.docker__item__text {
	margin-top: 2px;
	font-family: PingFangSC-Regular;
	font-size: 20px;
	color: #333333;
	transform: scale(0.5, 0.5);
	transform-origin: center top;
}
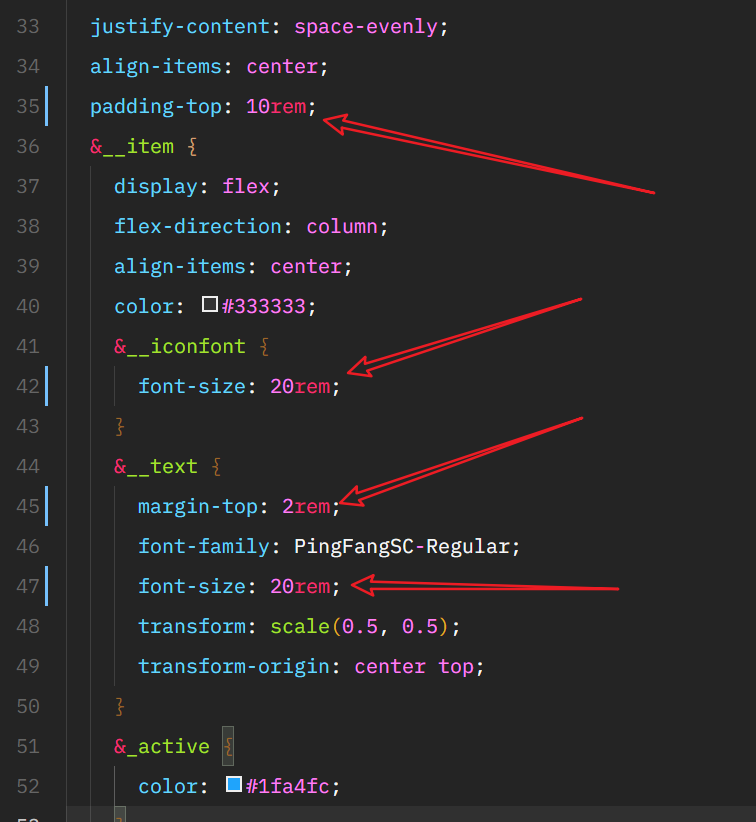
我们可以根据 scss 语法进行一定的修改
// src\App.vue
.docker {
	width: 375rem;
	height: 49rem;
	position: fixed;
	bottom: 0;
	left: 0;
	background: #ffffff;
	box-shadow: 0 -1rem 1rem 0 #f1f1f1;
	display: flex;
	justify-content: space-evenly;
	align-items: center;
	padding-top: 10px;
	&__item {
		display: flex;
		flex-direction: column;
		align-items: center;
		&__iconfont {
			font-size: 20px;
		}
		&__text {
			margin-top: 2px;
			font-family: PingFangSC-Regular;
			font-size: 20px;
			color: #333333;
			transform: scale(0.5, 0.5);
			transform-origin: center top;
		}
	}
}

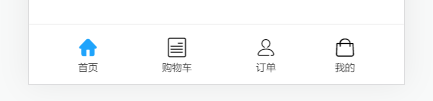
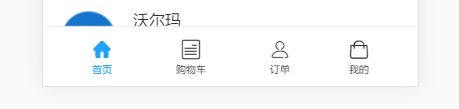
我们再来做一下选中高亮的效果
// src\App.vue
.docker {
	// ...
	&__item {
		// ...
		&__iconfont {
			// ...
		}
		&__text {
			// ...
		}
		&_active {
			color: #1fa4fc;
		}
	}
}
经过测试, 我们发现文字颜色还是黑的, 因为蓝色是继承, 优先级低
解决方案是把黑色的代码, 写在 docker__item 里面
// src\App.vue
.docker {
	// ...
	&__item {
		// ...
		color: #333333;
		&__iconfont {
			// ...
		}
		&__text {
			// ...
		}
		&_active {
			color: #1fa4fc;
		}
	}
}
这样效果就出来了
最后, 记得把所有的 px 改成 rem
开发首页 header
先确定首页的轮廓, 处理底部的 docker, 所有的内容都是首页的区域
<!-- src\App.vue -->
<div class="container"></div>
<!-- ... -->
// src\App.vue
.container {
	position: absolute;
	left: 0;
	right: 0;
	top: 0;
	bottom: 49rem;
	background-color: olivedrab;
}
.docker {
	// ...
}
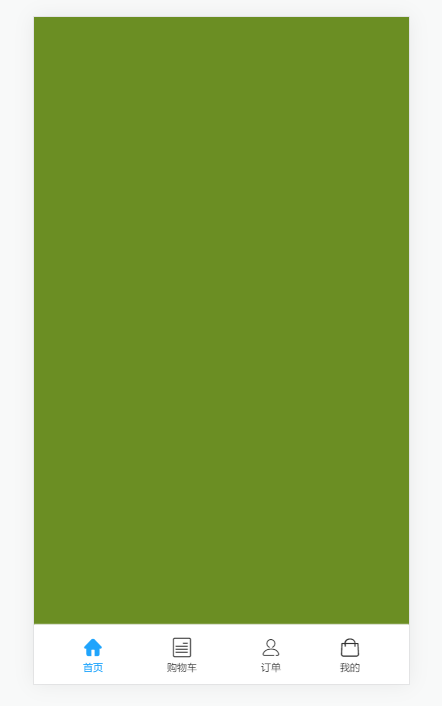
轮廓确定后, 就可以着手开发 header 了
先写 html 代码

我们需要添加字体图标, 搜索关键字 position 和 notice, 可以找到对应图标
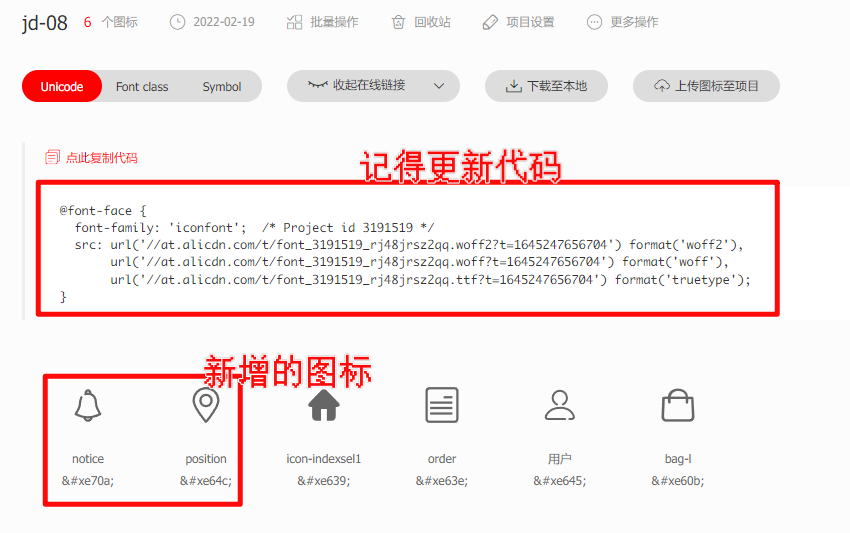
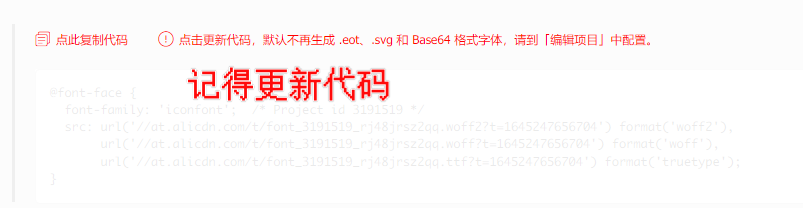
更新字体代码
把字体图标的 unicode 加入到项目里面去
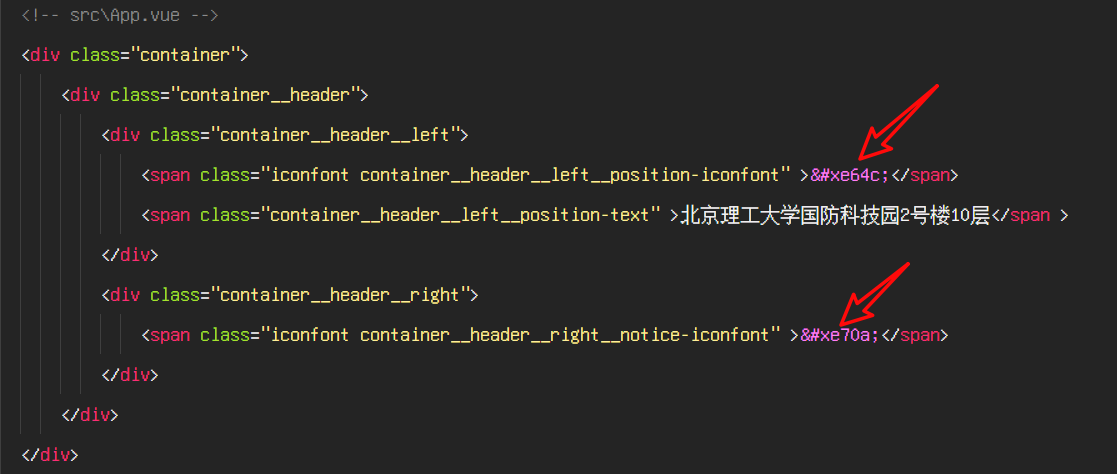
我们可以看到字体图标了

接下来编写 css
// src\App.vue
.container {
	// ...
	&__header {
		display: flex;
		justify-content: space-between;
		padding: 16px 19.2px;
		&__left__position-iconfont {
			font-size: 16px;
			margin-right: 9.7px;
		}
		&__left__position-text {
			font-family: PingFangSC-Regular;
			font-size: 16px;
			color: #333333;
		}
		&__right__notice-iconfont {
			font-size: 18px;
		}
	}
}

.docker {
	// ...
}
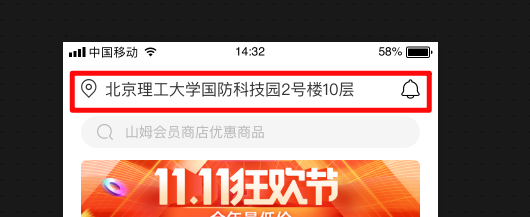
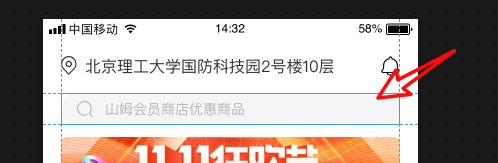
最终效果

有个小细节, 如果地址过长的话, 页面样式会比较丑
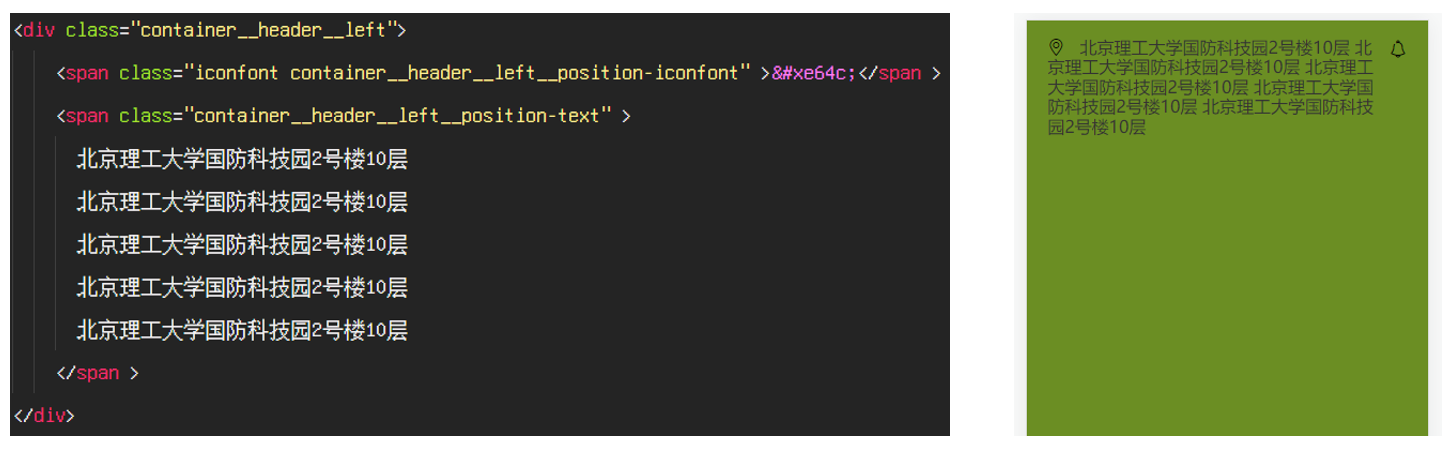
我们可以设置, 如果字体过长, 显示省略号
// src\App.vue
&__header {
	// ...
	&__left {
		width: 310px;
		white-space: nowrap;
		overflow: hidden;
		text-overflow: ellipsis;
		&__position-iconfont {
			// ...
		}
		&__position-text {
			// ...
		}
	}
	&__right__notice-iconfont {
		// ...
	}
}
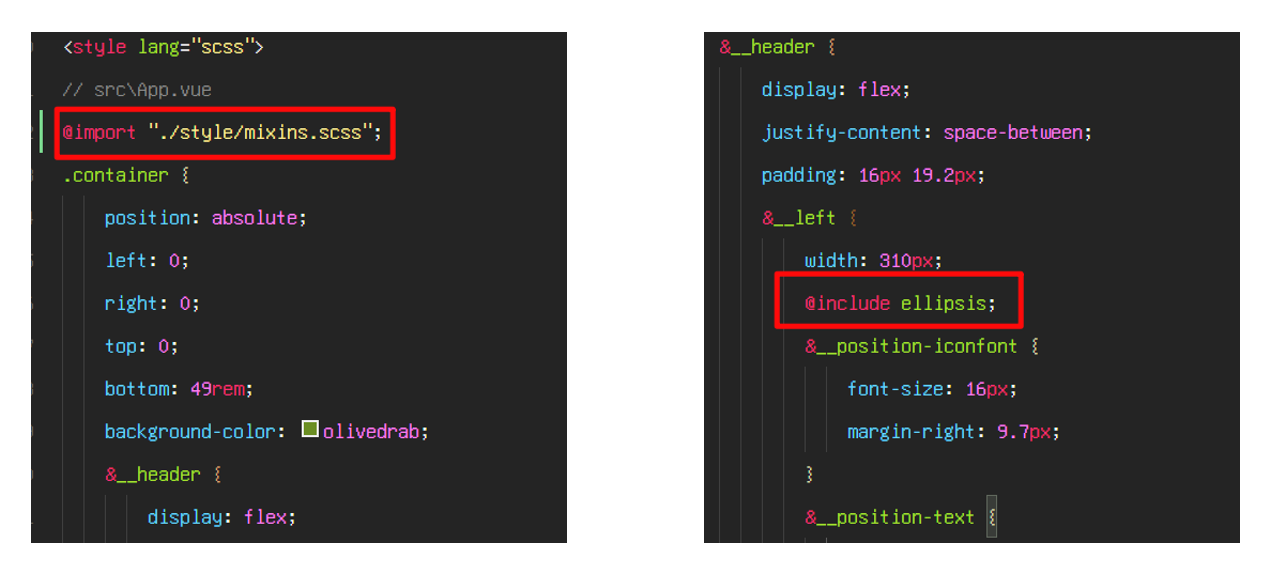
因为我们在用 scss, 所以我们可以把超出部分省略隐藏的代码做成 mixin
// src\style\mixins.scss
@mixin ellipsis {
	overflow: hidden;
	white-space: nowrap;
	text-overflow: ellipsis;
}
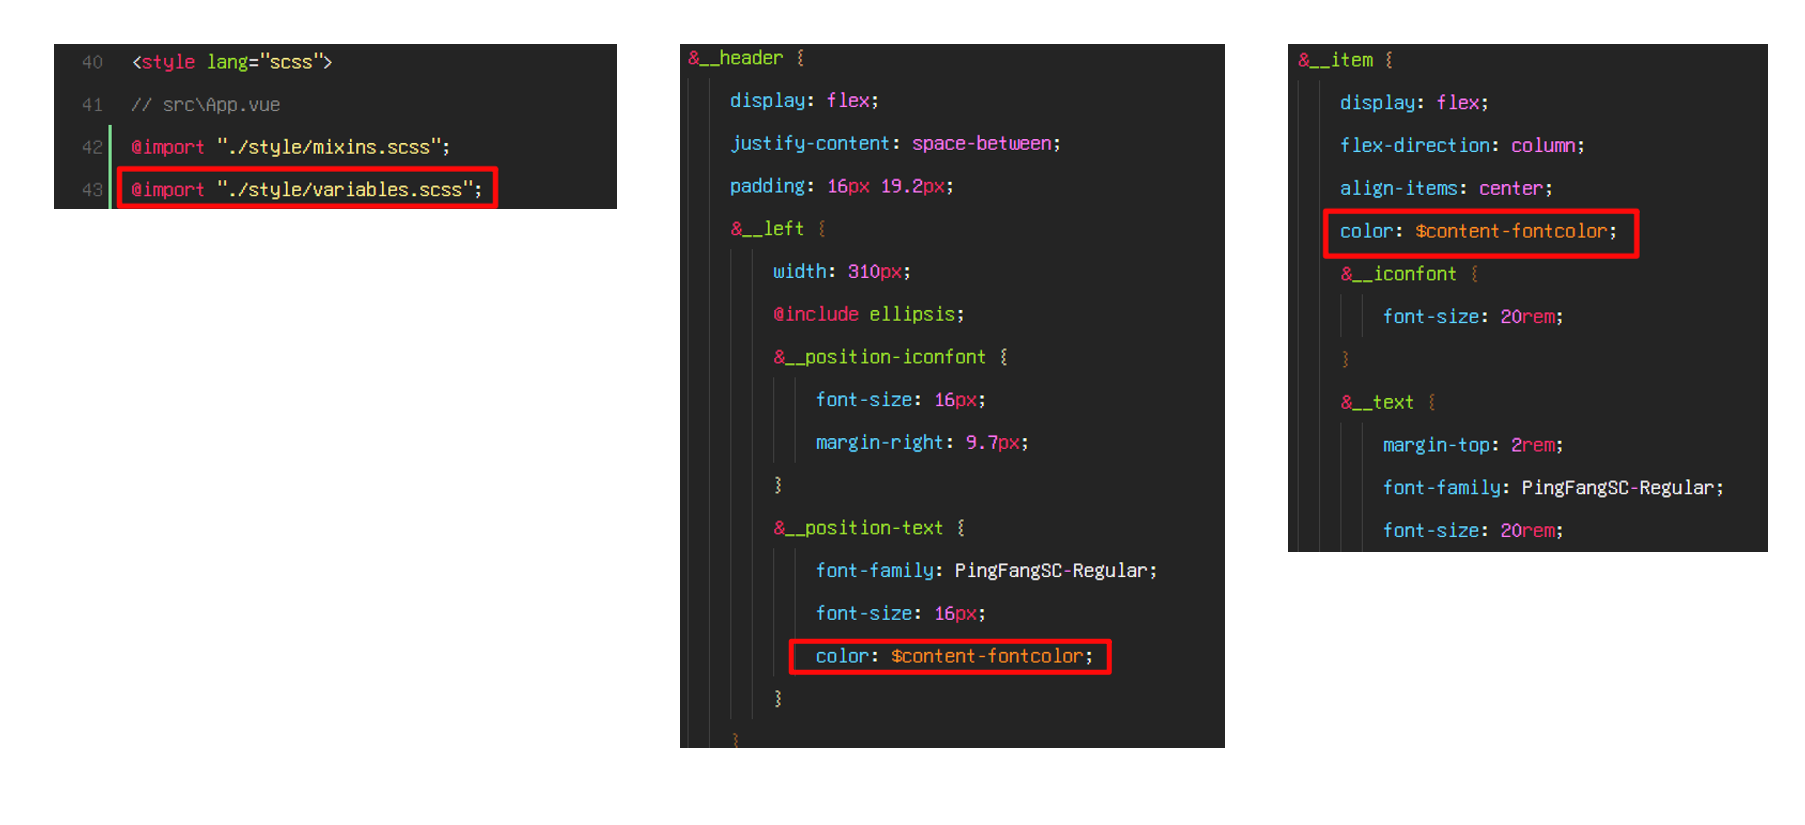
我们也可以把颜色做成变量, 起到复用的效果
// src\style\variables.scss
$content-fontcolor: #333;
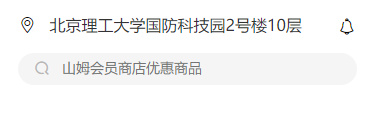
首页搜索区域
首先编写 html 代码
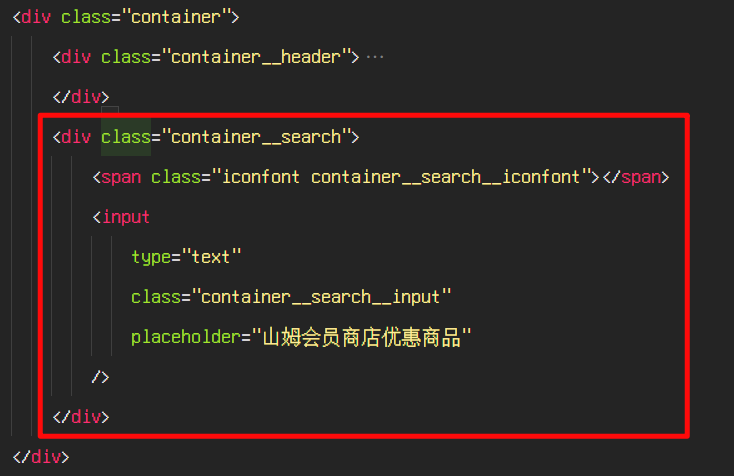
我们需要字体图标, 去阿里图标库搜索 search
复制 unicode 到 html

接下来编写样式
// src\App.vue
// ...
.container {
position: absolute;
// ...
&__header {
// ...
}
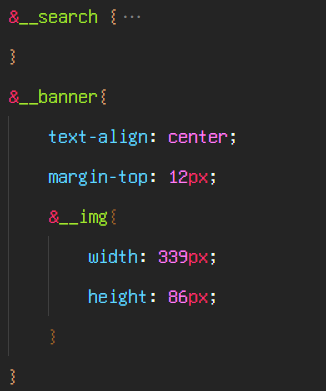
&__search {
text-align: center;
position: relative;
color: #b7b7b7;
&__input {
background: #f5f5f5;
border-radius: 16px;
width: 339px;
height: 32px;
padding-left: 44px;
box-sizing: border-box;
&::-webkit-input-placeholder {
font-family: PingFangSC-Regular;
font-size: 14px;
line-height: 16px;
}
&:-moz-placeholder {
font-family: PingFangSC-Regular;
font-size: 14px;
line-height: 16px;
}
&::-moz-placeholder {
font-family: PingFangSC-Regular;
font-size: 14px;
line-height: 16px;
}
&:-ms-input-placeholder {
font-family: PingFangSC-Regular;
font-size: 14px;
line-height: 16px;
}
}
&__iconfont {
position: absolute;
left: 34px;
top: 6px;
font-size: 16px;
}
}
}
.docker {
// ...
}
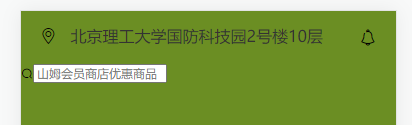
最终效果
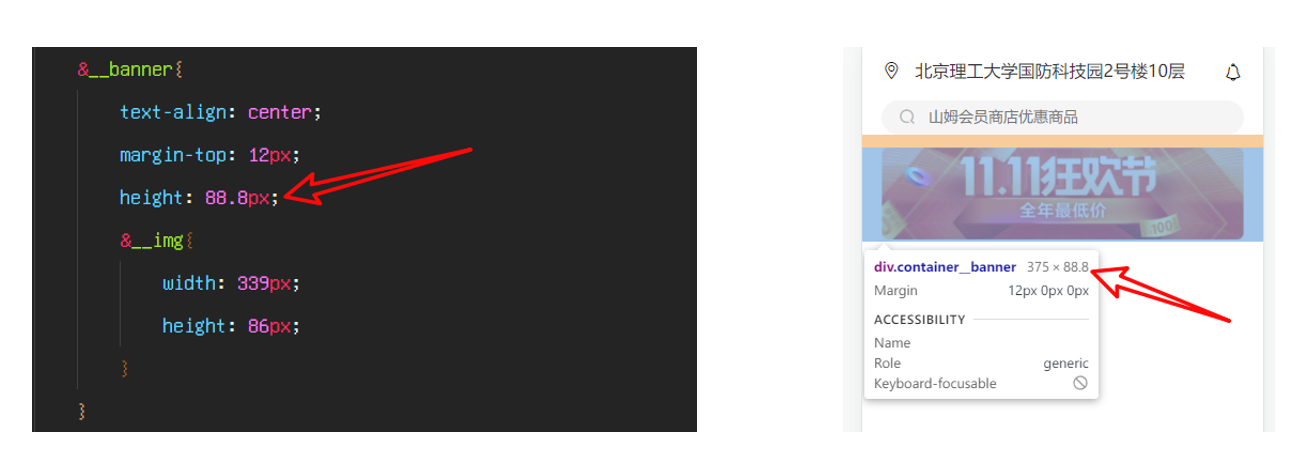
首页 banner 区
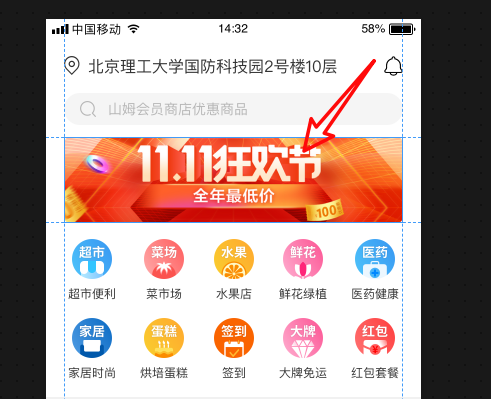
图片地址: https://markdown-1253389072.cos.ap-nanjing.myqcloud.com/202202191609589.png
我们先编写 html 代码
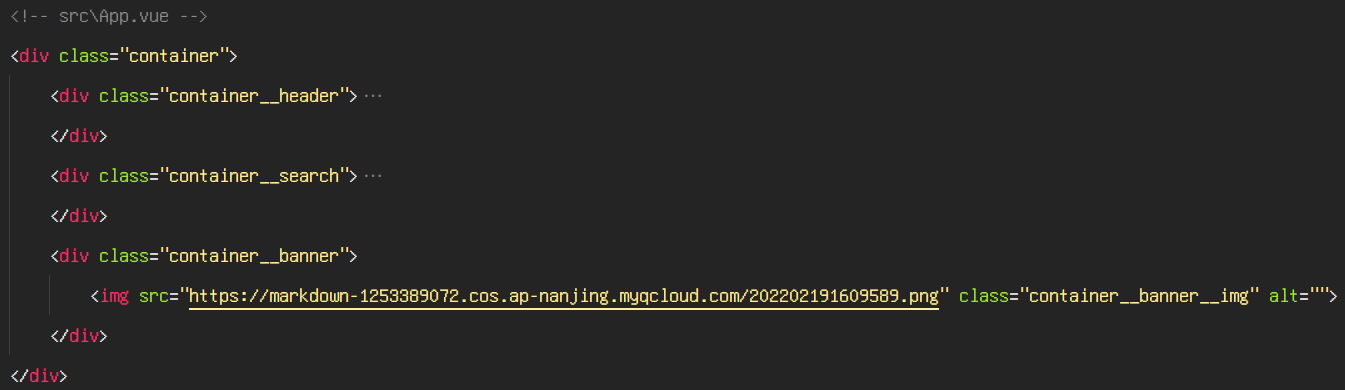
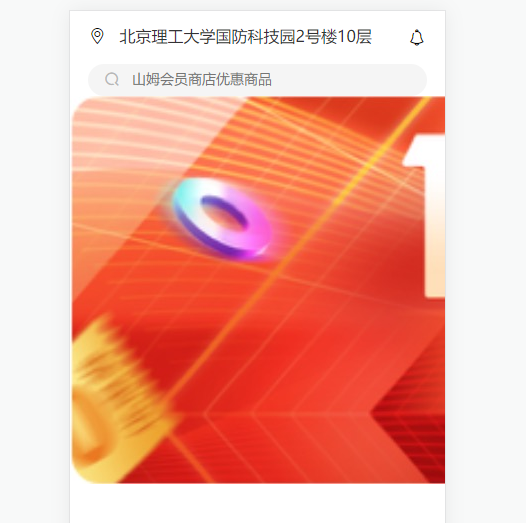
接下来编写 css

有个小细节, 如果网速比较慢, 图片没有加载出来的时候, 下面的内容会挤上来, 为了解决这个问题, 可以给 banner 设置一个高度, 保证下面的内容位置不会因为图片没有加载出来而发生变化
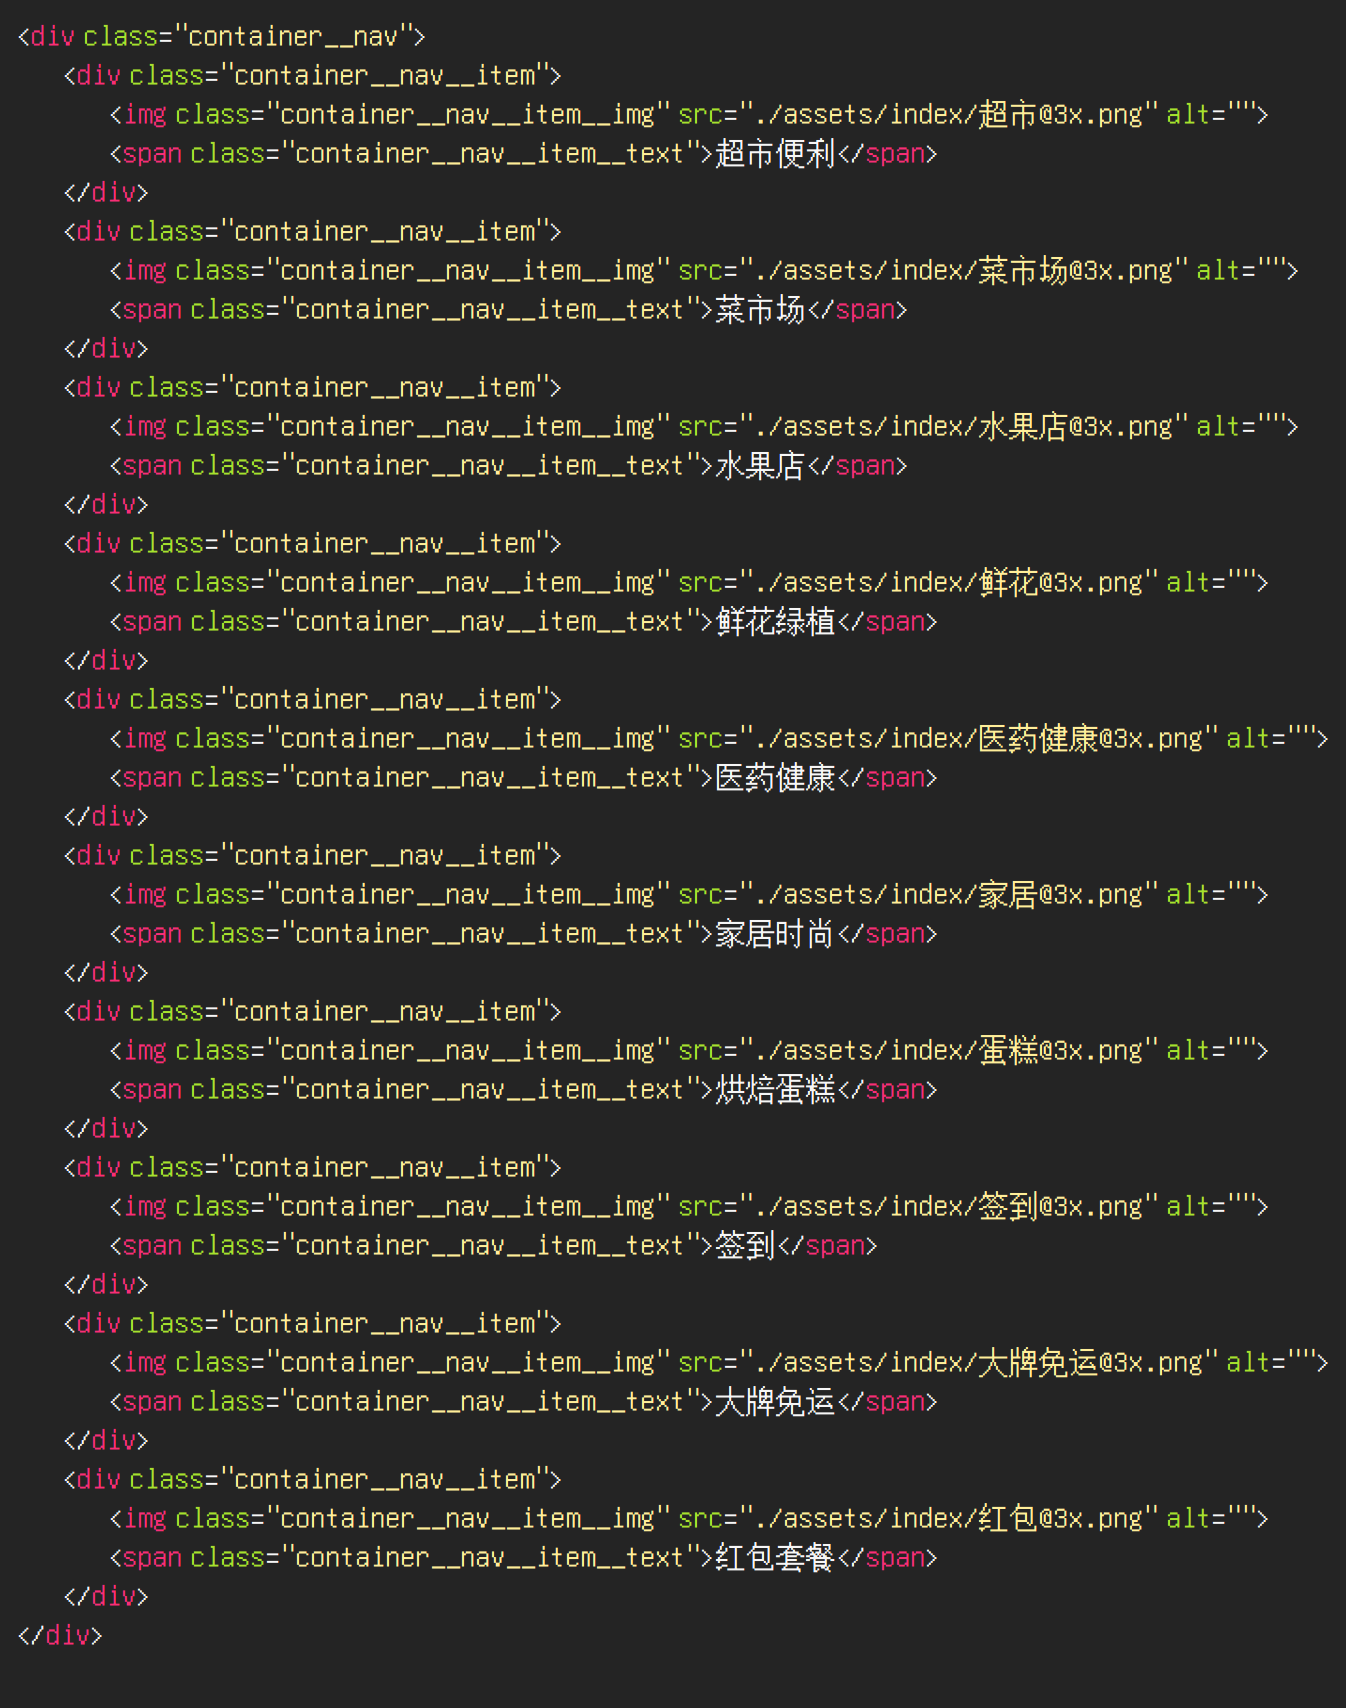
首页快捷导航
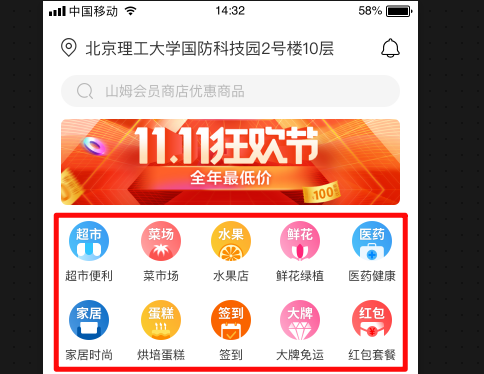
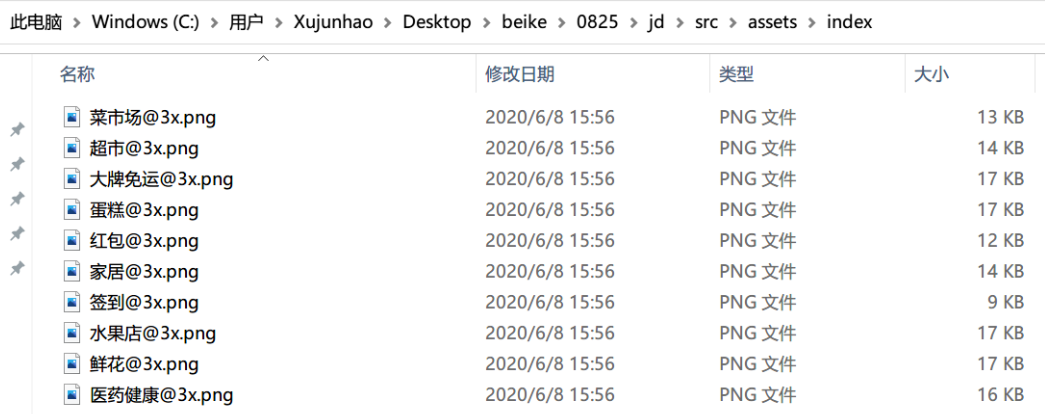
首先编写 html, 需要的图标地址如下:
http://129.226.179.254/cos/%E5%AF%BC%E8%88%AA%E5%9B%BE%E6%A0%87.zip
我们先下载图标, 把图标移动到
src/assets/index里面
html 代码如下
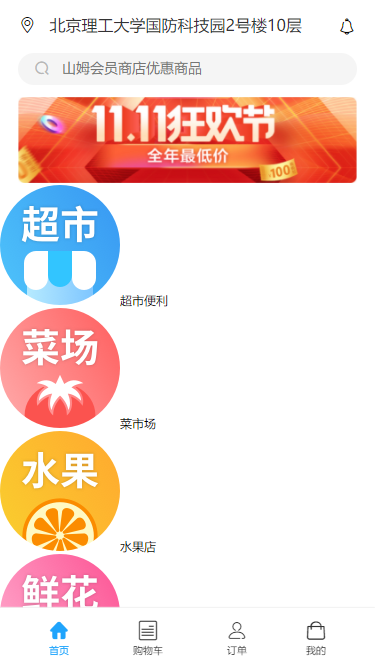
接下来编写 css 样式
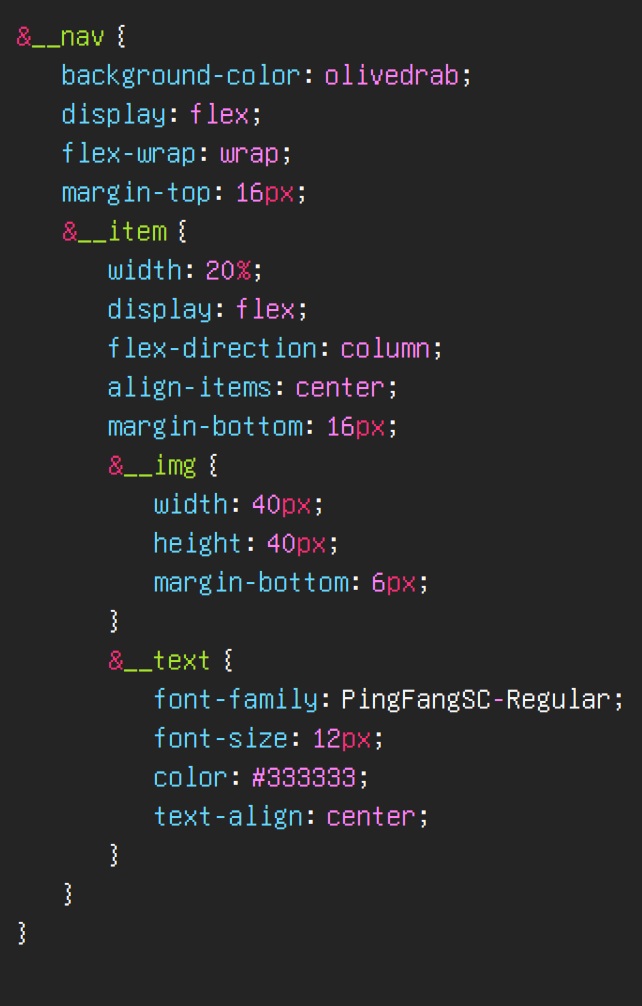
我们可以优化一下代码, 之前定义的变量可以用上

首页内容间缝隙

编写 html
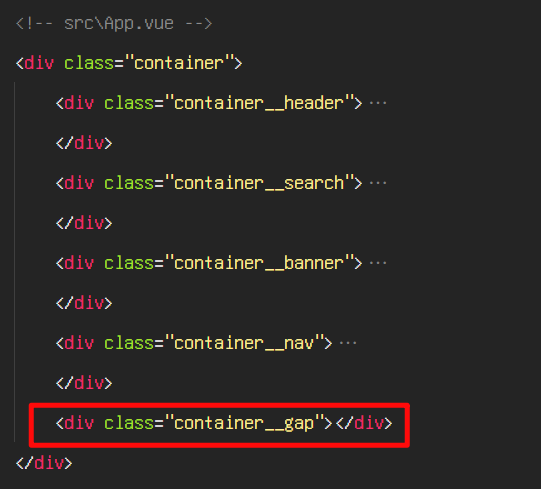
编写 css
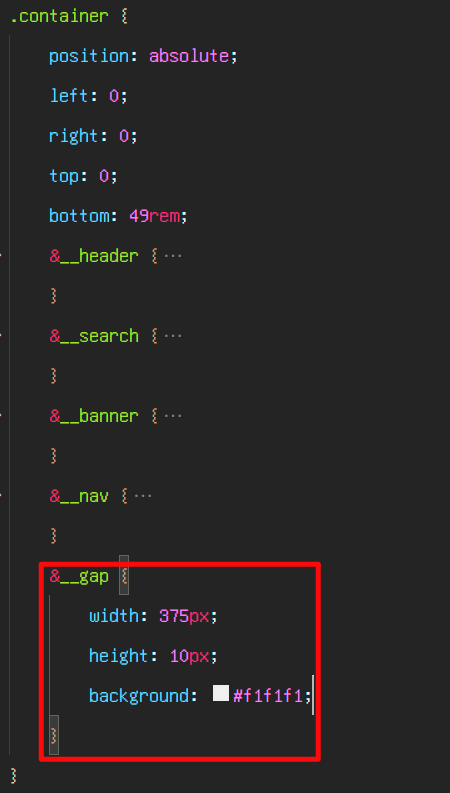
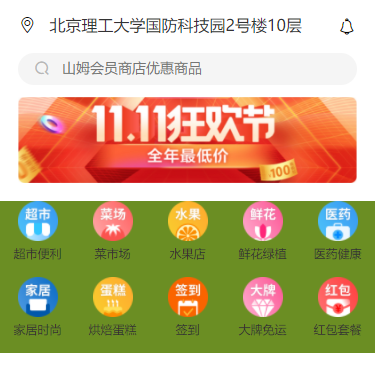
导航区的背景色去除后, 可以看到最终的效果

记得把所有的 px 改成 rem
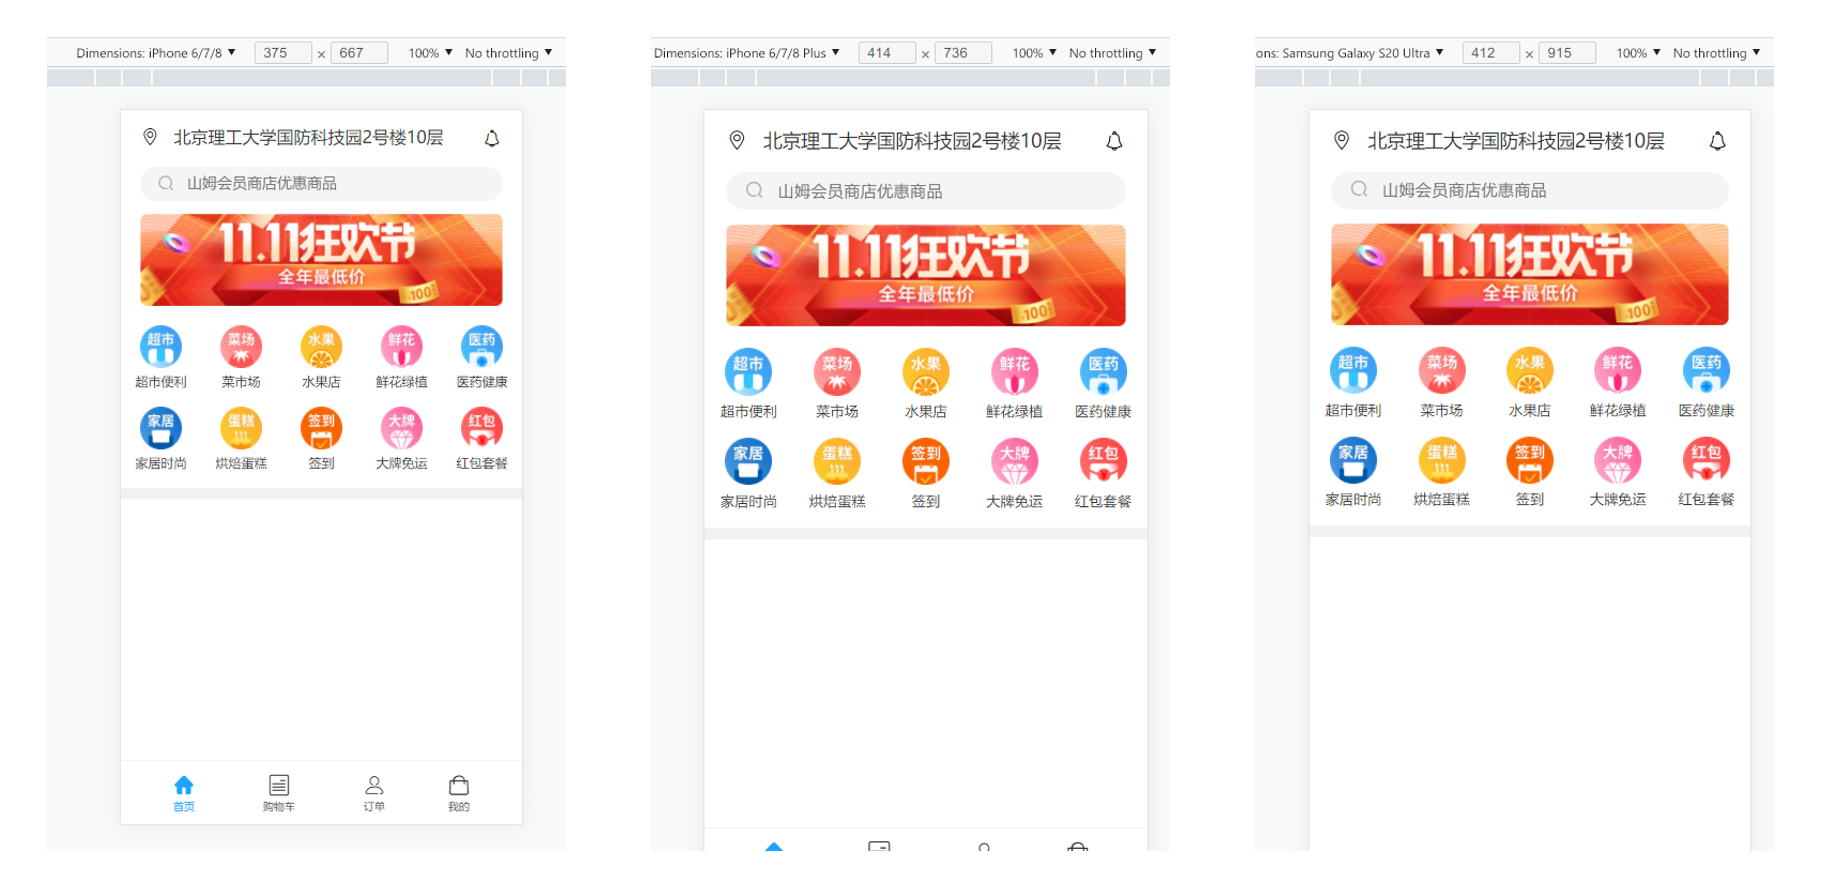
把页面布局做成自动适应
我们发现, iphone6/7/8 的页面没有问题, 但是换成其他机型, 页面就会出问题
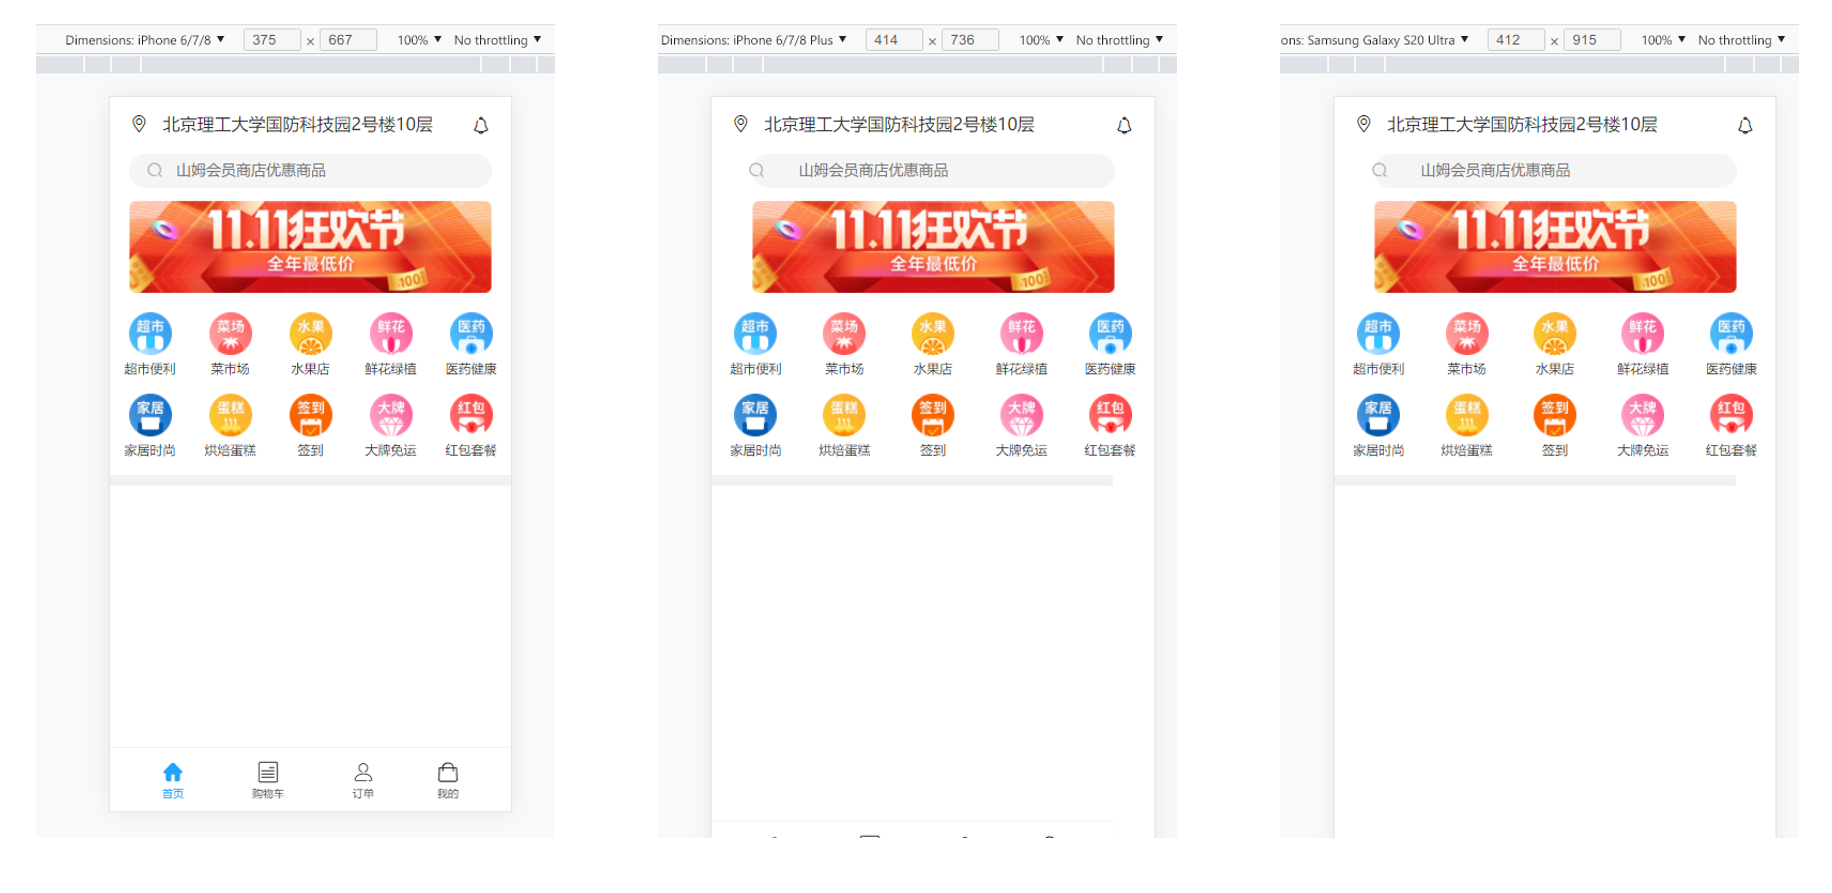
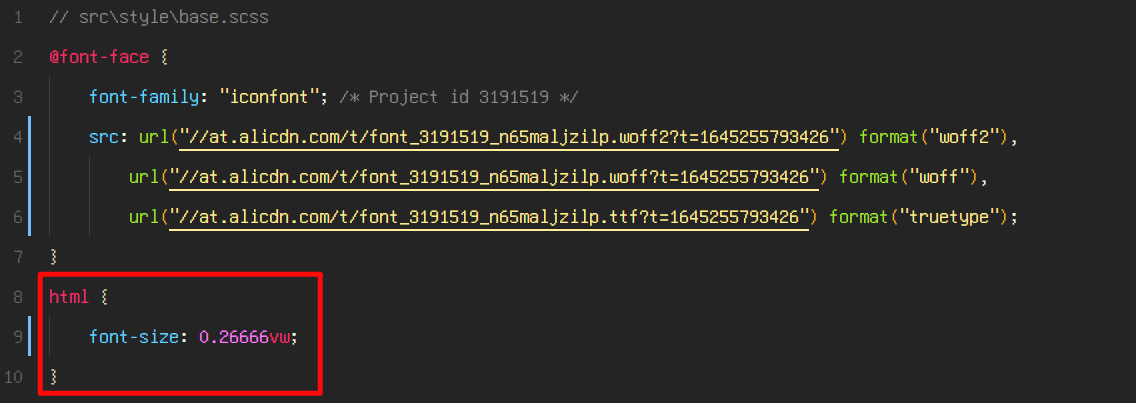
原因是我们虽然以 rem 为单位, 但是 html 的字体大小还是写到 1px, 我们需要把 px 换成 vw
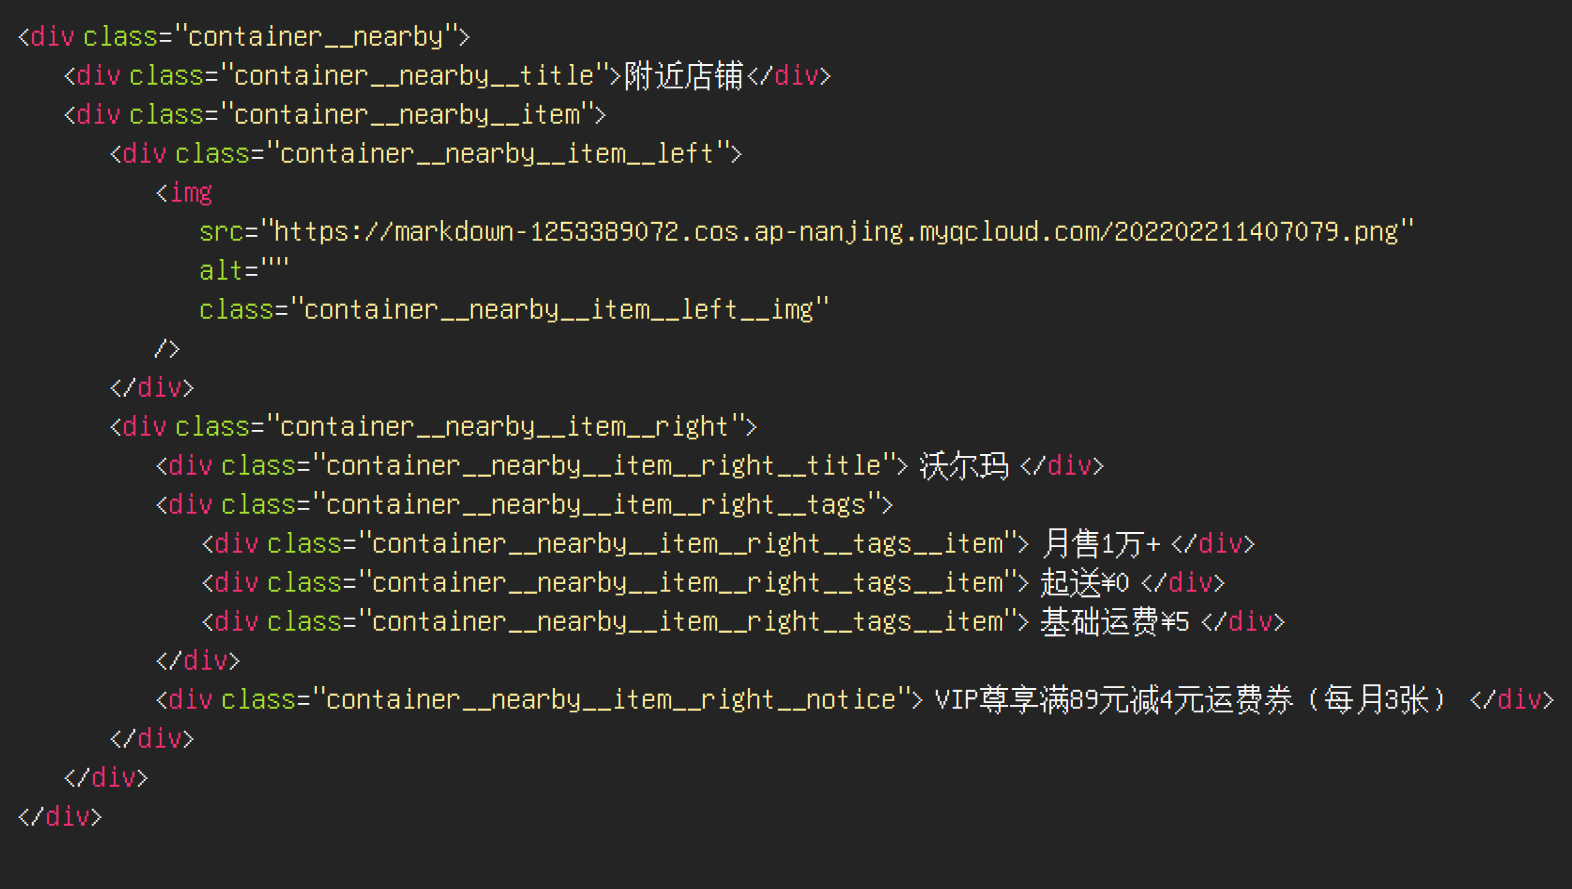
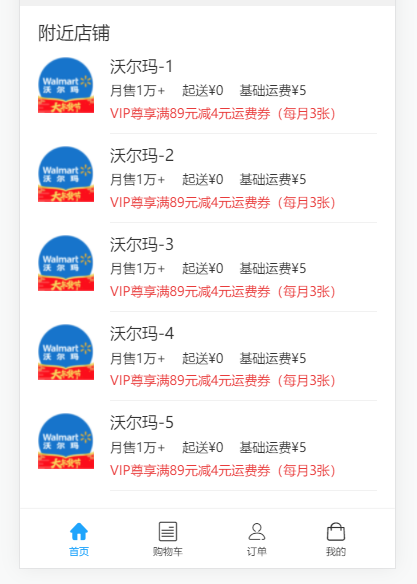
首页附近店铺
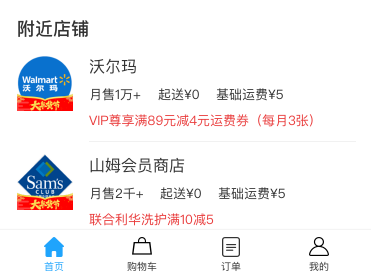
首先编写 html 代码
图片路径: https://markdown-1253389072.cos.ap-nanjing.myqcloud.com/202202211407079.png
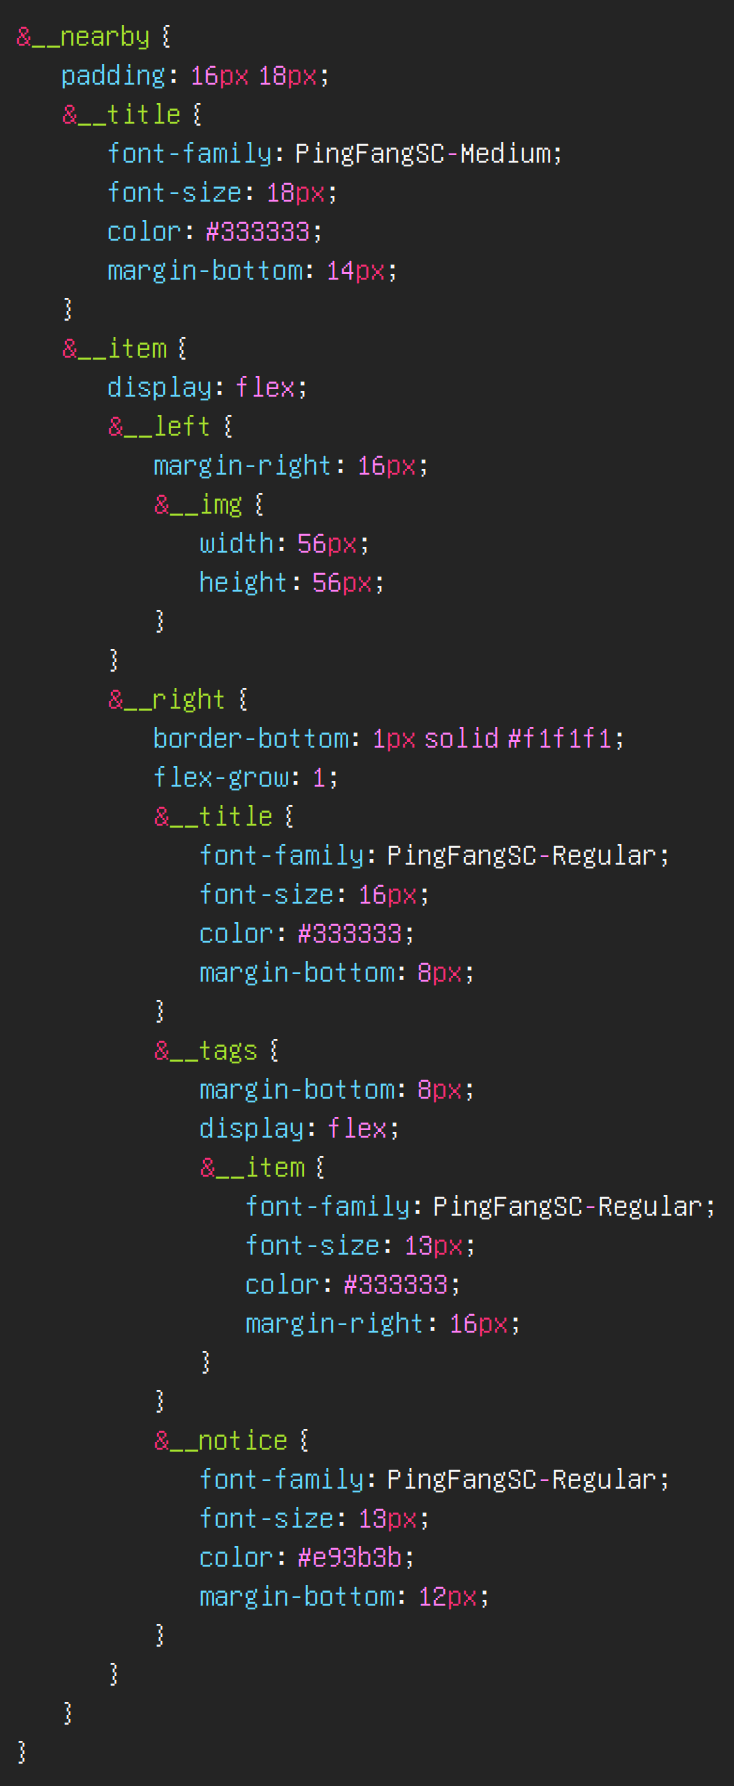
接下来编写 css
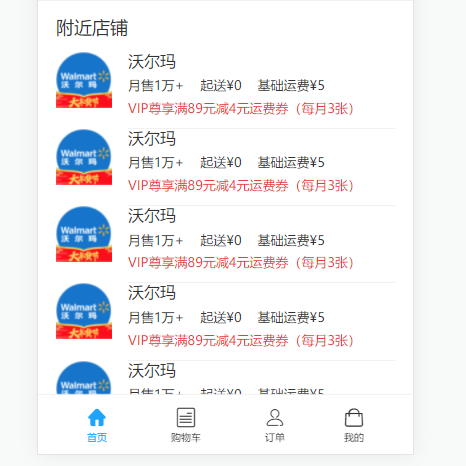
我们可以多复制几份, 看看效果
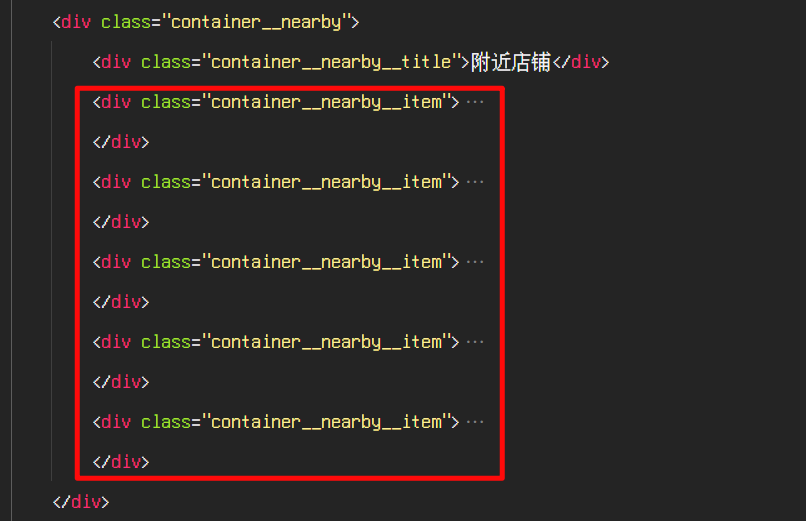
发现两个问题, 一个是各个 item 挨得太近, 一个是最后一个 item 被 docker 盖住了
解决方案如下
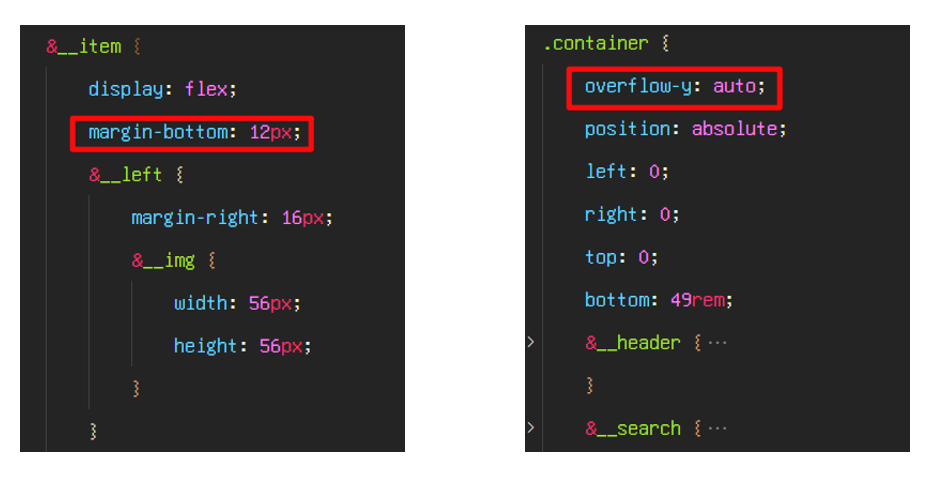
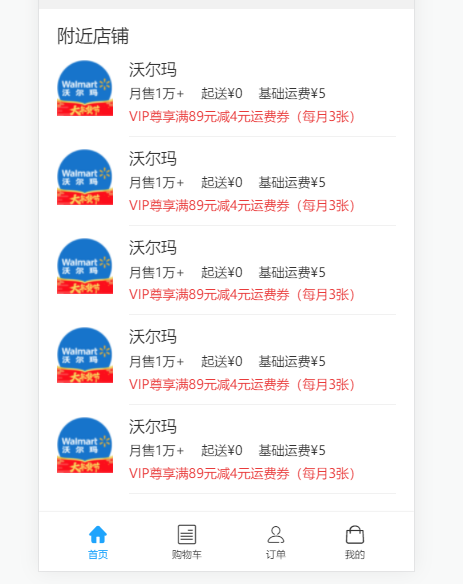
记得把
#333333改成$content-fontcolor, 把px改成rem
首页代码合理拆分
我们发现, 首页的代码量越来越大, 代码越来越难以维护, 所以我们需要把首页拆成组件
先新建
src\views\home\Home.vue, 把原来src\App.vue的代码拷贝进去然后注意修改路径
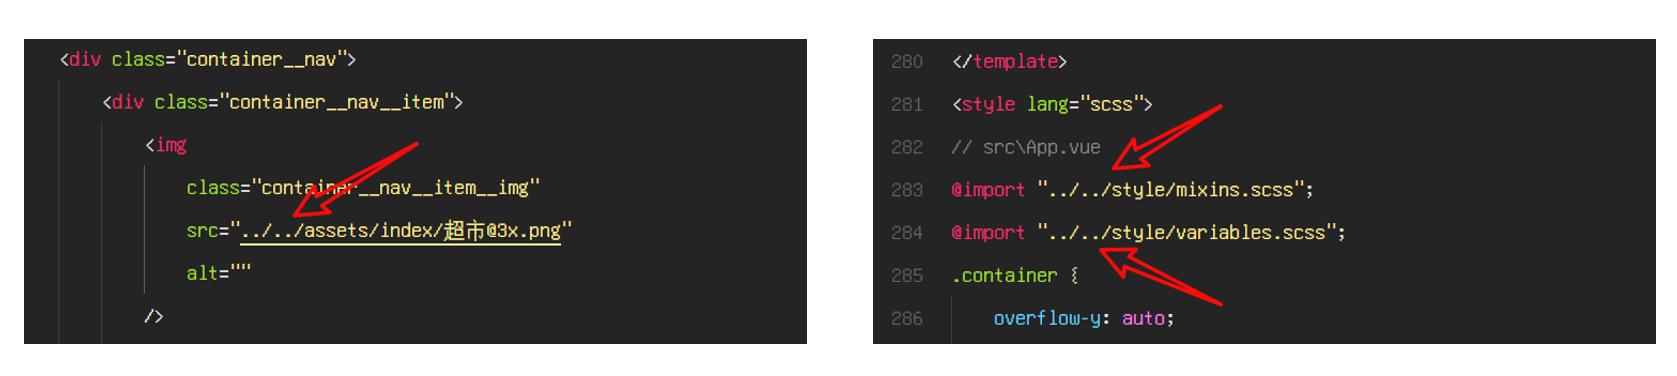
在
src\App.vue中引入Home.vue
<template>
	<Home />
</template>

<script>
import Home from "./views/home/Home.vue";
export default {
	name: "App",
	components: { Home },
};
</script>
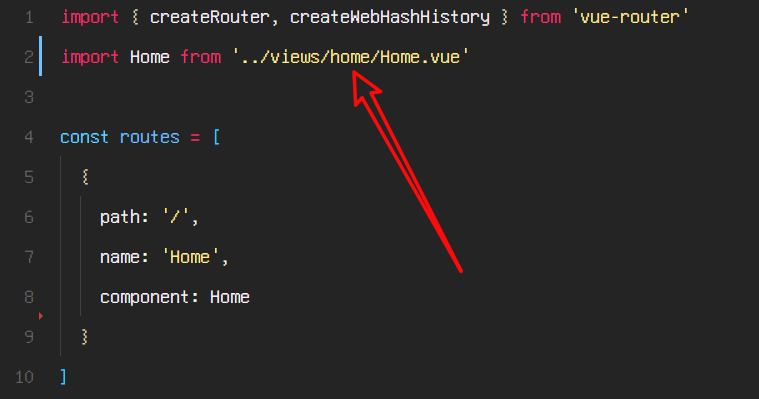
注意修改路由
src\router\index.js
拆分之后, 没有 bug, 我们就可以继续拆分
src\views\home\Home.vue我们把页面的每一块都进行拆分, 新建对应的 vue 文件, 填写基本的代码
src\views\home\Banner.vue
src\views\home\Docker.vue
src\views\home\Gap.vue
src\views\home\Header.vue
src\views\home\Nav.vue
src\views\home\Nearby.vue
src\views\home\Search.vue
<template>
	<div></div>
</template>
<script>
export default {};
</script>
<style lang="scss"></style>
拆分代码到
src\views\home\Header.vue, 完善代码
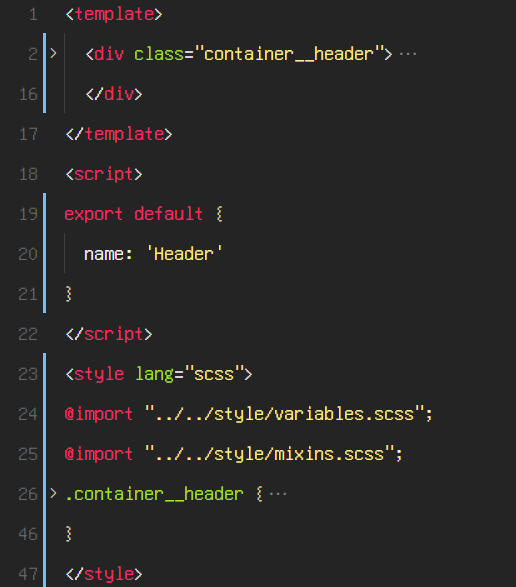
在
src\views\home\Home.vue中使用 header 组件
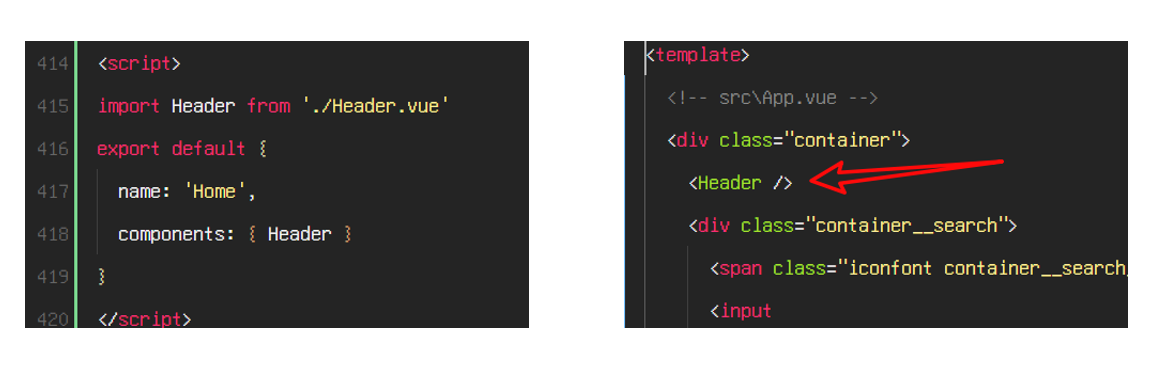
查看页面, 发现没有什么问题, 其他组件同理, 不再赘述
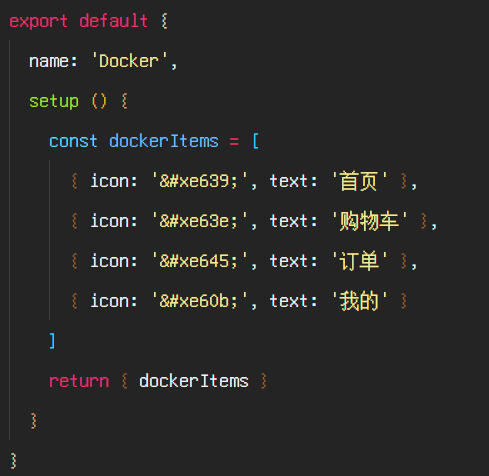
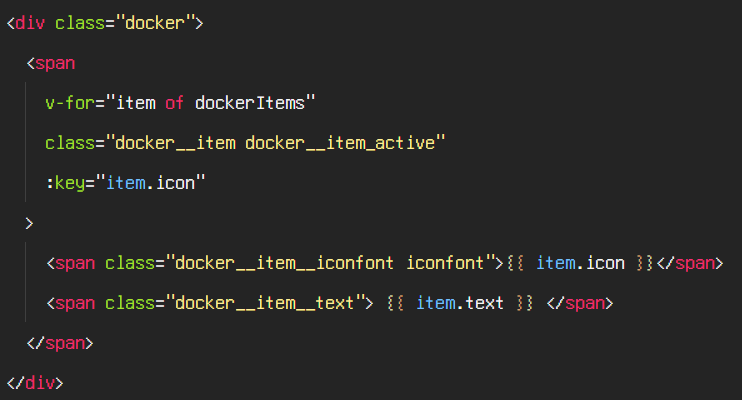
docker 代码精简
docker 的 html 代码有大量重复的部分, 可以做一个精简, 定义一个数组, 使用
v-for
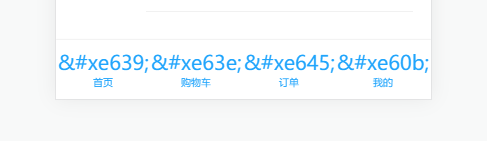
效果如下, 发现全部高亮, 并且字体图标的 unicode 被转义了
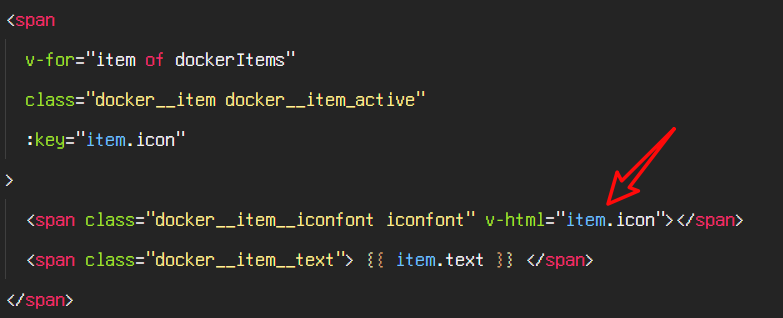
解决方案, 使用
v-html
高亮是因为所有的 span 都有类
docker__item_active, 解决方案是, 可以把 class 变成对象形式

附近商铺代码精简
附近商铺的 html 代码有大量重复的部分, 可以做一个精简, 定义一个数组, 使用
v-for
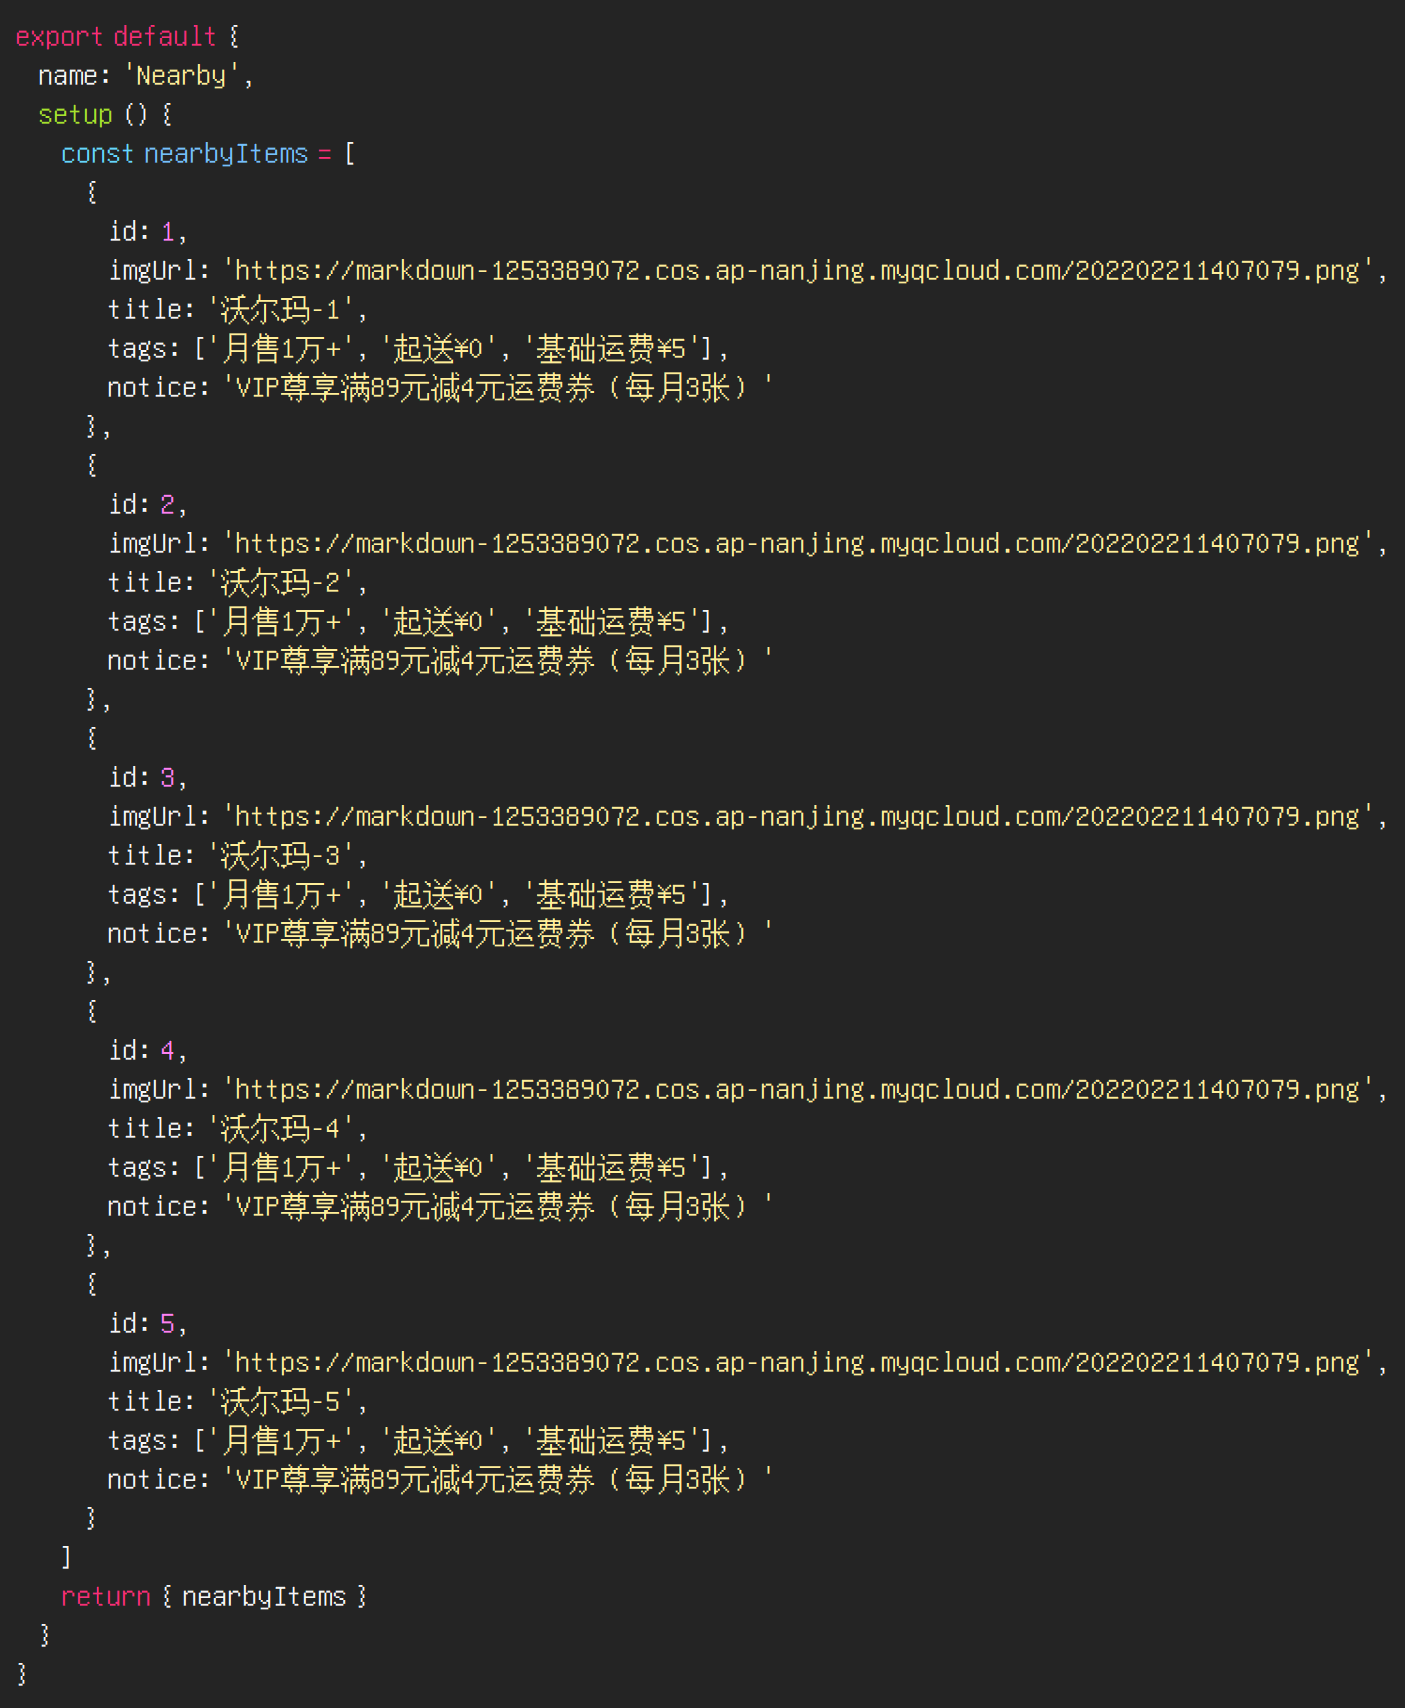
遍历数据

最终效果:
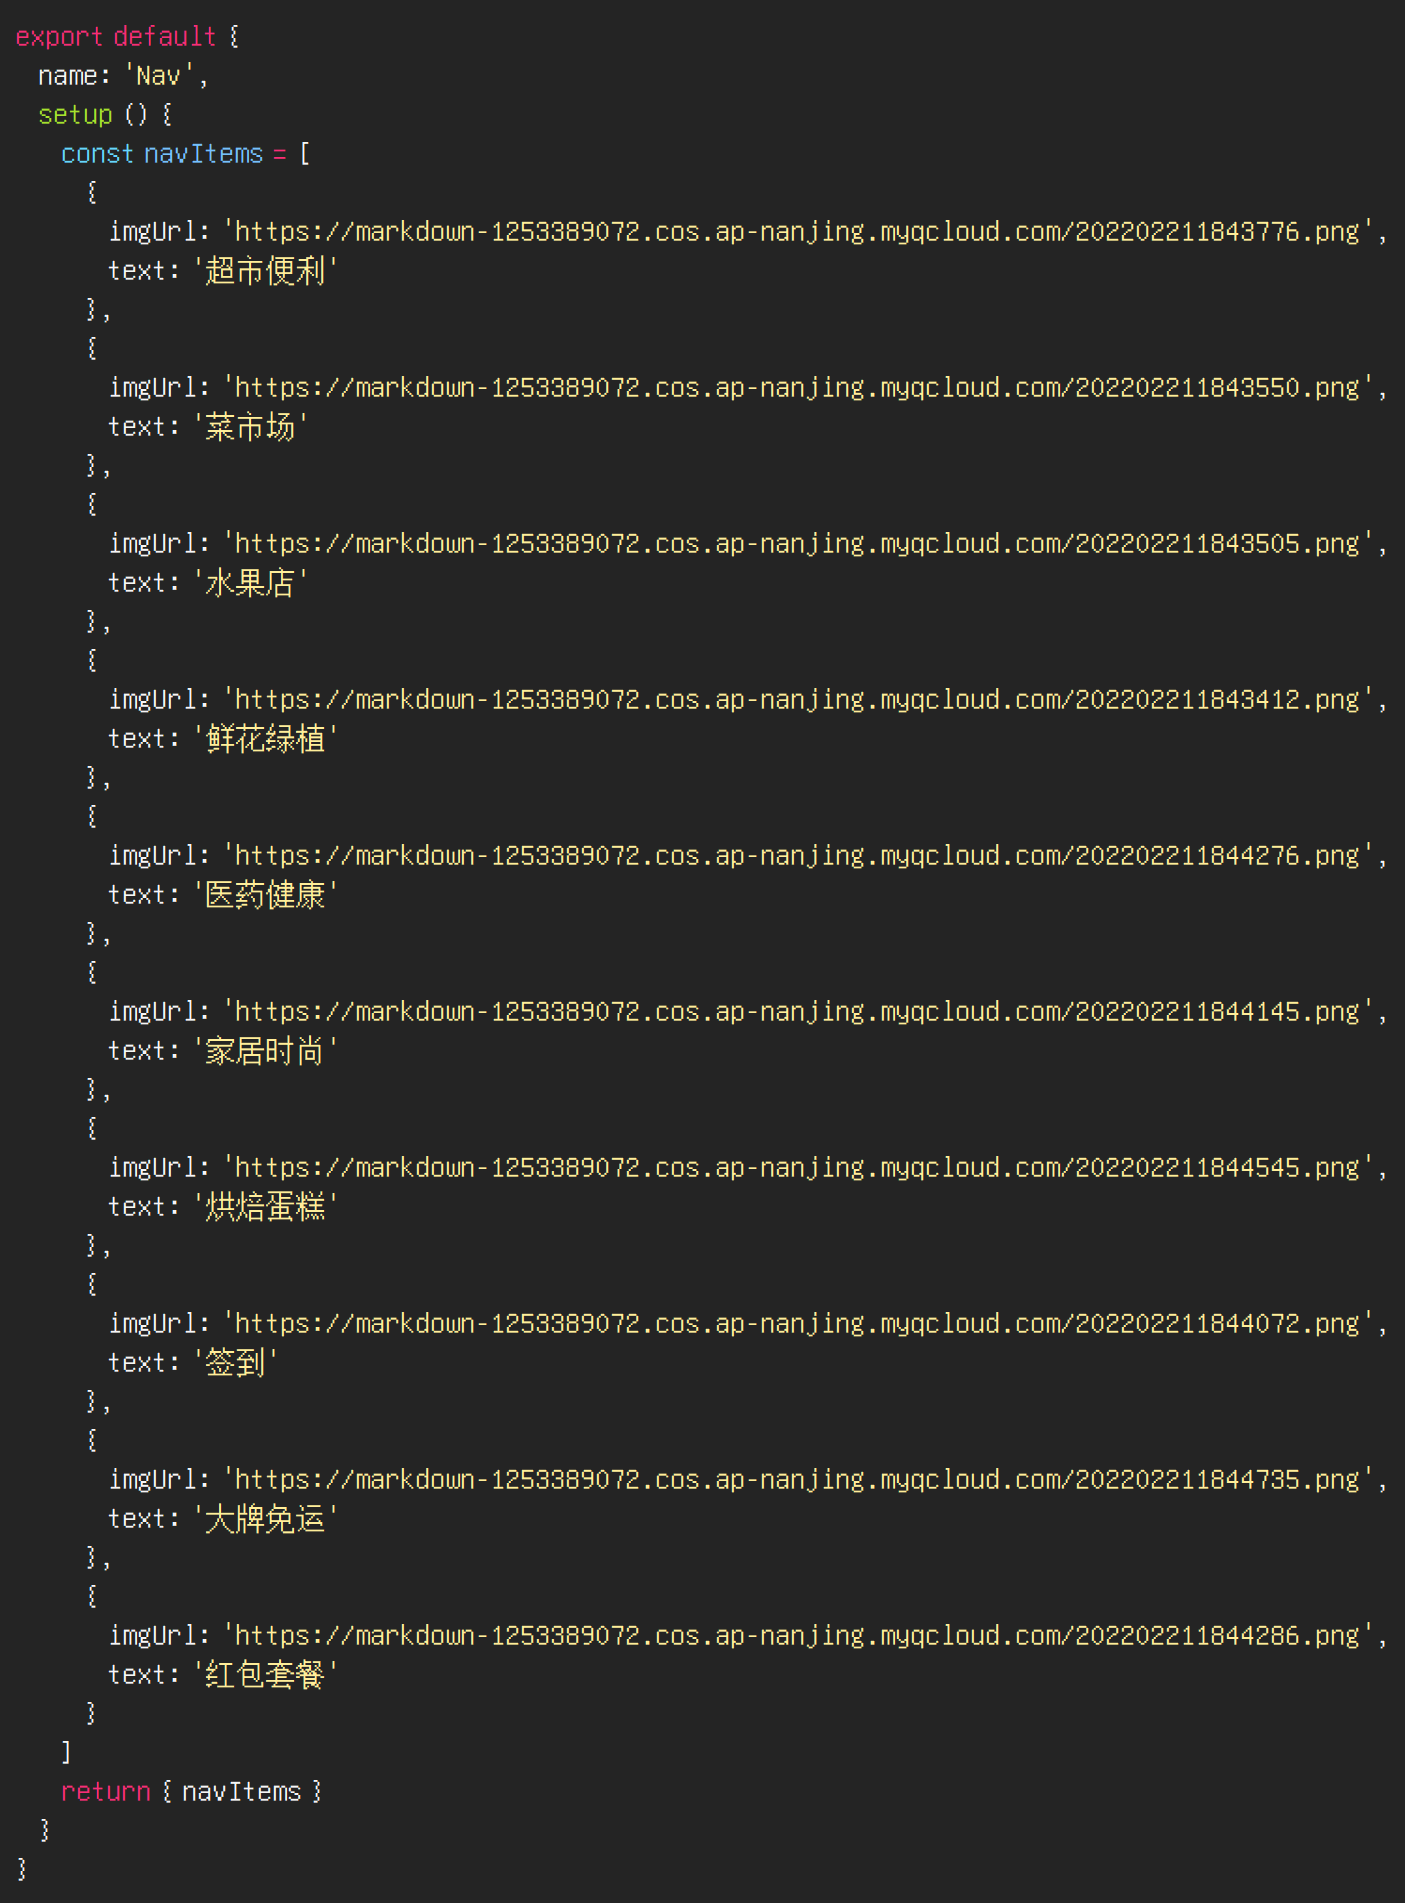
导航精简
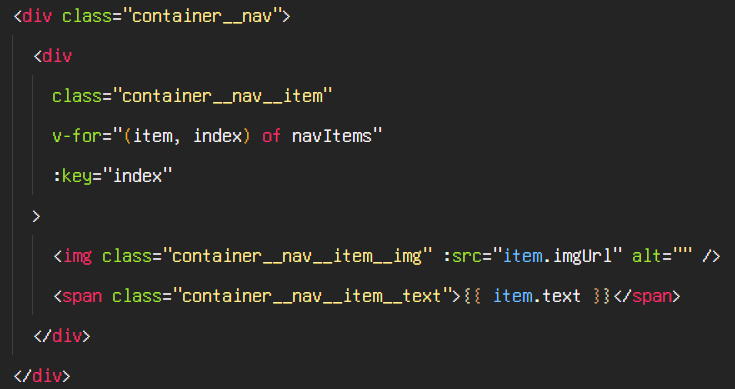
导航的 html 代码有大量重复的部分, 可以做一个精简, 定义一个数组, 使用
v-for因为抽离数据, 是为了将来的 ajax, 所以图标的路径, 我们换成线上的
https://markdown-1253389072.cos.ap-nanjing.myqcloud.com/202202211843776.png
https://markdown-1253389072.cos.ap-nanjing.myqcloud.com/202202211843550.png
https://markdown-1253389072.cos.ap-nanjing.myqcloud.com/202202211843505.png
https://markdown-1253389072.cos.ap-nanjing.myqcloud.com/202202211843412.png
https://markdown-1253389072.cos.ap-nanjing.myqcloud.com/202202211844276.png
https://markdown-1253389072.cos.ap-nanjing.myqcloud.com/202202211844145.png
https://markdown-1253389072.cos.ap-nanjing.myqcloud.com/202202211844545.png
https://markdown-1253389072.cos.ap-nanjing.myqcloud.com/202202211844072.png
https://markdown-1253389072.cos.ap-nanjing.myqcloud.com/202202211844735.png
https://markdown-1253389072.cos.ap-nanjing.myqcloud.com/202202211844286.png
抽离数据
展示数据
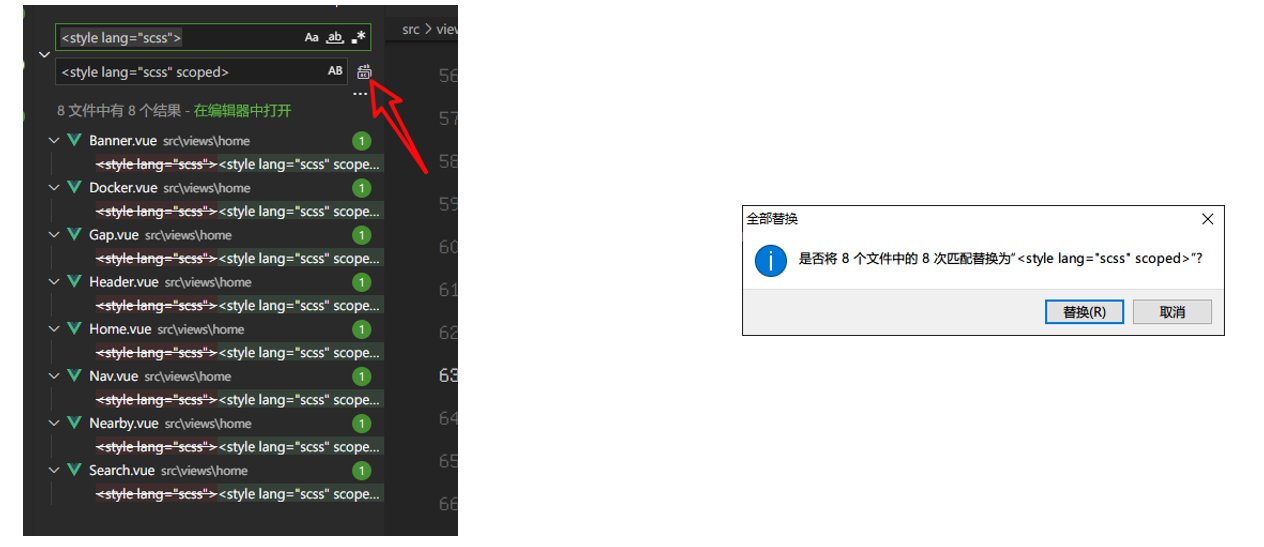
css 作用域约束
我们之前测试过, 默认情况下, 各组件之间的 css 会互相影响
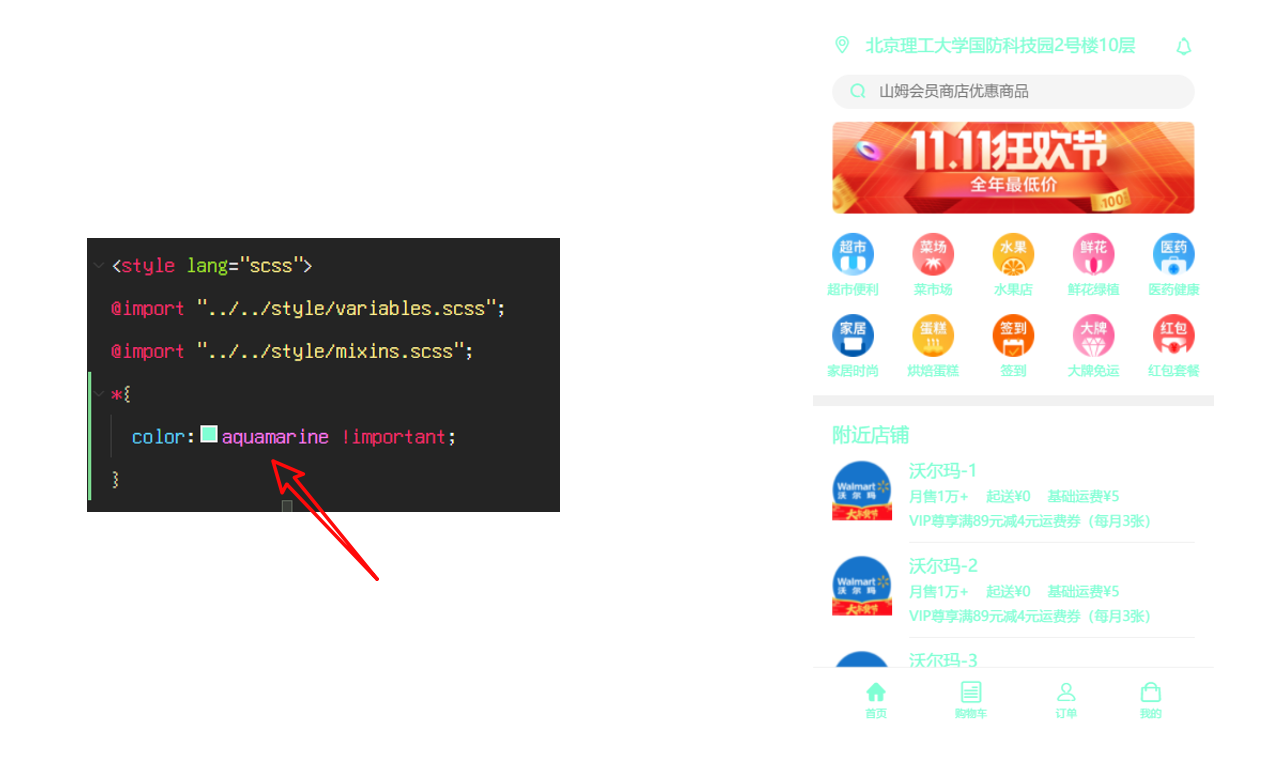
如果我们想让的 css 只对当前组件生效, 可以使用 scoped
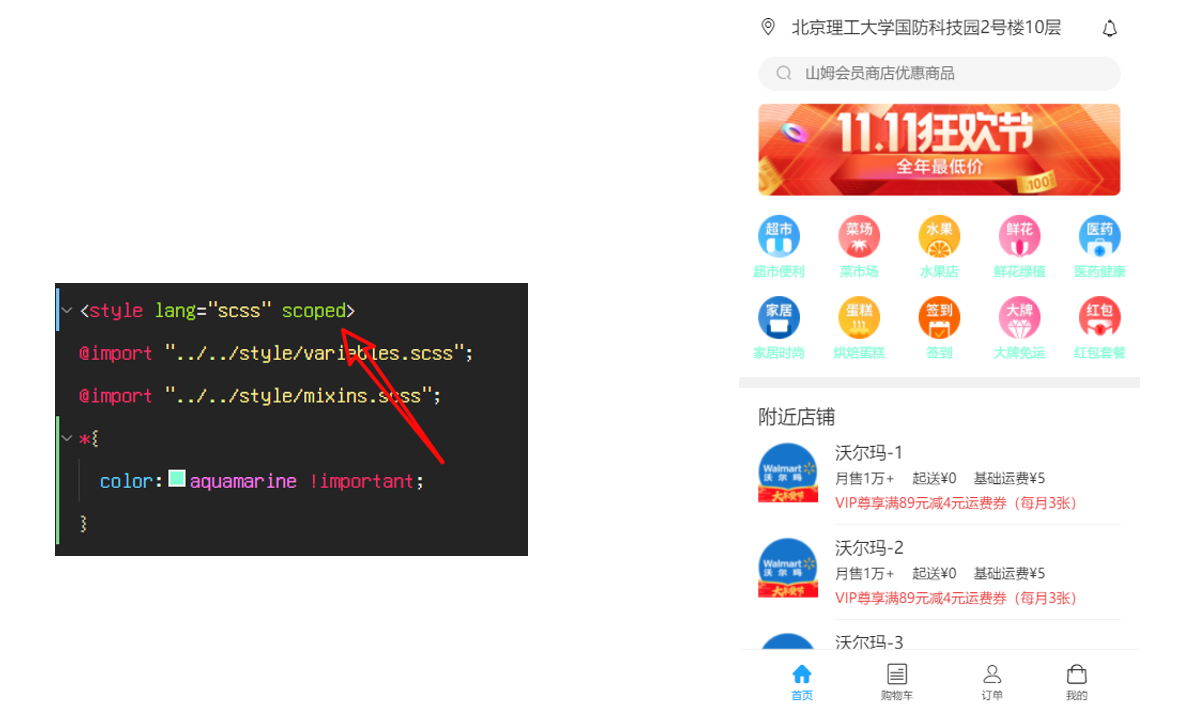
可以使用 vscode 的批量替换功能
eslint 格式化插件
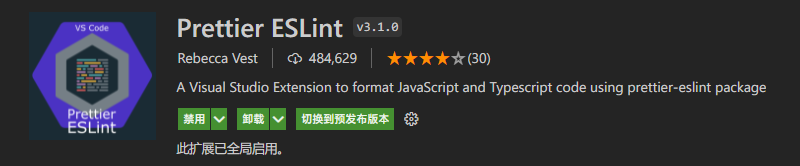
这个插件可以把代码按照 eslint 的标准进行格式化
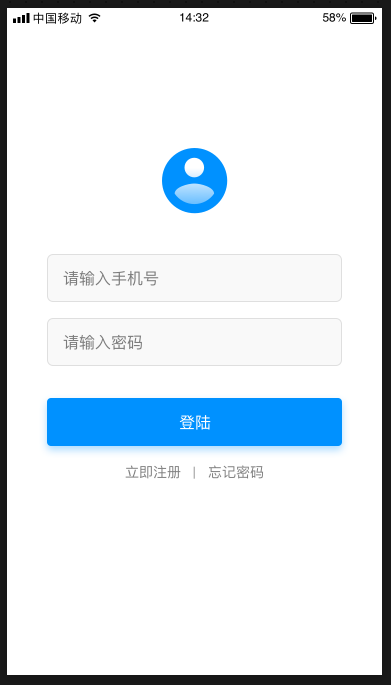
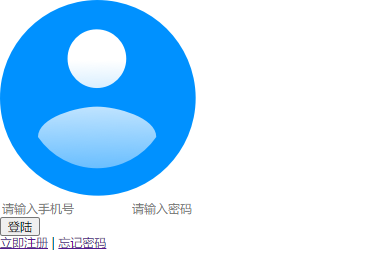
登录页面
我们的逻辑是, 用户只有登录了才能访问首页, 所以我们接下来做登录页
先修改
src\App.vue
<template>
	<Login />
</template>

<script>
// import Home from './views/home/Home.vue'
import Login from "./views/login/Login.vue";
export default {
	name: "App",
	components: { Login },
};
</script>
然后新建
src\views\login\Login.vue
<template>
	<div>hello world</div>
</template>
<script>
export default {
	name: "Login",
};
</script>
<style lang="scss" scoped></style>
看一下效果, 代码能不能跑通

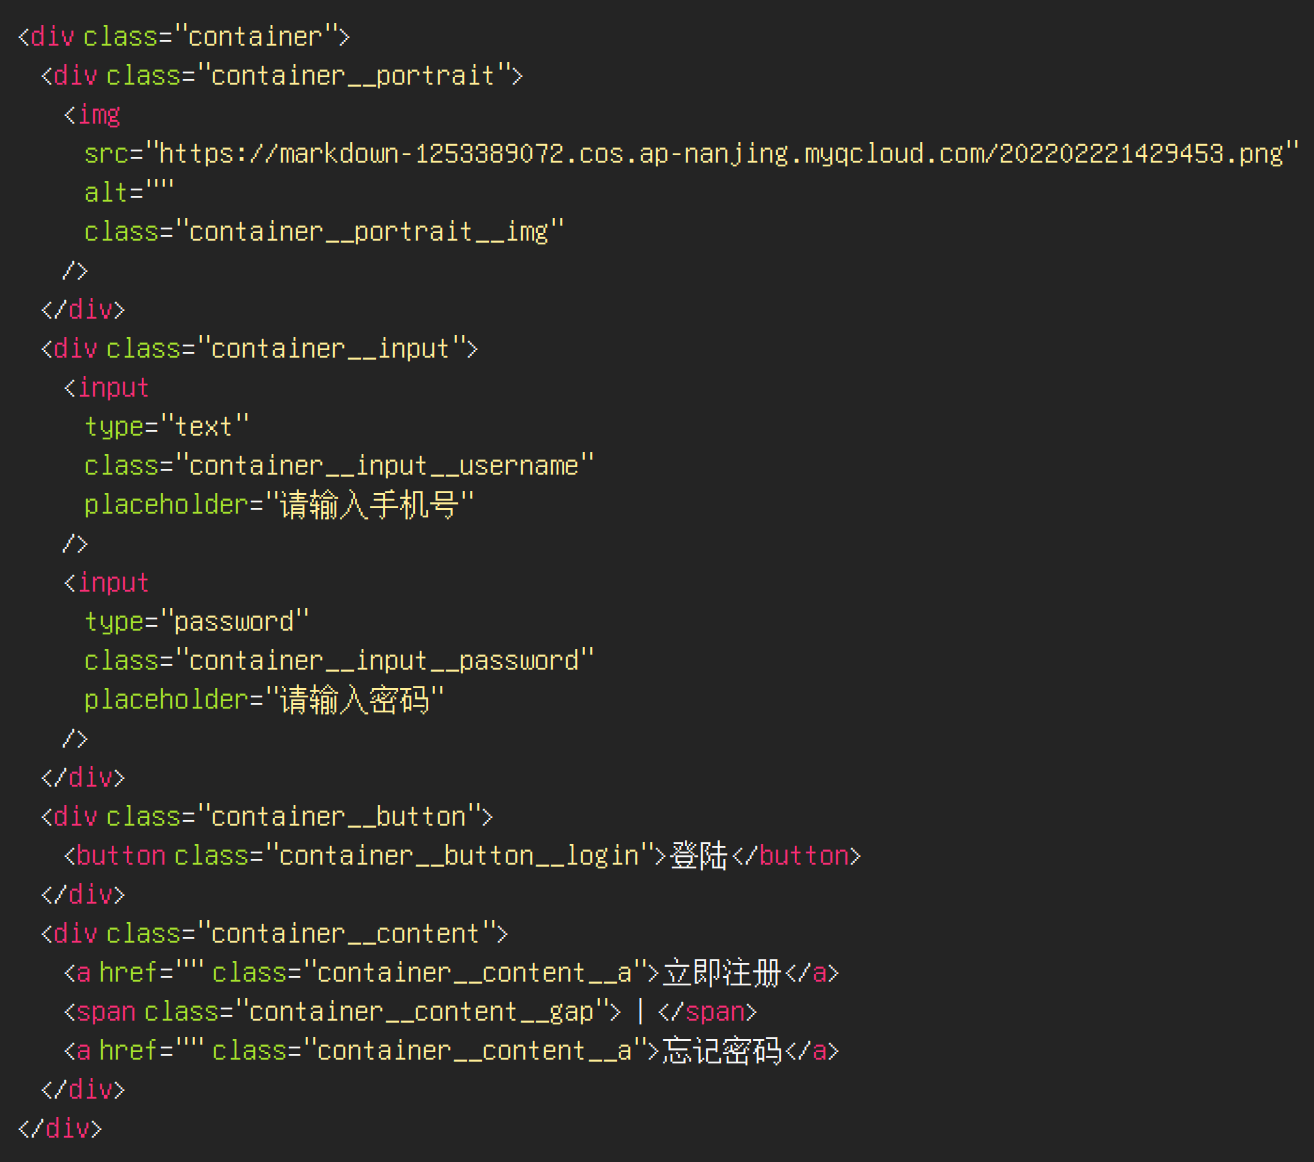
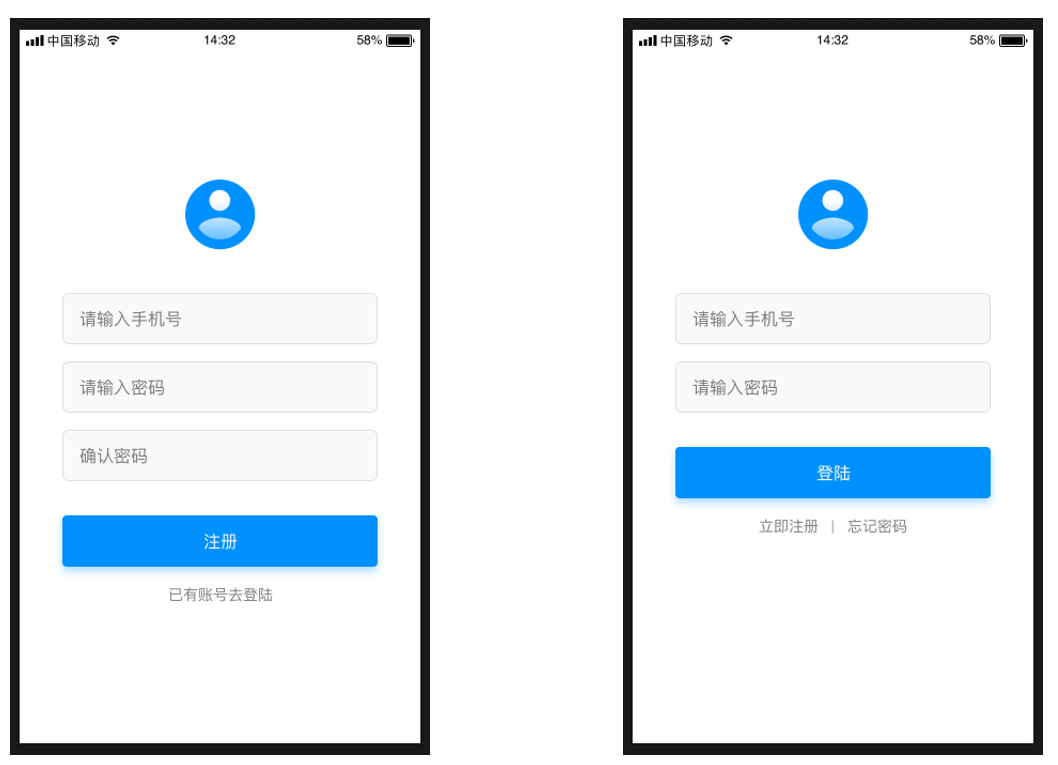
编写 html 代码
图片地址: https://markdown-1253389072.cos.ap-nanjing.myqcloud.com/202202221429453.png
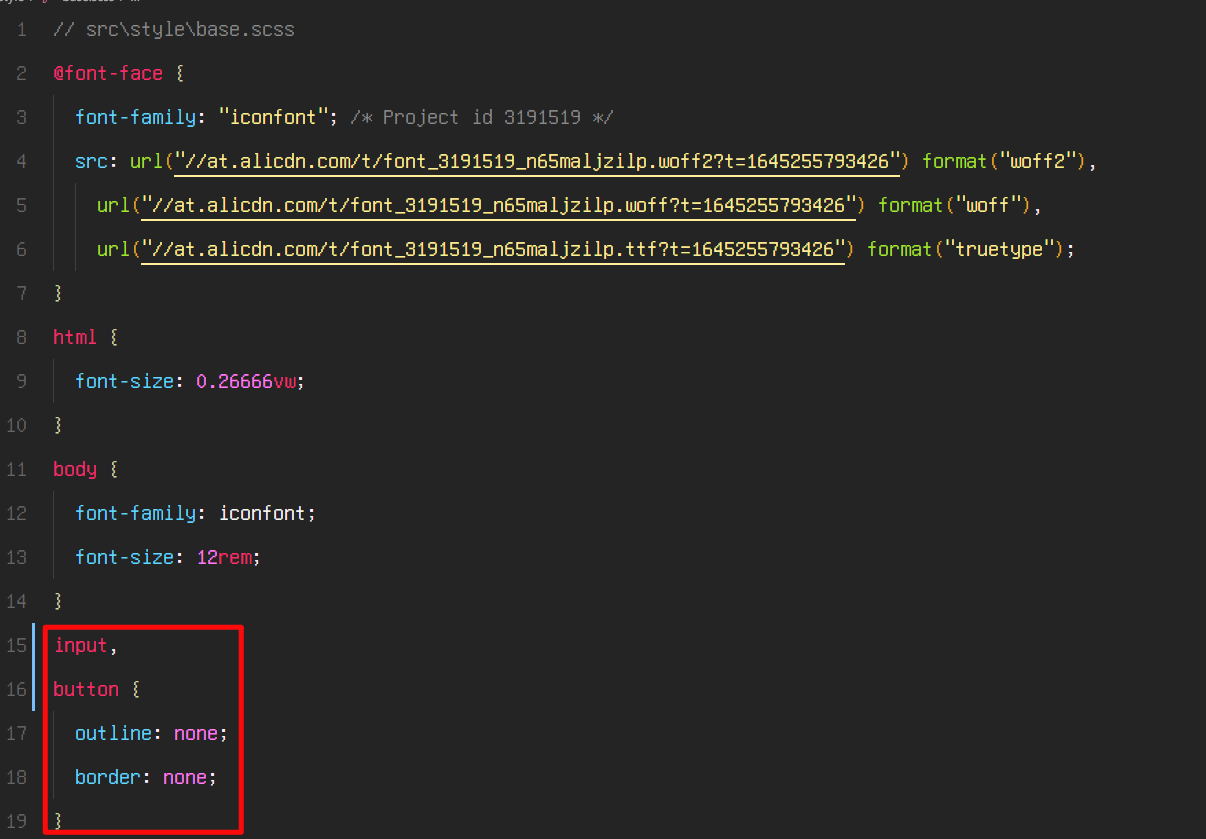
接下来编写 css

button 去除边框和轮廓的代码可以和 input 放在一起
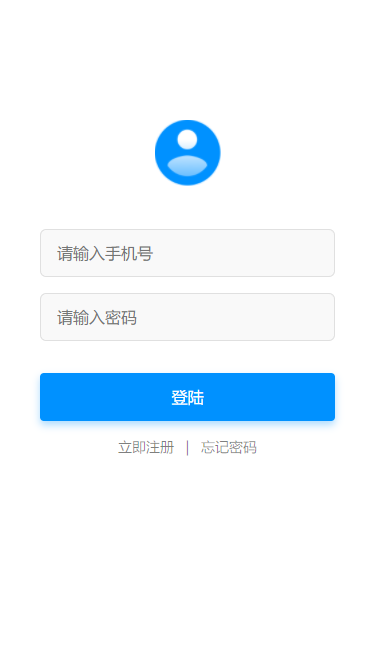
最终效果
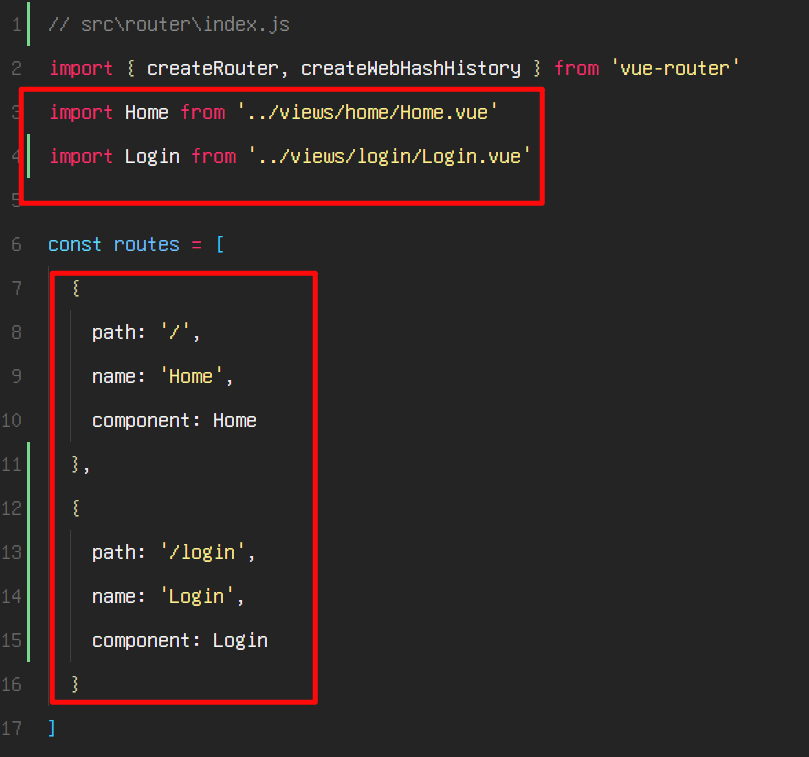
路由设置
配置一下路由, 让
http://localhost:8080/#/跳到首页, 让http://localhost:8080/#/login跳到登录页
需要修改
src\App.vue
<template>
	<router-view></router-view>
</template>

<script>
export default {
	name: "App",
};
</script>
登录校验
逻辑如下:
如果没有登录, 访问首页或者其他任何页面, 都会跳到登录页
如果已经登录, 访问登录页面会跳到首页
点击登录按钮, 登录成功, 自动跳转到首页
我们可以使用
localStorage.isLogin来存储登录状态首先修改
src\router\index.js
// to 跳到哪里去
// from 从哪里跳过来
// next 继续执行
router.beforeEach((to, from, next) => {

	console.log(to, from);
	next();
});
export default router;
next 的用法
next({name:'Login'})跳转到 Login 路由我们可以做如下判断
// src\router\index.js
// to 跳到哪里去
// from 从哪里跳过来
// next 继续执行
router.beforeEach((to, from, next) => {

	if (localStorage.isLogin === "true" || to.name === "Login") {

		next();
	} else {

		next({
    name: "Login" });
	}
});
export default router;
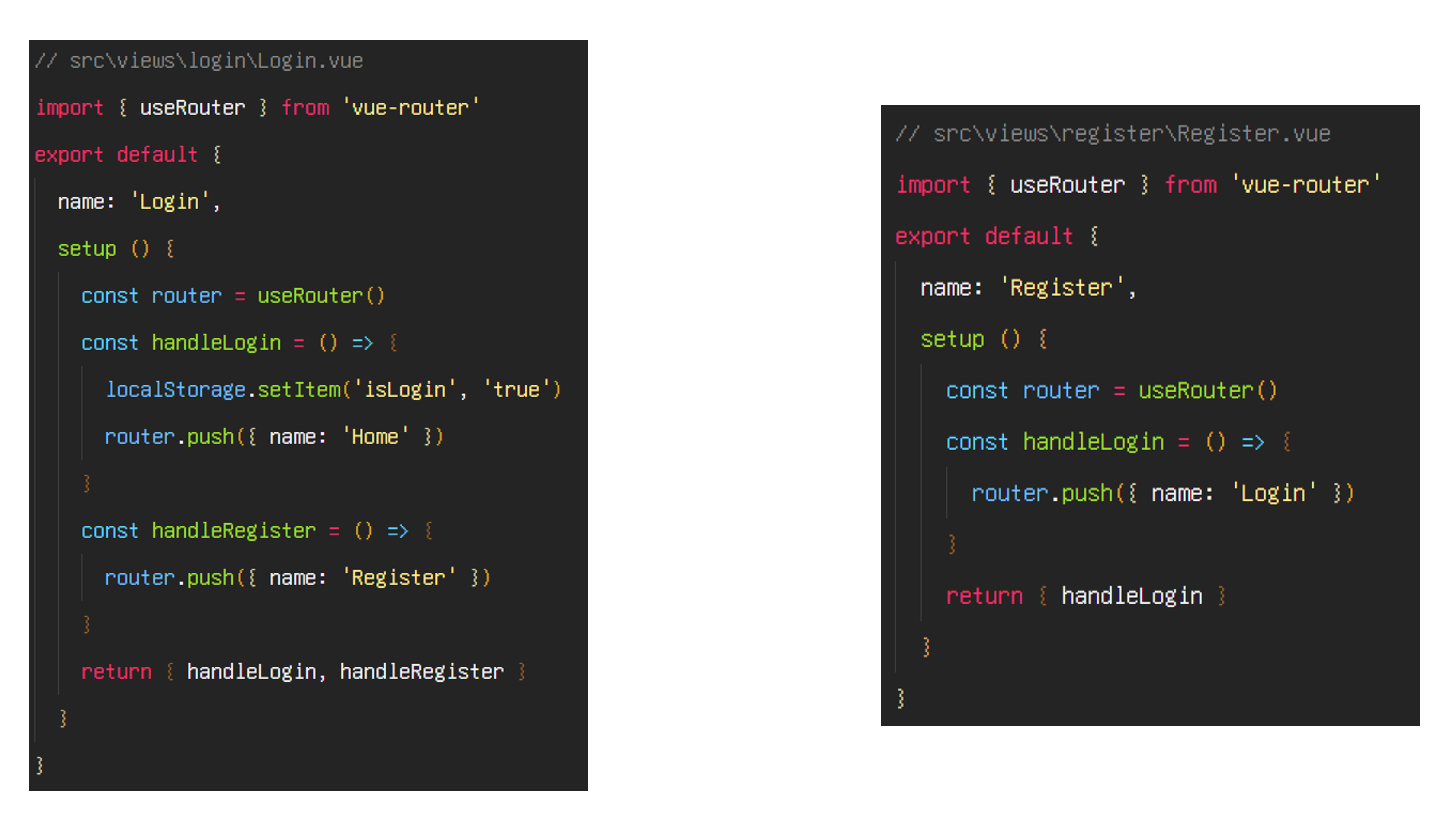
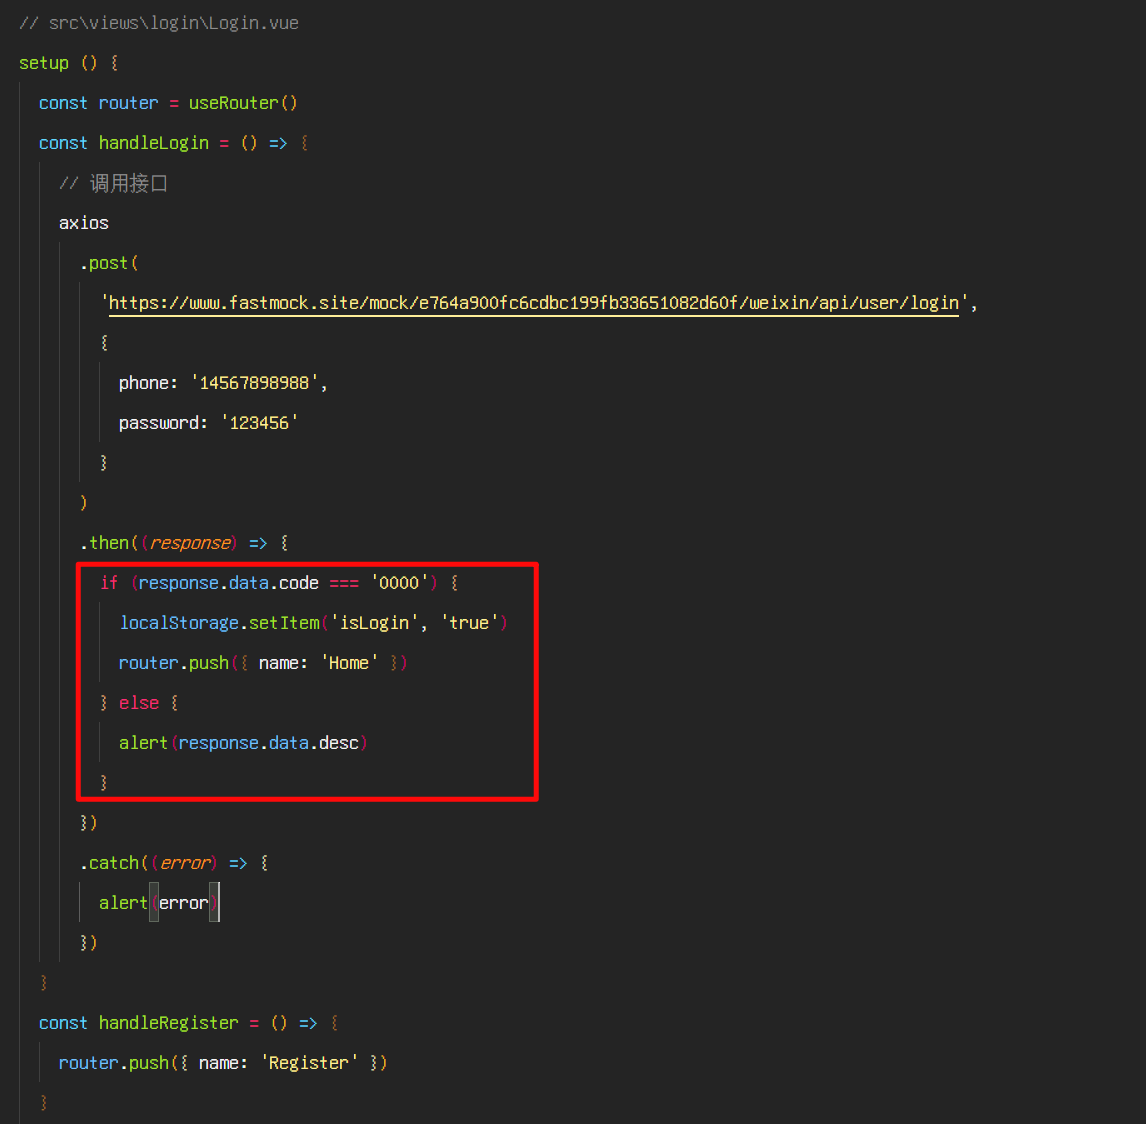
点击登录, 保存登录状态, 跳到首页, 页面跳转可以使用
router.push
// src\views\login\Login.vue
import {
    useRouter } from "vue-router";
export default {

	name: "Login",
	setup() {

		const router = useRouter();
		const handleLogin = () => {

			localStorage.setItem("isLogin", "true");
			router.push({
    name: "Home" });
		};
		return {
    handleLogin };
	},
};
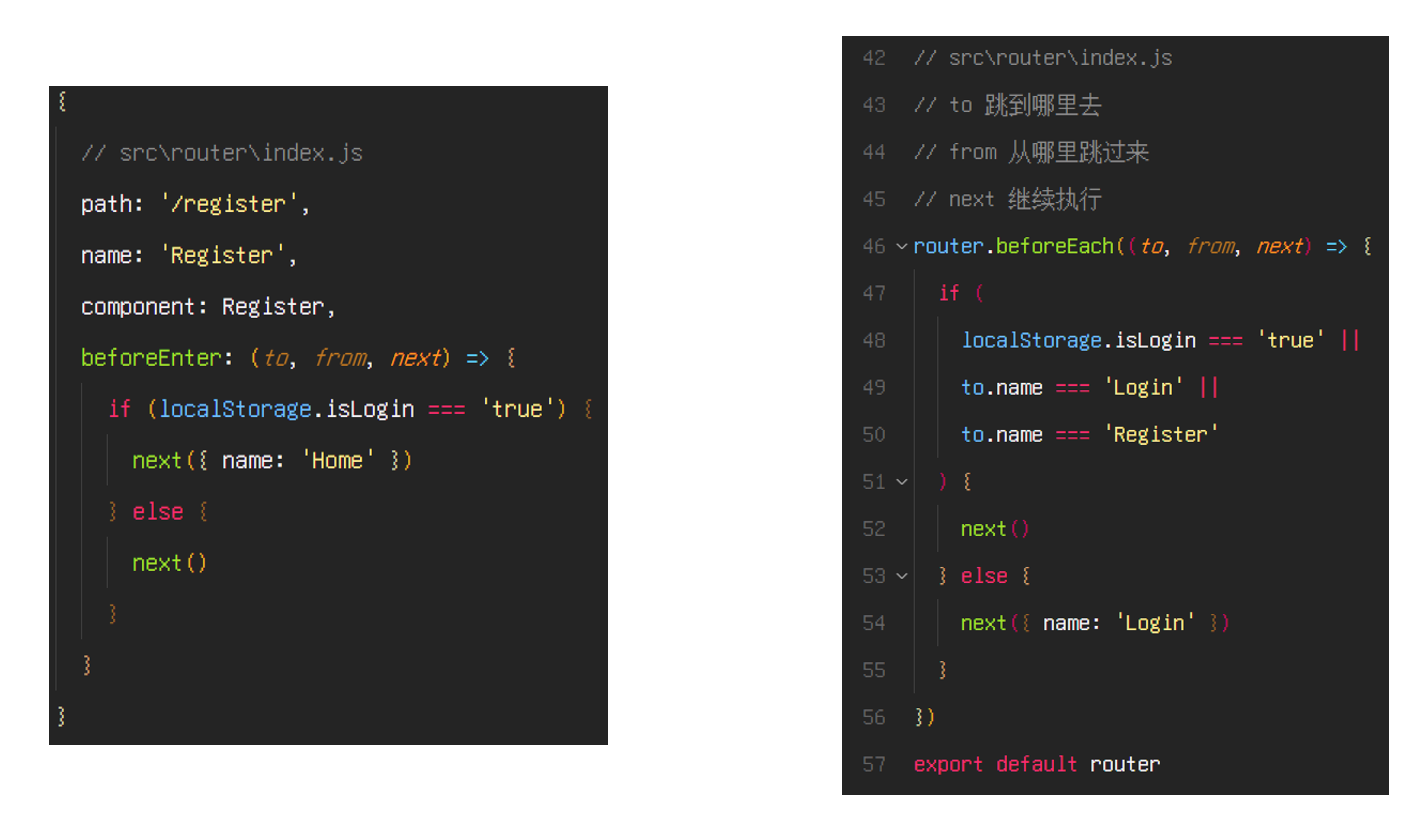
如果已经登录, 访问登录页面的时候, 应该跳回到首页
const routes = [
	{

		path: "/",
		name: "Home",
		component: Home,
	},
	{

		path: "/login",
		name: "Login",
		component: Login,
		// src\router\index.js
		// 访问login页面之前执行
		beforeEnter: (to, from, next) => {

			if (localStorage.isLogin === "true") {

				next({
    name: "Home" });
			} else {

				next();
			}
		},
	},
];
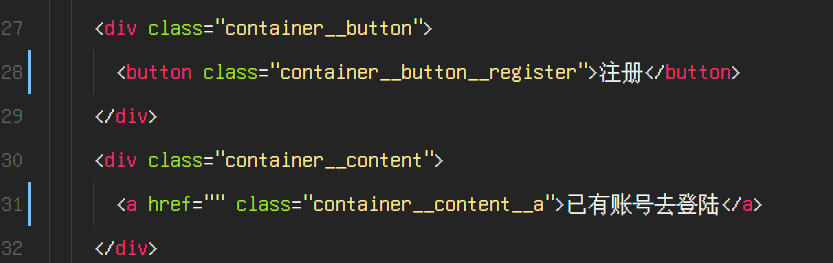
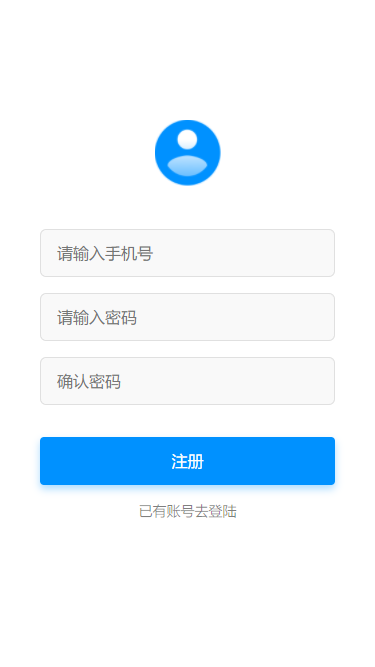
注册页面
注册页面和登录页面很像, 我们可以复制代码, 稍作修改
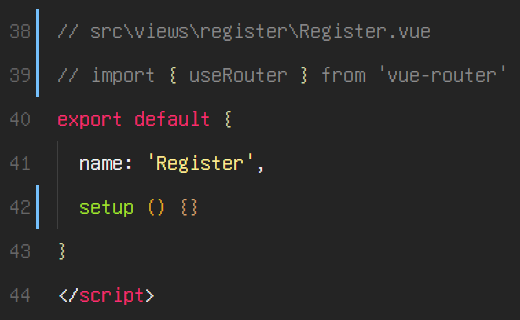
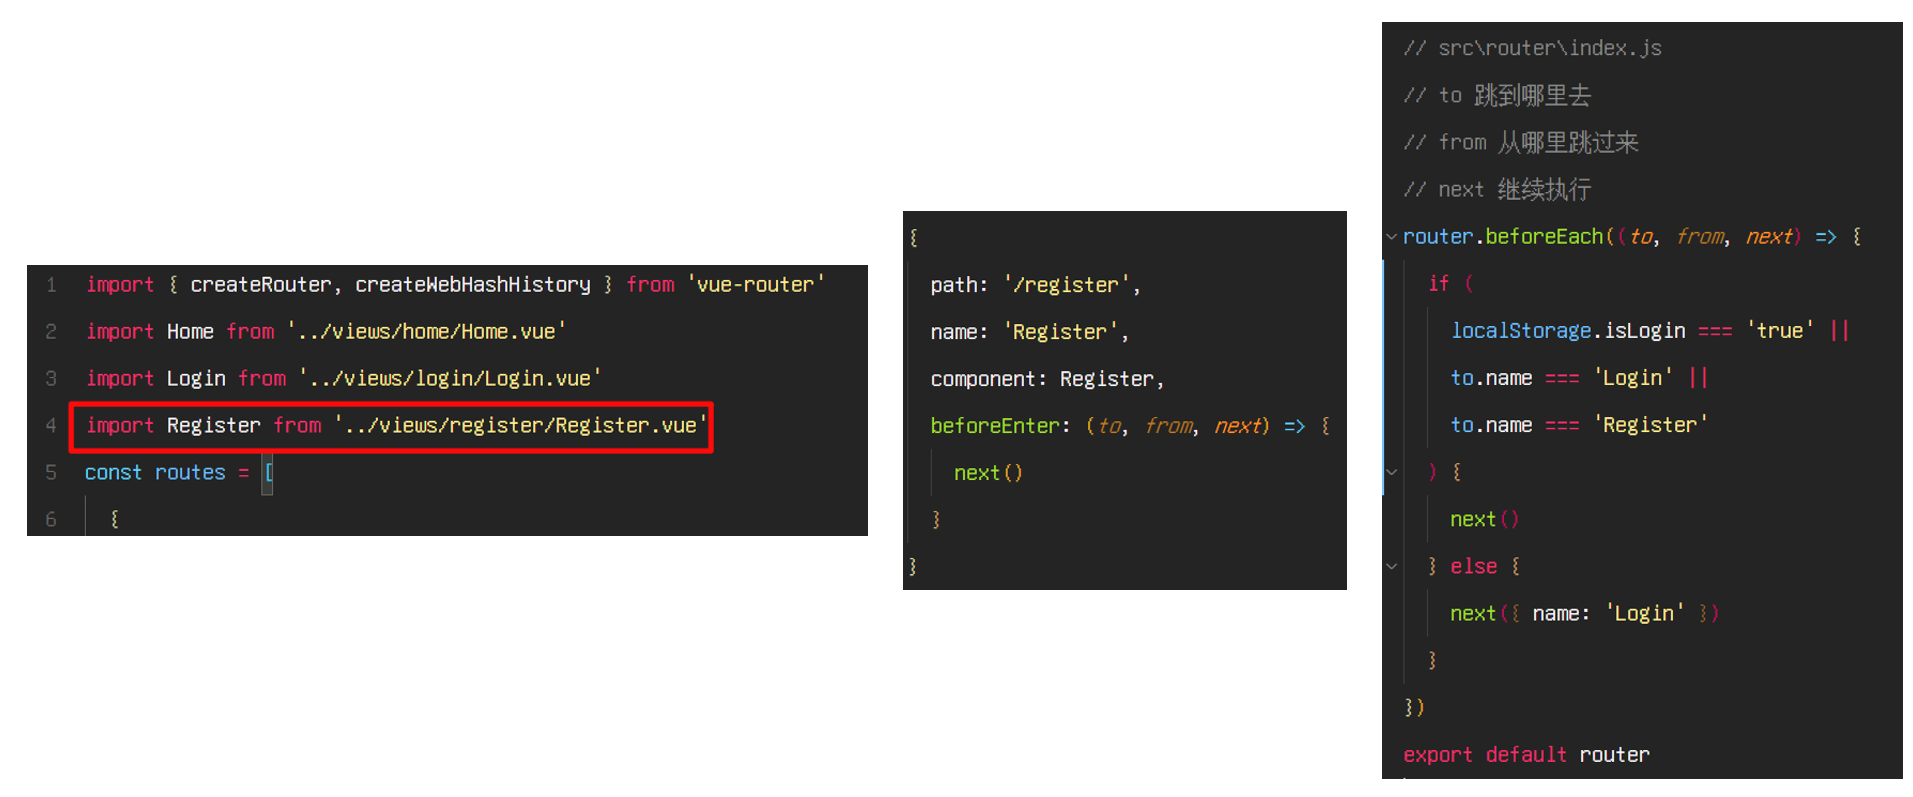
我们需要配置路由
这样我们就可以调效果了
登录注册的跳转逻辑
- 如果已经登录, 跳到注册页面会跳回首页
- 如果没有登录, 可以正常跳转到注册页
- 登录页可以跳转到注册页
- 注册页可以跳转到登录页
注意设置 a 标签的跳转路径
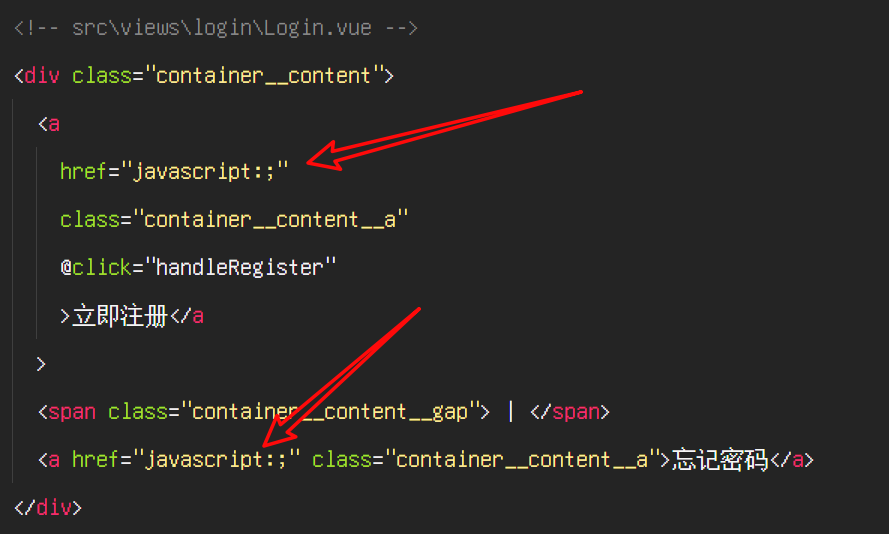

修改 vue 文件
调用后台接口实现登录功能
我们需要接口的时候, 可能后台还没有把接口写好, 这个时候, 后台往往会借助 mock 平台, 做一个假的接口给我们, 让我们能够正常书写 ajax 的逻辑
所谓假的接口, 只是说没有内部验证逻辑, 接口地址是最终的地址不会变
到最后, 我们把 mock 平台的域名改成自己项目的域名即可
比较好用的 mock 平台 https://www.fastmock.site
之前因为有用户做的接口涉嫌诈骗, 网站被关停了一段时间, 现已恢复
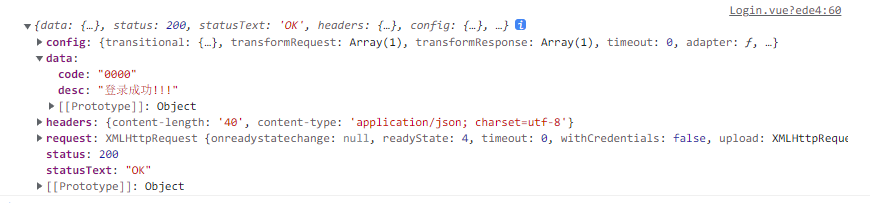
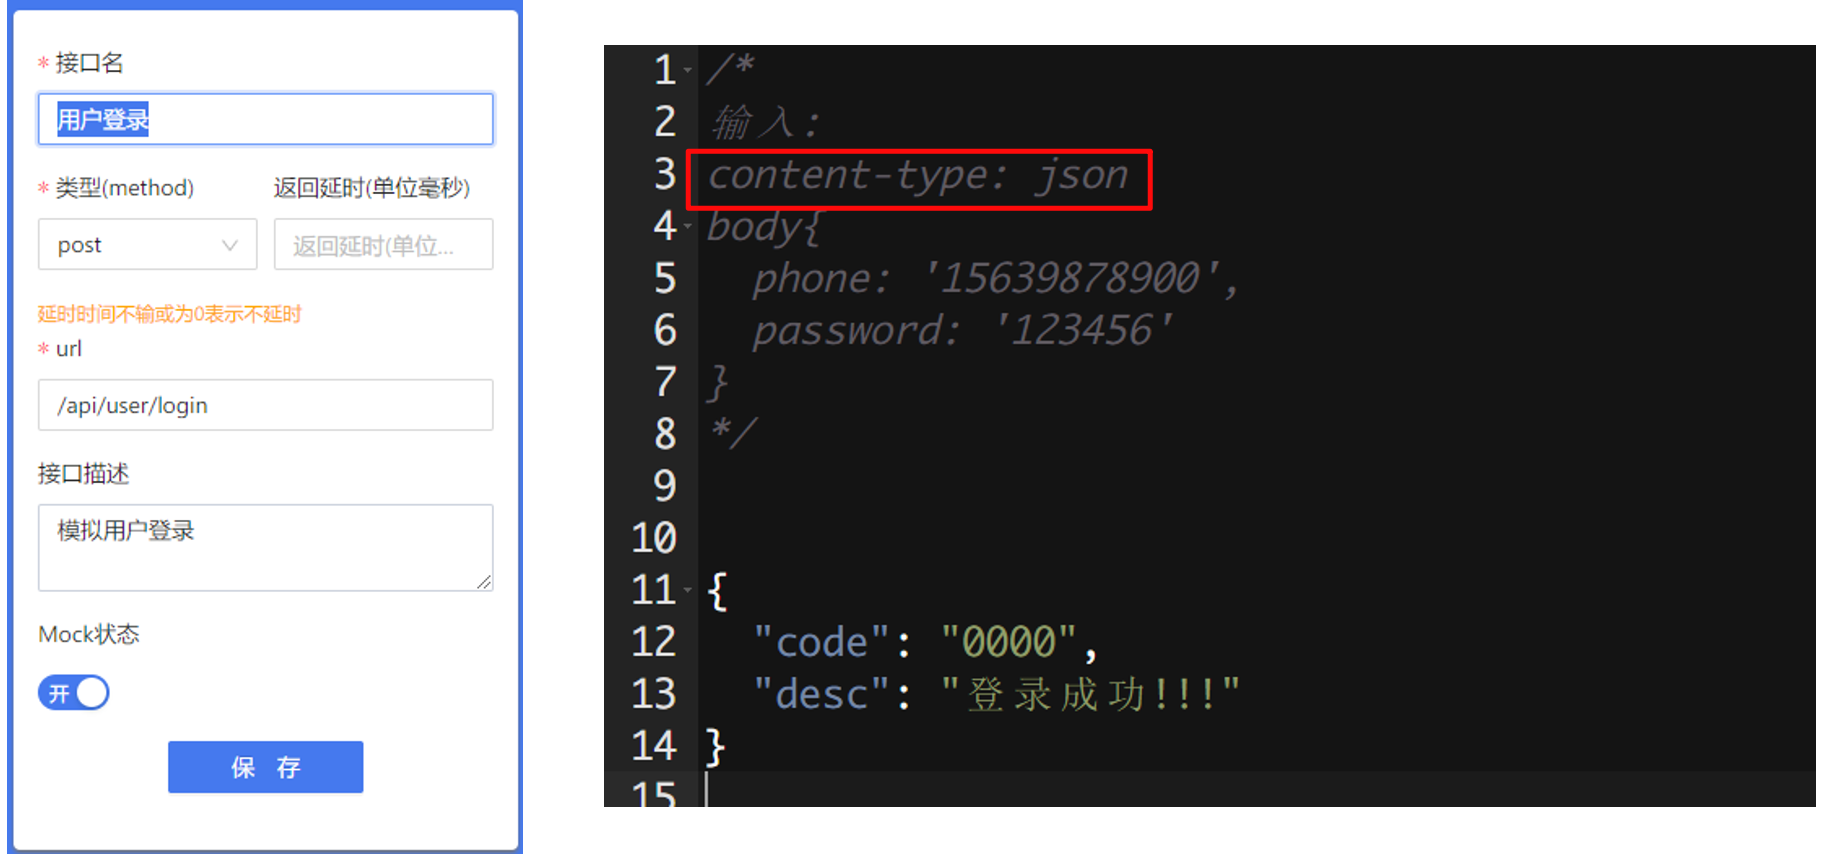
接下来我们创建一个用户登录的接口
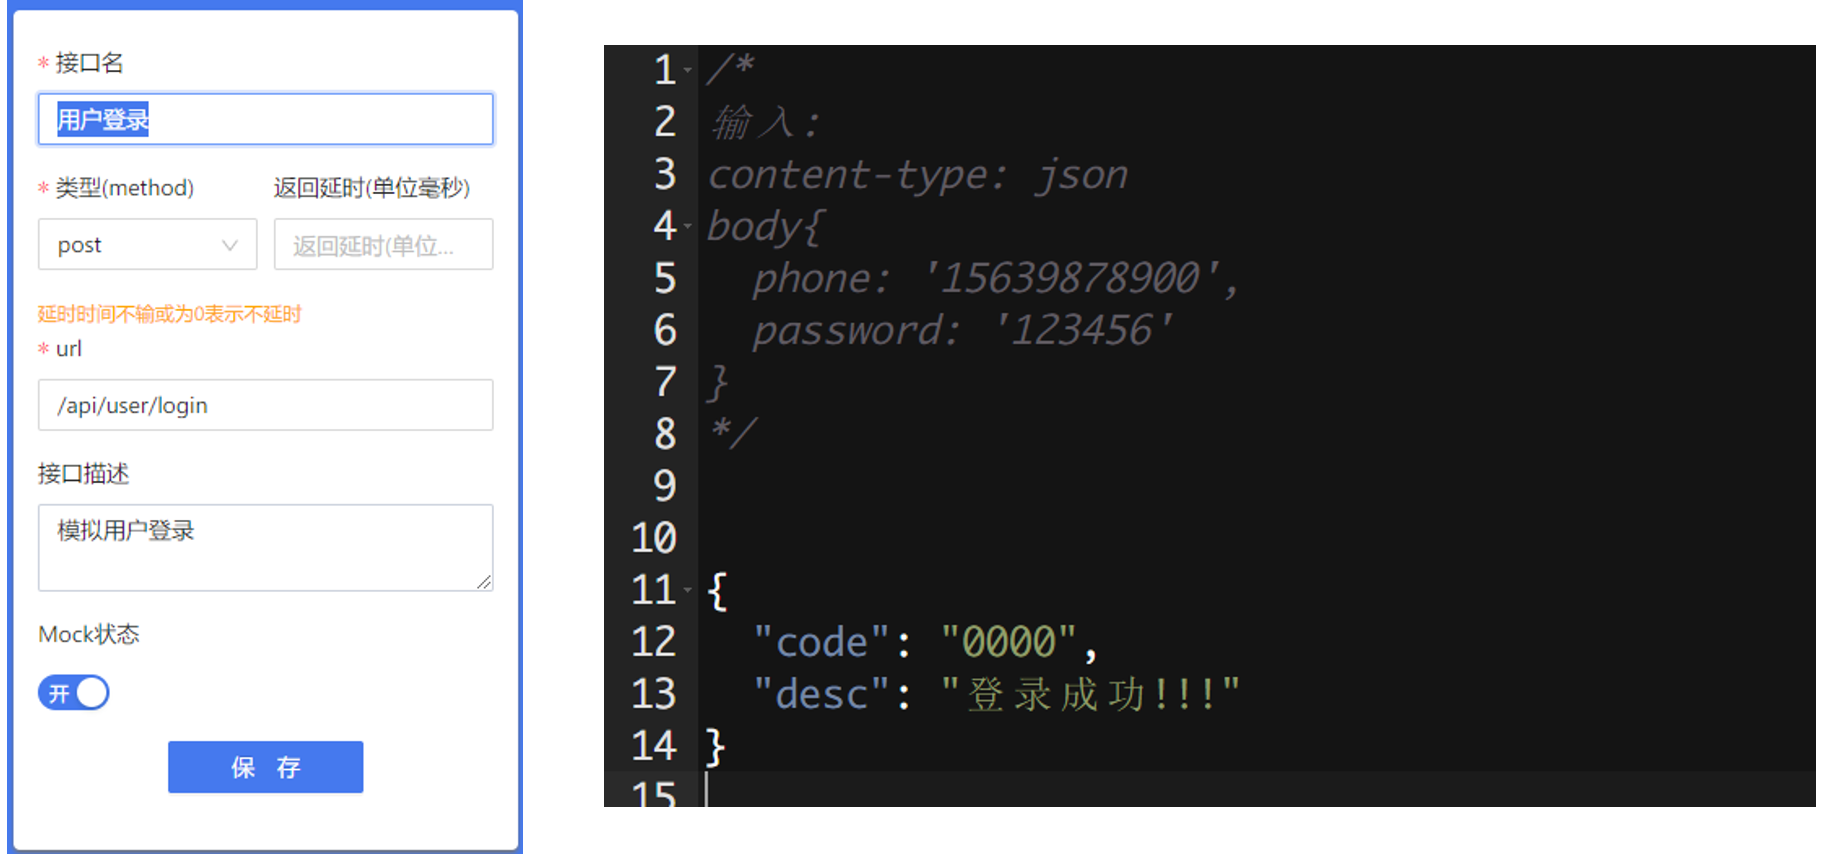
/*
输入:
content-type: json
body{
  phone: '15639878900',
  password: '123456'
}
*/

{

	"code": "0000",
	"desc": "登录成功!!!"
}
调用 ajax, 我们需要 axios, 运行如下命令安装
npm install axios
安装完检查一下 package.json
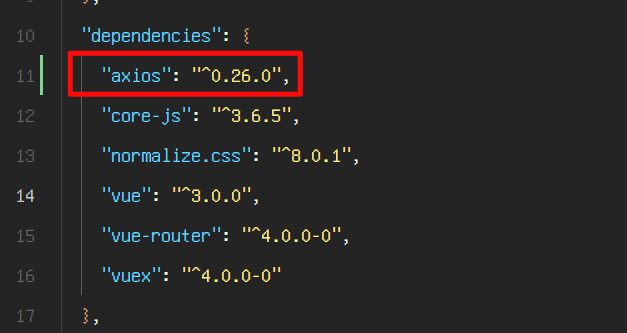
说明安装成功, 可以编写 ajax 代码了
文档地址: http://www.axios-js.com/zh-cn/docs/
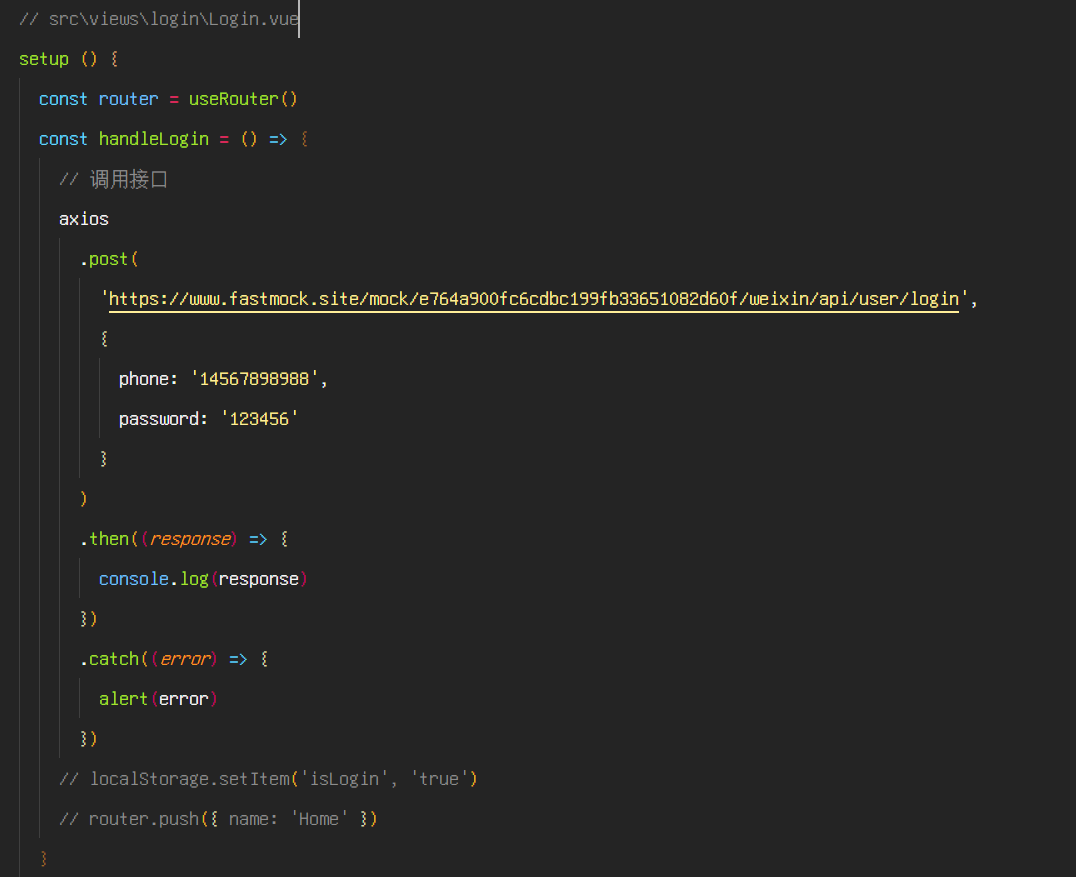
输出测试后, 可以得到结果, 继续编写后面的逻辑
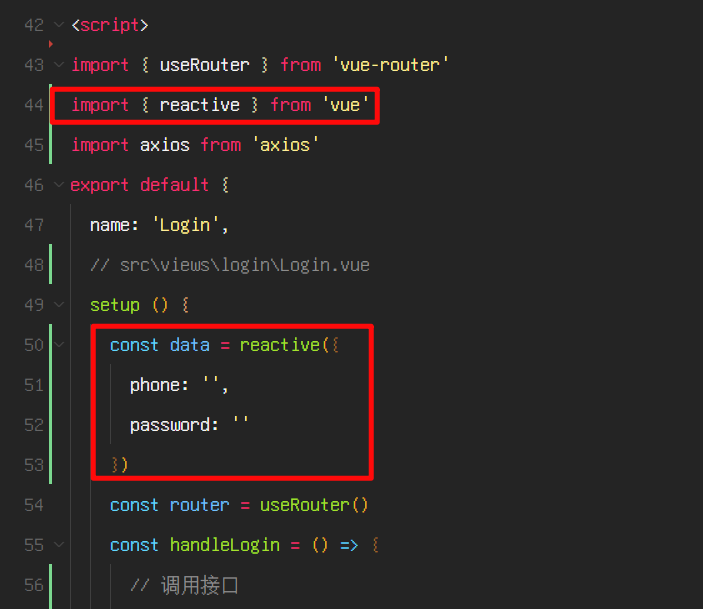
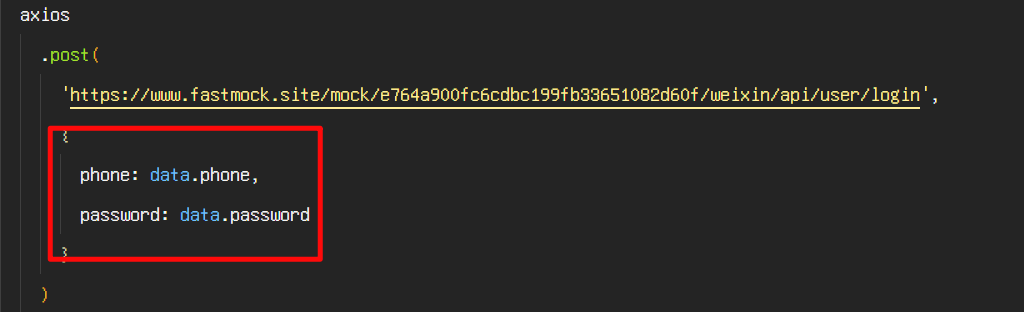
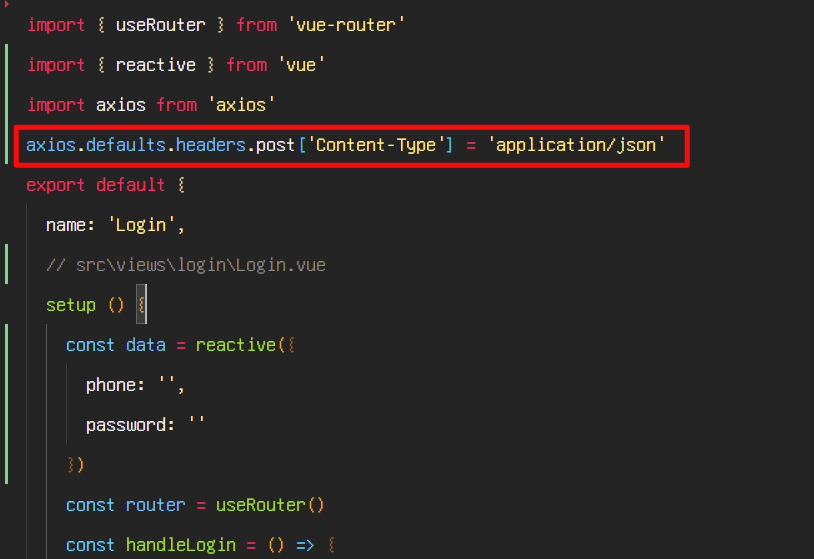
现在的数据是写死的, 我们需要获取 input 框的数据, 传给接口
src\views\login\Login.vue
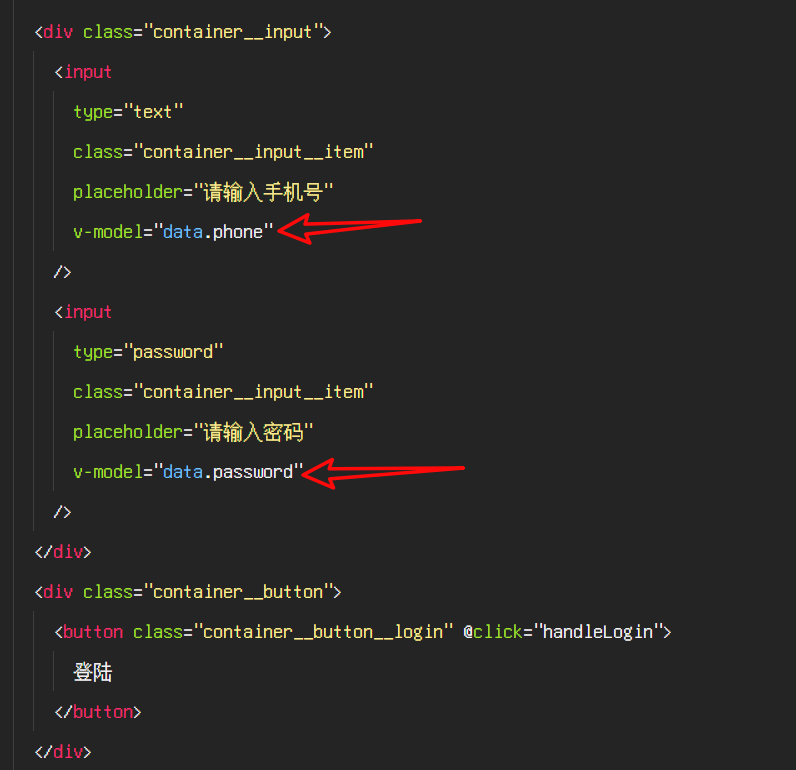
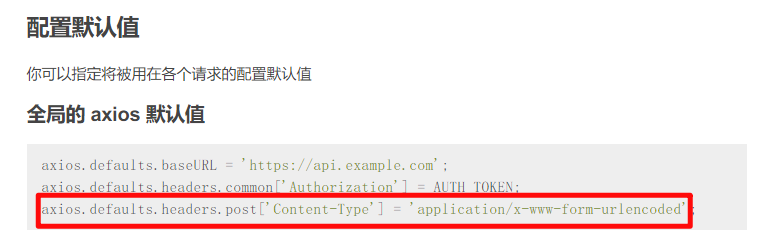
另外, 接口文档上说, 需要
content-type:json
async 和 await 的用法
async 是一个修饰符,被它定义的函数会默认的返回一个 Promise 的 resolve 的值。
因此对 async 函数可以直接进行 then 操作,返回的值即为 then() 方法的传入函数。
async function demo() {
	console.log("a");
	return 123;
}
demo().then((res) => {
	console.log(res);
});
await 同 async 一样,作为修饰符,但是它只能放在 async 内部使用。
它是获取 Promise 中返回的内容, 即这个 Promise 函数中 resolve 或者 reject 的值。
所以,async 用于声明一个 function 是异步的,而 await 用于等待一个异步方法执行完成
const myFun = function () {
	return "test";
};

async function myFun2() {
	const a = await 1;
	const b = await new Promise((resolve, reject) => {
		setTimeout(() => {
			resolve("wait");
		}, 3000);
	});
	const c = await myFun();
	console.log(a, b, c);
}

myFun2();
比如说,等待三个数据结果都返回,计算它们的和
function doubleAfter2seconds(num) {
	return new Promise((resolve, reject) => {
		setTimeout(() => {
			resolve(2 * num);
		}, 1000);
	});
}
async function testResult() {
	let first = await doubleAfter2seconds(1);
	let second = await doubleAfter2seconds(2);
	let third = await doubleAfter2seconds(3);
	console.log(first + second + third);
}
testResult();
封装请求函数
我们可以对 axios 请求数据的代码进行一个封装
首先使用 await 和 try catch, 改变一下代码
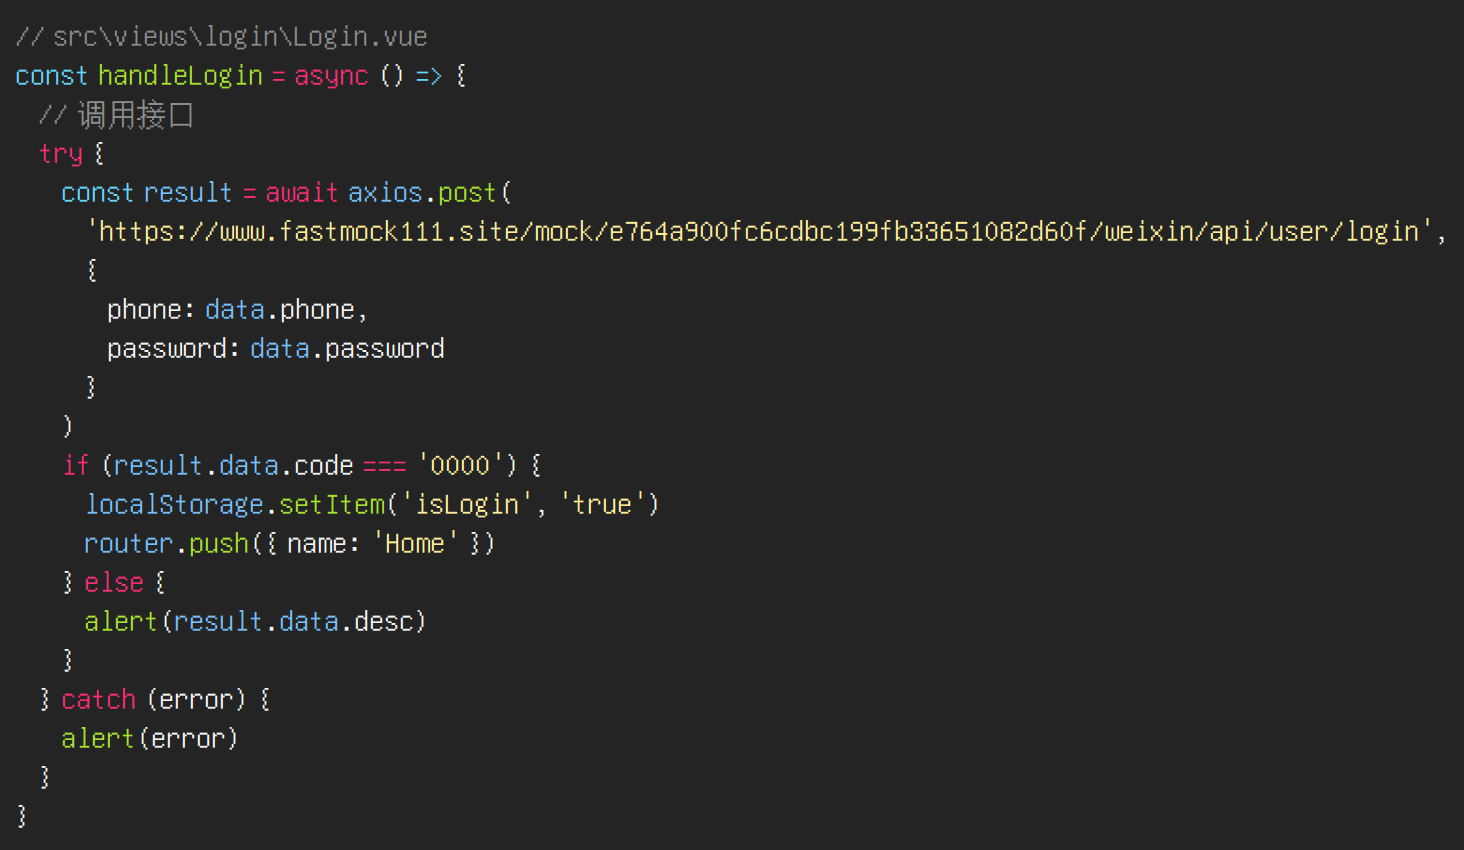
try catch 用来捕获异常, 如果 try 里面的代码存在异常, 就会执行 catch 里面的代码
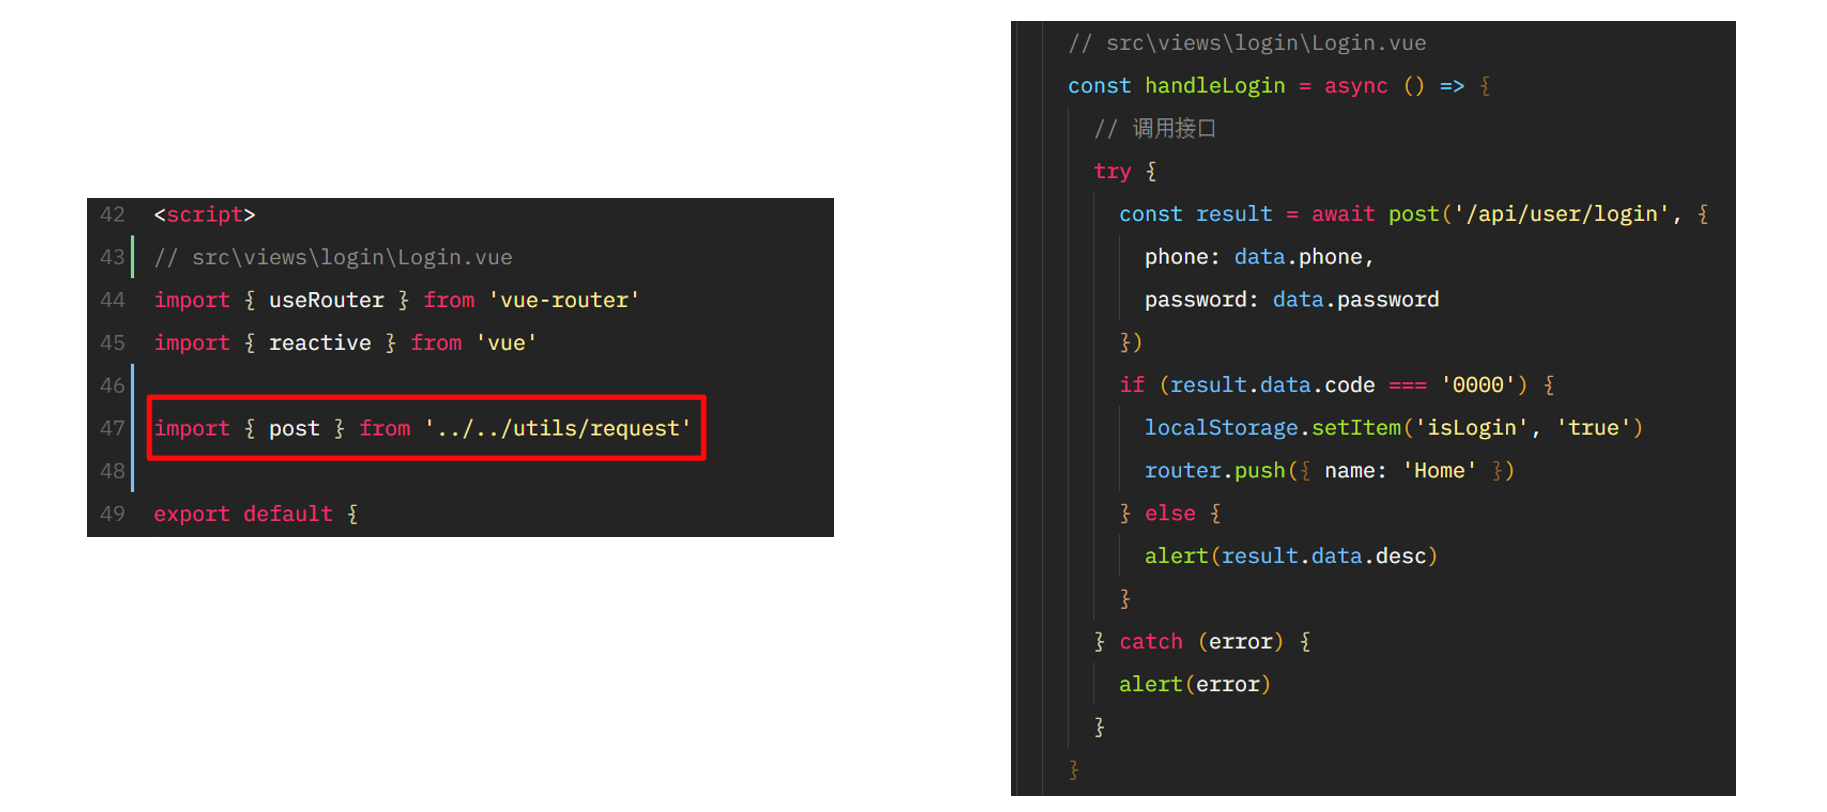
接下来新建
src\utils\request.js, 我们对请求进行封装
// src\utils\request.js
import axios from "axios";
axios.defaults.headers.post["Content-Type"] = "application/json";
axios.defaults.baseURL = "https://www.fastmock111.site/mock/e764a900fc6cdbc199fb33651082d60f/weixin";
const post = (url, data = {
    }) => {

	return new Promise((resolve, reject) => {

		axios.post(url, data).then(
			(response) => {

				resolve(response);
			},
			(error) => {

				reject(error);
			}
		);
	});
};
export {
    post };
在
src\views\login\Login.vue中使用
弹框组件
我们做一个自定义的弹框组件, 来替换掉浏览器默认的弹框
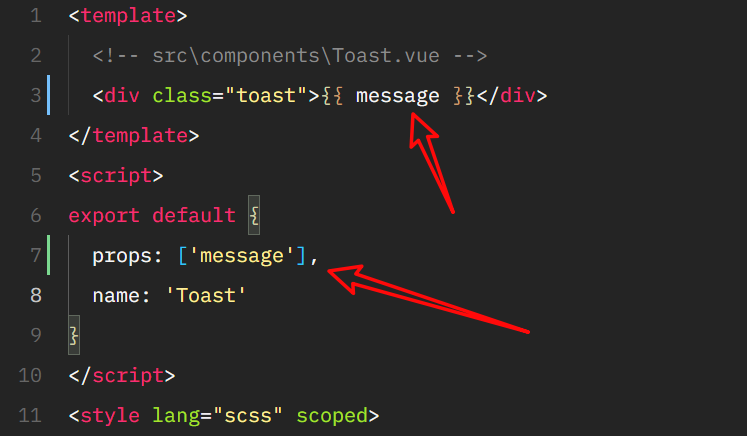
这是一个公共组件
<template>
	<!-- src\components\Toast.vue -->
	<div class="toast">这是弹框</div>
</template>
<script>
export default {
	name: "Toast",
};
</script>
<style lang="scss" scoped></style>
我们给一些样式
.toast {

	position: fixed;
	left: 50%;
	top: 50%;
	transform: translate(-50%, -50%);
	background-color: rgba(0, 0, 0, 0.35);
	padding: 10rem;
	border-radius: 5rem;
	color: #fff;
}
尝试在
src\views\login\Login.vue中使用
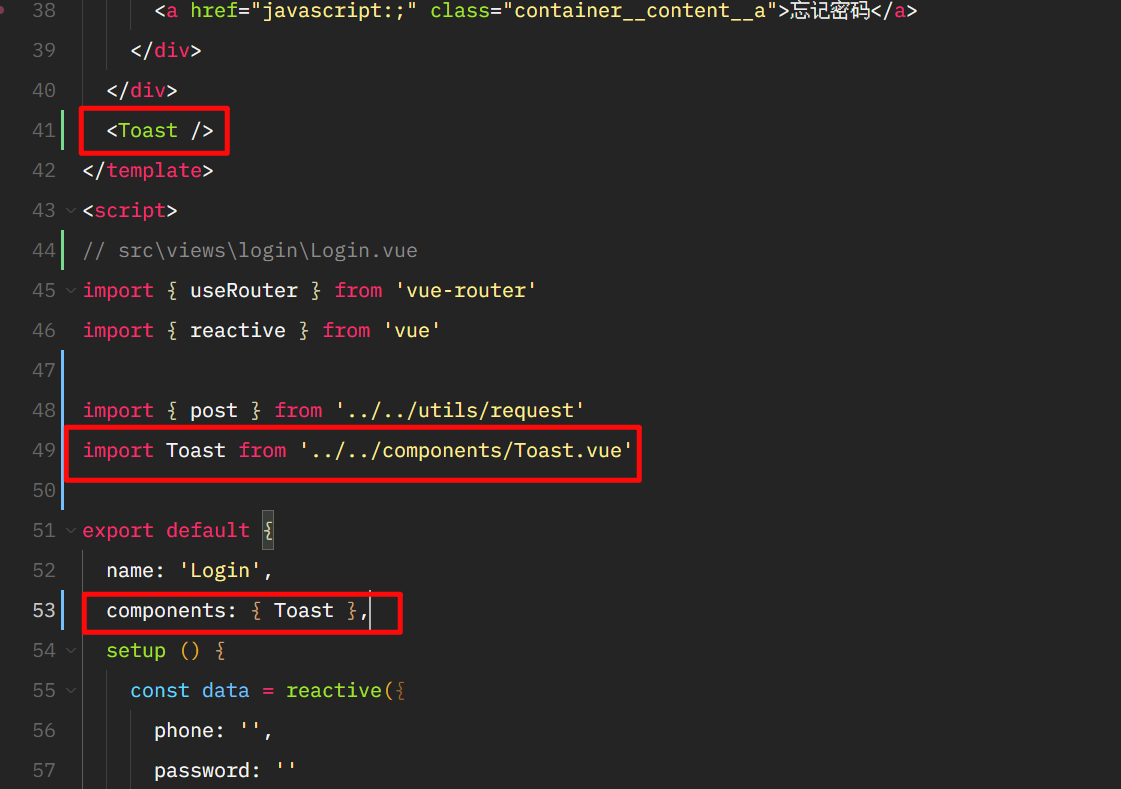

使用 v-if 来控制显示和隐藏

自定义展示的信息

需要在组件里面使用
toastMessage

设置 2 秒之后自动消失
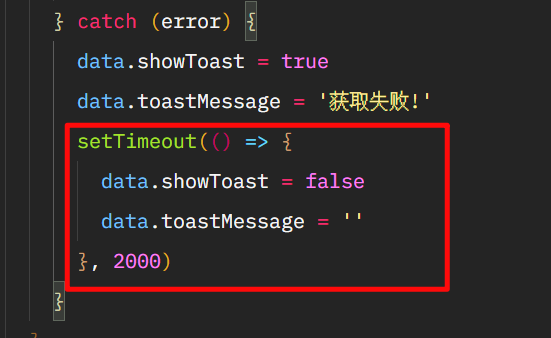
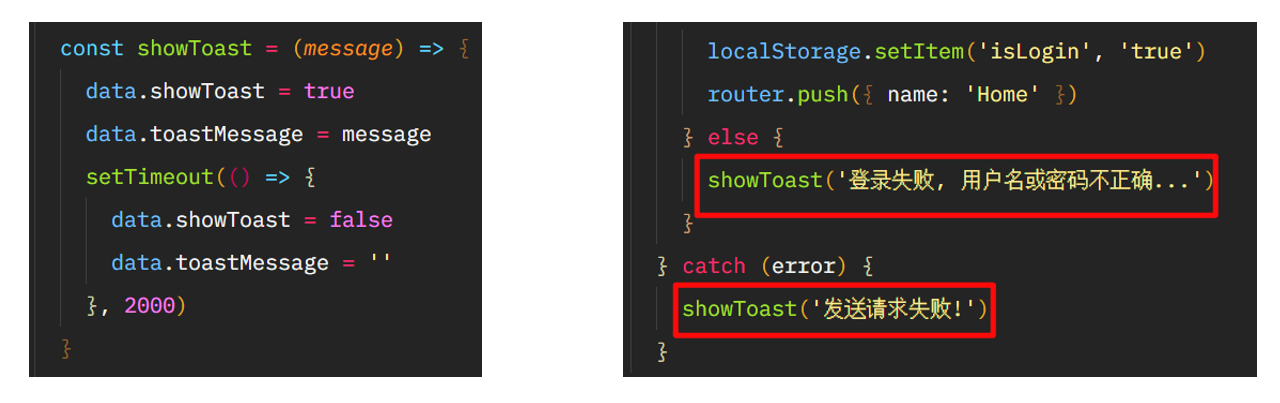
定义 showToast, 对代码进行封装
通过代码拆分增加逻辑可维护性
引用时, 全局的放到上面, 自定义的写在下面
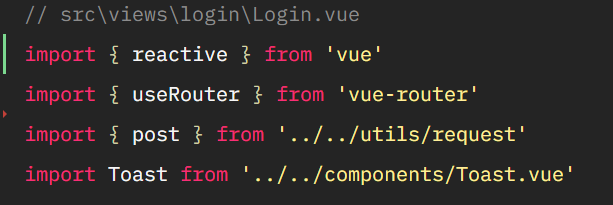
把 showToast 相关的逻辑, 进行拆分
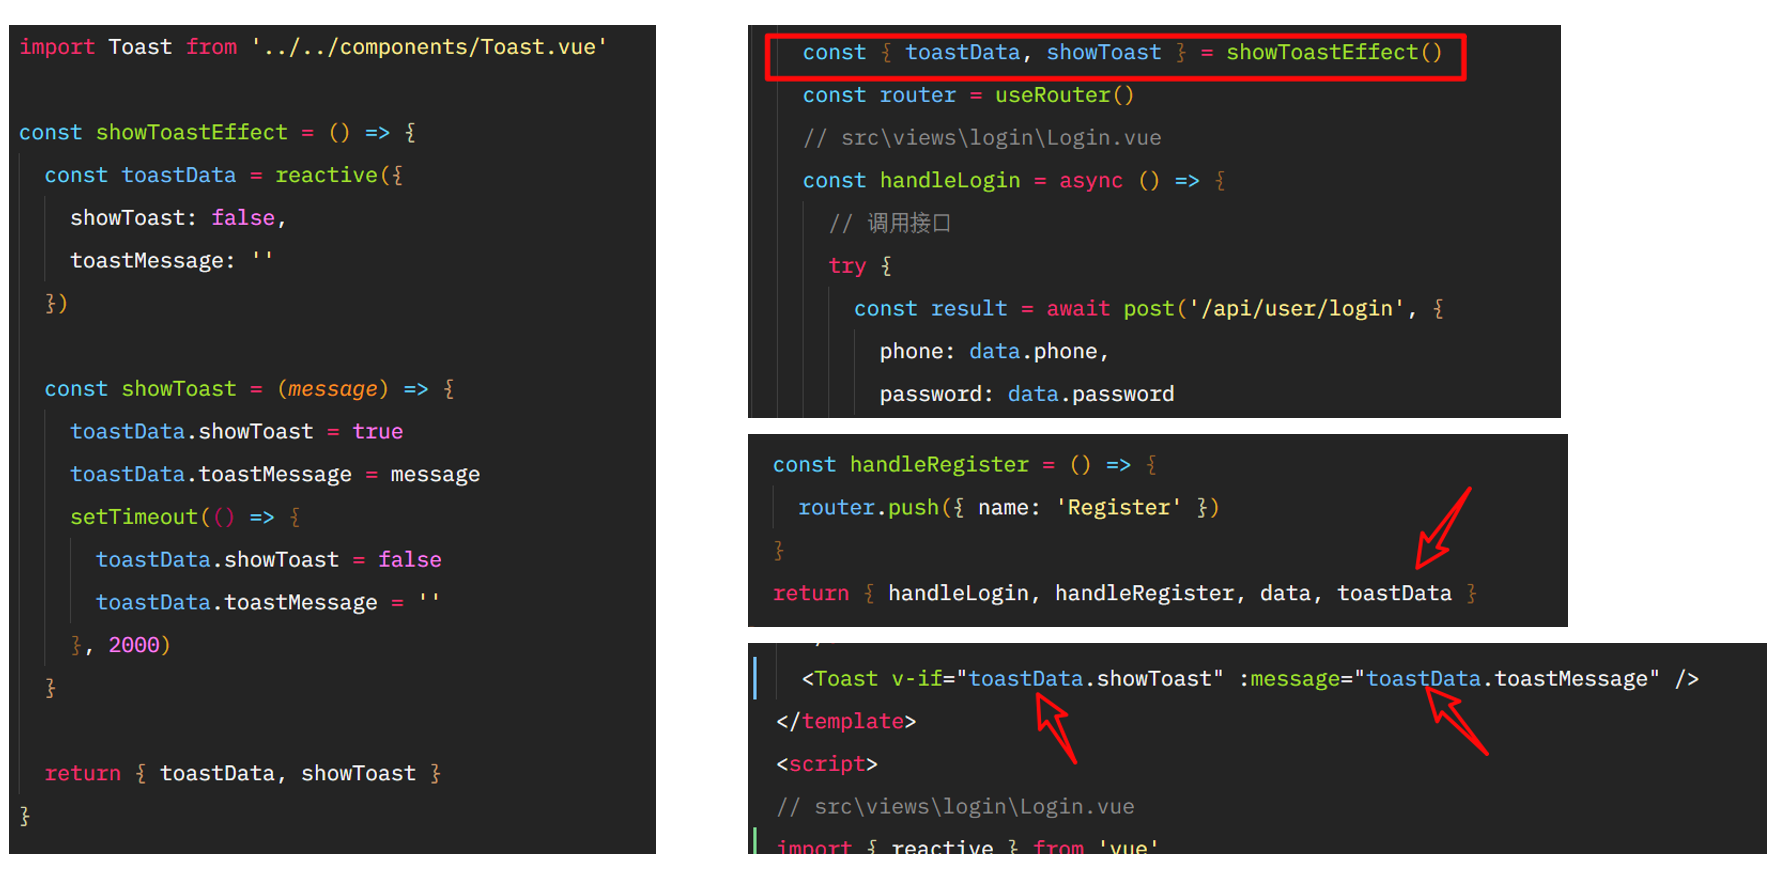
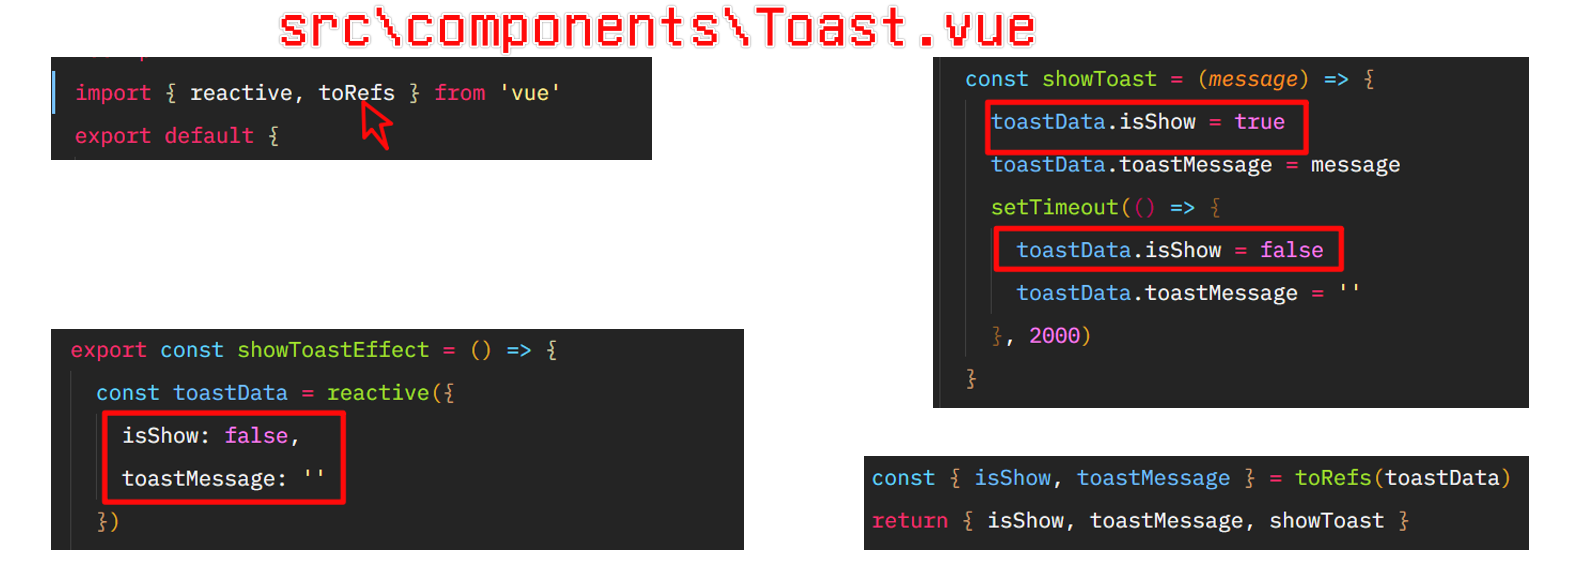
因为弹框的逻辑, 其他页面也要使用, 所以可以把相关的逻辑代码, 放到
src\components\Toast.vue里面去
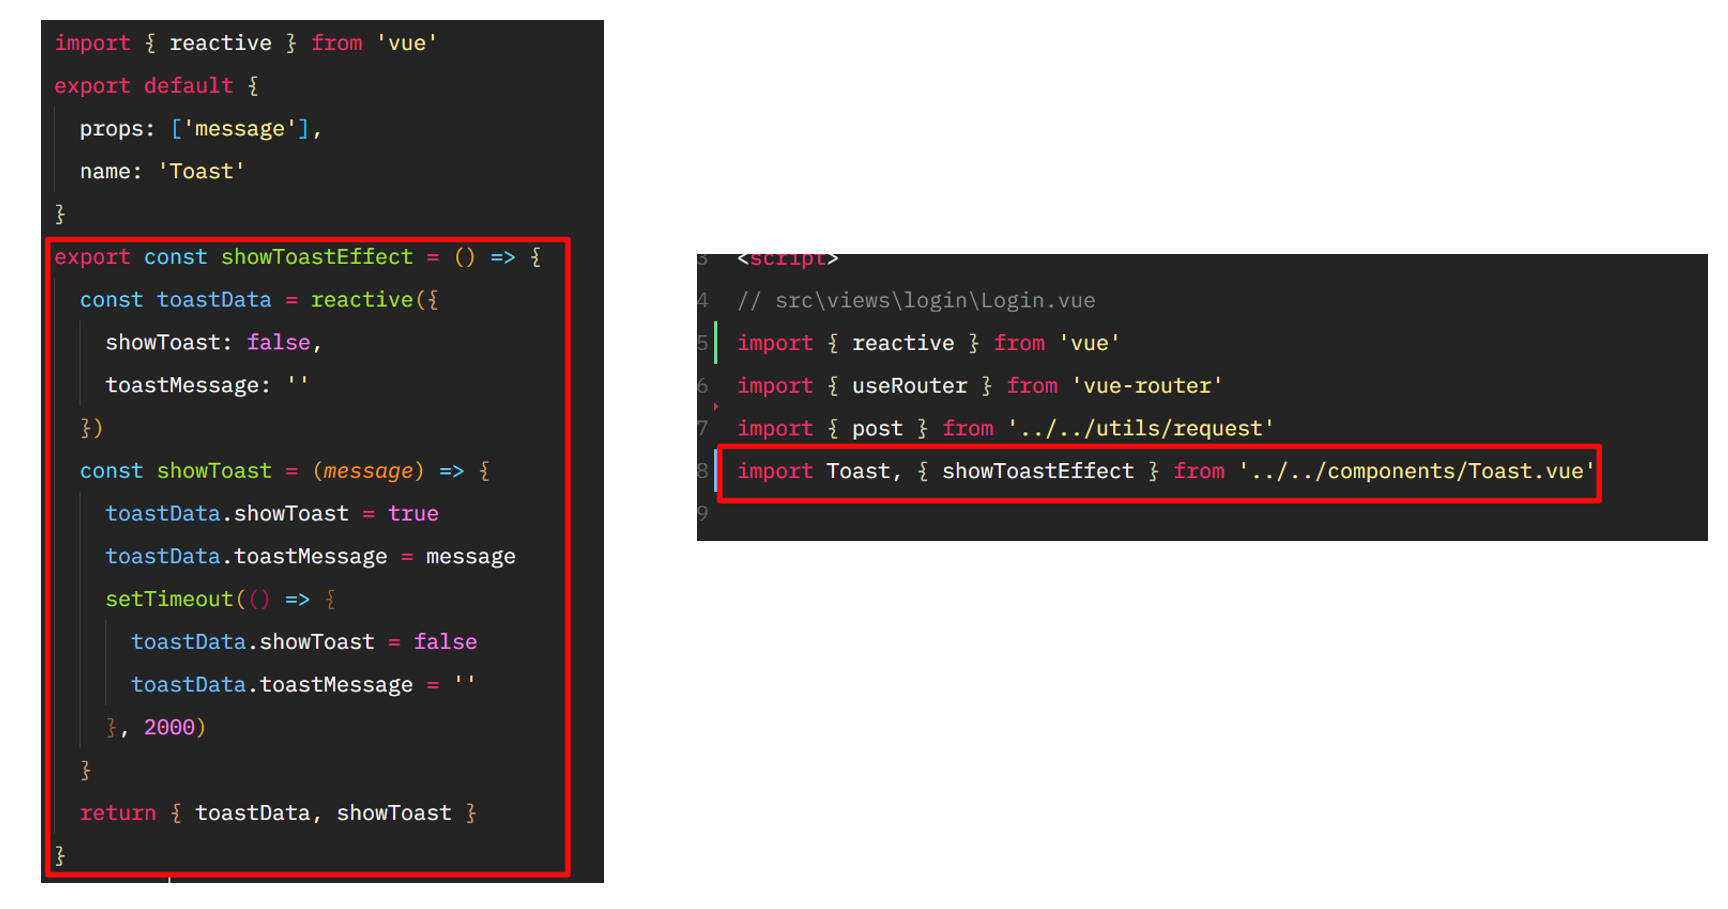
我们可以继续拆分, 尽量做到 setup 中逻辑更加清晰
首先可以把 data 进行一个结构
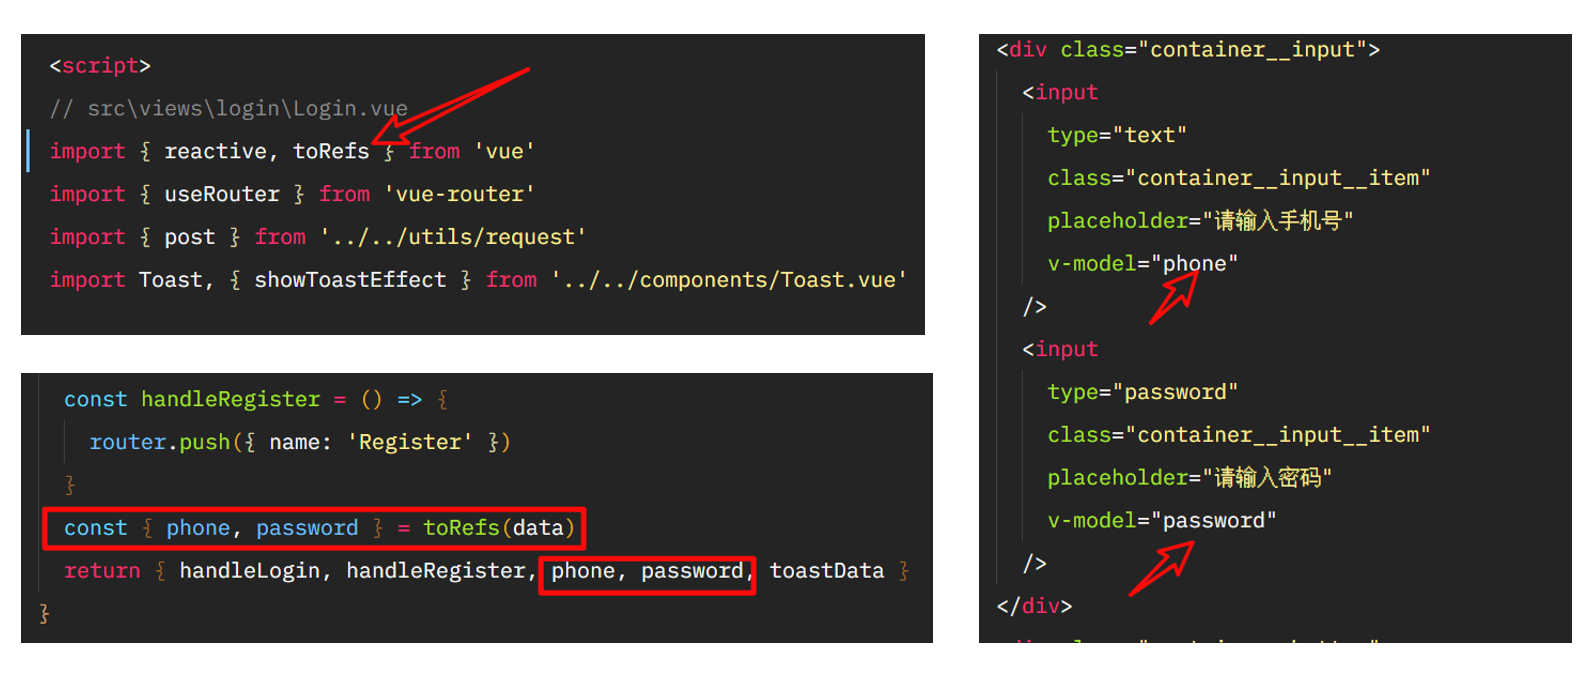
toastData, 也可以进行解构
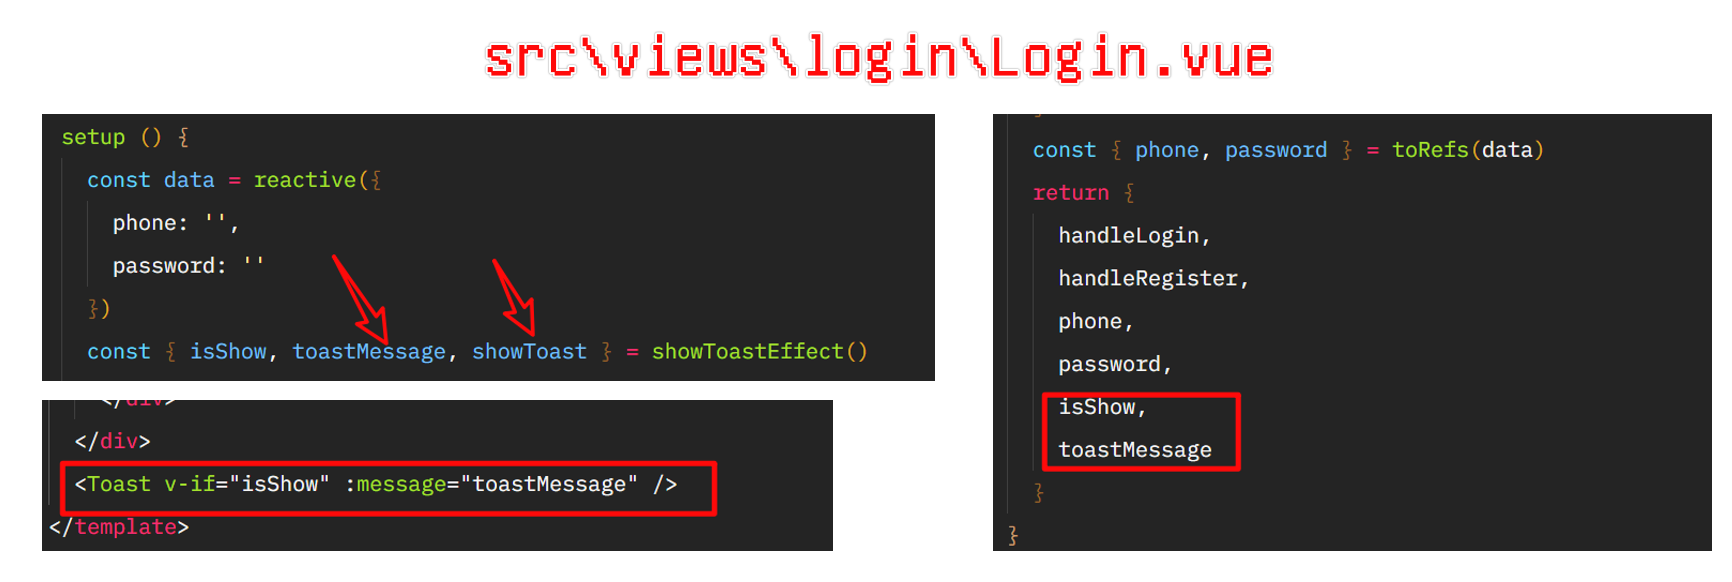
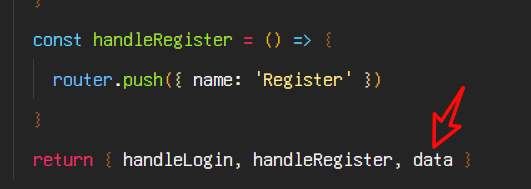
我们也可以把登录的逻辑抽象出来
// src\views\login\Login.vue
const userLoginEffect = (showToast) => {

	const data = reactive({

		phone: "",
		password: "",
	});
	const router = useRouter();
	// src\views\login\Login.vue
	const handleLogin = async () => {

		// 调用接口
		try {

			const result = await post("/api/user/login", {

				phone: data.phone,
				password: data.password,
			});
			if (result.data.code === "0000") {

				localStorage.setItem("isLogin", "true");
				router.push({
    name: "Home" });
			} else {

				showToast("登录失败, 用户名或密码不正确...");
			}
		} catch (error) {

			showToast("发送请求失败!");
		}
	};
	// 返回数据
	const {
    phone, password } = toRefs(data);
	return {

		phone,
		password,
		handleLogin,
	};
};
继续拆离用户注册跳转的相关逻辑
 最低0.47元/天 解锁文章


 2085
2085


 被折叠的 条评论
为什么被折叠?
被折叠的 条评论
为什么被折叠?
 到【灌水乐园】发言


