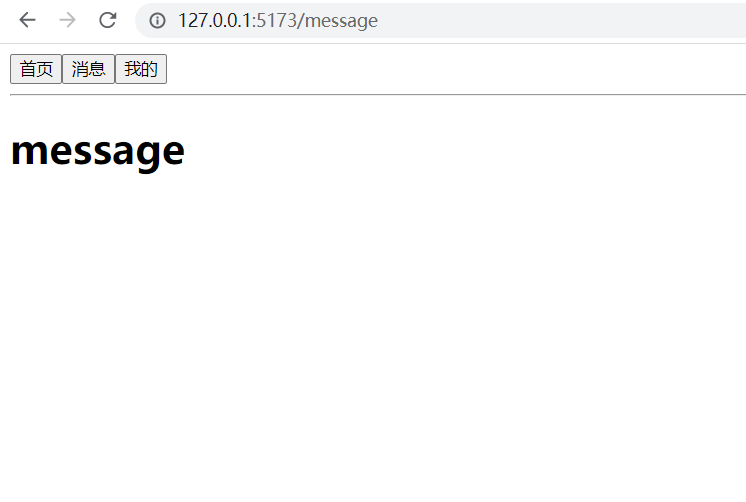
思路:1.点击按钮,实现 地址栏路径变化和组件的切换
2.地址栏上的前进和后退按钮,实现 地址栏路径变化和组件的切换
3.直接在url地址栏中输入path,实现 地址栏路径变化和组件的切换
点击按钮,实现 地址栏路径变化和组件的切换
<template>
  <div class="app-page">
    <div>
        <button @click="push('/home')">首页</button>
        <button @click="push('/message')">消息</button>
        <button @click="push('/mine')">我的</button>
    </div>
    <hr>
    <div>
        <!-- 使用component动态组件,实现路由出口 -->
        <component :is="componentId"></component>
    </div>
  </div>
</template>

<script setup lang='ts'>
import { shallowRef, ref } from "vue"
import Home from './components/Home.vue'
import Message from './components/Message.vue'
import Mine from './components/Mine.vue'
// 创建一个路由映射表
const routes = [
    { path: '/home', component: Home },
    { path: '/message',component: Message},
    { path: '/mine',component: Mine}
]

//这里不建议使用ref做响应式,vue组件本身深度较为复杂,使用ref,会导致层层劫持,造成性能浪费,我们只需要劫持组件第一层即可,所以推荐使用shallowRef
const componentId = shallowRef()

const push:(path:string)=>void = (path) => {
    // console.log(path);
    // 使用history上的pushState事件,改变url地址栏中的path
    history.pushState(null, '', path)
    // 查找对应组件,进行动态加载
    componentId.value = routes.find(item=>item.path===path)?.component
}

</script>
到这里,就实现了点击按钮的情况

地址栏上的前进和后退按钮,实现 地址栏路径变化和组件的切换
<template>
  <div class="app-page">
    <div>
        <button @click="push('/home')">首页</button>
        <button @click="push('/message')">消息</button>
        <button @click="push('/mine')">我的</button>
    </div>
    <hr>
    <div>
        <!-- 使用component动态组件,实现路由出口 -->
        <component :is="componentId"></component>
    </div>
  </div>
</template>

<script setup lang='ts'>
import { shallowRef, ref } from "vue"
import Home from './components/Home.vue'
import Message from './components/Message.vue'
import Mine from './components/Mine.vue'
// 创建一个路由映射表
const routes = [
    { path: '/home', component: Home },
    { path: '/message',component: Message},
    { path: '/mine',component: Mine}
]

//这里不建议使用ref做响应式,vue组件本身深度较为复杂,使用ref,会导致层层劫持,造成性能浪费,我们只需要劫持组件第一层即可,所以推荐使用shallowRef
const componentId = shallowRef()

const push:(path:string)=>void = (path) => {
    // console.log(path);
    // 使用history上的pushState事件,改变url地址栏中的path
    history.pushState(null, '', path)
    // 查找对应组件,进行动态加载
    componentId.value = routes.find(item=>item.path===path)?.component
}
//给windown注册popstate事件,实现地址栏中的前进后退按钮,实现 地址栏路径变化和组件的切换
window.onpopstate = function () {
    // console.log(location.pathname);
    // 查找对应组件,进行动态加载
    componentId.value = routes.find(item=>item.path===location.pathname)?.component
}

</script>
直接在url地址栏中输入path,实现 地址栏路径变化和组件的切换
<template>
  <div class="app-page">
    <div>
        <button @click="push('/home')">首页</button>
        <button @click="push('/message')">消息</button>
        <button @click="push('/mine')">我的</button>
    </div>
    <hr>
    <div>
        <!-- 使用component动态组件,实现路由出口 -->
        <component :is="componentId"></component>
    </div>
  </div>
</template>

<script setup lang='ts'>
import { shallowRef, ref,watch } from "vue"
import Home from './components/Home.vue'
import Message from './components/Message.vue'
import Mine from './components/Mine.vue'
// 创建一个路由映射表
const routes = [
    { path: '/home', component: Home },
    { path: '/message',component: Message},
    { path: '/mine',component: Mine}
]

//这里不建议使用ref做响应式,vue组件本身深度较为复杂,使用ref,会导致层层劫持,造成性能浪费,我们只需要劫持组件第一层即可,所以推荐使用shallowRef
const componentId = shallowRef()

const changeComponentId = (path: string) => {
    // 查找对应组件,进行动态加载
    componentId.value = routes.find(item=>item.path===path)?.component
}

const push:(path:string)=>void = (path) => {
    // console.log(path);
    // 使用history上的pushState事件,改变url地址栏中的path
    history.pushState(null, '', path)
    changeComponentId(path)
}
//给windown注册popstate事件,实现地址栏中的前进后退按钮,实现 地址栏路径变化和组件的切换
window.onpopstate = function () {
    // console.log(location.pathname);
    // 查找对应组件,进行动态加载
    changeComponentId(location.pathname)
}

// 监听location.pathname  实现组件切换
const herf = ref(location.pathname)
watch(herf, () => {
    changeComponentId(location.pathname)
}, {
    immediate:true
})

</script>
这样效果就实现啦!!!!


 3452
3452


 被折叠的 条评论
为什么被折叠?


