uniapp 微信小程序保存图片到系统相册( 获取用户是否开启 授权保存图片到相册。)

1.预览效果图

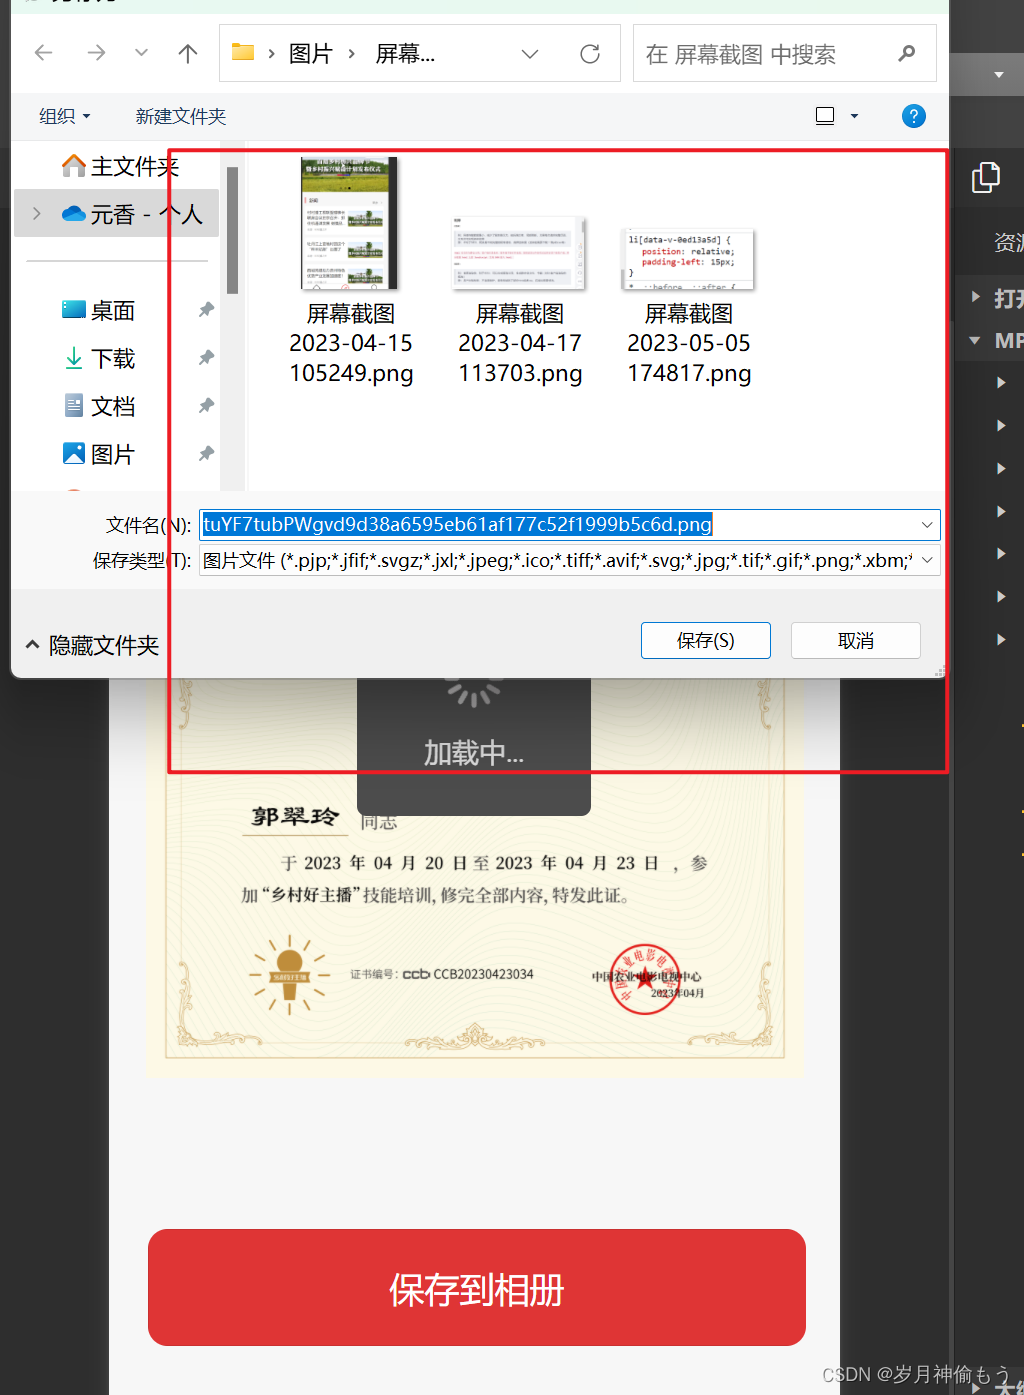
当用户点击拒绝按钮后的截图:


用户点击不授权  则关闭弹窗

单独给用户点击授权后, 跳转到授权页面

 开启授权后:
2.代码 

<template>
    <view class="download_certificate">
        <view class="img">
            <!-- <view class="certificate_img"> -->
            <!-- <image src="cloud://produce-6gykelggdea632cb.7072-produce-6gykelggdea632cb-1317432646/download.png"/> -->
            <view style="width: 700rpx; height: 500rpx" @click="open">
                <canvas type="2d" id="myCanvas" style="width: 100%; height: 100%" />
            </view>
            <!-- </view> -->

            <view style="position: absolute; bottom: 200rpx; left: 1rpx; width: 100%; height: auto">
                <button
                    style="width: 90%; height: 120rpx; background: #df3535; border-radius: 20rpx; line-height: 120rpx; font-size: 36rpx; font-weight: 500; color: #ffffff"
                    size="large"
                    type="default"
                    @tap.native="savaImage"
                >
                    保存到相册
                </button>
            </view>
        </view>

        <view class="popup">
            <!-- 遮罩层开始 -->
            <uni-popup ref="popup" :mask-click="false">
                <text> 11 </text>
                <button @click="close" safe-area="true" style="width: 100vm; height: 100vh">关闭</button>
            </uni-popup>
            <!-- 遮罩层结束 -->
        </view>
    </view>
</template>

<script>
export default {
    data() {
        return {
            src: 'https://cdn-asset.znyzf.com/asset/zsbg.jpg',
            canvasRef: null,
            info: {},
            number: 1
        }
    },
    created() {
        this.drawCanvas()
    },
    onLoad(options) {
        this.info = JSON.parse(decodeURIComponent(options.certificateInfo))
        this.drawCanvas()
    },
    methods: {
        savaImage() {
            let that = this
            uni.getSetting({
                success(res) {
                    if (!res.authSetting['scope.writePhotosAlbum']) {
                        uni.authorize({
                            scope: 'scope.writePhotosAlbum',
                            success(res) {
                                that.saveImg()
                            },
                            fail() {
                                uni.showModal({
                                    content: '请允许相册权限,拒绝将无法正常使用小程序',
                                    showCancel: false,
                                    success() {
                                        uni.openSetting({
                                            success(settingdata) {
                                                if (settingdata.authSetting['scope.writePhotosAlbum']) {
                                                } else {
                                                    console.log('获取权限失败')
                                                }
                                            }
                                        })
                                    }
                                })
                            }
                        })
                    } else {
                        that.saveImg()
                    }
                }
            })
        },

        drawCanvas() {
            const query = uni.createSelectorQuery()
            query
                .select('#myCanvas')
                .fields({
                    node: true,
                    size: true
                })
                .exec((res) => {
                    const canvas = res[0].node
                    const ctx = canvas.getContext('2d')
                    this.canvasRef = canvas
                    const dpr = uni.getSystemInfoSync().pixelRatio
                    canvas.width = res[0].width * dpr // 获取宽
                    canvas.height = res[0].height * dpr // 获取高
                    ctx.scale(dpr, dpr)
                    // 到这里就可以直接绘制
                    let image = canvas.createImage() //创建iamge实例
                    image.src = this.src // 引入本地图片
                    image.onload = (imginfo) => {
                        // 获取http图片宽高
                        // const {width,height} = imginfo.path[0];
                        // const aspect = width / height;
                        // console.log(width,height)
                        const currentWidth = canvas.width / dpr
                        const currentHeight = canvas.height / dpr
                        console.log(currentWidth, currentHeight)
                        ctx.drawImage(image, 0, 0, currentWidth, currentHeight)
                        // ctx.drawImage(image, 0, 0, canvas.width / dpr, canvas.height / dpr); // 背景图
                        ctx.fillStyle = '#000000'
                        ctx.font = '16px Arial'
                        ctx.textAlign = 'center'
                        ctx.fillText(this.info['name'] || '刚刚', 0.235 * currentWidth, 0.45 * currentHeight, 100) //字体的位置/设备的大小
                        ctx.textAlign = 'left'
                        ctx.font = '9px Arial'
                        ctx.fillText(this.info['code'] || '456', 0.434 * currentWidth, 0.786 * currentHeight)
                        //年月日
                        ctx.font = '10px Arial'
                        ctx.fillText(this.info['beforeYear'], 0.247 * currentWidth, 0.555 * currentHeight)
                        ctx.fillText(this.info['beforeMonth'], 0.37 * currentWidth, 0.555 * currentHeight)
                        ctx.fillText(this.info['beforeDay'], 0.445 * currentWidth, 0.555 * currentHeight)
                        ctx.fillText(this.info['afterYear'], 0.55 * currentWidth, 0.555 * currentHeight)
                        ctx.fillText(this.info['afterMonth'], 0.675 * currentWidth, 0.555 * currentHeight)
                        ctx.fillText(this.info['afterDay'], 0.75 * currentWidth, 0.555 * currentHeight)
                    }
                })
        },

        saveImg() {
            let that = this
            uni.showLoading({
                title: '生成中...'
            })
            uni.canvasToTempFilePath({
                canvas: that.canvasRef,
                x: 0,
                y: 0,
                width: that.canvasWidth * 2,
                height: that.canvasHeight * 2,
                destWidth: that.canvasWidth * 2,
                destHeight: that.canvasHeight * 2,
                success: (res) => {
                    uni.saveImageToPhotosAlbum({
                        filePath: res.tempFilePath,
                        success: (res) => {
                            // console.log(this.saveTempFilePath)
                            uni.showModal({
                                title: '保存成功!',
                                content: '图片已保存到本地相册',
                                showCancel: false,
                                success: (res) => {
                                    if (res.confirm) {
                                        uni.showToast({
                                            title: '图片保存成功'
                                        })
                                    }
                                }
                            })
                        },
                        fail: (err) => {
                            console.log(err)
                        }
                    })
                },
                fail: (err) => {
                    console.log(err)
                }
            })
            setTimeout(() => {
                uni.hideLoading()
            }, 1000)
        },

        // 遮罩层相关的回调
        open() {
            this.$refs.popup.open('top')
        },
        close() {
            this.$refs.popup.close()
        }
    }
}
</script>
<style>
.download_certificate {
    padding: 40rpx 30rpx;
}

.certificate_img {
    width: 100%;
}

.certificate_img image {
    width: 100%;
}
</style>

  • 0
    点赞
  • 3
    收藏
    觉得还不错? 一键收藏
  • 0
    评论
### 回答1: uniapp是一款跨平台的开发框架,可以方便地开发出适配多个平台的应用程序。在uniapp中使用微信小程序的API调用人脸识别功能也是可以实现的。 要在uniapp中使用微信小程序的人脸识别功能,首先需要在uniapp的项目配置文件中引入微信小程序的插件,具体步骤如下: 1. 在uniapp的项目目录中找到`manifest.json`文件,打开编辑。 2. 在`"mp-weixin"`字段下的`"usingComponents"`中添加以下内容: ``` "wx-open-data": "/static/wxopen-data", "tmpl": "/static/tmpl", "face": "/static/face" ``` 3. 在`"mp-weixin"`字段下的`"plugins"`数组中,添加以下内容: ``` { "name": "wx2f2c58f8b060adb1", "version": "1.1.3", "provider": "wx2f8bd3e2d38b0951" } ``` 4. 在uniapp的项目根目录下创建一个`static`文件夹,然后在该文件夹下再创建一个`wxopen-data`文件夹。 5. 将微信小程序SDK中的`wxopen-data`文件夹拷贝到上一步创建的`static/wxopen-data`文件夹下。 完成以上配置后,就可以在uniapp中使用微信小程序的人脸识别功能了。通过在uniapp的页面中调用相应的API,可以实现人脸识别的功能,如获取用户的人脸信息,进行人脸比对等操作。 需要注意的是,由于uniapp是跨平台的开发框架,所以在使用微信小程序的人脸识别功能时,需要保证运行环境是微信小程序,其他平台可能无法正常使用该功能。 ### 回答2: UniApp是一个跨平台的开发框架,可以用于开发微信小程序。而微信小程序有提供人脸识别的能力。因此,我们可以使用UniApp来调用微信小程序的人脸识别功能。 具体来说,我们可以在UniApp中引入微信小程序的人脸识别相关的API,并在需要的时候调用这些API来实现人脸识别功能。首先,在UniApp的项目配置文件中,我们需要将微信小程序AppID配置好。然后,在UniApp的页面文件中,我们可以使用uni.login()方法获取用户的登录凭证。接着,我们可以使用uni.checkSession()方法来检查用户登录状态。如果登录状态有效,我们可以通过uni.getUserInfo()方法获取用户的基本信息,包括头像和昵称等。然后,我们就可以使用微信小程序的人脸识别API来进行人脸识别了。比如,我们可以使用uni.chooseImage()方法选择一张图片,然后使用uni.uploadFile()方法将图片上传到微信小程序的服务器。接着,我们可以使用微信小程序的人脸识别API对图片进行人脸识别,得到人脸的相关信息。最后,我们可以将人脸识别的结果显示在UniApp的页面上,或者做相应的业务处理。 需要注意的是,为了使用微信小程序的人脸识别功能,我们需要先在微信开放平台注册并申请相关的接口权限。同时,开发过程中也需要遵循微信小程序的开发规范和限制。以上就是使用UniApp调用微信小程序人脸识别的简要介绍。

“相关推荐”对你有帮助么?

  • 非常没帮助
  • 没帮助
  • 一般
  • 有帮助
  • 非常有帮助
提交
评论
添加红包

请填写红包祝福语或标题

红包个数最小为10个

红包金额最低5元

当前余额3.43前往充值 >
需支付:10.00
成就一亿技术人!
领取后你会自动成为博主和红包主的粉丝 规则
hope_wisdom
发出的红包
实付
使用余额支付
点击重新获取
扫码支付
钱包余额 0

抵扣说明:

1.余额是钱包充值的虚拟货币,按照1:1的比例进行支付金额的抵扣。
2.余额无法直接购买下载,可以购买VIP、付费专栏及课程。

余额充值