


nginx访问控制、用户认证、https配置、状态页面开启和zabbix监控
文章目录
nginx访问控制
访问控制
访问控制是网络安全防范和保护的主要策略,其任务是保证网络资源不被非法访问。Nginx作为Web服务器的后起之秀,也提供了访问控制的功能。它可以根据实际需求,对用户可以访问和禁止的目录进行限制。下面将对Nginx提供的权限控制指令以及典型的应用进行详细讲解。
权限控制指令
Nginx中提供了两个用于配置访问权限控制的指令,分别为allow和deny。从其名称就可以看出,allow用于设置允许访问的权限deny用于设置禁止访问的权限。在使用时,权限指令后只需跟上允许或禁止的IP、IP段或all即可。其中,all表示所有的。
权限控制指令的使用虽然简单,但是在设置的过程中,还需要特别注意以下几个点。
单个IP指定作用范围最小,all指定作用范围最大。
同一块下,若同时存在多个权限指令(deny、allow),则先出现的访问权限设置生效,并且会对后出现的设置进行覆盖,未覆盖的范围依然生效,否则以先出现的设置用古好为准。
当多个块(如http、server、location)中都出现了权限设置指令,则内层块中的权限级别要比外层块中设置的权限级别高。
nginx访问控制
//查看本机的IP地址
[root@localhost ~]# tail -5f /var/log/nginx/access.log
192.168.205.1 - - [13/Oct/2022:04:00:35 -0400] "GET /favicon.ico HTTP/1.1" 404 555 "http://192.168.205.154/" "Mozilla/5.0 (Windows NT 10.0; Win64; x64) AppleWebKit/537.36 (KHTML, like Gecko) Chrome/106.0.0.0 Safari/537.36 Edg/106.0.1370.42"
192.168.205.1 - - [13/Oct/2022:04:12:02 -0400] "GET / HTTP/1.1" 200 11 "-" "Mozilla/5.0 (Windows NT 10.0; Win64; x64) AppleWebKit/537.36 (KHTML, like Gecko) Chrome/106.0.0.0 Safari/537.36 Edg/106.0.1370.42"
192.168.205.1 - - [13/Oct/2022:04:13:22 -0400] "GET / HTTP/1.1" 200 11 "-" "Mozilla/5.0 (Windows NT 10.0; Win64; x64) AppleWebKit/537.36 (KHTML, like Gecko) Chrome/106.0.0.0 Safari/537.36 Edg/106.0.1370.42"
192.168.205.154 - - [13/Oct/2022:04:17:53 -0400] "GET / HTTP/1.1" 200 11 "-" "curl/7.61.1"
192.168.205.154 - - [13/Oct/2022:04:18:01 -0400] "GET / HTTP/1.1" 200 11 "-" "curl/7.61.1"
192.168.205.1 - - [13/Oct/2022:04:21:07 -0400] "GET / HTTP/1.1" 200 11 "-" "Mozilla/5.0 (Windows NT 10.0; Win64; x64) AppleWebKit/537.36 (KHTML, like Gecko) Chrome/106.0.0.0 Safari/537.36 Edg/106.0.1370.42"
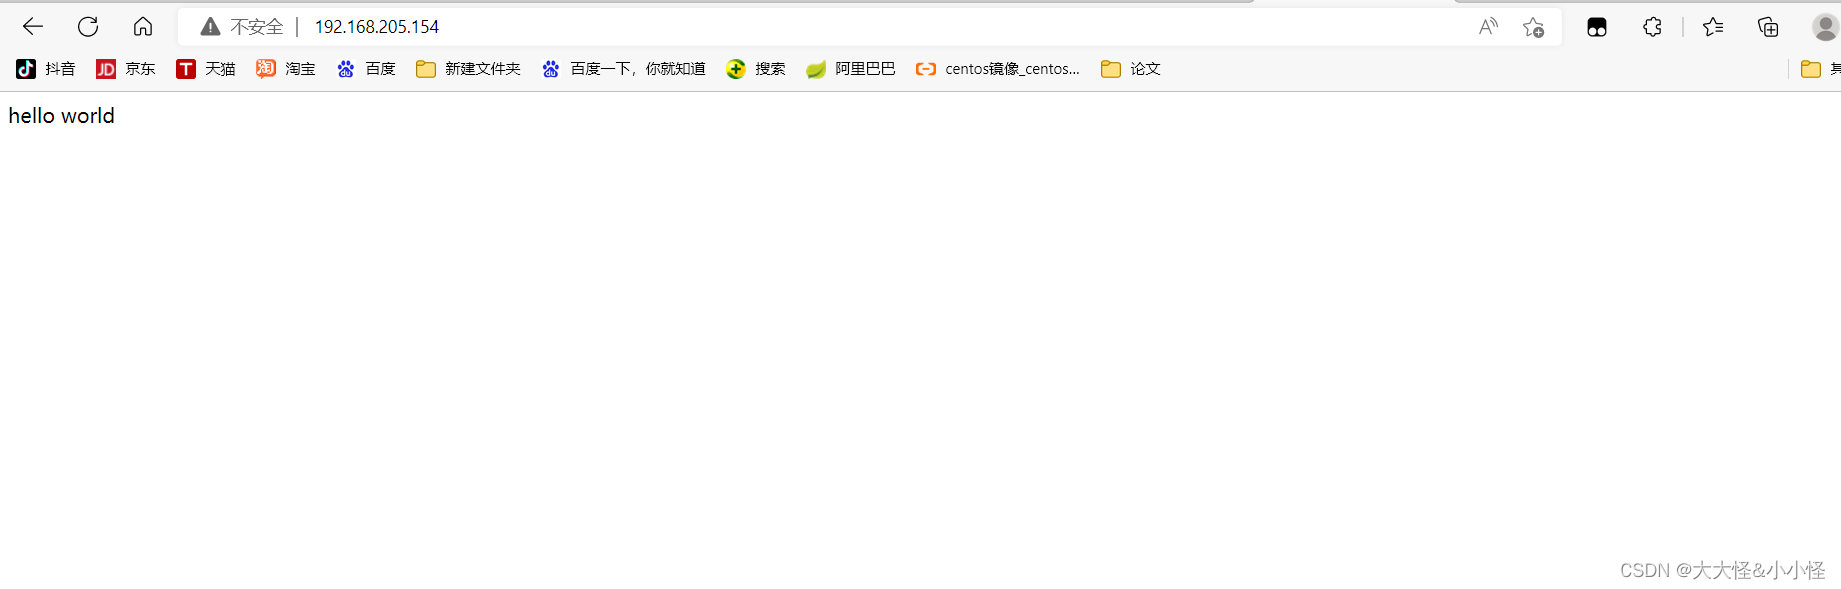
//允许访问页面
server {
listen 80;
server_name localhost;
location / {
echo "hello world";
}
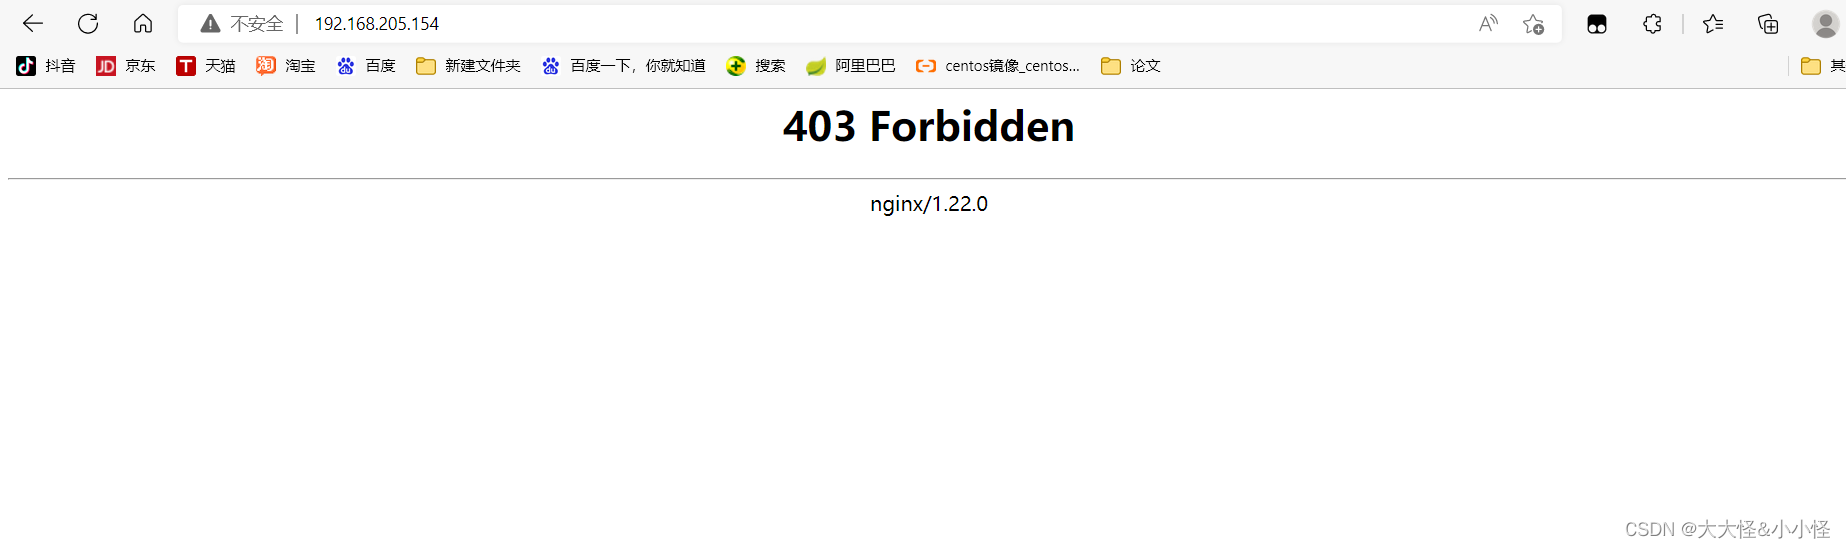
//拒绝访问
    server {
        listen       80;
        server_name  localhost;

        location / {
            deny 192.168.205.1;
            echo "hello world";
        }
用户认证
nginx认证模块
ngx_http_auth_basic_module 模块实现让访问者,只有输入正确的用户密码才允许访问web内容。web上的一些内容不想被其他人知道,但是又想让部分人看到。nginx的http auth模块以及Apache http auth都是很好的解决方案。
默认情况下nginx已经安装了ngx_http_auth_basic_module模块,如果不需要这个模块,可以加上 --without-http_auth_basic_module
nginx basic auth指令
语法: auth_basic string | off;
默认值: auth_basic string off;
配置段: http, server, location, limit_except
默认表示不开启认证,后面如果跟上字符,这些字符会在弹窗中显示。
语法: auth_basic_user_file file;
默认值: —
配置段: http, server, location, limit_except
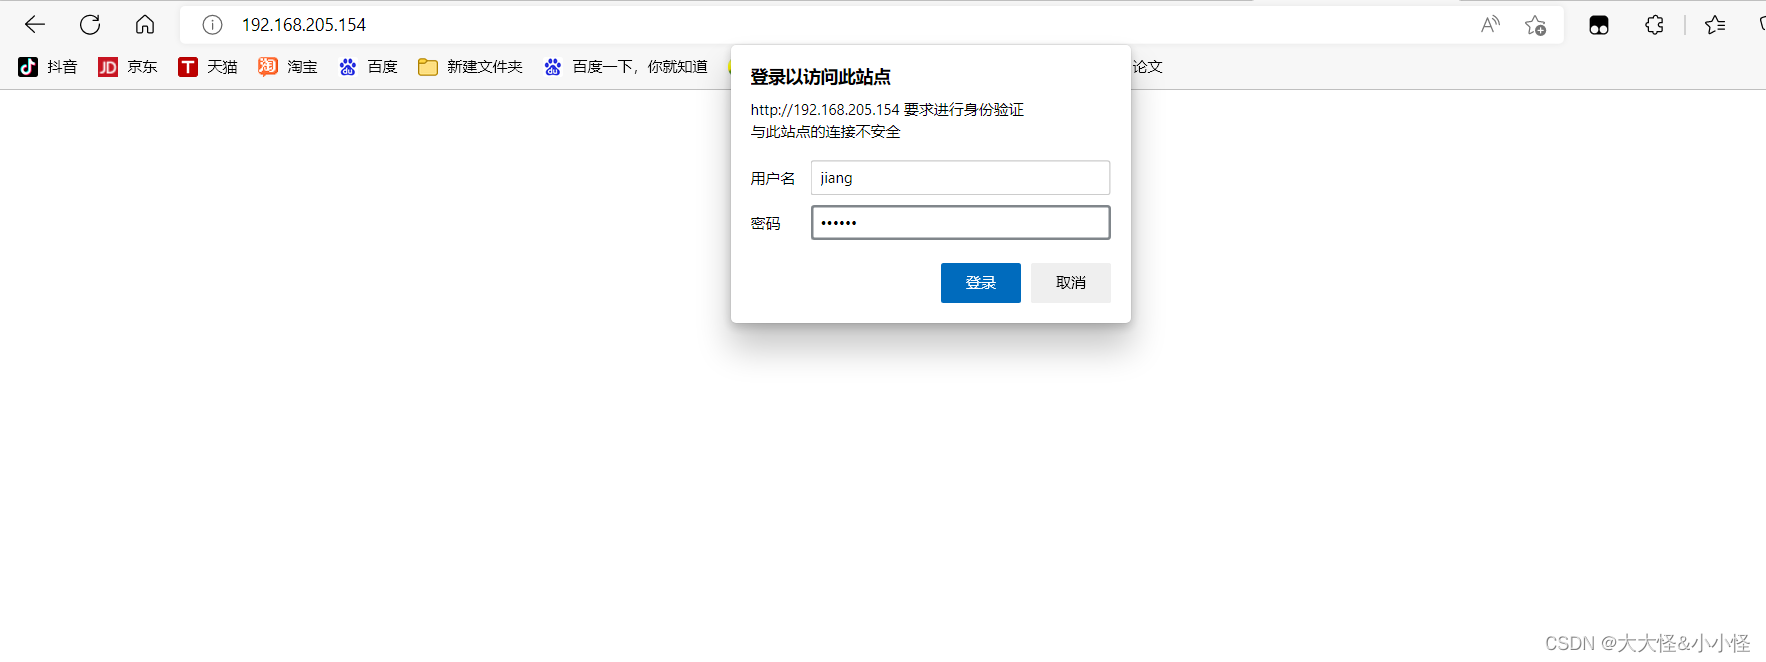
用户认证
//安装httpd-tools工具包
[root@localhost ~]# dnf -y install httpd httpd-tools
[root@localhost ~]# htpasswd -c -m /usr/local/nginx/conf/.user_auth_file jiang
New password:
Re-type new password:
Adding password for user jiang
[root@localhost ~]# cat /usr/local/nginx/conf/.user_auth_file
jiang:$apr1$rhHMI555$G9mNBjqMcA3ArrrckSYie0
//配置nginx(注意auth_basic_user_file必须用绝对路径)
[root@localhost ~]# vim /usr/local/nginx/conf/nginx.conf
server {
listen 80;
server_name localhost;
location / {
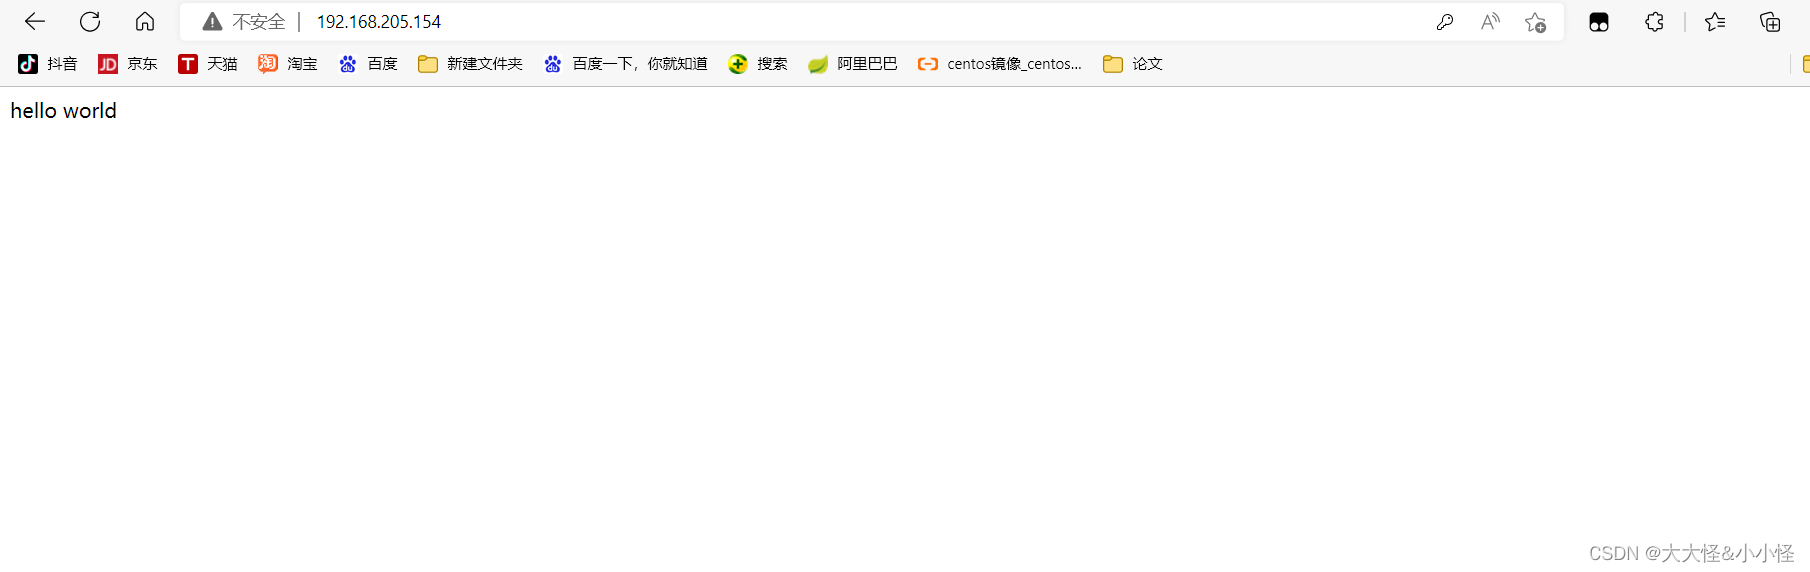
auth_basic "Welcome to nginx";
auth_basic_user_file "/usr/local/nginx/conf/.user_auth_file";
echo "hello world";
}
https配置
// CA生成一对密钥
[root@localhost ~]# cd /usr/local/nginx/conf/
[root@localhost conf]# mkdir -p /etc/pki/CA
[root@localhost conf]# cd /etc/pki/CA
[root@localhost CA]# mkdir private
[root@localhost CA]# ls
private
[root@localhost CA]# (umask 077;openssl genrsa -out private/cakey.pem 2048)
Generating RSA private key, 2048 bit long modulus (2 primes)
..........+++++
.....................+++++
e is 65537 (0x010001)

//CA生成自签署证书
[root@localhost CA]# openssl req -new -x509 -key private/cakey.pem -out cacert.pem -days 365
You are about to be asked to enter information that will be incorporated
into your certificate request.
What you are about to enter is what is called a Distinguished Name or a DN.
There are quite a few fields but you can leave some blank
For some fields there will be a default value,
If you enter '.', the field will be left blank.
-----
Country Name (2 letter code) [XX]:CN
State or Province Name (full name) []:HB
Locality Name (eg, city) [Default City]:LJ
Organization Name (eg, company) [Default Company Ltd]:www.runtime.com
Organizational Unit Name (eg, section) []:www.runtime.com
Common Name (eg, your name or your server's hostname) []:www.runtime.com
Email Address []:123@qq.com
[root@localhost CA]# ls
cacert.pem  private
[root@localhost CA]# mkdir certs newcerts crl
[root@localhost CA]# touch index.txt && echo 01 > serial
[root@localhost CA]# ls
cacert.pem  certs  crl  index.txt  newcerts  private  serial

//客户端(例如httpd服务器)生成密钥
[root@localhost ~]# cd /usr/local/nginx/conf/
[root@localhost conf]# mkdir ssl
[root@localhost conf]# cd ssl
[root@localhost ssl]# (umask 077;openssl genrsa -out nginx.key 2048)
Generating RSA private key, 2048 bit long modulus (2 primes)
.......................................+++++
...................+++++
e is 65537 (0x010001)
[root@localhost ssl]# ls
nginx.key

//生成证书签署请求
[root@localhost ssl]# openssl req -new -key nginx.key -days 365 -out nginx.csr
Ignoring -days; not generating a certificate
You are about to be asked to enter information that will be incorporated
into your certificate request.
What you are about to enter is what is called a Distinguished Name or a DN.
There are quite a few fields but you can leave some blank
For some fields there will be a default value,
If you enter '.', the field will be left blank.
-----
Country Name (2 letter code) [XX]:CN
State or Province Name (full name) []:HB
Locality Name (eg, city) [Default City]:LJ
Organization Name (eg, company) [Default Company Ltd]:www.runtime.com
Organizational Unit Name (eg, section) []:www.runtime.com
Common Name (eg, your name or your server's hostname) []:www.runtime.com
Email Address []:123@qq.com

Please enter the following 'extra' attributes
to be sent with your certificate request
A challenge password []:
An optional company name []:
[root@localhost ssl]# ls
nginx.csr  nginx.key

//CA签署客户端提交上来的证书
[root@localhost ssl]# openssl ca -in nginx.csr -out nginx.crt -days 365Using configuration from /etc/pki/tls/openssl.cnf
Check that the request matches the signature
Signature ok
Certificate Details:
        Serial Number: 1 (0x1)
        Validity
            Not Before: Oct 13 11:29:00 2022 GMT
            Not After : Oct 13 11:29:00 2023 GMT
        Subject:
            countryName               = CN
            stateOrProvinceName       = HB
            organizationName          = www.runtime.com
            organizationalUnitName    = www.runtime.com
            commonName                = www.runtime.com
            emailAddress              = 123@qq.com
        X509v3 extensions:
            X509v3 Basic Constraints:
                CA:FALSE
            Netscape Comment:
                OpenSSL Generated Certificate
            X509v3 Subject Key Identifier:
                93:F8:14:63:C1:F0:21:7D:7D:35:62:73:3F:50:93:50:CC:9E:D0:B7
            X509v3 Authority Key Identifier:
                keyid:97:85:DA:AB:5A:8D:5B:B1:E3:AF:85:8D:07:ED:FB:6F:8E:9C:E4:A5

Certificate is to be certified until Oct 13 11:29:00 2023 GMT (365 days)
Sign the certificate? [y/n]:y


1 out of 1 certificate requests certified, commit? [y/n]y
Write out database with 1 new entries
Data Base Updated
[root@localhost ssl]# ls
nginx.crt  nginx.csr  nginx.key
[root@localhost ssl]# rm -f *.csr
[root@localhost ssl]# ls
nginx.crt  nginx.key

//https配置
[root@localhost ssl]# cd ..
[root@localhost conf]# vim nginx.conf
    # HTTPS server
    #
    server {
        listen       443 ssl;
        server_name  www.runtime.com;

        ssl_certificate      ssl/nginx.crt;
        ssl_certificate_key  ssl/nginx.key;

        ssl_session_cache    shared:SSL:1m;
        ssl_session_timeout  5m;

        ssl_ciphers  HIGH:!aNULL:!MD5;
        ssl_prefer_server_ciphers  on;

        location / {
            root   html;
            index  index.html index.htm;
        }
    }
[root@localhost conf]# systemctl restart nginx
[root@localhost conf]# ss -antl
State   Recv-Q  Send-Q   Local Address:Port   Peer Address:Port  Process
LISTEN  0       128            0.0.0.0:22          0.0.0.0:*
LISTEN  0       128            0.0.0.0:443         0.0.0.0:*
LISTEN  0       128            0.0.0.0:80          0.0.0.0:*
LISTEN  0       128               [::]:22             [::]:*
[root@localhost conf]# systemctl reload nginx
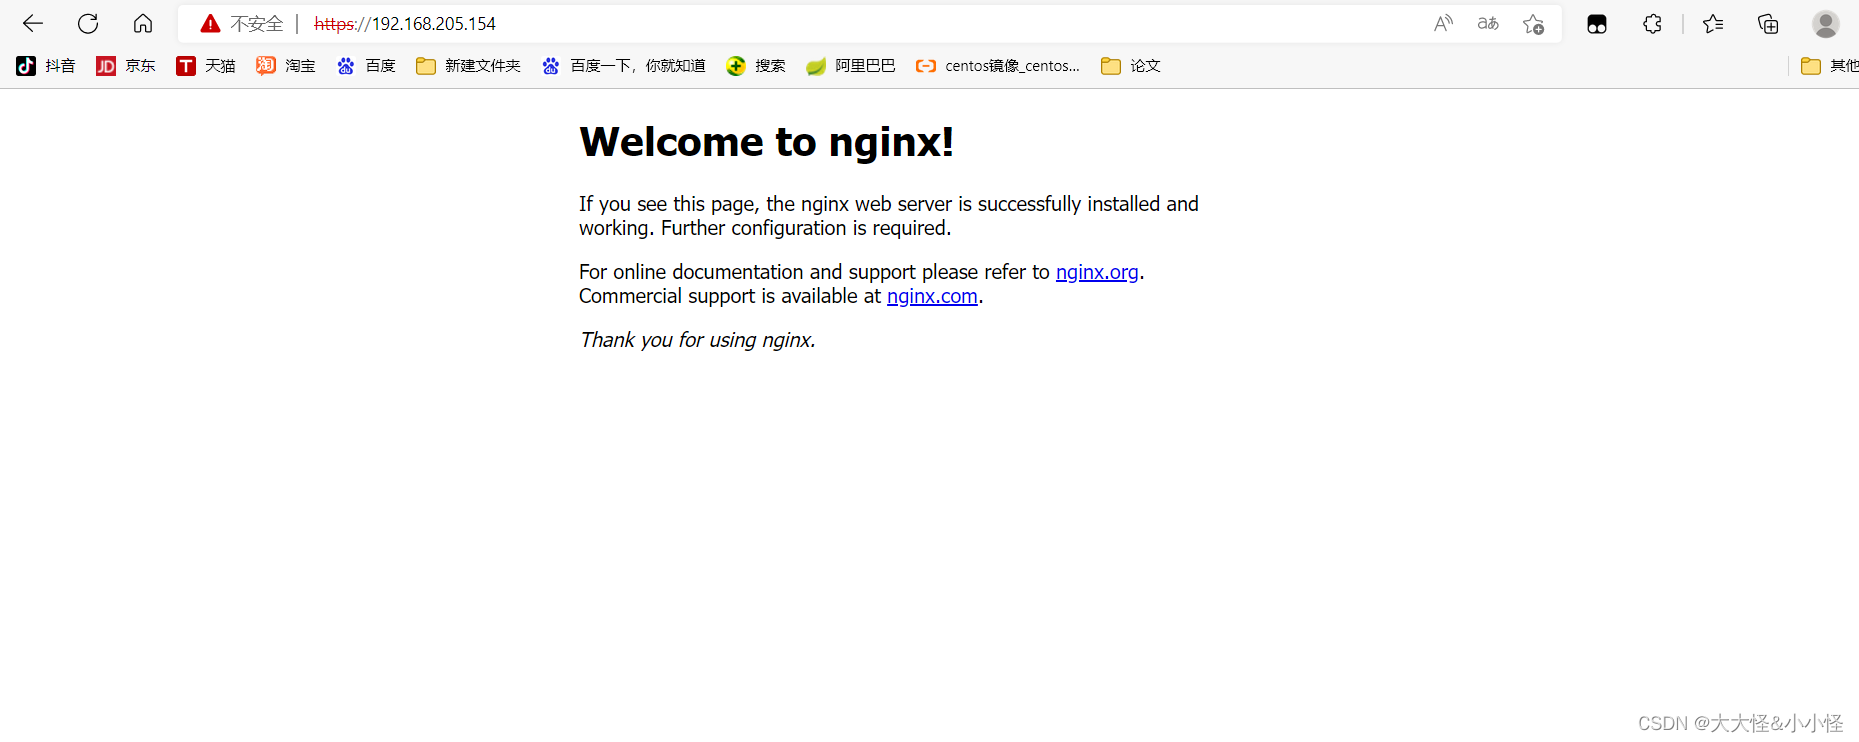
用https访问
nginx状态页面开启
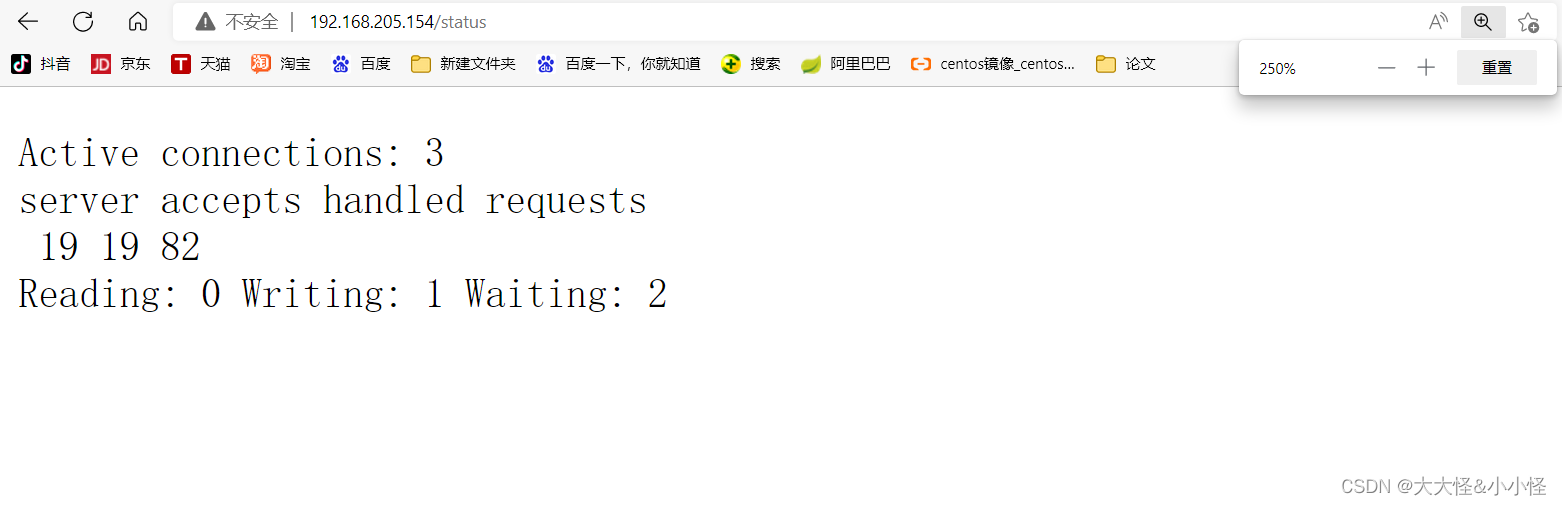
状态页面信息详解:
| 状态码 | 表示的意义 |
|---|---|
| Active connections 2 | 当前所有处于打开状态的连接数 |
| accepts | 总共处理了多少个连接 |
| handled | 成功创建多少握手 |
| requests | 总共处理了多少个请求 |
| Reading | nginx读取到客户端的Header信息数,表示正处于接收请求状态的连接数 |
| Writing | nginx返回给客户端的Header信息数,表示请求已经接收完成, 且正处于处理请求或发送响应的过程中的连接数 |
| Waiting | 开启keep-alive的情况下,这个值等于active - (reading + writing), 意思就是Nginx已处理完正在等候下一次请求指令的驻留连接 |
在nginx中我们要确定–with-http_stub_status_module已经配置
//查看--with-http_stub_status_module是否配置
[root@localhost ~]# nginx -V
nginx version: nginx/1.22.0
built by gcc 8.5.0 20210514 (Red Hat 8.5.0-15) (GCC)
built with OpenSSL 1.1.1k  FIPS 25 Mar 2021
TLS SNI support enabled
configure arguments: --prefix=/usr/local/nginx --user=nginx --group=nginx --with-debug --with-http_ssl_module --with-http_realip_module --with-http_image_filter_module --with-http_gunzip_module --with-http_gzip_static_module --with-http_stub_status_module --http-log-path=/var/log/nginx/access.log --error-log-path=/var/log/nginx/error.log --add-module=../nginx_module_echo/

//编辑配置文件,开启状态页面
[root@localhost ~]# vim /usr/local/nginx/conf/nginx.conf
    server {
        listen       80;
        server_name  localhost;

        location = /status {
            stub_status;
        }
[root@localhost ~]# systemctl reload nginx
访问页面
zabbix监控Nginx状态
环境说明
| 主机名 | IP地址 | 服务 |
|---|---|---|
| zabbix | 192.168.205.144 | zabbix |
| nginx | 192.168.205.154 | zabbix_agentd、nginx |
在nginx服务端安装zabbix_agentd
//创建用户
[root@nginx ~]# useradd -rMs /sbin/nologin zabbix

//安装依赖包
[root@nginx ~]# dnf -y install make gcc gcc-c++ pcre-devel openssl openssl-devel

//下载zabbix
[root@nginx ~]# ls
anaconda-ks.cfg  zabbix-6.2.2.tar.gz

//解压编译
[root@nginx ~]# tar xf zabbix-6.2.2.tar.gz
[root@nginx ~]# cd zabbix-6.2.2
[root@nginx zabbix-6.2.2]#  ./configure --enable-agent
[root@nginx zabbix-6.2.2]# make install

//修改配置文件
[root@nginx zabbix-6.2.2]# vim /usr/local/etc/zabbix_agentd.conf
Server=192.168.205.144
…………
ServerActive=192.168.205.144
…………
Hostname=nginx

//启动服务
[root@nginx zabbix-6.2.2]# zabbix_agentd
[root@nginx zabbix-6.2.2]# ss -antl
State   Recv-Q  Send-Q   Local Address:Port    Peer Address:Port Process
LISTEN  0       128            0.0.0.0:22           0.0.0.0:*
LISTEN  0       128            0.0.0.0:443          0.0.0.0:*
LISTEN  0       128            0.0.0.0:10050        0.0.0.0:*
LISTEN  0       128            0.0.0.0:80           0.0.0.0:*
LISTEN  0       128               [::]:22              [::]:*
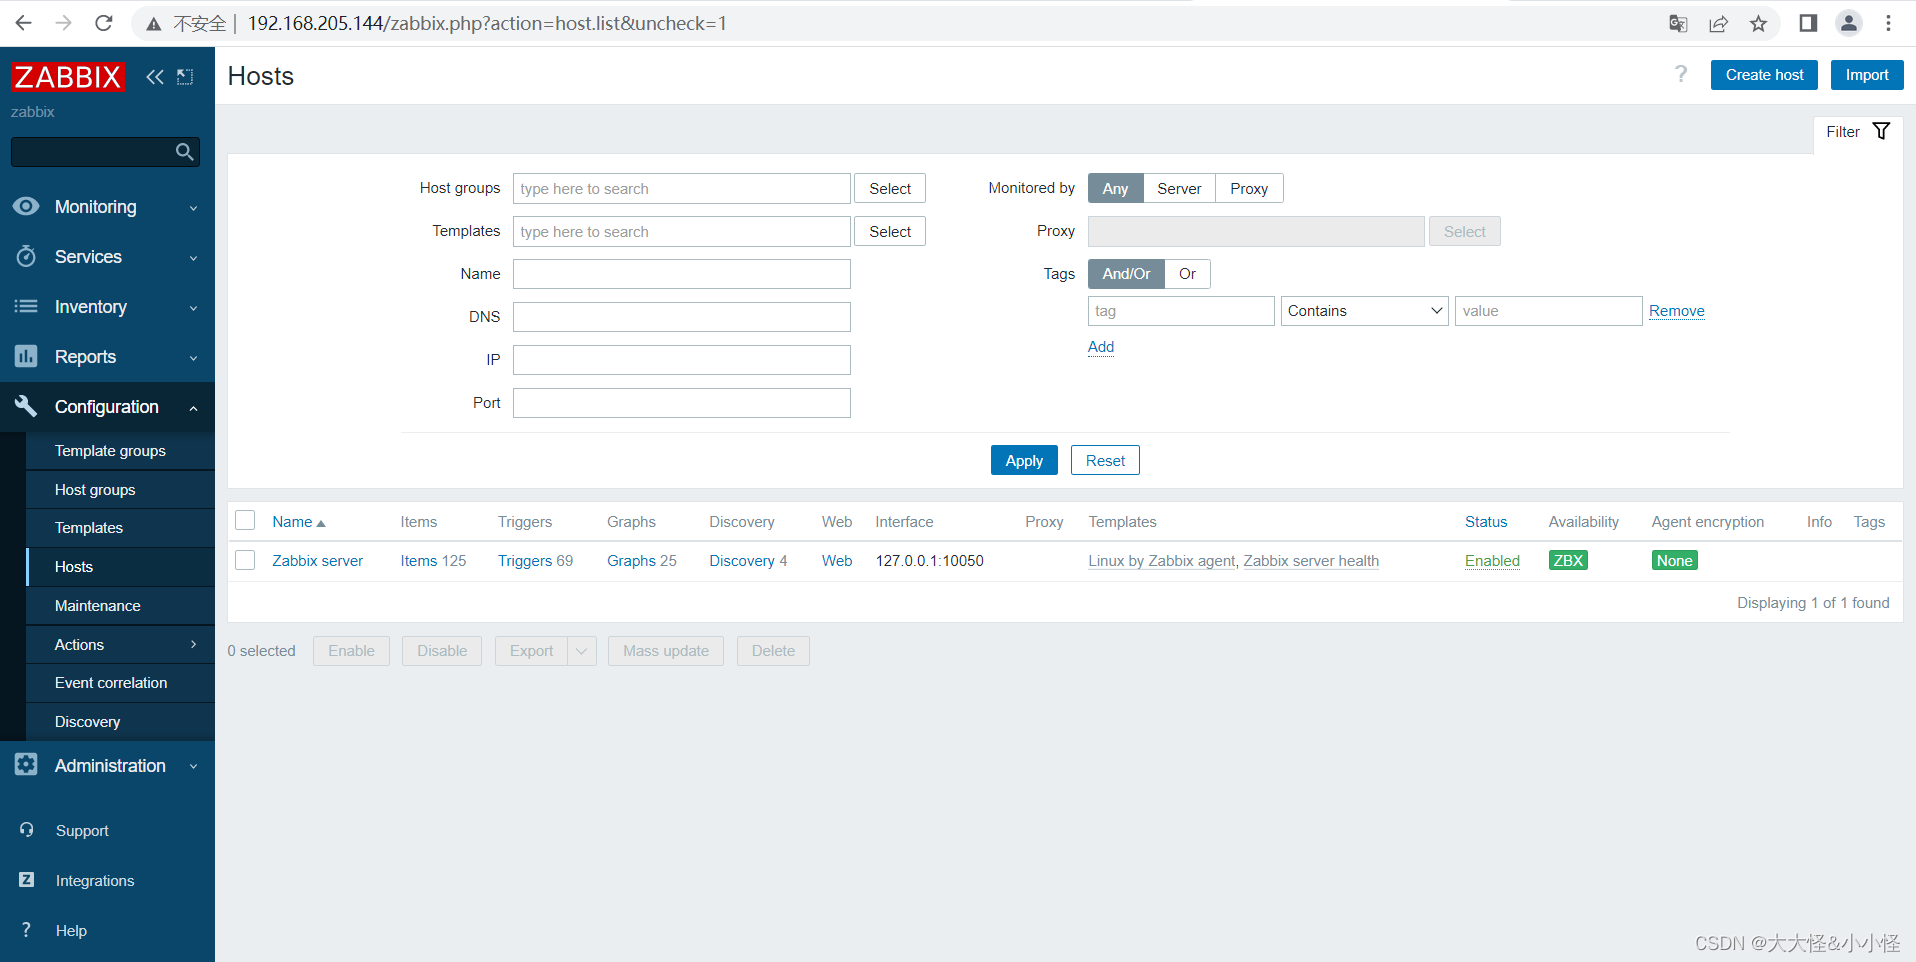
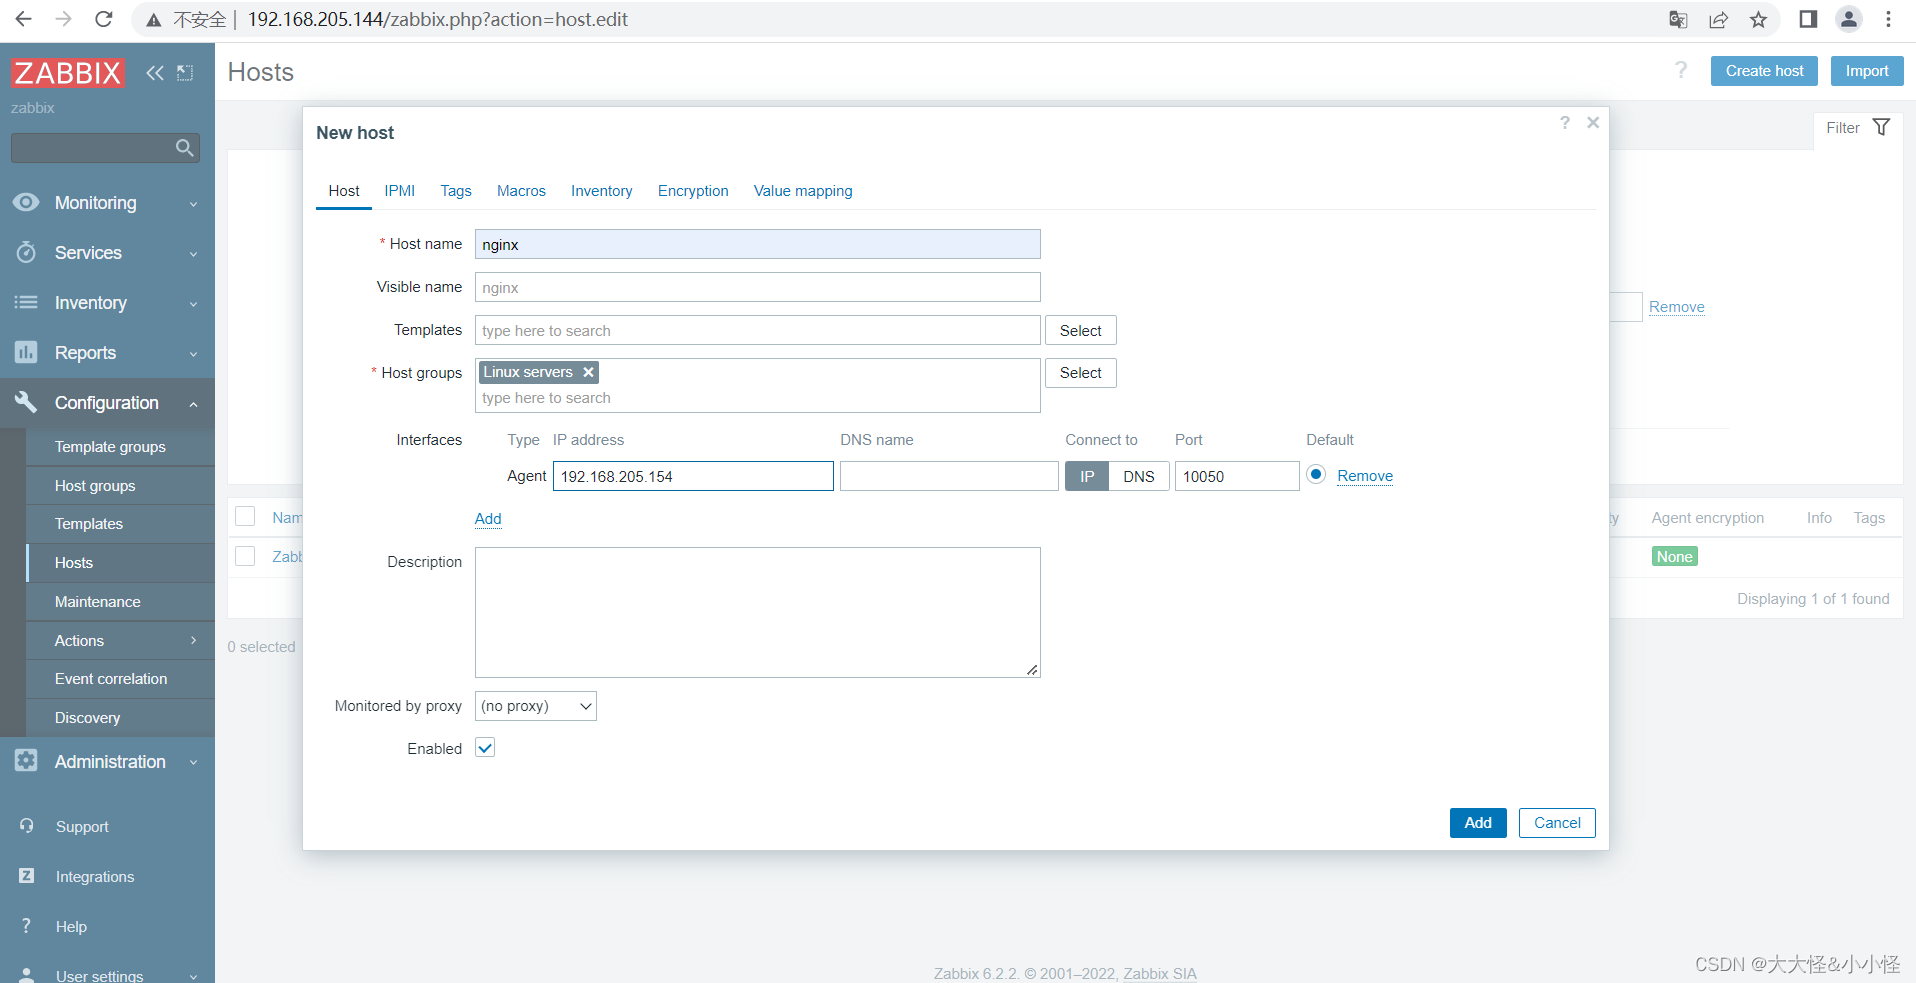
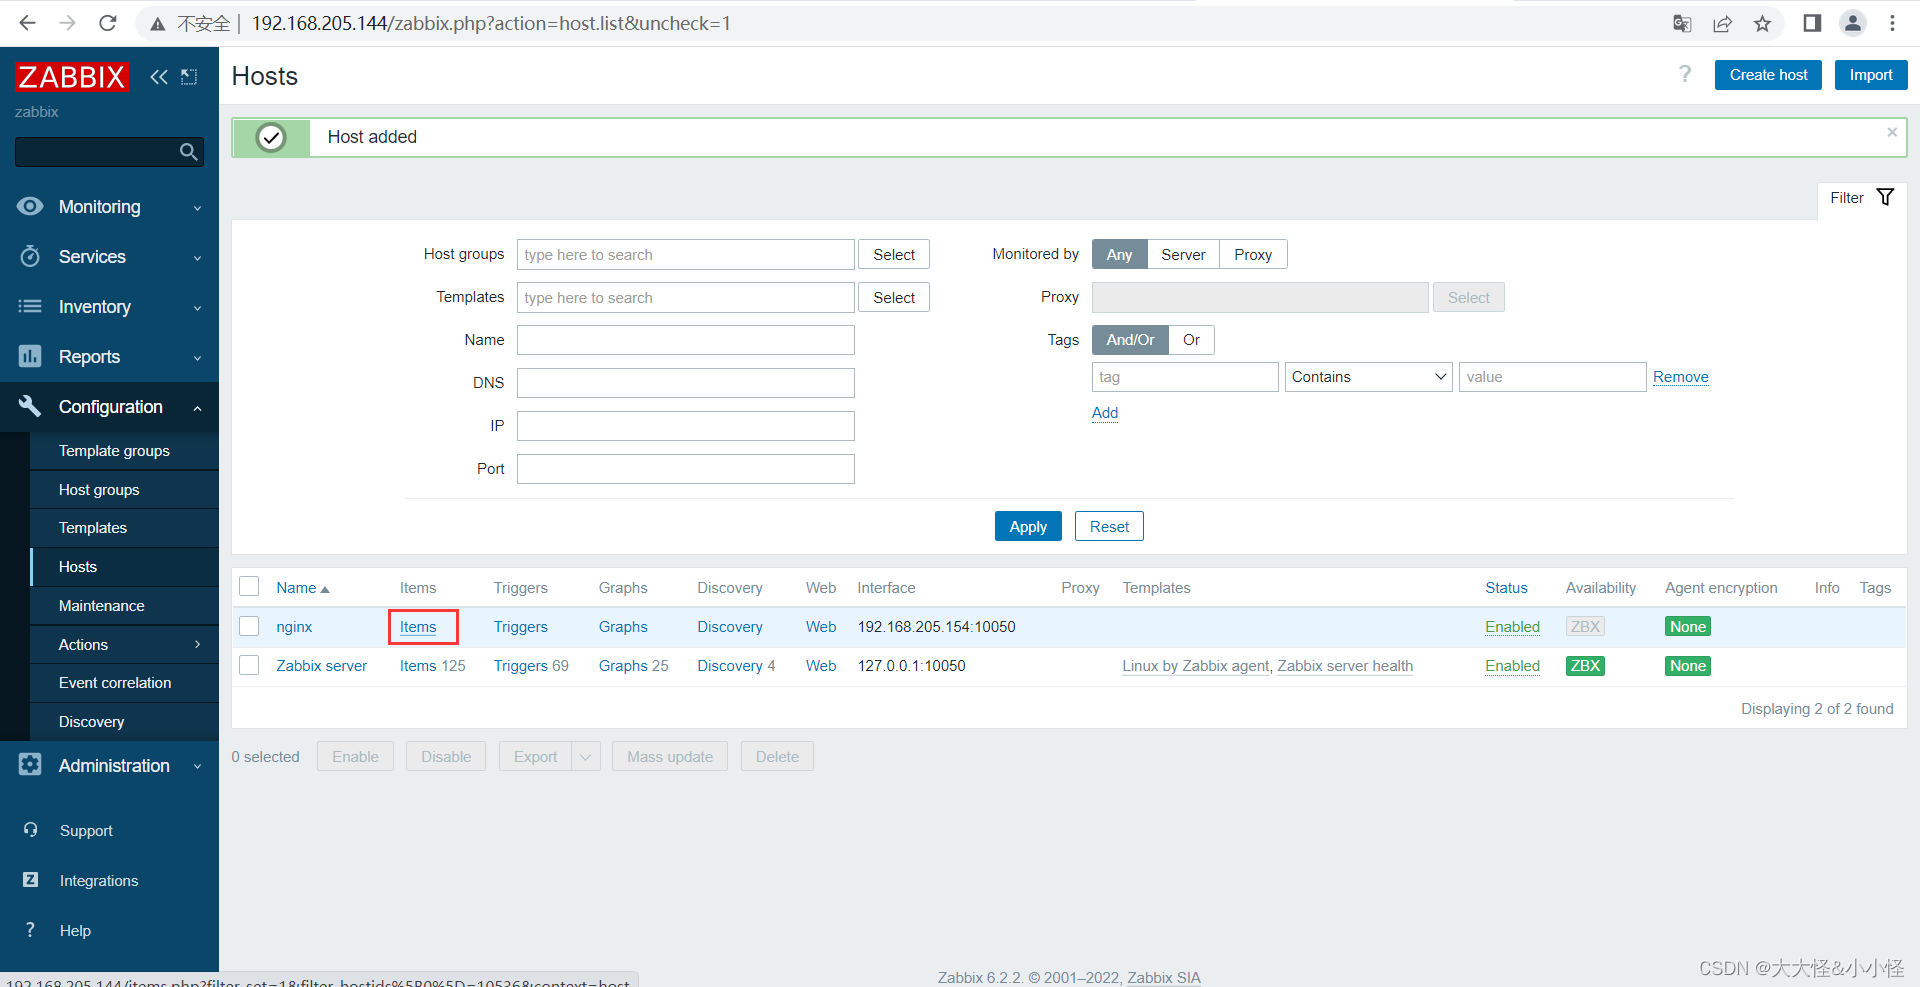
添加主机
在nginx中写监控脚本
[root@nginx ~]# mkdir /scripts
[root@nginx ~]# cd /scripts/
[root@nginx scripts]# vim nginx_status.sh
#!/bin/bash
case $1 in
active)
curl -s http://192.168.205.154/status |awk '/Active/{print $NF}';;
waiting)
curl -s http://192.168.205.154/status |awk '/Waiting/{print $NF}';;
esac
[root@nginx scripts]# chmod +x nginx_status.sh
//修改配置文件
[root@nginx scripts]# vim /usr/local/etc/zabbix_agentd.conf
UnsafeUserParameters=1
UserParameter=nginx.status[*],/scripts/nginx_status.sh $1
//重启服务
[root@nginx scripts]# pkill zabbix_agentd
[root@nginx scripts]# zabbix_agentd
//在服务端检查key
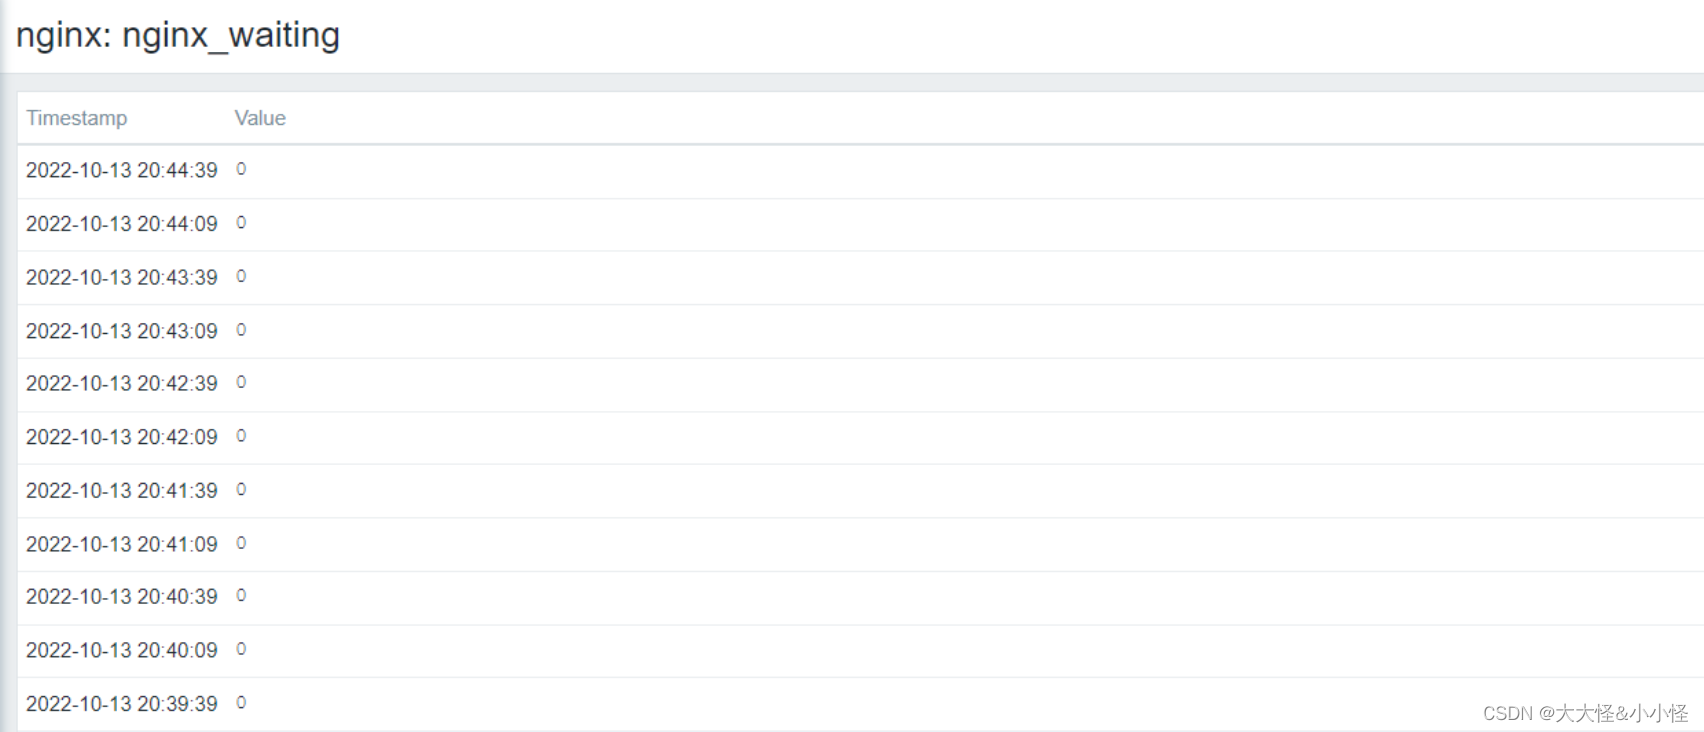
[root@localhost ~]# zabbix_get -s 192.168.205.154 -k 'nginx.status[waiting]'
0
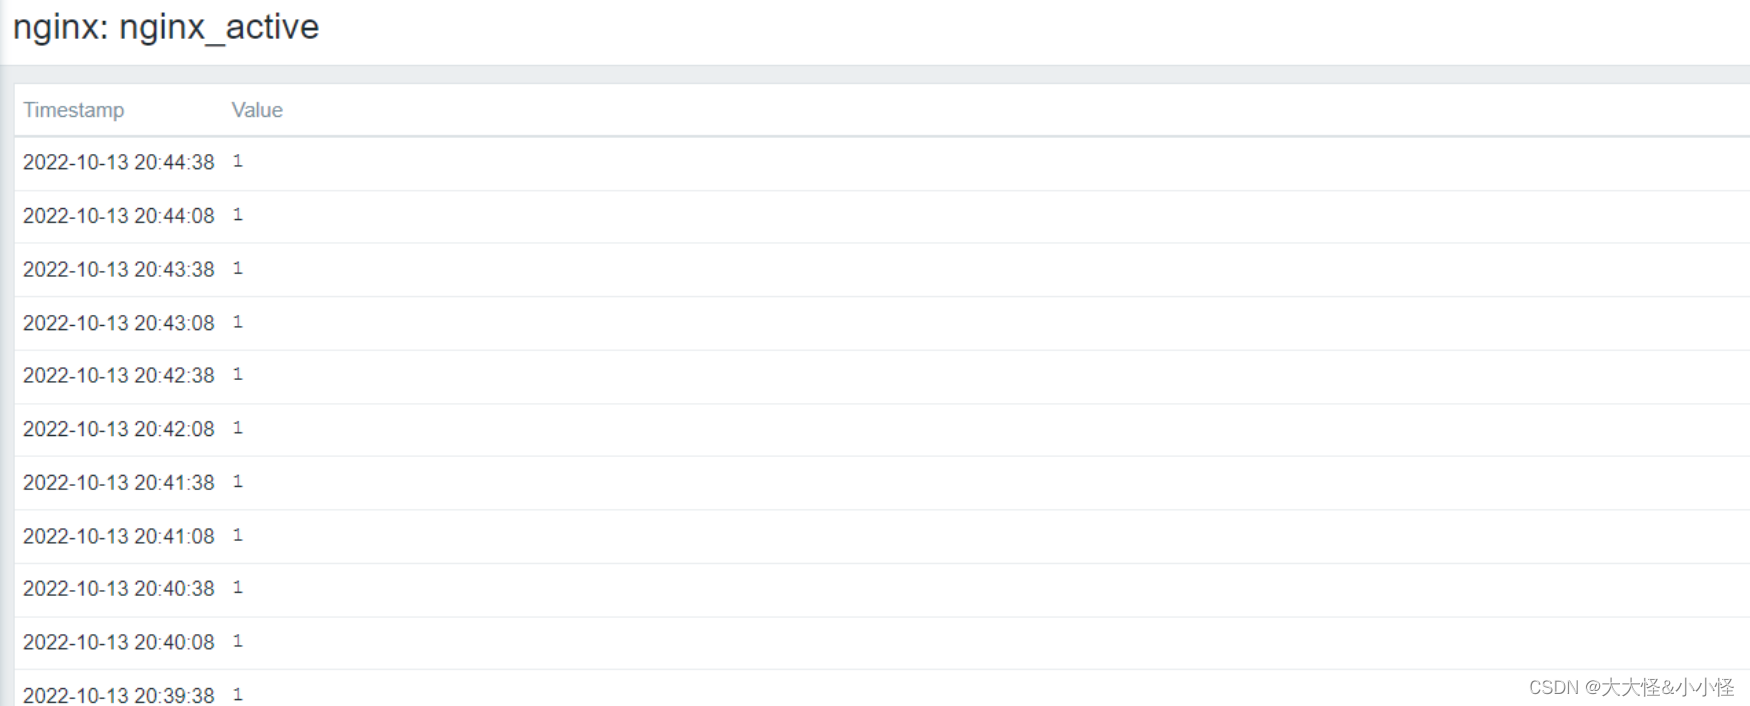
[root@localhost ~]# zabbix_get -s 192.168.205.154 -k 'nginx.status[active]'
1
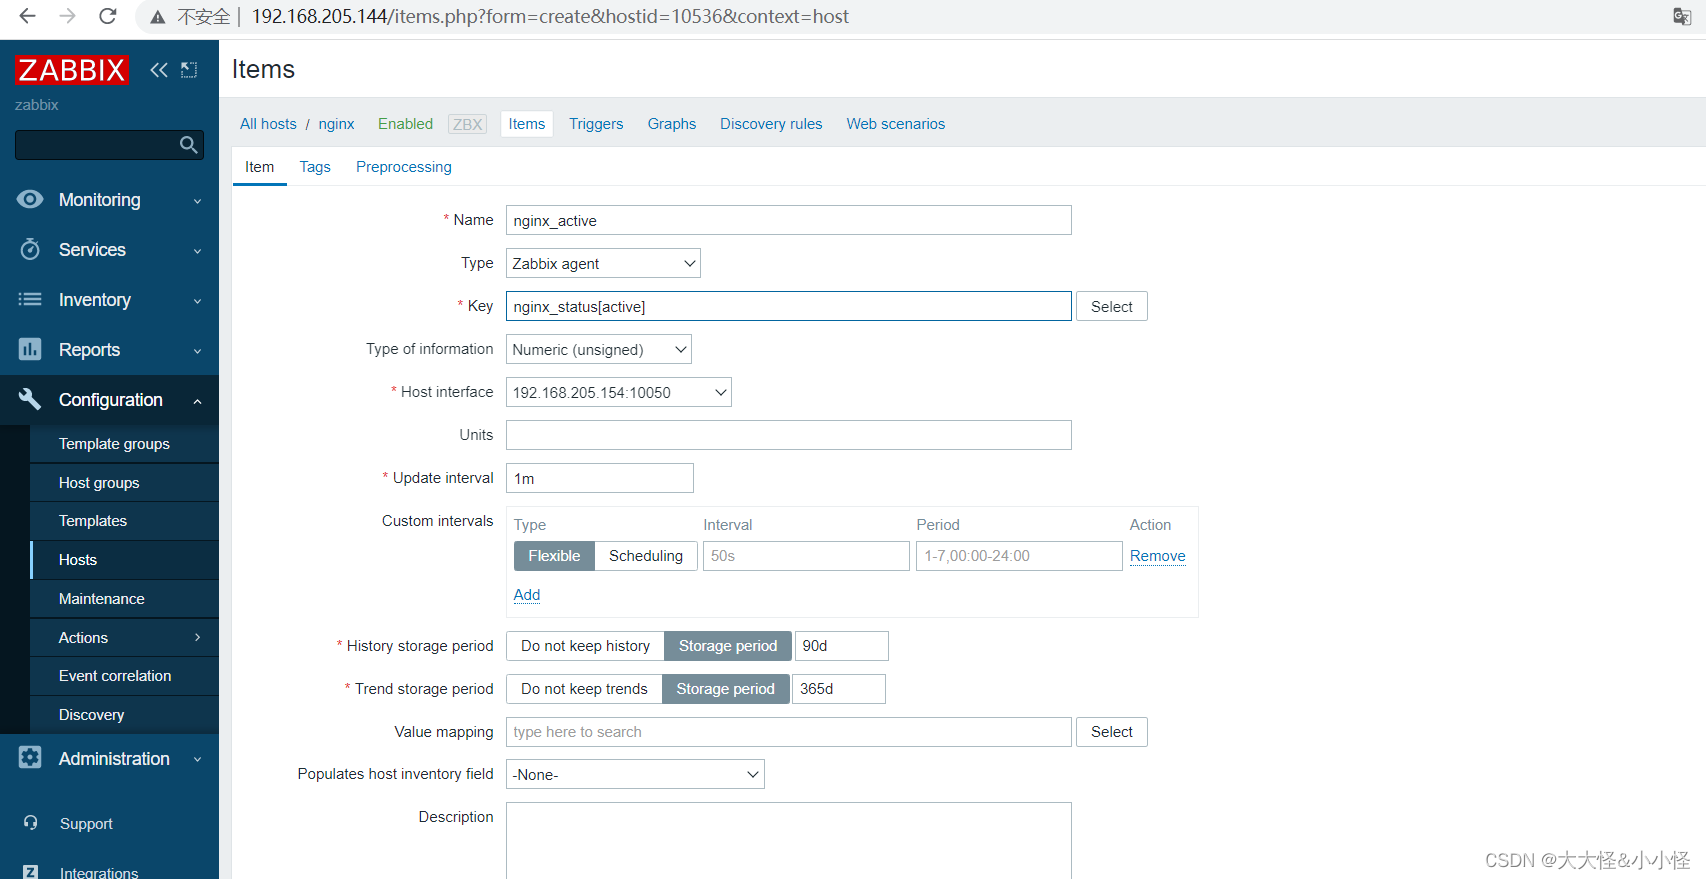
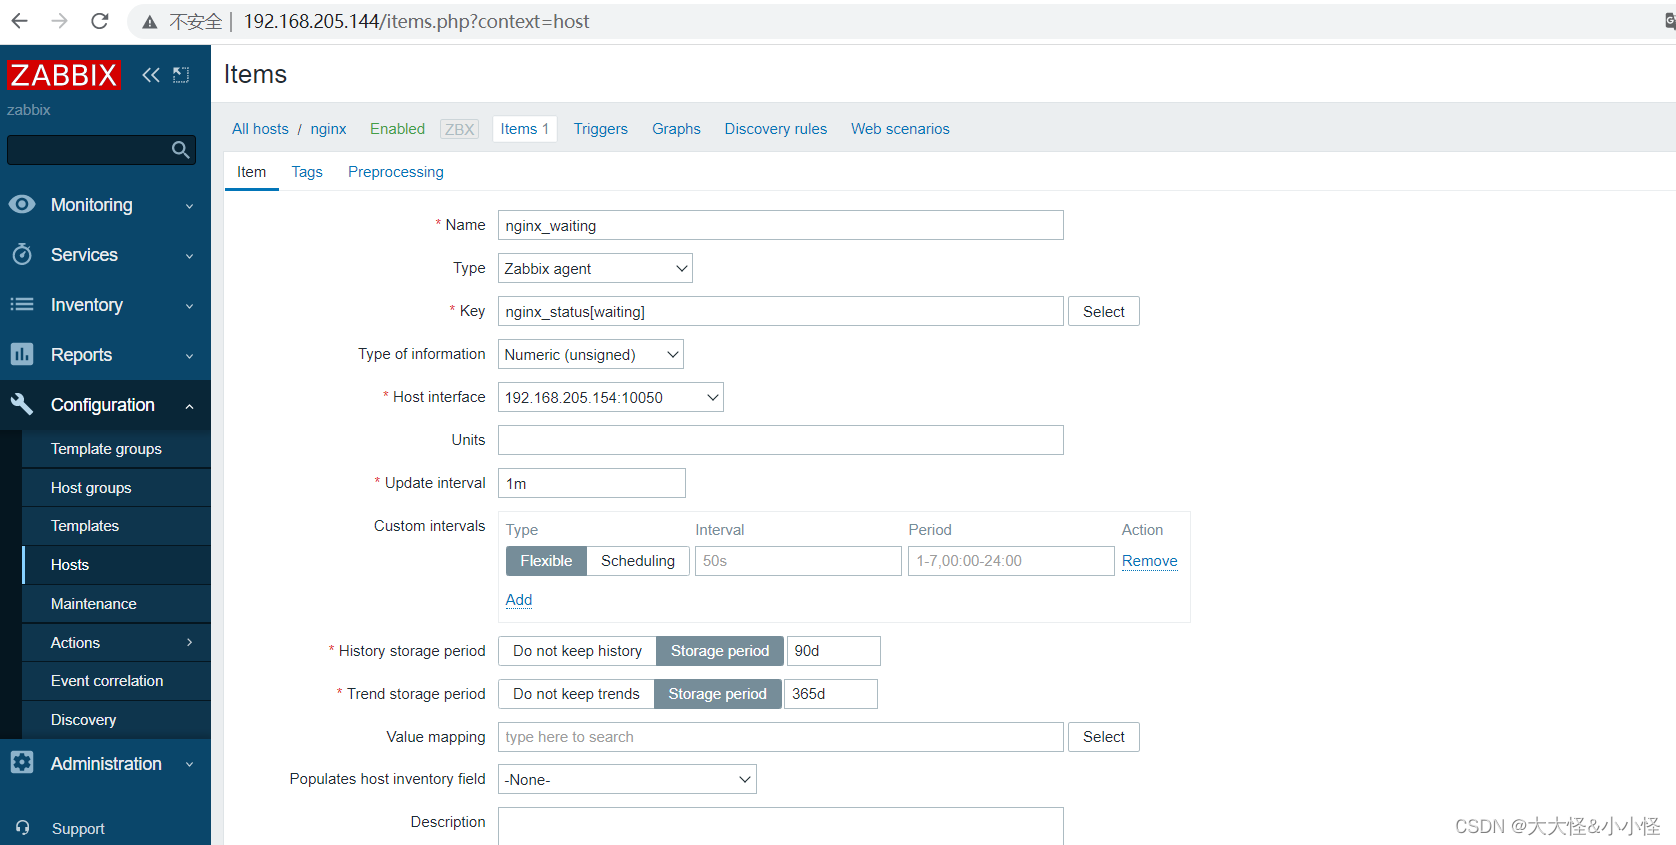
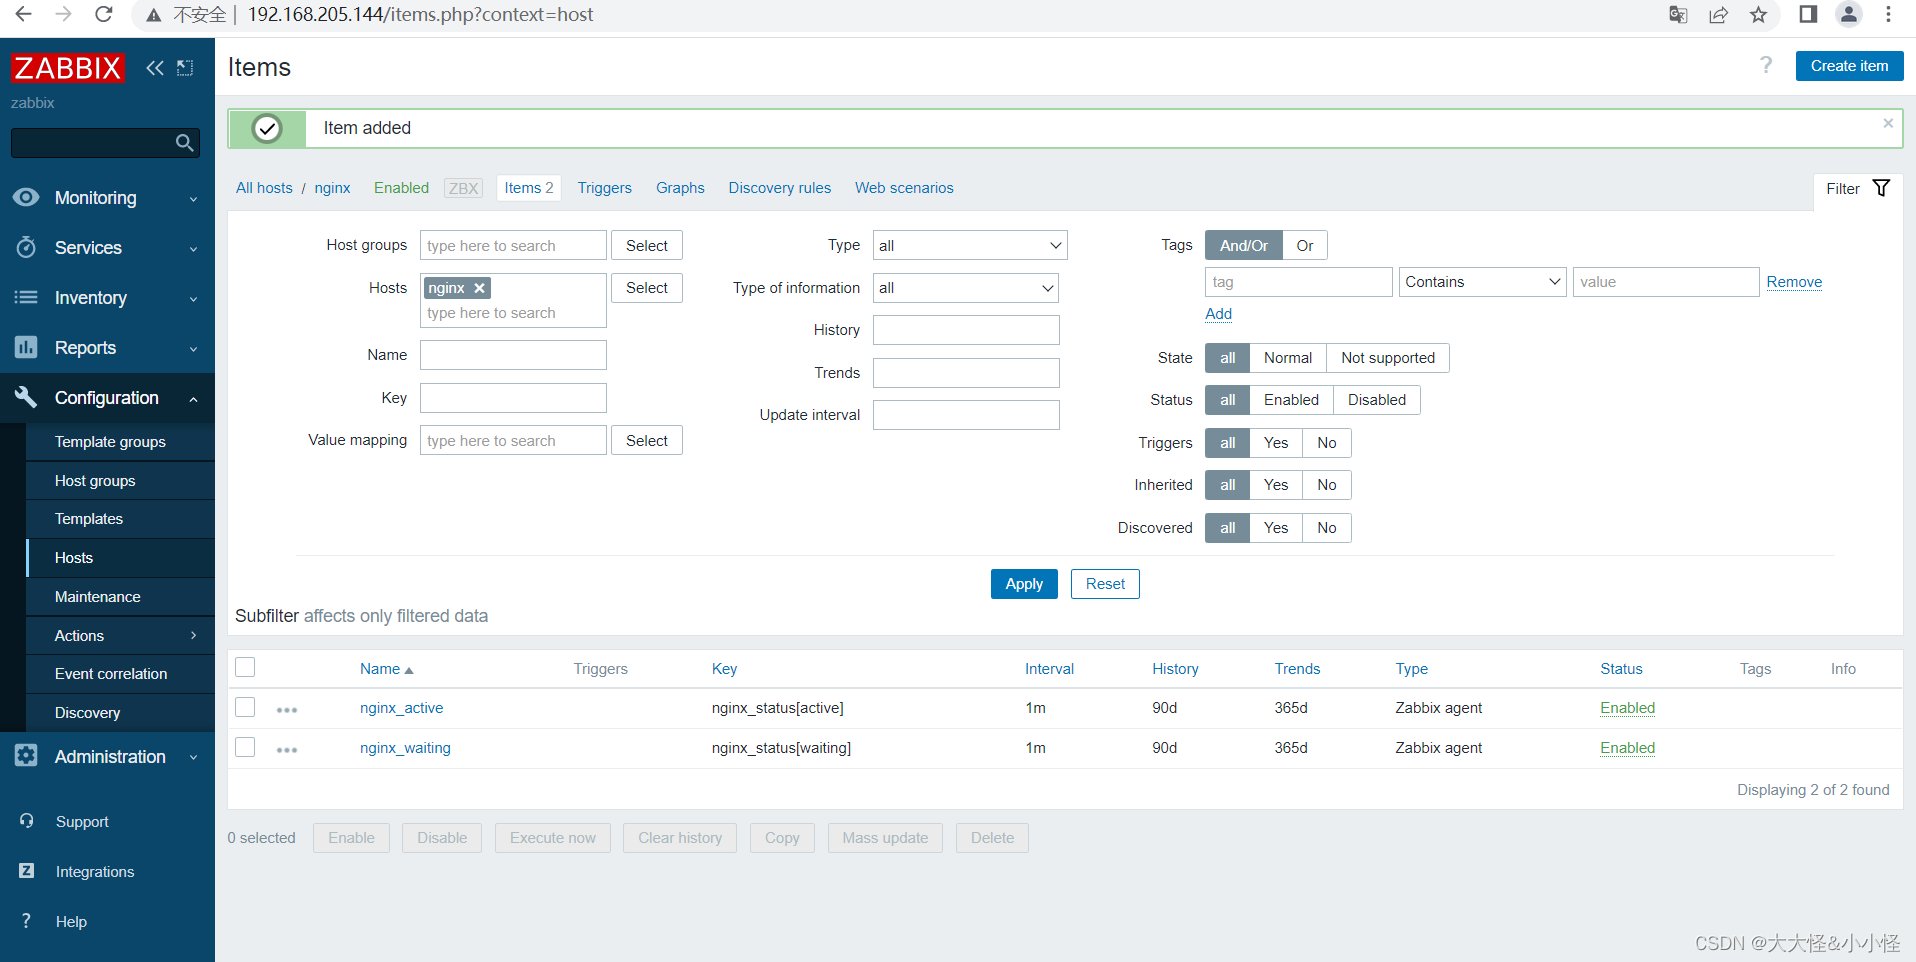
添加监控项
查看监控数据


 1877
1877


 被折叠的 条评论
为什么被折叠?
被折叠的 条评论
为什么被折叠?
 到【灌水乐园】发言


