


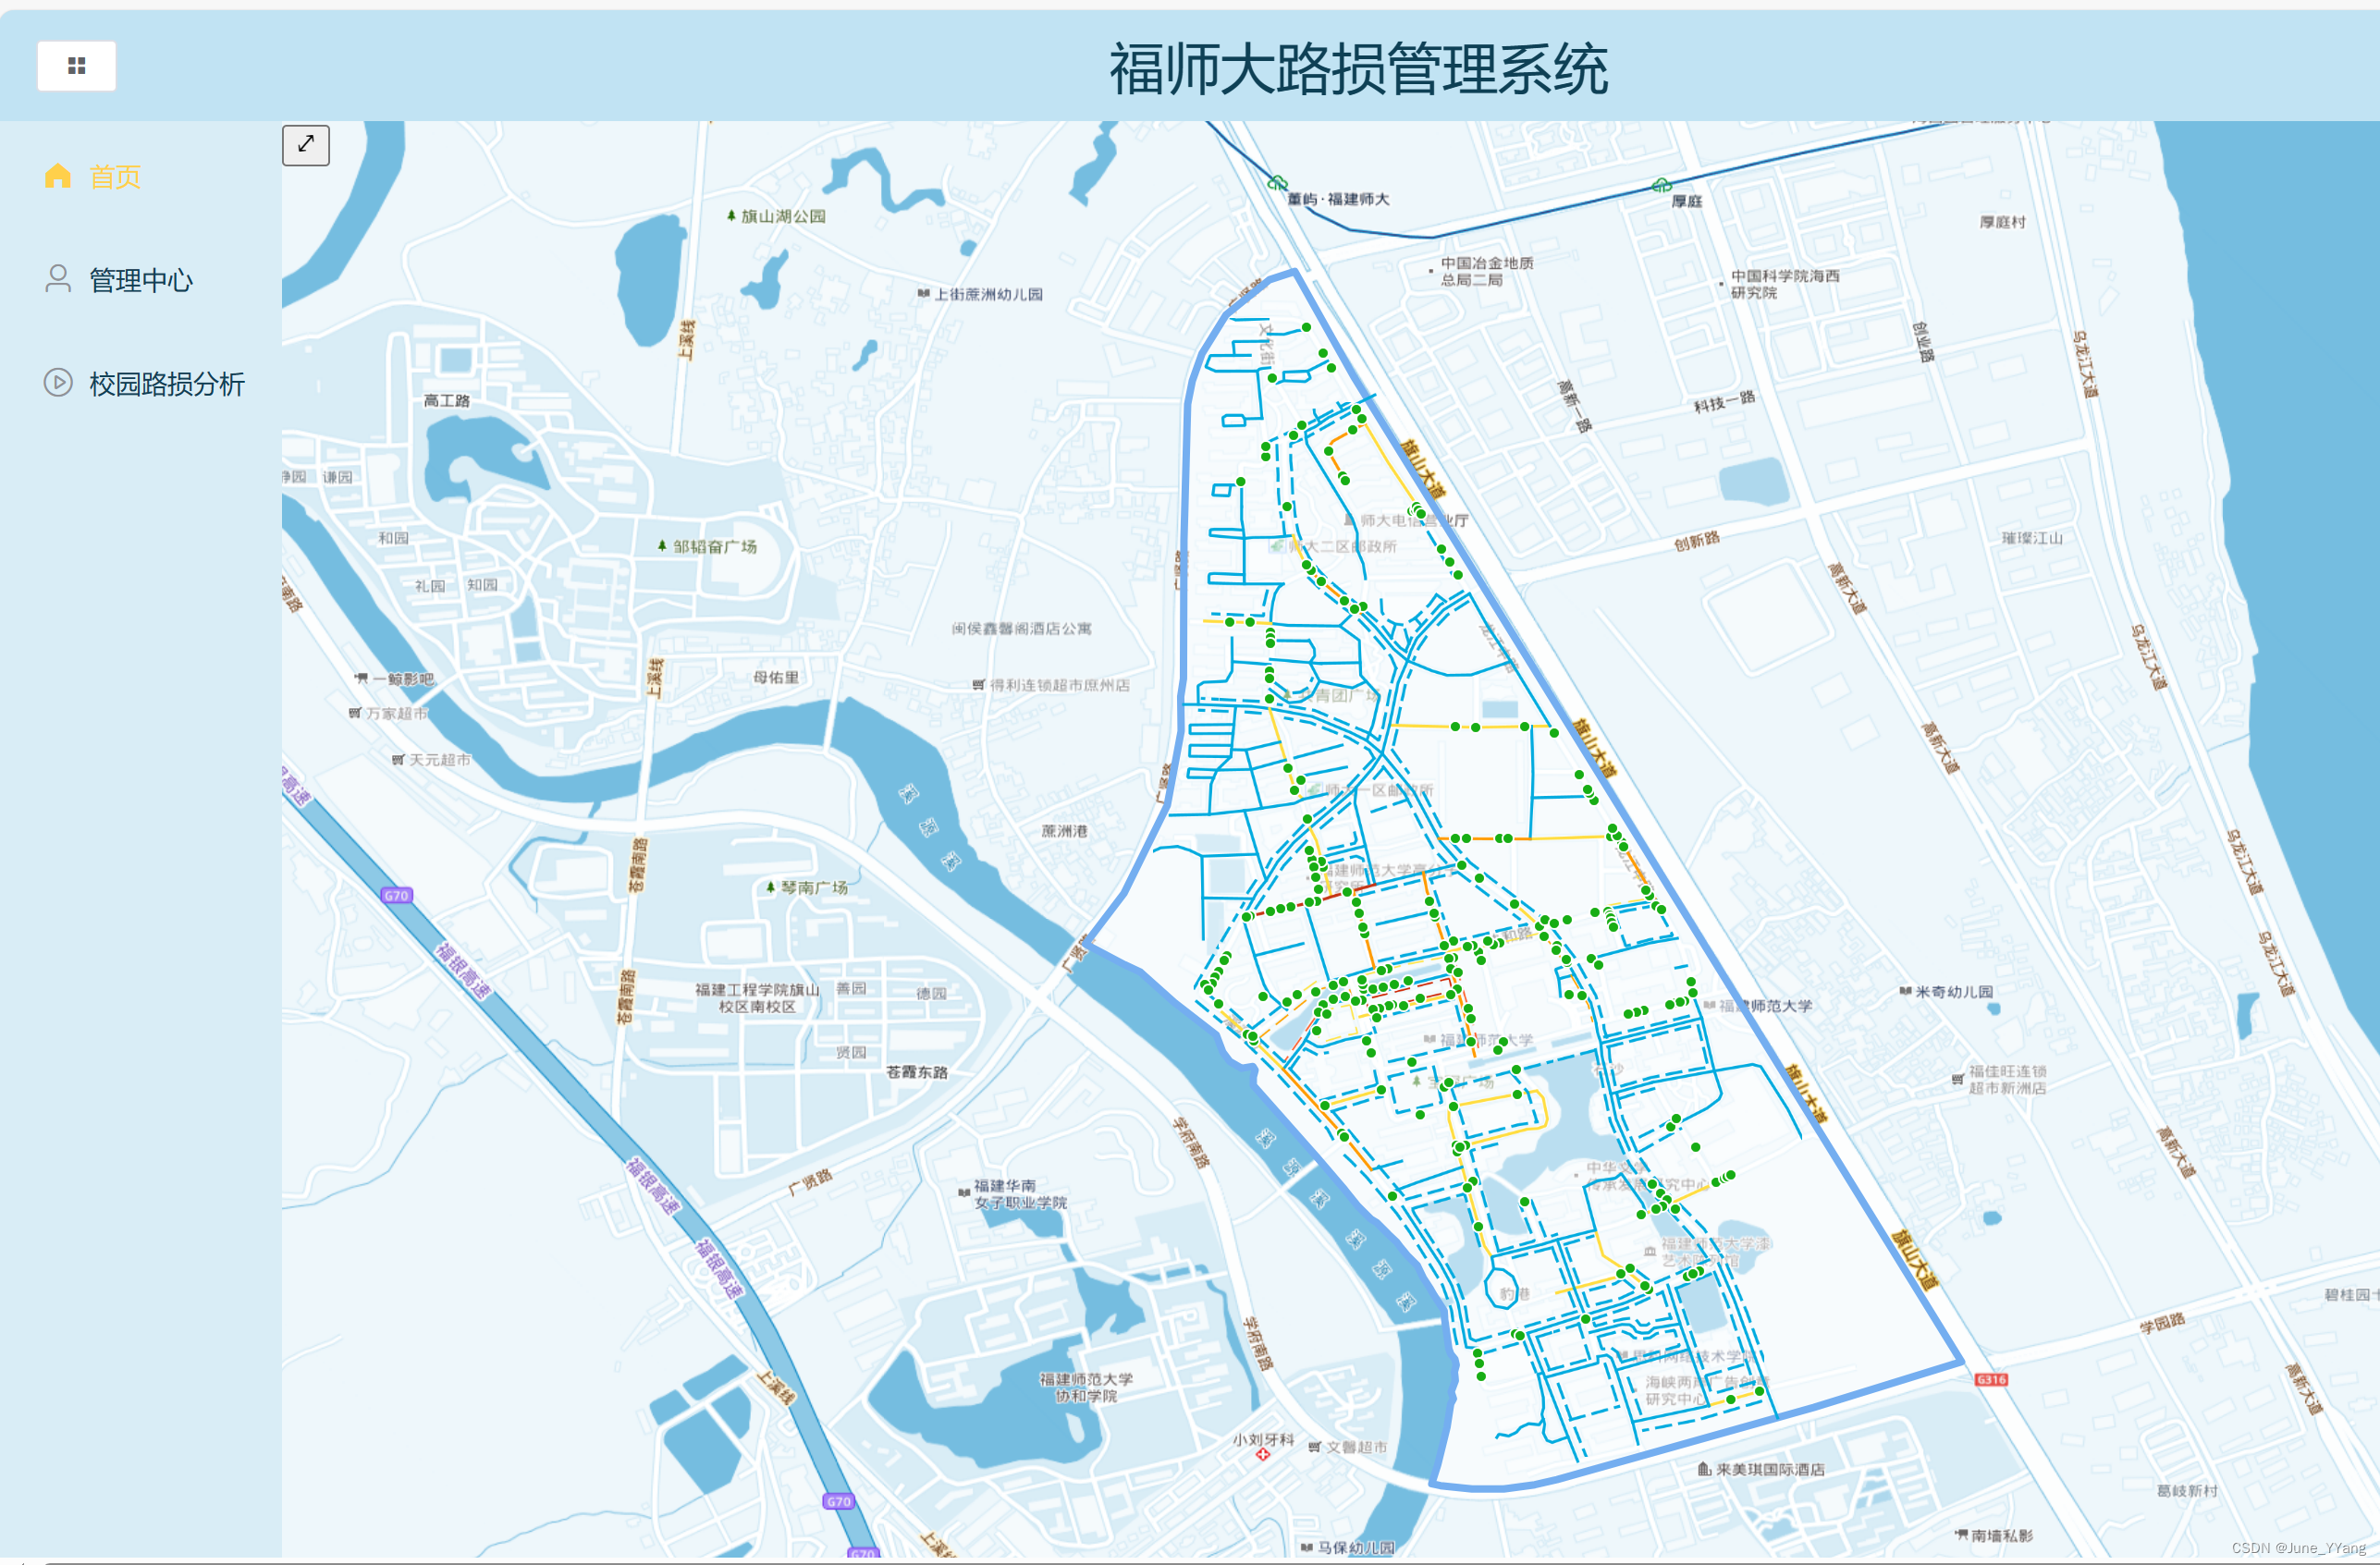
先放最后效果:
这里给一个可以调SVG滤镜的网站
可以先截一张地图底图照片,然后就可以对其进行调色
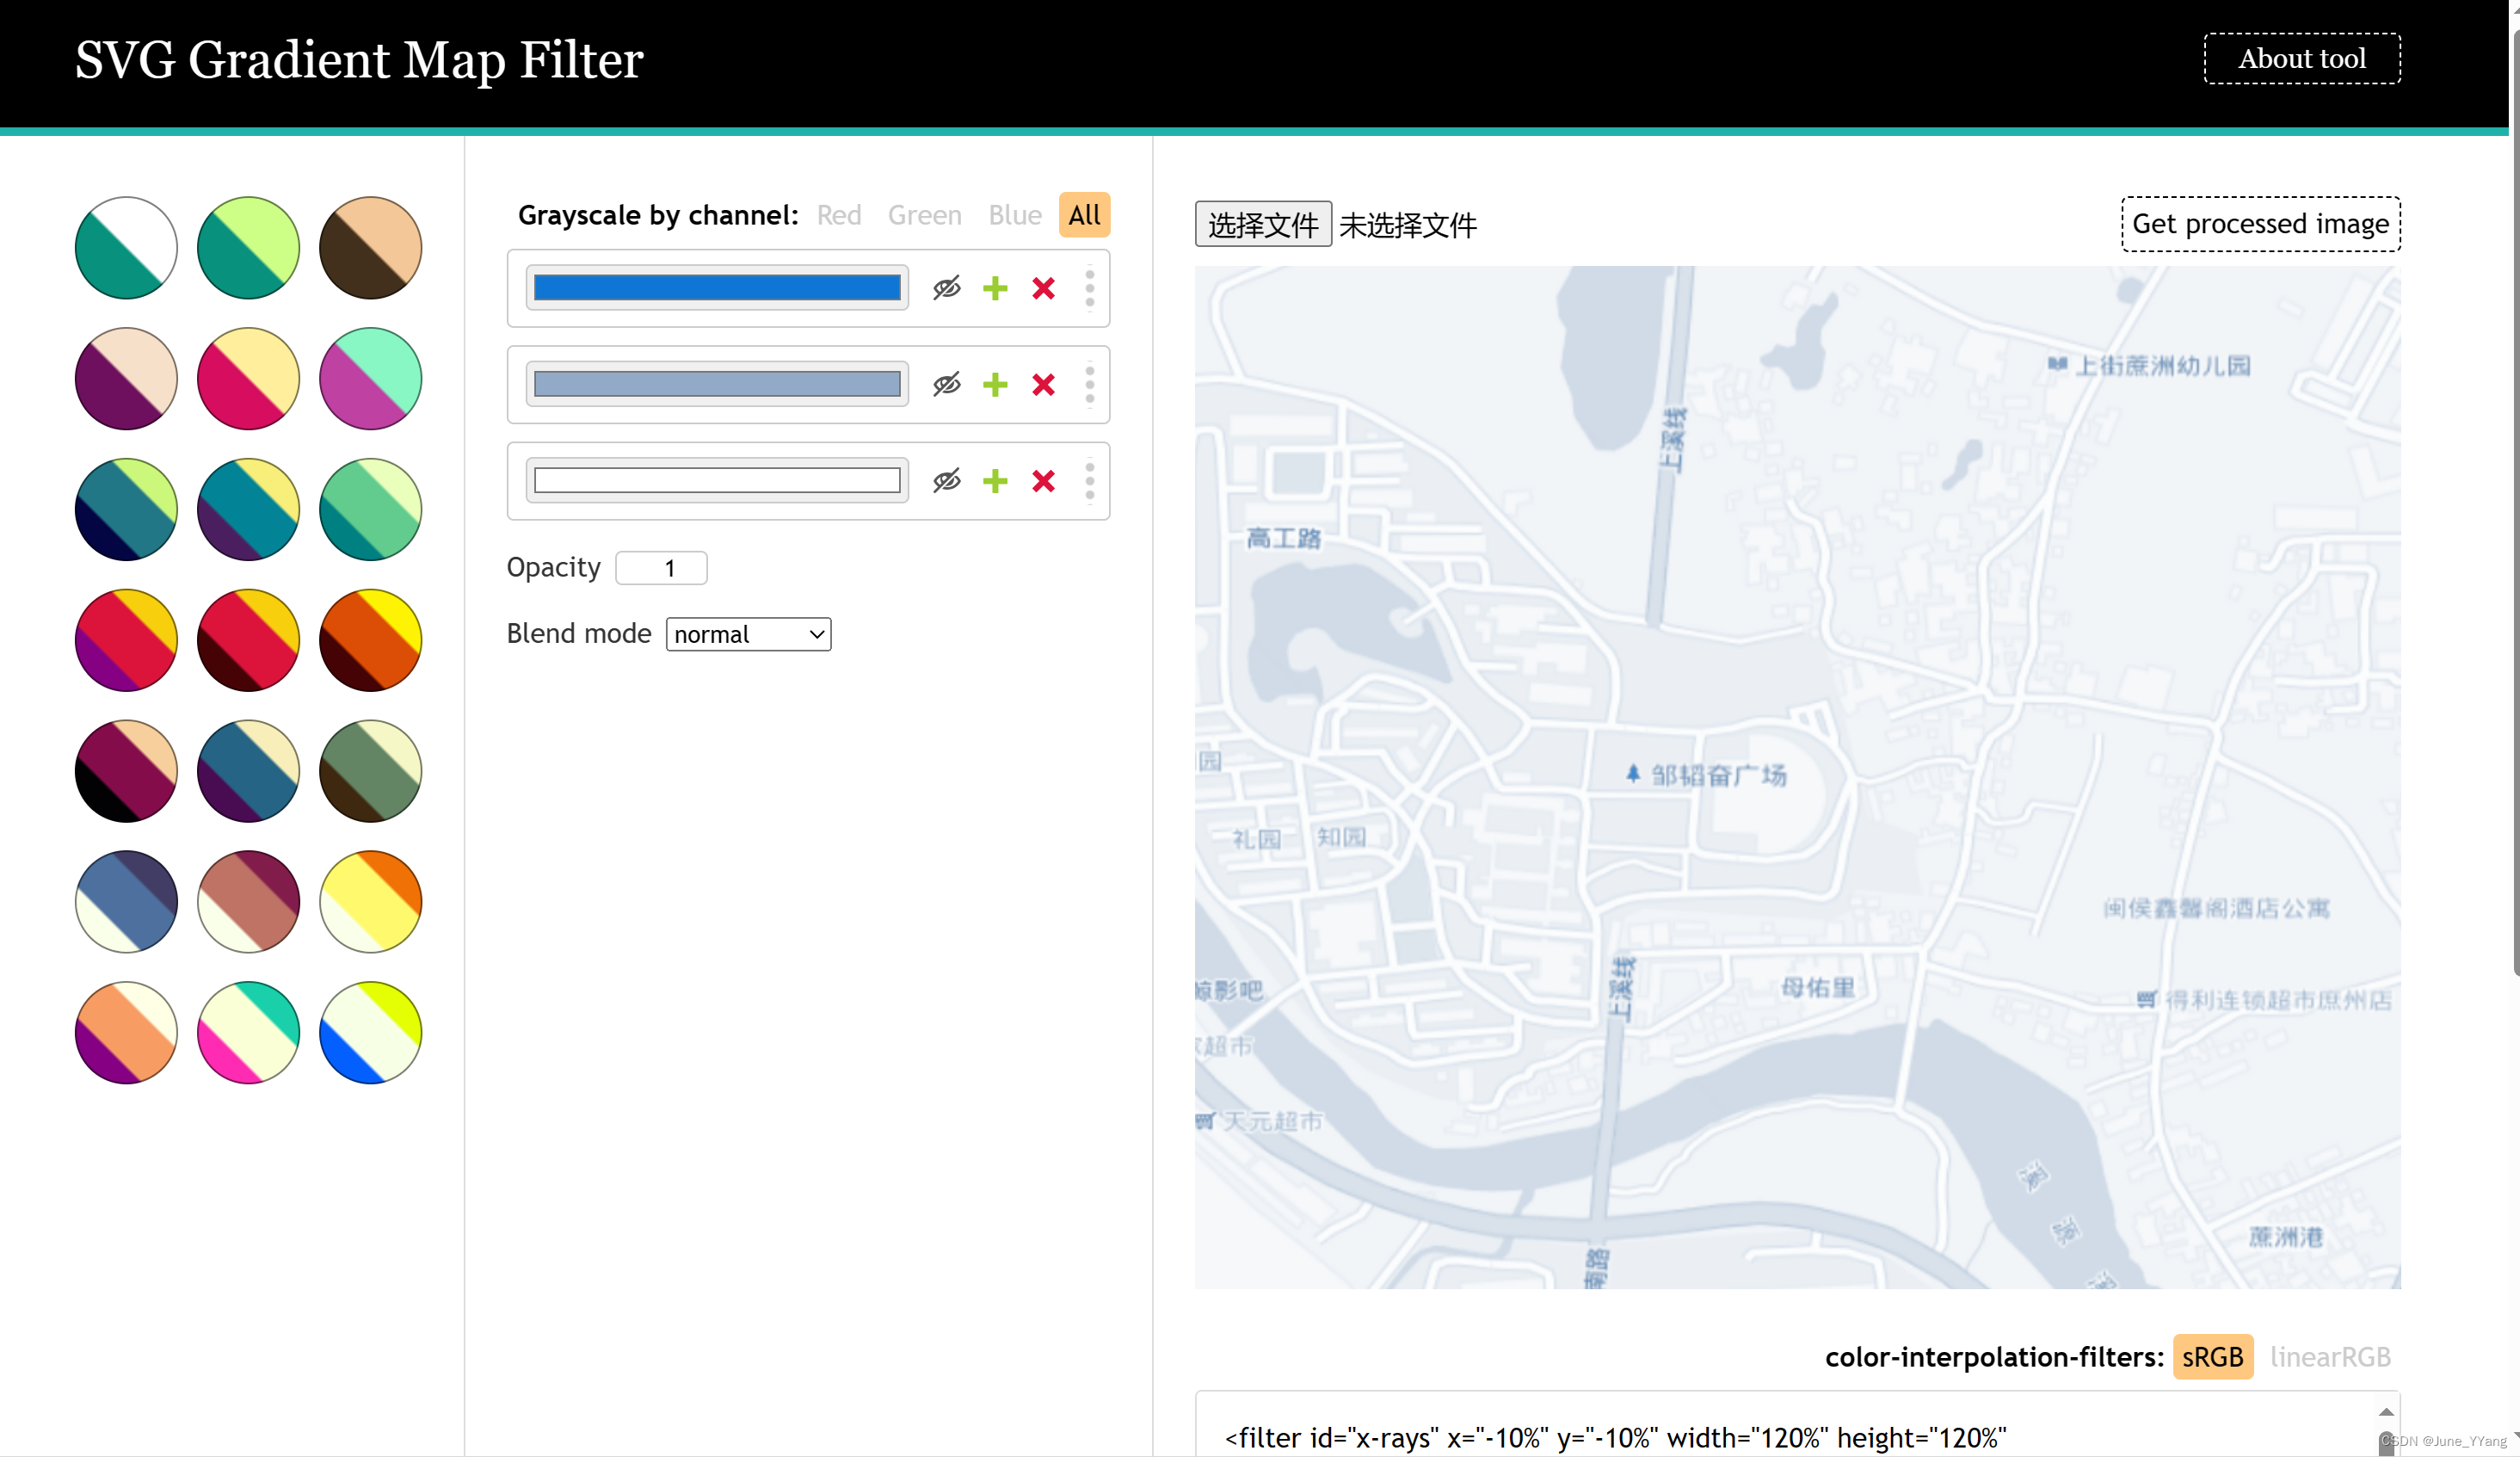
调色后,将右下角这段<filter>代码复制粘贴

就可以开始编写代码了
html部分:总体结构<svg><defs>(复制粘贴<filter></filter>)</defs></svg>
  //将复制粘贴的<filter>滤镜代码放在<svg>下
<svg
      aria-hidden="true"
      style="position: absolute; width: 0; height: 0; overflow: hidden"
    >
      <defs>//<filter>上级需要加一个<defs>标签
        <filter
          id="dark-blue-sepia"
          x="-10%"
          y="-10%"
          width="120%"
          height="120%"
          filterUnits="objectBoundingBox"
          primitiveUnits="userSpaceOnUse"
          color-interpolation-filters="sRGB"
        >
          <feColorMatrix
            type="matrix"
            values="1 0 0 0 0
                    1 0 0 0 0
                    1 0 0 0 0
                    0 0 0 1 0"
            in="SourceGraphic"
            result="colormatrix"
          />
          <feComponentTransfer in="colormatrix" result="componentTransfer">
            <feFuncR type="table" tableValues="0.29 0.18 1" />
            <feFuncG type="table" tableValues="0.04 0.61 1" />
            <feFuncB type="table" tableValues="0.32 0.82 1" />
            <feFuncA type="table" tableValues="0 1" />
          </feComponentTransfer>
          <feBlend
            mode="normal"
            in="componentTransfer"
            in2="SourceGraphic"
            result="blend"
          />
        </filter>
      </defs>
    </svg>
//地图div
    <div
      id="map"
      class="tMap"
      style="position: absolute; width: 100%; height: 100%"
    ></div>
script部分
找到需要改变颜色的图层,加一个className的属性,为了后面只改变这个图层的颜色
        // 图层数组 layers
        new TileLayer({
          className: 'blueLayer', //增加className属性
          name: '天地图',
          zIndex: 0,
          source: new XYZ({
            crossOrigin: 'anonymous',
            url: 'http://t0.tianditu.com/DataServer?T=vec_w&x={x}&y={y}&l={z}&tk=1113d08deee83da992a86975edf5a5d6',
          }),
        }),
css部分
用url(#)指定filter标签中的id
.blueLayer {
  filter: url(#dark-blue-sepia) invert(0%);
}


 被折叠的 条评论
为什么被折叠?
被折叠的 条评论
为什么被折叠?
 到【灌水乐园】发言


