


1.springboot整合swagger2
1.1什么是swagger2
Swagger 是一个规范和完整的框架,用于生成、描述、调用和可视化 RESTful 风格的 Web 服务的接口文档 . 接口: controller相应的路径方法,编写和维护接口文档是每个程序员的职责,根据Swagger2可以快速帮助我们编写最新的API接口文档,再也不用担心开会前仍忙于整理各种资料了,间接提升了团队开发的沟通效率。
1.2为什么是用swagger2
1.目前的项目基本都是前后端分离,后端为前端提供接口的同时,还需同时提供接口的说明文档。但我们的代码总是会根据实际情况来实时更新,这个时候有可能会忘记更新接口的说明文档,造成一些不必要的问题。
2.支持 API 自动生成同步的在线文档:使用 Swagger 后可以直接通过代码生成文档,不再需要自己手动编写接口文档了,对程序员来说非常方便。
3.提供 Web 页面在线测试 API:有文档还不够,Swagger 生成的文档还支持在线测试。参数和格式都定好了,直接在界面上输入参数对应的值即可在线测试接口。
1.3常用注解
@Api:修饰整个类,描述Controller的作用
@ApiOperation:描述一个类的一个方法,或者说一个接口
@ApiParam:单个参数描述
@ApiModel:用对象来接收参数
@ApiModelProperty:用对象接收参数时,描述对象的一个字段
@ApiImplicitParam:一个请求参数
@ApiImplicitParams:多个请求参数
1.4如何使用swagger2
(1)引入依赖
 <!--swagger2依赖-->
    <dependency>
        <groupId>com.spring4all</groupId>
        <artifactId>swagger-spring-boot-starter</artifactId>
        <version>1.9.1.RELEASE</version>
    </dependency>
    <dependency>
        <groupId>com.github.xiaoymin</groupId>
        <artifactId>swagger-bootstrap-ui</artifactId>
        <version>1.7.8</version>
    </dependency>
(2)创建swagger的配置类
@Configuration
@EnableSwagger2//开启swagger注解驱动
public class SwaggerConfig {
@Bean //把方法返回的数据对象 交于spring容器管理
    public Docket docket(){
    Docket docket = new Docket(DocumentationType.SWAGGER_2).groupName("QY163").apiInfo(getInfo()).select().apis(RequestHandlerSelectors.basePackage("com.sws.controller")).build();
    return docket;
    }
private ApiInfo getInfo(){
    Contact contact = new Contact("渣男", "http://www.baidu.com", "110@qq.com");
    ApiInfo apiInfo = new ApiInfo("模拟心理健康测试", "模拟心理健康测试", "1.2.0", "http://www.jd.com",
            contact, "渣男分析有限公司", "http://www.mingzhe.com", new ArrayList<VendorExtension>());
    	return apiInfo;
	}
}
(3)启动主加载类,访问swagger在线文档
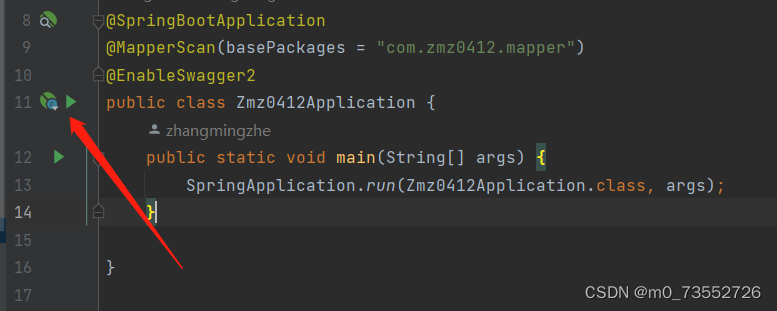
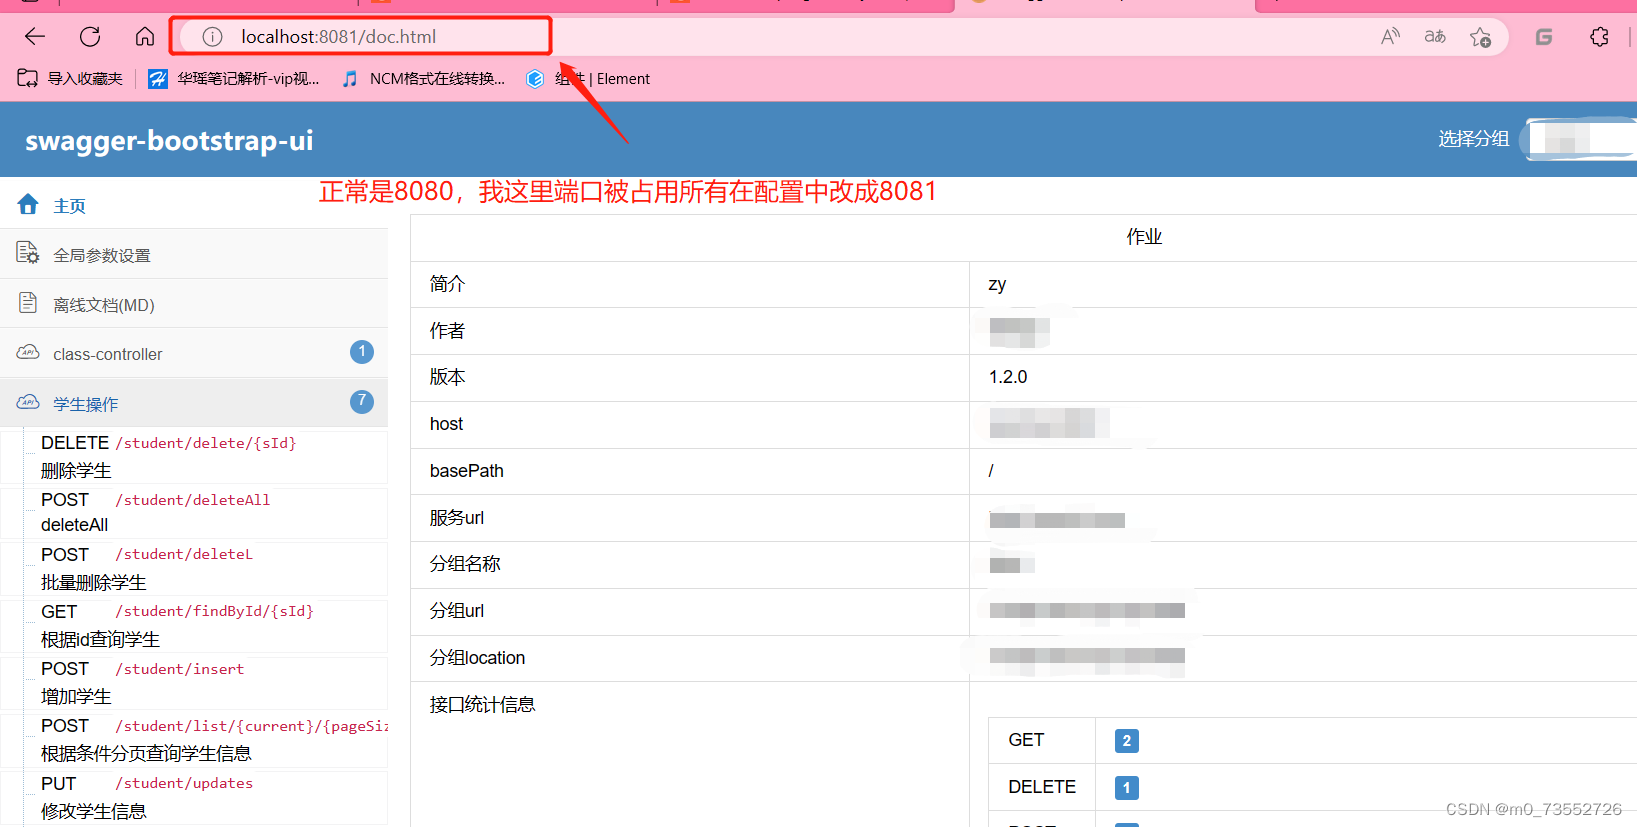
http://ip:port/doc.html(推荐!)
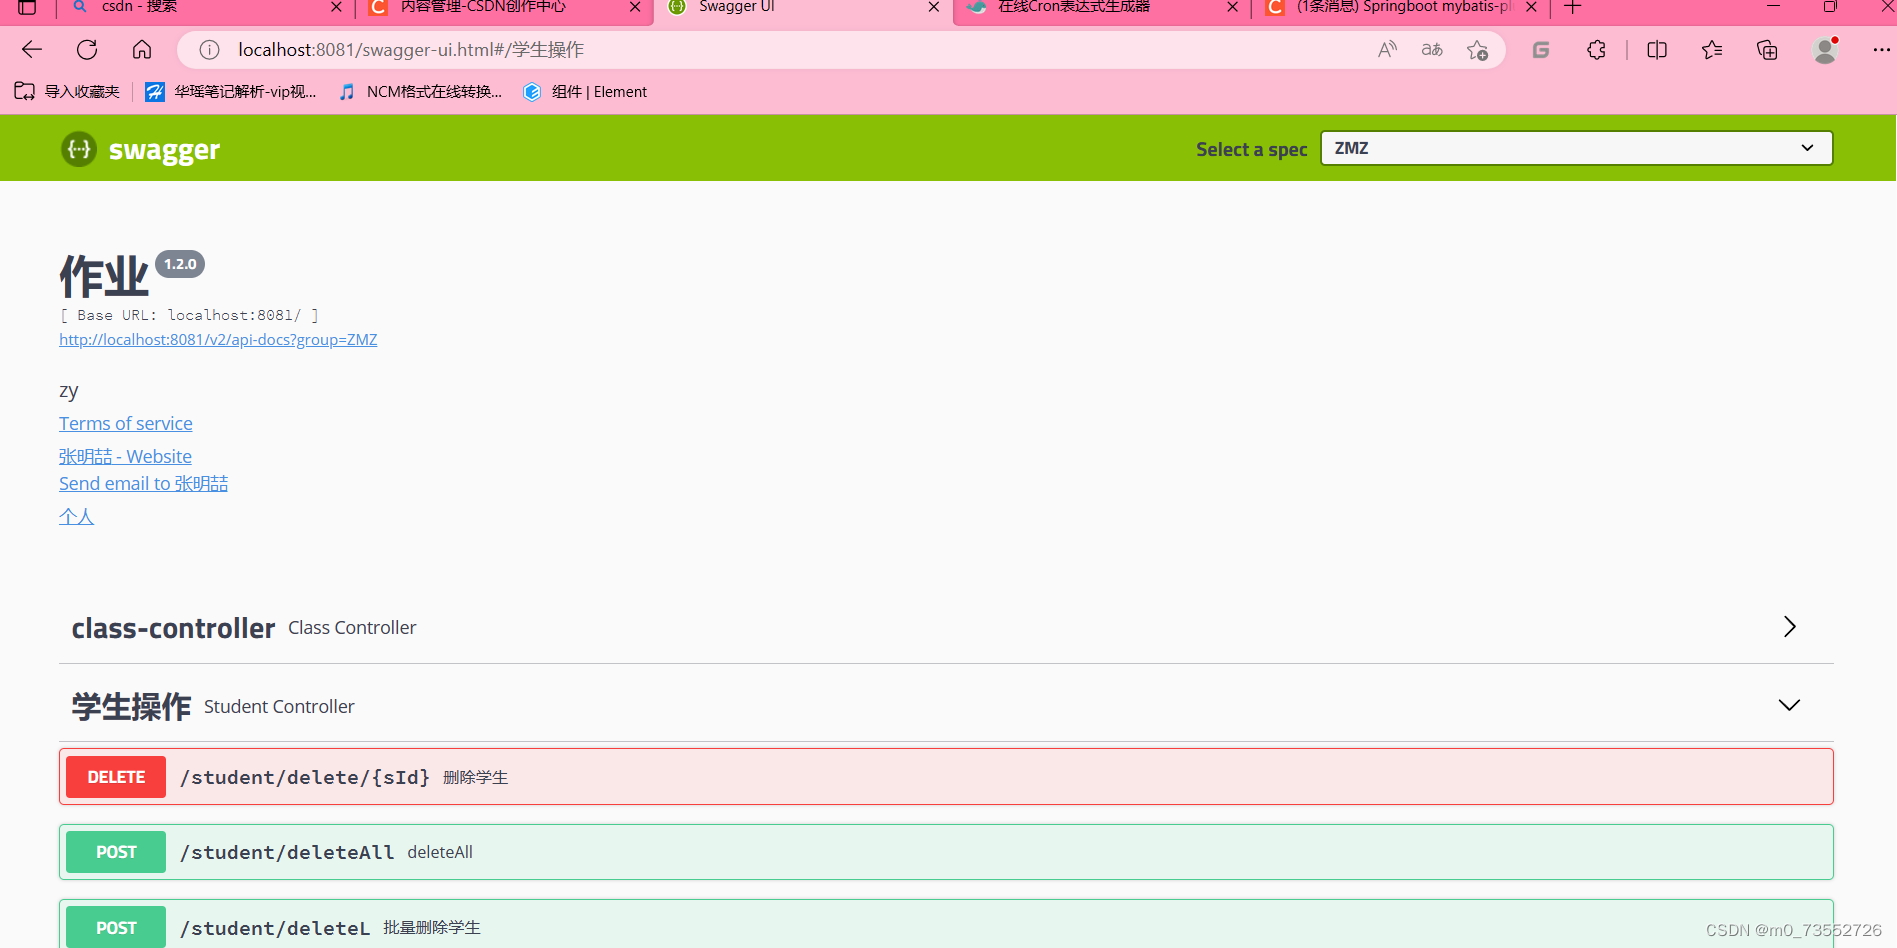
http://ip:port/swagger-ui.html
2.springboot整合定时器-quartz
定时器: 在指定的时间执行相应的业务代码。
应用场景: 比如: 定时删除OSS中冗余的文件
三十分钟未支付---->取消订单。
定时发送短信
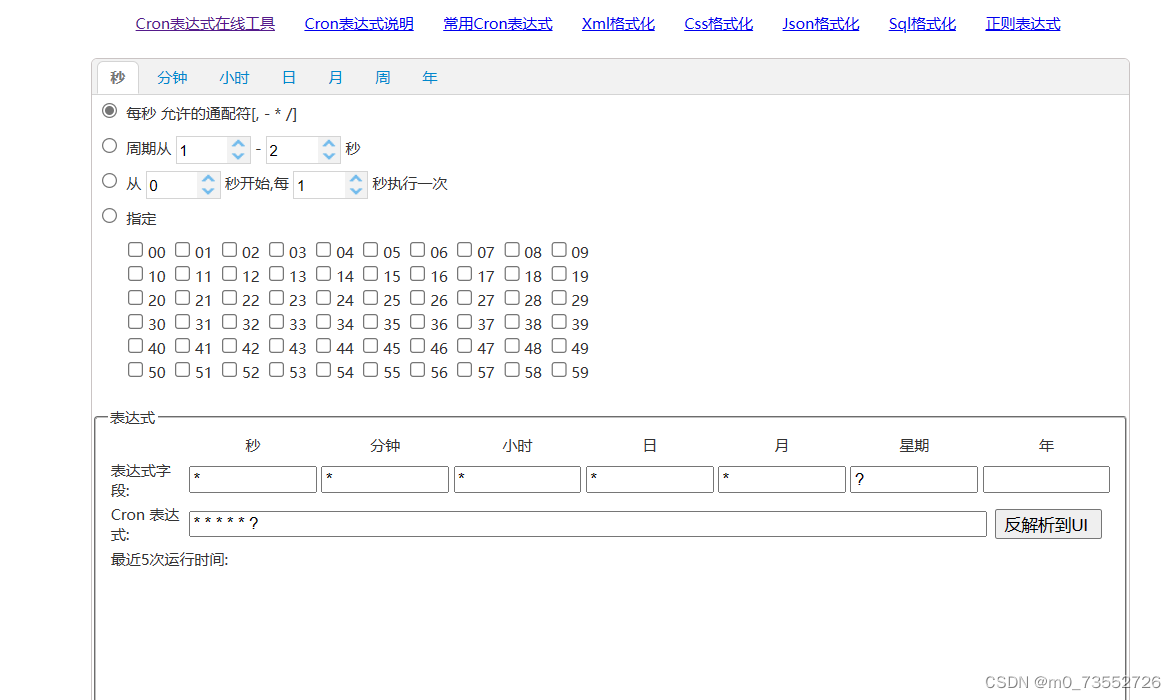
在线cron表达式生成器
https://www.pppet.net/
2.1引入依赖
	<dependency>
        <groupId>org.springframework.boot</groupId>
        <artifactId>spring-boot-starter-quartz</artifactId>
    </dependency>
2.2创建一个定时器类,配置任务
@Component//交给spring容器
public class QuarzConfig {
    @Scheduled(cron = "0/5 * * * * ? ")//每5秒触发一次
    public void show(){
        System.out.println("111");
    }
    @Autowired
    private Stundent1Mapper student1Mapper;
    @@Scheduled(cron = "0 0/5 * * * ?")//每5分钟触发一次
     public void show(){
        List<Stundent1> student1 = student1Mapper.selectList(null);
        System.out.println(student1);
    }
}
2.3开启定时器注解驱动
@SpringBootApplication
@MapperScan("com.sws.mapper")
@EnableScheduling//开启定时任务
public class SpringbootMpApplication {
public static void main(String[] args) {
    SpringApplication.run(SpringbootMpApplication.class, args);
}}


 71
71


 被折叠的 条评论
为什么被折叠?
被折叠的 条评论
为什么被折叠?
 到【灌水乐园】发言


