


😀前言
本篇博文是关于Spring Boot(Vue3+ElementPlus+Axios+MyBatisPlus+Spring Boot 前后端分离)【六】,希望你能够喜欢
🏠个人主页:晨犀主页
🧑个人简介:大家好,我是晨犀,希望我的文章可以帮助到大家,您的满意是我的动力😉😉
💕欢迎大家:这里是CSDN,我总结知识的地方,欢迎来到我的博客,感谢大家的观看🥰
如果文章有什么需要改进的地方还请大佬不吝赐教 先在此感谢啦😊
文章目录
Spring Boot(Vue3+ElementPlus+Axios+MyBatisPlus+Spring Boot 前后端分离)【六】
实现功能09- 切换数据源为Druid
代码实现
- 切换数据源为druid , 修改pom.xml 和创建配置文件com\nlc\furn\config\DruidDataSourceConfig.java
上面建项目的时候就已经导入了就不用导入了,这里只是提醒一下
<!-- 引入druid 依赖-->
<dependency>
    <groupId>com.alibaba</groupId>
    <artifactId>druid</artifactId>
    <version>1.1.17</version>
</dependency>
@Configuration
@Slf4j
public class DruidDataSourceConfig {

    //配置/注入DruidDataSource

    @ConfigurationProperties("spring.datasource")
    @Bean
    public DataSource dataSource() {
        DruidDataSource druidDataSource = new DruidDataSource();
        log.info("数据源={}", druidDataSource.getClass());
        return druidDataSource;
    }
}
- 完成测试, 看看数据源是否切换成Druid

实现功能10-带条件查询分页显示列表
需求分析/图解
思路分析
- 完成后台代码从mapper -> service -> controller , 并对代码进行测试
- 完成前台代码,使用axios 发送http 请求,完成带条件查询分页显示
代码实现
- 修改FurnController.java , 增加处理带条件分页查询
   /**
     * @param pageNum  显示第几页
     * @param pageSize 每页显示几条记录
     * @param search   检索条件: 家居名 , 默认是“”, 表示不带条件检索,正常分页
     * @return
     */
    @GetMapping("/furnsBySearchPage")
    public Result listFurnsByConditionPage(
            @RequestParam(defaultValue = "1") Integer pageNum,
            @RequestParam(defaultValue = "5") Integer pageSize,
            @RequestParam(defaultValue = "") String search) {

        //先创建QueryWrapper, 可以将我们的检索条件封装到QueryWrapper
        QueryWrapper<Furn> queryWrapper = Wrappers.query();
        //判断search 是否有内容
        if (StringUtils.hasText(search)) {
            queryWrapper.like("name", search);
        }

        Page<Furn> page = furnService.page(new Page<>(pageNum, pageSize), queryWrapper);

        return Result.success(page);
    }
- 在数据库/表中增加测试数据, 方便进行条件查询
INSERT INTO furn(`id` , `name` , `maker` , `price` , `sales` , `stock` )
VALUES(NULL , '简约沙发1' , '蚂蚁家居' , 180 , 666 , 7 );
INSERT INTO furn(`id` , `name` , `maker` , `price` , `sales` , `stock` )
VALUES(NULL , '简约沙发2' , '蚂蚁家居' , 180 , 666 , 7 );
INSERT INTO furn(`id` , `name` , `maker` , `price` , `sales` , `stock` )
VALUES(NULL , '简约沙发3' , '蚂蚁家居' , 180 , 666 , 7 );
INSERT INTO furn(`id` , `name` , `maker` , `price` , `sales` , `stock` )
VALUES(NULL , '简约沙发4' , '蚂蚁家居' , 180 , 666 , 7 );
INSERT INTO furn(`id` , `name` , `maker` , `price` , `sales` , `stock` )
VALUES(NULL , '简约沙发5' , '蚂蚁家居' , 180 , 666 , 7 );
INSERT INTO furn(`id` , `name` , `maker` , `price` , `sales` , `stock` )
VALUES(NULL , '简约沙发6' , '蚂蚁家居' , 180 , 666 , 7 );
INSERT INTO furn(`id` , `name` , `maker` , `price` , `sales` , `stock` )
VALUES(NULL , '简约沙发7' , '蚂蚁家居' , 180 , 666 , 7 );
INSERT INTO furn(`id` , `name` , `maker` , `price` , `sales` , `stock` )
VALUES(NULL , '简约沙发8' , '蚂蚁家居' , 180 , 666 , 7 );
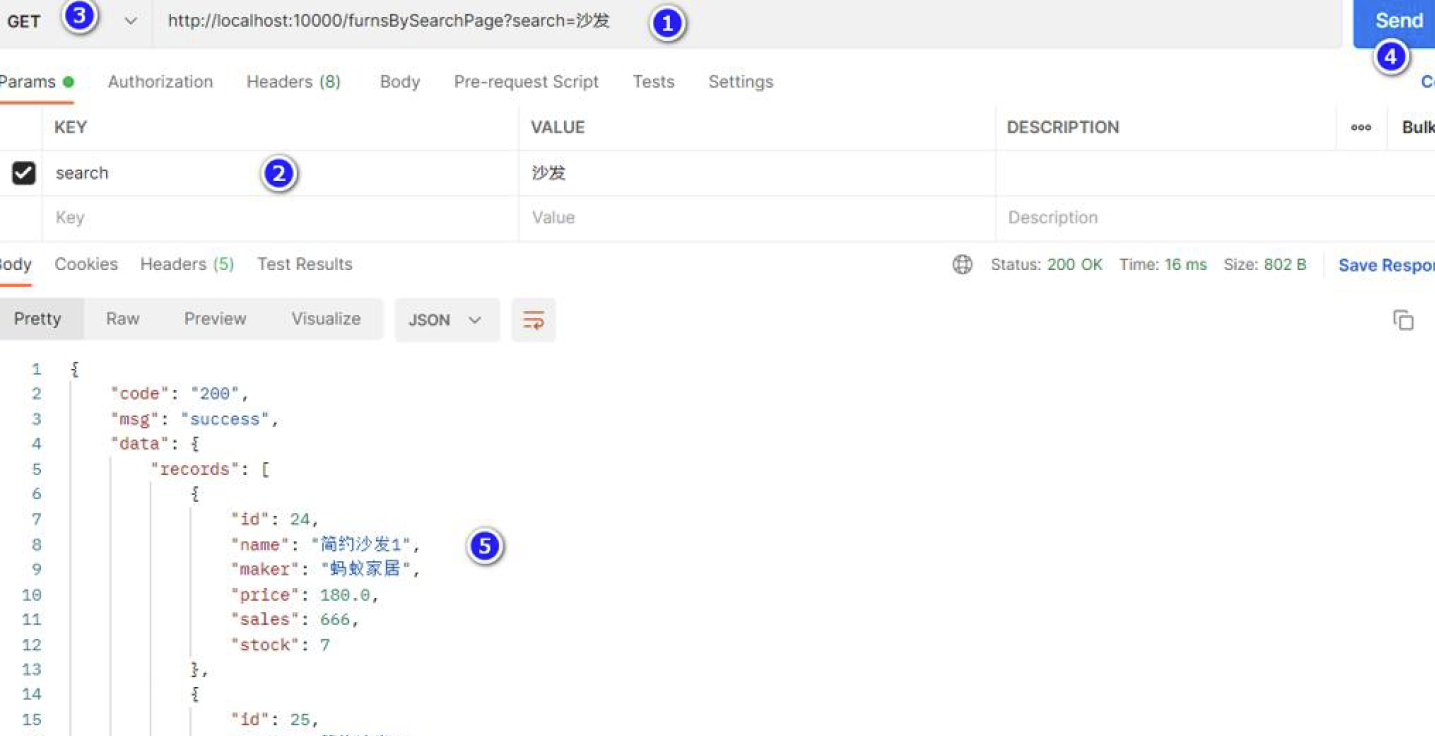
- 使用Postman 完成测试http://localhost:10000/furnsBySearchPage?search=沙发
- 修改HomeView.vue , 完成带条件分页查询
< !--功能区域-->
    <div style="margin: 10px 0">
        <i class="el-icon-add-location"></i>
        <el-button type="primary" @click="add">新增</el-button>
</div>

< !--搜索区域-->
    <div style="margin: 10px 0">
        <el-input v-model="search" placeholder=" 请输入关键字" style="width: 20%"
            clearable></el-input>
        <el-button type="primary" style="margin-left: 5px" @click="list">检索</el-button>
</div>
=======在数据池,增加search 变量=
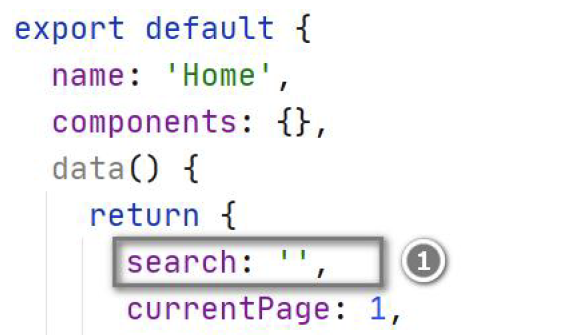
修改list 方法,请求带条件分页的API 接口===
    list() {//显示家居信息,
      // request.get("/api/furns").then(res => {
      //   console.log("res=", res)
      //   //将返回的数据和tableData绑定
      //   this.tableData = res.data
      // })
      //分页查询 + 带条件
      request.get("/api/furnsBySearchPage2", {
        params: {
          pageNum: this.currentPage,
          pageSize: this.pageSize,
          search: this.search
        }
      }).then(res => {
        // console.log("res=", res)
        //将返回的数据和tableData绑定
        this.tableData = res.data.records
        //修改total
        this.total = res.data.total
      })
    }
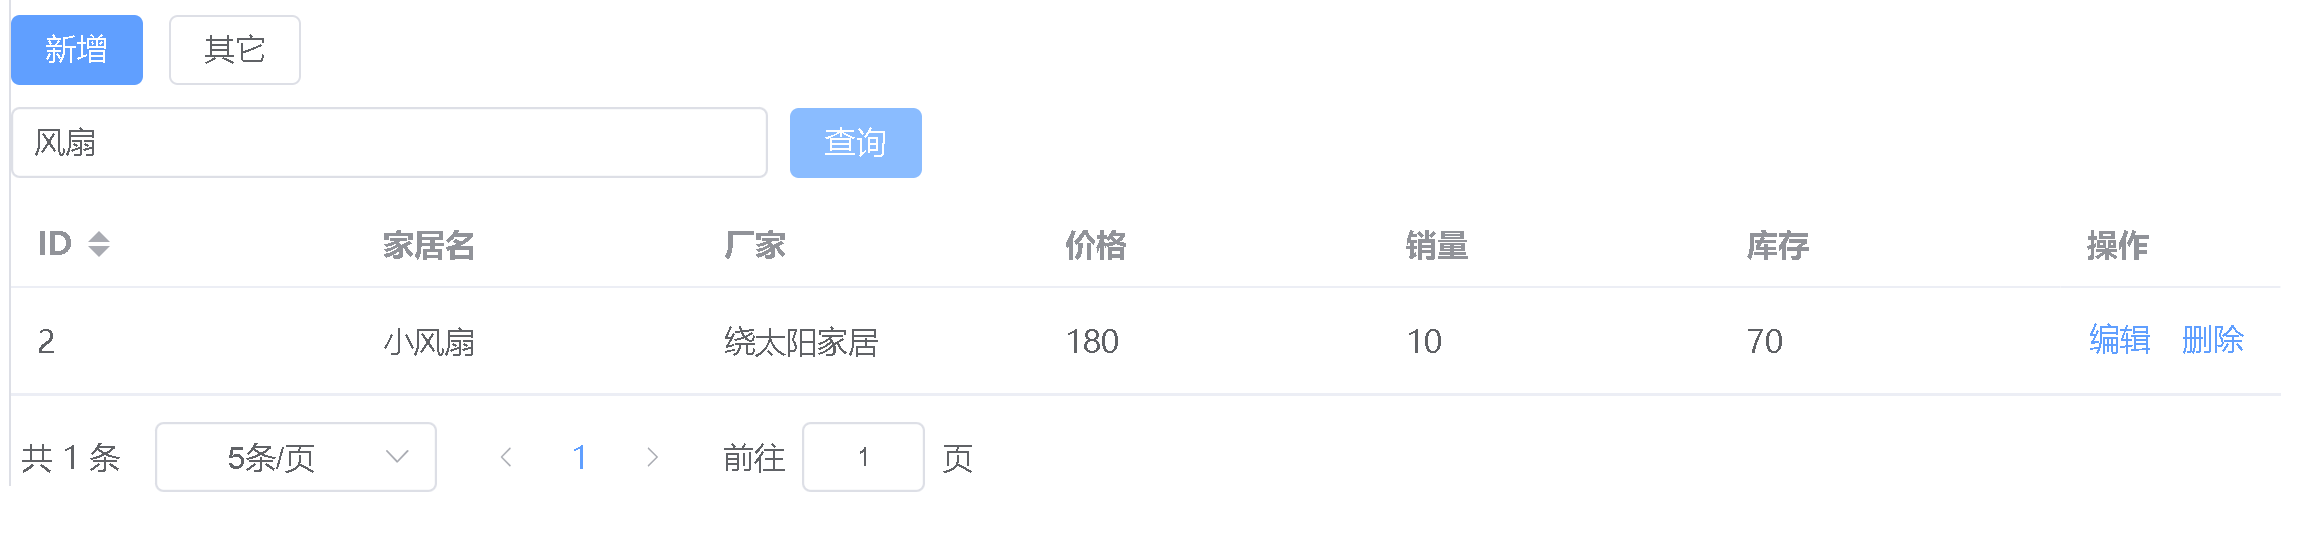
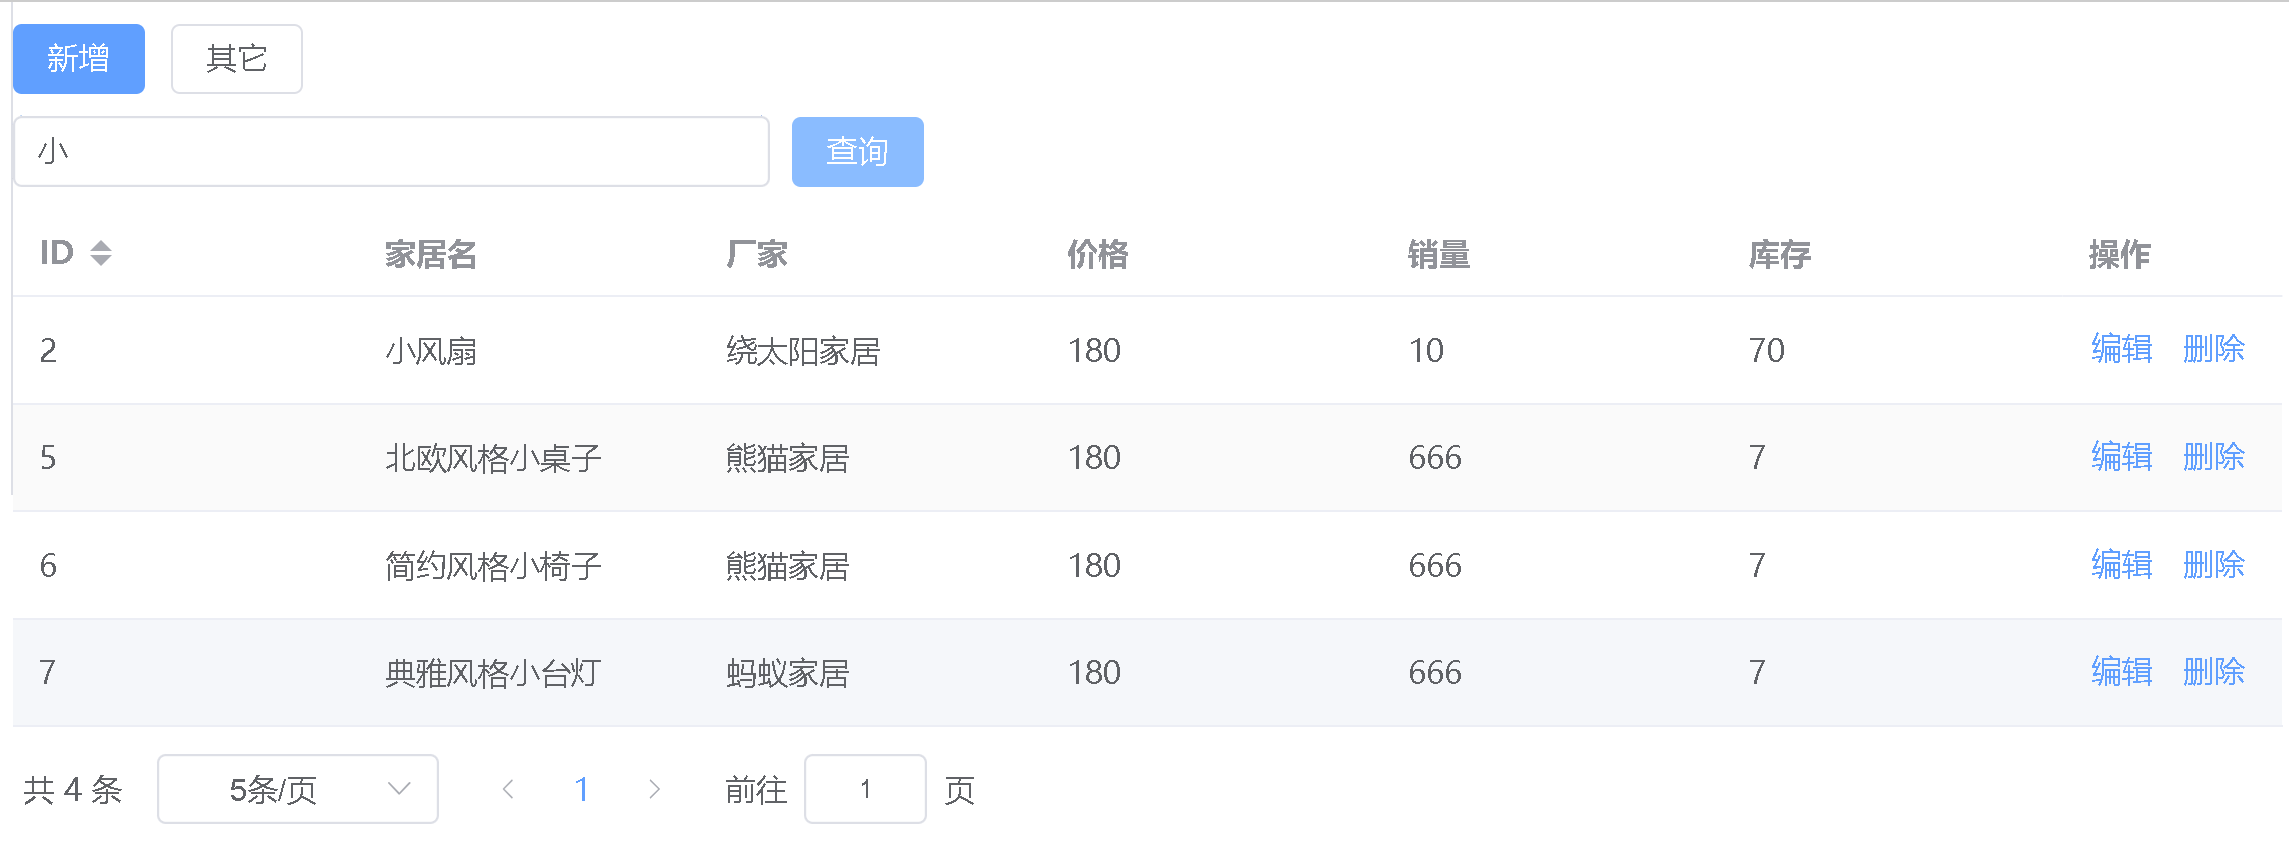
测试分页条件查询
启动项目后台服务springboot-furn
启动项目前台springboot_vue
浏览器输入: http://localhost:10000/
带条件分页查询显示效果
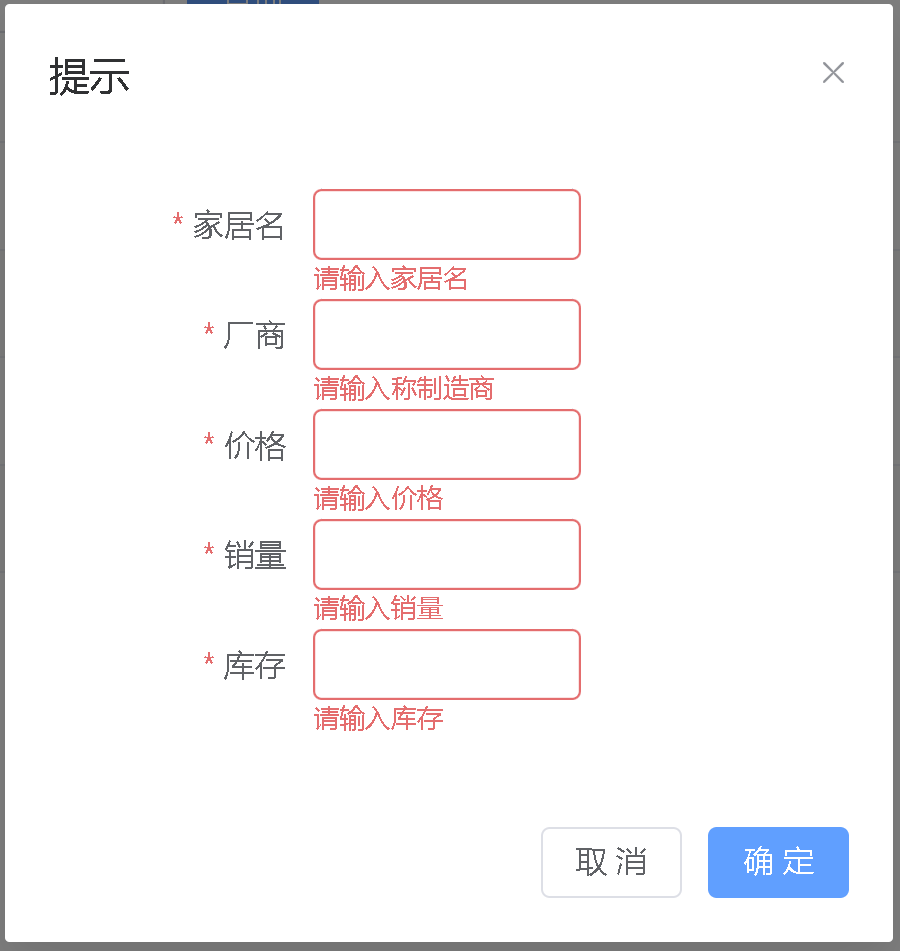
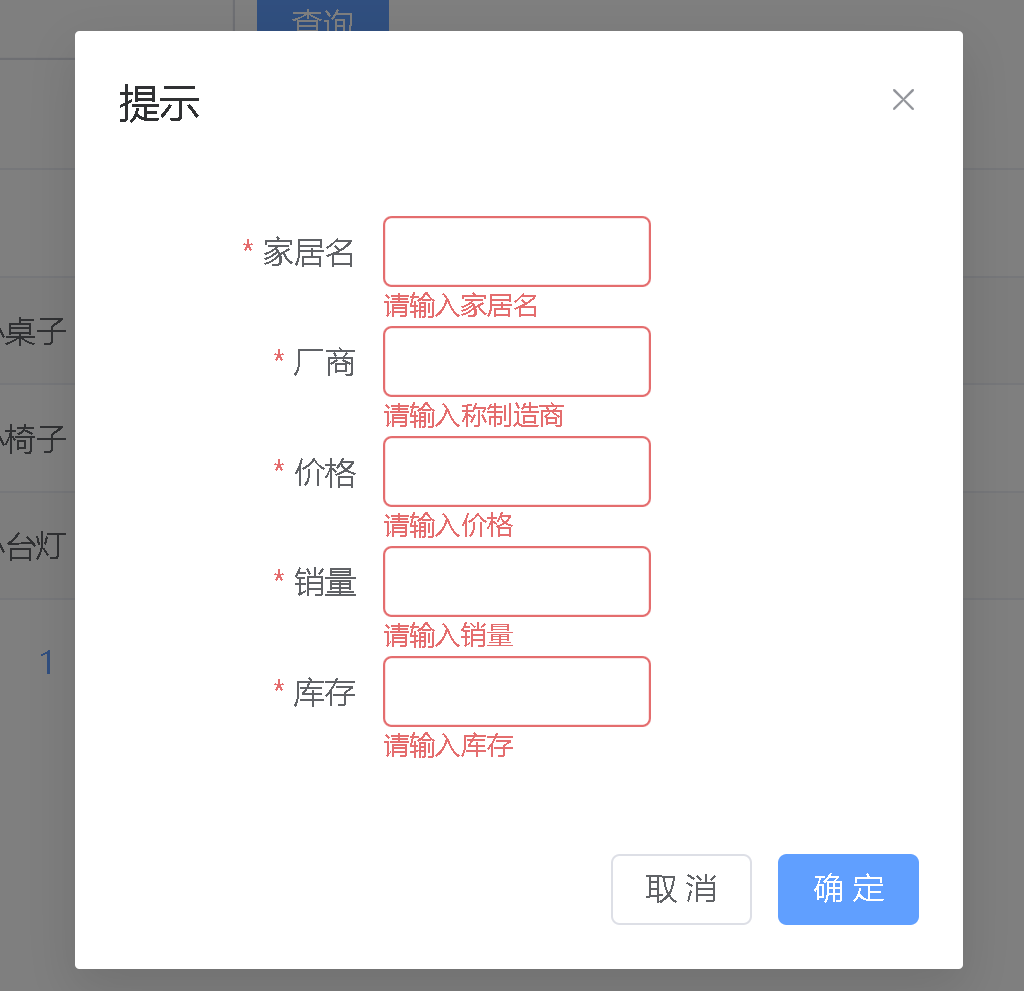
实现功能11-家居表单前端校验
需求分析/图解
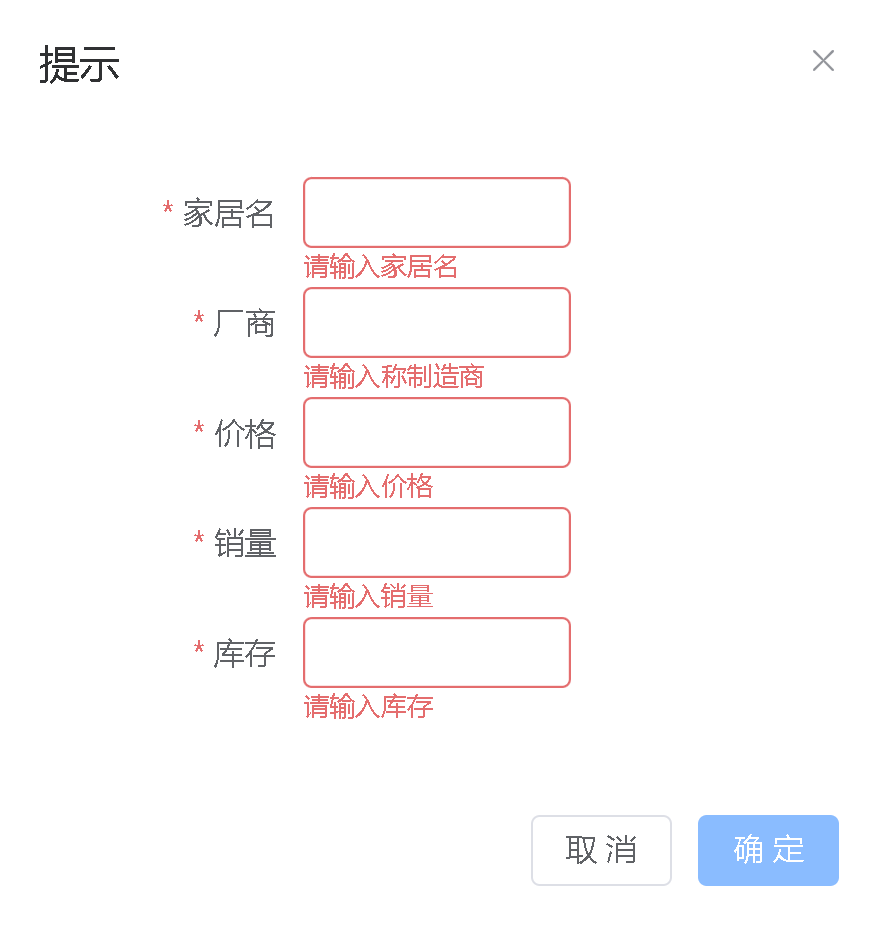
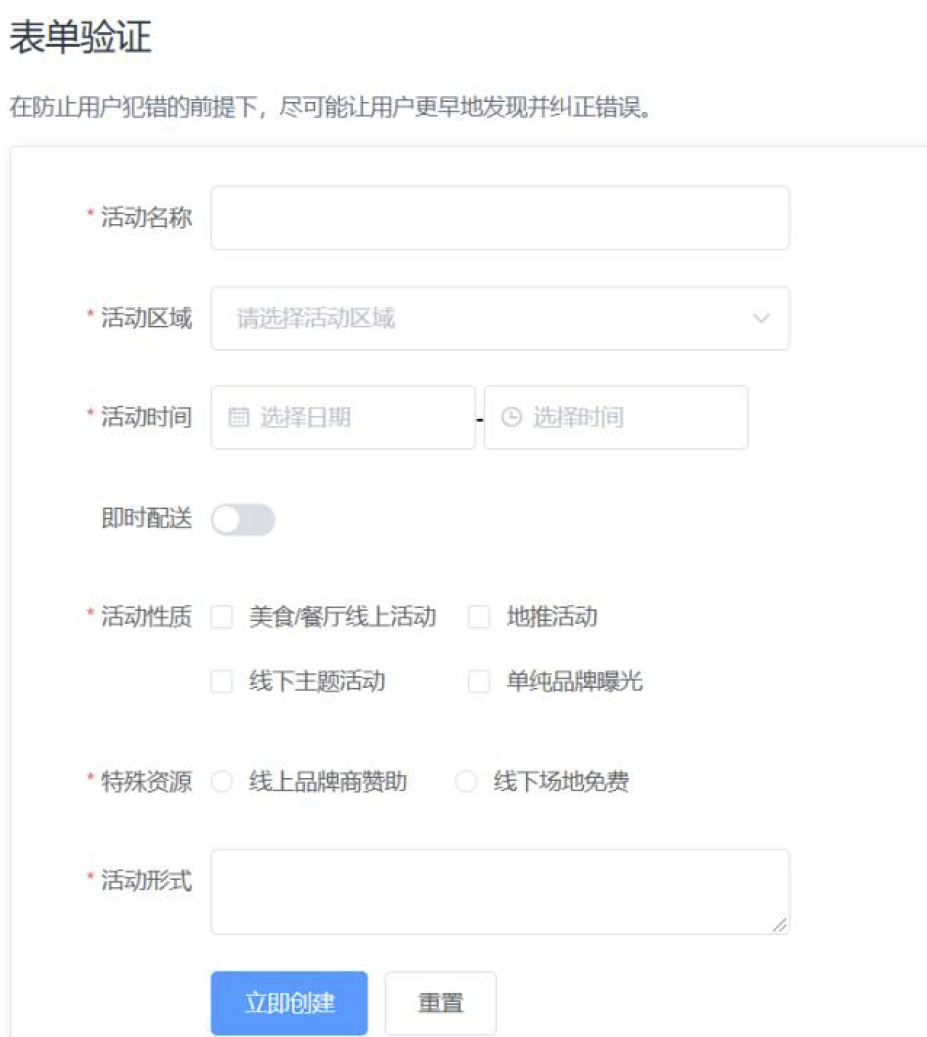
说明: 参考element-plus 表单验证
思路分析
- 完成前台代码,使用ElementPlus 的表单rules 验证即可
- 参考ElementPlus 的表单验证文档
代码实现
- 修改HomeView.vue , 增加表单验证处理代码
==增加对表单各个字段的校验规则=
tableData: [],
    rules: {
    name: [
        { required: true, message: '请输入称家居名', trigger: 'blur' }
    ],
        maker: [
            { required: true, message: '请输入称制造商', trigger: 'blur' }
        ],
            price: [
                { required: true, message: '请输入价格', trigger: 'blur' },
                { pattern: /^(([1-9]\d*)|(0))(\.\d+)?$/, message: '请输入数字', trigger: 'blur' }
            ],
                sales: [
                    { required: true, message: '请输入销量', trigger: 'blur' },
                    { pattern: /^(([1-9]\d*)|(0))$/, message: '请输入数字', trigger: 'blur' }
                ],
                    stock: [
                        { required: true, message: '请输入库存', trigger: 'blur' },
                { pattern: /^(([1-9]\d*)|(0))$/, message: '请输入数字', trigger: 'blur' }
                    ]
}
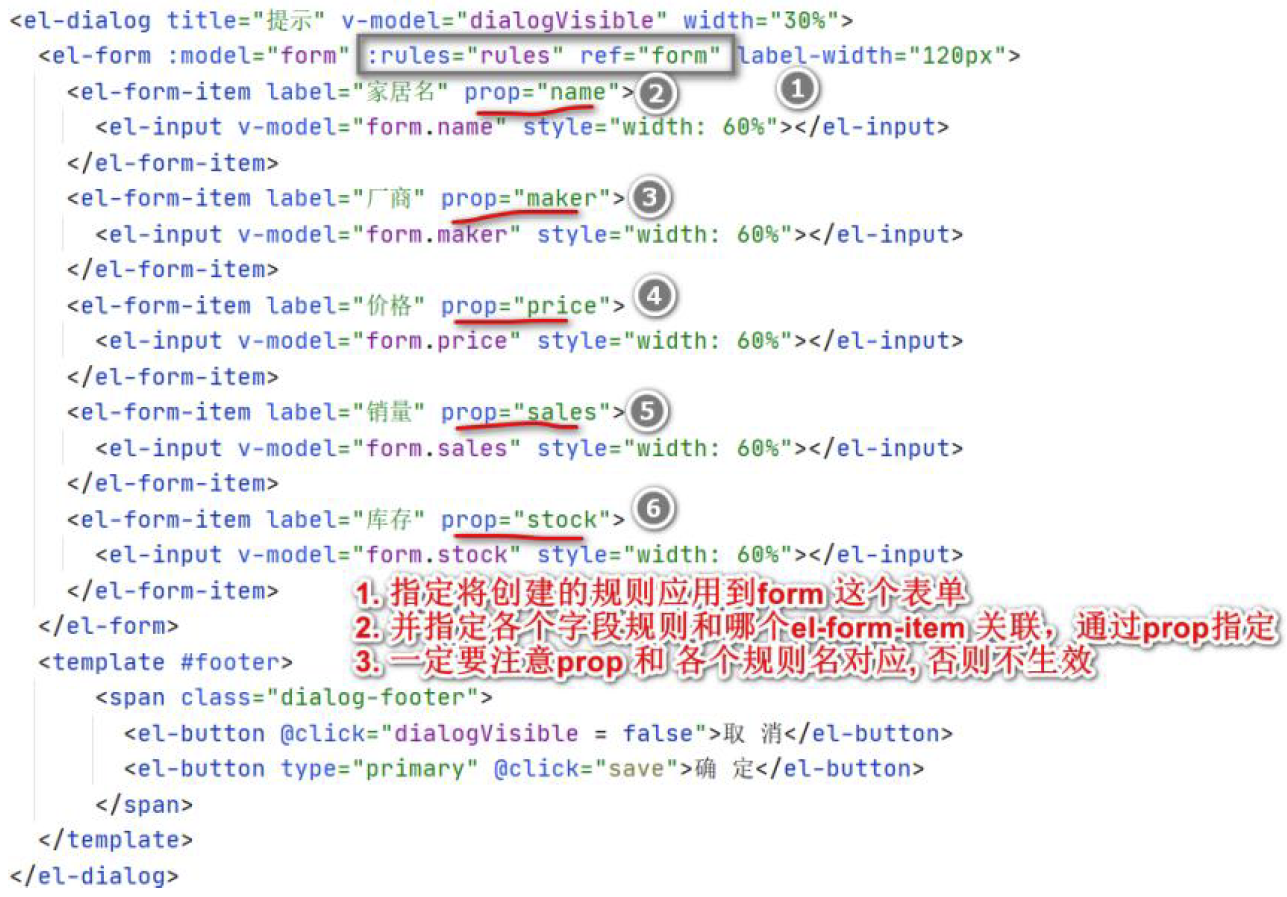
==指定将创建的规则应用到form 表单, 注意名称要对应=
<!-- 添加家居的弹窗
    说明:
    1. el-dialog :v-model="dialogVisible" 表示对话框, 和dialogVisible 变量双向绑定,控制是否显示对话框
    2. el-form :model="form" 表示表单,数据和form 数据变量双向绑定
    3. el-input v-model="form.name" 表示表单的input 空间, 名字为name 需要和后台Javabean 属性一致
-->
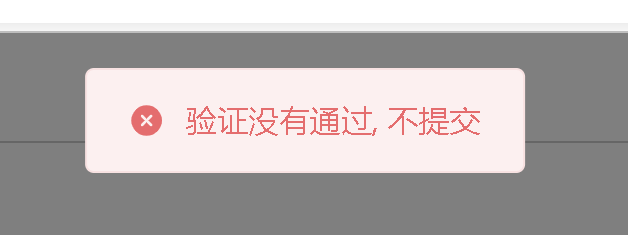
- 测试,就可以看到验证规则生效了【是光标离开输出框时,出现校验效果,因为是trigger:‘blur’ 事件】, 但是用户提交还是能成.
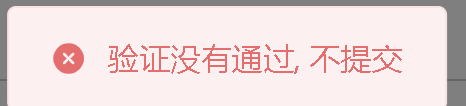
- 修改HomeView.vue 当表单验证不通过时,给出提示信息, 不提交表单
修改save()===
save() {
    //增加处理修改逻辑
    if (this.form.id) {
        request.put("/api/update", this.form).then(res => {
            if (res.code === 200) {//如果code 为200
                this.$message({ //弹出更新成功的消息框
                    type: "success",
                    message: "更新成功"
                })
            } else {
                this.$message({//弹出更新失败信息
                    type: "error",
                    message: res.msg
                })
            }
            this.list() //刷新列表
            this.dialogVisible = false
        })
    } else {//添加
        //表单数据校验是否
        this.$refs['form'].validate((valid) => {
            if (valid) {
                //=======说明======
                //1. 将form 表单提交给/api/save 的接口
                //2. /api/save 等价http://localhost:10001/save
                //3. 如果成功,就进入then 方法
                //4. res 就是返回的信息
                //5. 查看Mysql 看看数据是否保存
                request.post("/api/save", this.form).then(res => {
                    this.dialogVisible = false
                    this.list()
                })
            } else {
                this.$message({//弹出更新失败信息
                    type: "error",
                    message: "验证失败,不提交"
                })
                return false
            }
        })
    }
}
=修改add()==
add() {
    this.dialogVisible = true
    this.form = {}
    this.$refs['form'].resetFields()//将添加验证提示消息,清空
}
完成测试
启动项目后台服务springboot-furn
启动项目前台springboot_vue
浏览器输入: http://localhost:10000/
测试页面效果
文章到这里就结束了,如果有什么疑问的地方请指出,诸大佬们一起来评论区一起讨论😁
希望能和诸大佬们一起努力,今后我们一起观看感谢您的阅读🍻
如果帮助到您不妨3连支持一下,创造不易您们的支持是我的动力🤞


 712
712


 被折叠的 条评论
为什么被折叠?
被折叠的 条评论
为什么被折叠?
 到【灌水乐园】发言


