


一.序言
在学习了javaScript的全部内容后,我们已经可以通过
学习的知识,来完成大多网页都需要的无缝“轮播图”,在写轮播图
是我们要理清思路,力求一个闭合的逻辑思路,这样我们JavaScript
代码时不容易出错。整体效果如下

以此轮播图为例,下面是我的代码思路
1.先写结构
2.再写样式
3.最后为js部分
3.1封装一个运动框架函数
3.2鼠标移入,移出事件
3.3点击左右按钮图片左右轮播
3.4轮播图下方小圆点按钮图片切换事件
二、代码部分
1.结构
写轮播图结构,可以先用一个大的盒子包裹住整体,在大盒子里面设置一个视口盒子用来
包裹图片和左右图片切换按钮,再用一个盒子包裹轮播图下方小圆点按钮图片切换事件。代码和
演示效果如下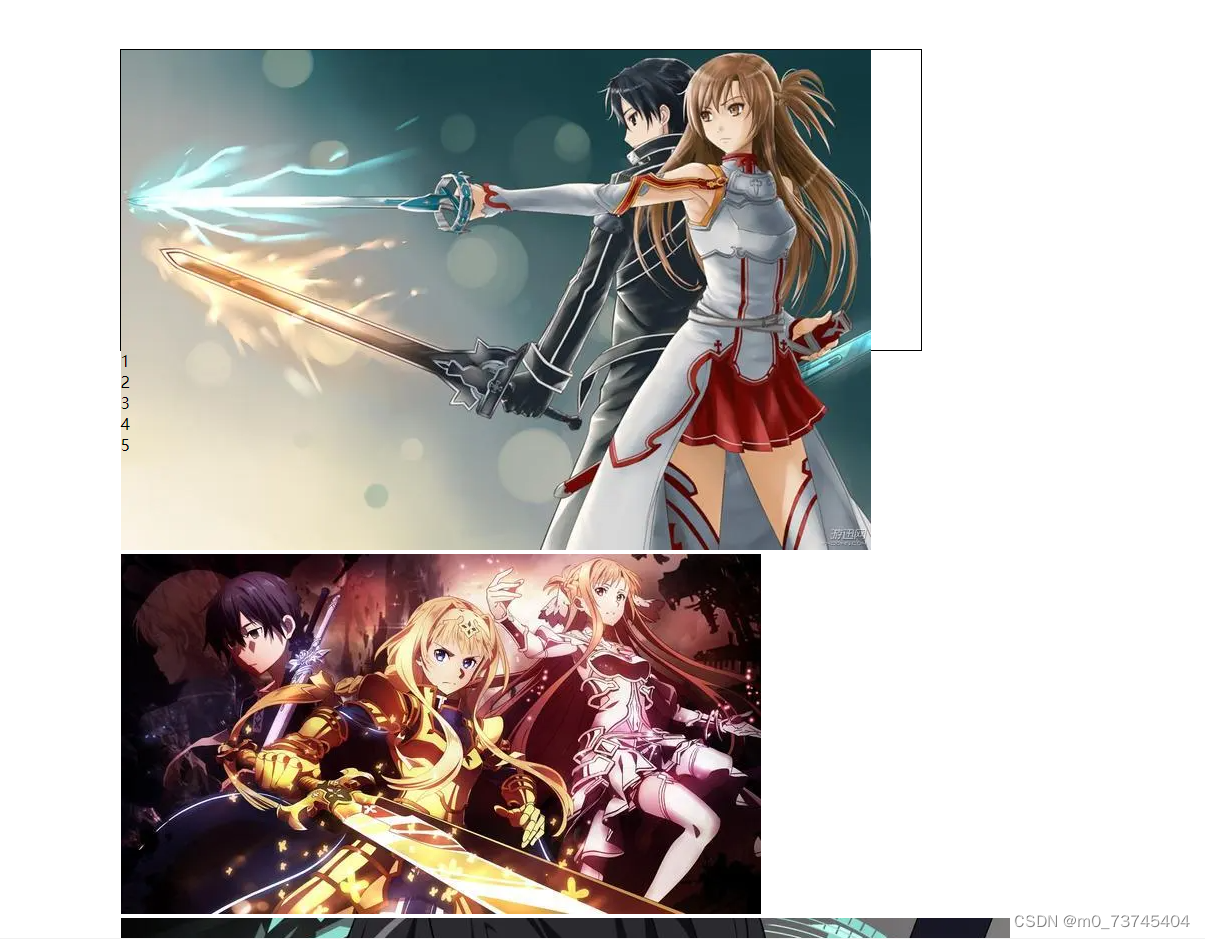
<div class="all" id="box">
<div class="screen">
<ul>
<li><img src="../img/1.jpg" alt=""></li>
<li><img src="../img/2.jpg" alt=""></li>
<li><img src="../img/3.jpg" alt=""></li>
<li><img src="../img/4.jpg" alt=""></li>
<li><img src="../img/5.jpg" alt=""></li>
<li><img src="../img/1.jpg" alt=""></li>
</ul>
<ol>
<li class="current">1</li>
<li>2</li>
<li>3</li>
<li>4</li>
<li>5</li>
</ol>
</div>
<div id="arr">
<span id="left"><</span>
<span id="right">></span>
</div>
</div>
<script src="../js/1.js"></script>2. CSS样式
上图只是刚写完结构,我们现在要调整好样式,在调整样式时,按照结构的顺序来,尽量不要
挑着写,以免产生bug导致式样无法布局。
注意:在进行定位和浮动调整结构位置时,要分清楚该给父级的样式不要给本身,给本身的样式不能加到其他地方。
在写css样式把按钮调整到大盒子里面,需要给大盒子相对定位(父级),本身盒子绝对定位(子级),要让块级元素并列排放可以给第一个块级元素一个浮动样式。具体效果图和代码如下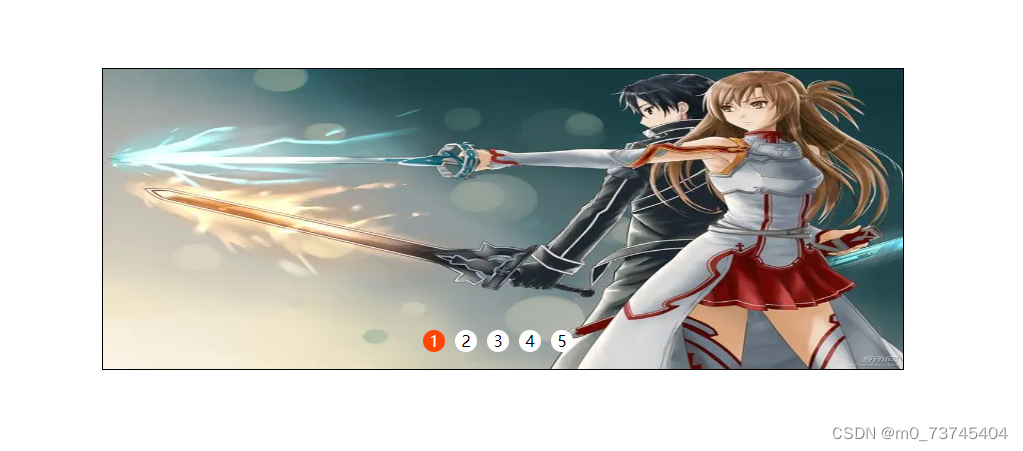
/* 清楚所有外边距和内边距 */
*{
    margin: 0;
    padding: 0;
}
/* 清除li前面的样式 */
li{
    list-style: none;
}
/* 大盒子样式 */
.all{
    width: 800px;
    height: 300px;
    border: 1px solid;
    margin: 100px auto;
    position: relative;
    cursor: pointer;
}
/* 视口样式 */
.screen{
    width: 800px;
    height: 300px;
    position: relative;
    overflow: hidden;
}
/* 图片存放盒子 */
.screen ul{
    width: 4800px;
    height: 300px;
    position: absolute;
    left: 0;
    margin: 0;
}
/* 图片排列样式 */
.screen ul li{
    float: left;
}
/* 图片样式 */
.screen ul li img{
    width: 800px;
    height: 300px;
}
/* 小圆点盒子 */
.screen ol{
    position: absolute;
    left: 40%;
    bottom: 17px;
}
/* 小圆点公共样式 */
.screen ol li{
    float: left;
    width: 20px;
    height: 20px;
    background-color: #fff;
    border: 1px solid transparent;
    border-radius: 50%;
    text-align: center;
    line-height: 20px;
    margin-right: 10px;
}
/* 小圆点单个样式 */
.screen .current{
   background-color: orangered;
   color: #fff;
}
/* 左右按钮清除样式 */
 #arr{
    display: none;
 }
/* 左右按钮公共样式 */
 #arr span{
    width: 40px;
    height: 40px;
    background-color: rgba(0,0,0,0.7);
    position: absolute;
    top: 50%;
    cursor: pointer;
    text-align: center;
    line-height: 40px;
    color: white;
 }
 /* 左键按钮样式 */
 #arr #left {
    border-bottom-right-radius: 50%;
    border-top-right-radius: 50%;
    left: 0px;

}
/* 右键按钮样式 */
#arr #right {
    border-bottom-left-radius: 50%;
    border-top-left-radius: 50%;
    right: 0px;
}
三、JavaScript部分
一般轮播图有两种,一是切换轮播,二是无缝滚动轮播。前者优点是在进行编程是方便快捷可却不具备后者无缝滚动的优点,以下JavaScript则是无缝滚动的思路。
3.1 运动框架
封装一个运动框架的优势是可重复调用,大大减少代码的书写量,并是电脑负载降低,更利于用户的使用体验,相对来说可以快速打开。
//运动框架
function startMove(dom,target){
clearInterval(dom.timer);
var iSpeed=null;
var iCur=null;
dom.timer = setInterval(function(){
iCur = parseInt(getStyle(dom,"left"));
iSpeed = (target-iCur)/7;
iSpeed = target-iCur > 0? Math.ceil(iSpeed):Math.floor(iSpeed)
if(iCur==target){
clearInterval(dom.timer)
}else{
dom.style.left = iSpeed + iCur +'px'
}
}, 30)
}
//获取属性
function getStyle(dom,arrt){
return window.getComputedStyle(dom,null)[arrt]
}
3.2鼠标移入移出事件
   //鼠标移入
        box.onmouseenter=function(){
            arr.style.display = 'block'
            clearInterval(timer)
        }

        //鼠标移出
        box.onmouseleave=function(){
            arr.style.display ='none'
            timer=setInterval(moveImg,2000)
        }
3.3左右按钮事件及自动轮播事件
//右播
        right.onclick=moveImg
        function moveImg(){
            if(index==btn.length){
                index = 0
                ul.style.left = -index * screen.offsetWidth
            }
                index++
               startMove(ul, -index * screen.offsetWidth)
               changeColor(index)
            }

        //自动轮播
        timer = setInterval(moveImg,1000)

        //左播
        left.onclick=function(){
            if(index==0){
                index = btn.length
                ul.style.left = -index* screen.offsetWidth +'px'
            }
               index--
               startMove(ul, -index * screen.offsetWidth)
               changeColor(index)
            }
3.4 轮播图下方小圆点按钮图片切换事件
//小圆点点击
        for (var i = 0; i < btn.length; i++) {
            (function (i) {
                btn[i].onclick = function () {
                    index = i
                    startMove(ul, -index * screen.offsetWidth)
                    changeColor(index)
                }
            }(i))
        }

        //小圆点变色
        function changeColor(index) {
            for (var i = 0; i < btn.length; i++) {
                btn[i].className = ''
            }
            if (index > btn.length - 1) {
                btn[0].className = 'current'
            } else {
                btn[index].className = 'current'
            }
        }
四 总结
不管是切换轮播还是无缝滚动轮播又或者是其他的案例,都是通过HTML、CSS、JavaScript的知识点来实现的,我们要做的就是先思考一下如何布局,使其结构合理简单为js的编程打下基础,在写css样式按照结构顺序,js要结合控制台编程,多试错避免bug频发。这期的内容就到这里了,如果觉得对您有用,请留下一个 ,谢谢。
,谢谢。
最后的最后整体代码在此奉上
<!DOCTYPE html>
<html lang="en">
<head>
<meta charset="UTF-8">
<meta http-equiv="X-UA-Compatible" content="IE=edge">
<meta name="viewport" content="width=device-width, initial-scale=1.0">
<title>Document</title>
<style>
/* 清楚所有外边距和内边距 */
*{
margin: 0;
padding: 0;
}
/* 清除li前面的样式 */
li{
list-style: none;
}
/* 大盒子样式 */
.all{
width: 800px;
height: 300px;
border: 1px solid;
margin: 100px auto;
position: relative;
cursor: pointer;
}
/* 视口样式 */
.screen{
width: 800px;
height: 300px;
position: relative;
overflow: hidden;
}
/* 图片存放盒子 */
.screen ul{
width: 4800px;
height: 300px;
position: absolute;
left: 0;
margin: 0;
}
/* 图片排列样式 */
.screen ul li{
float: left;
}
/* 图片样式 */
.screen ul li img{
width: 800px;
height: 300px;
}
/* 小圆点盒子 */
.screen ol{
position: absolute;
left: 40%;
bottom: 17px;
}
/* 小圆点公共样式 */
.screen ol li{
float: left;
width: 20px;
height: 20px;
background-color: #fff;
border: 1px solid transparent;
border-radius: 50%;
text-align: center;
line-height: 20px;
margin-right: 10px;
}
/* 小圆点单个样式 */
.screen .current{
background-color: orangered;
color: #fff;
}
/* 左右按钮清除样式 */
#arr{
display: none;
}
/* 左右按钮公共样式 */
#arr span{
width: 40px;
height: 40px;
background-color: rgba(0,0,0,0.7);
position: absolute;
top: 50%;
cursor: pointer;
text-align: center;
line-height: 40px;
color: white;
}
/* 左键按钮样式 */
#arr #left {
border-bottom-right-radius: 50%;
border-top-right-radius: 50%;
left: 0px;
}
/* 右键按钮样式 */
#arr #right {
border-bottom-left-radius: 50%;
border-top-left-radius: 50%;
right: 0px;
}
</style>
</head>
<body>
<div class="all" id="box">
<div class="screen">
<ul>
<li><img src="../img/1.jpg" alt=""></li>
<li><img src="../img/2.jpg" alt=""></li>
<li><img src="../img/3.jpg" alt=""></li>
<li><img src="../img/4.jpg" alt=""></li>
<li><img src="../img/5.jpg" alt=""></li>
<li><img src="../img/1.jpg" alt=""></li>
</ul>
<ol>
<li class="current">1</li>
<li>2</li>
<li>3</li>
<li>4</li>
<li>5</li>
</ol>
</div>
<div id="arr">
<span id="left"><</span>
<span id="right">></span>
</div>
</div>
<script>
var box = document.getElementById('box');
var screen =document.getElementsByClassName('screen')[0]
var ul = document.getElementsByTagName('ul')[0]
var lis = ul.children;
var ol = document.getElementsByTagName('ol')[0];
var btn = ol.children;
var arr = document.getElementById('arr')
var left = document.getElementById('left')
var right = document.getElementById('right')
var timer = null;
var index =0;
//鼠标移入
box.onmouseenter=function(){
arr.style.display = 'block'
clearInterval(timer)
}
//鼠标移出
box.onmouseleave=function(){
arr.style.display ='none'
timer=setInterval(moveImg,2000)
}
//右播
right.onclick=moveImg
function moveImg(){
if(index==btn.length){
index = 0
ul.style.left = -index * screen.offsetWidth
}
index++
startMove(ul, -index * screen.offsetWidth)
changeColor(index)
}
//自动轮播
timer = setInterval(moveImg,1000)
//左播
left.onclick=function(){
if(index==0){
index = btn.length
ul.style.left = -index* screen.offsetWidth +'px'
}
index--
startMove(ul, -index * screen.offsetWidth)
changeColor(index)
}
//小圆点点击
for (var i = 0; i < btn.length; i++) {
(function (i) {
btn[i].onclick = function () {
index = i
startMove(ul, -index * screen.offsetWidth)
changeColor(index)
}
}(i))
}
//小圆点变色
function changeColor(index) {
for (var i = 0; i < btn.length; i++) {
btn[i].className = ''
}
if (index > btn.length - 1) {
btn[0].className = 'current'
} else {
btn[index].className = 'current'
}
}
//运动框架
function startMove(dom,target){
clearInterval(dom.timer);
var iSpeed=null;
var iCur=null;
dom.timer = setInterval(function(){
iCur = parseInt(getStyle(dom,"left"));
iSpeed = (target-iCur)/7;
iSpeed = target-iCur > 0? Math.ceil(iSpeed):Math.floor(iSpeed)
if(iCur==target){
clearInterval(dom.timer)
}else{
dom.style.left = iSpeed + iCur +'px'
}
}, 30)
}
//获取属性
function getStyle(dom,arrt){
return window.getComputedStyle(dom,null)[arrt]
}
</script>
</body>
</html>


 790
790


 被折叠的 条评论
为什么被折叠?
被折叠的 条评论
为什么被折叠?
 到【灌水乐园】发言


