


参考资料
达内教育B站视频:https://www.bilibili.com/video/BV1vK4y1o7jH?p=9&vd_source=597e21cf34ffcdce468ba00be2177e8a
也可以点击蓝色字体直接跳转:B站网课
模板配置
Step1:创建模板文件夹
在项目名下创建和mysite1同级的文件夹templates
右键-new-directory-templates

Step2:在settings.py中进行修改
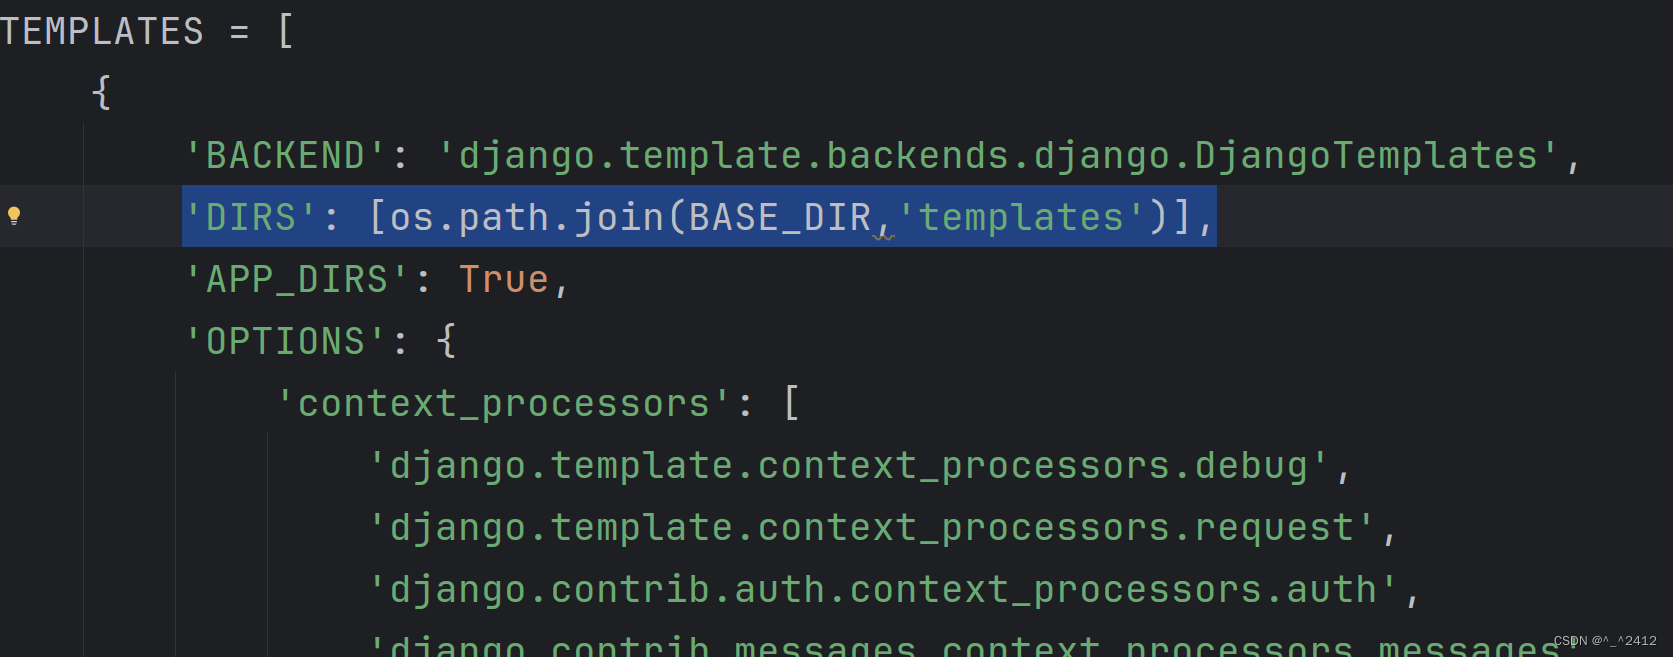
修改内容:
'DIRS': [os.path.join(BASE_DIR,'templates')],
模板的加载方式
方案1——通过loader获取模板,通过HttpResponse进行响应
在views.py中:
def test_html(request):
    from django.template import loader
    //通过loader加载模板
    t=loader.get_template('test_html.html')//test_html.html可替换为模板文件名
    //将 t 转换为HTML字符串
    html=t.render()
    //用响应对象将转换的字符串内容返回给浏览器
    return HttpResponse(html)
在templates文件夹里新建HTML File
templates-右键-new-HTML File-test_html(与views.py中def的名对应)
<!DOCTYPE html>
<html lang="en">
<head>
    <meta charset="UTF-8">
    <title>Title</title>
</head>
<body>
<h3>我是模板层的~~~</h3>
</body>
</html>
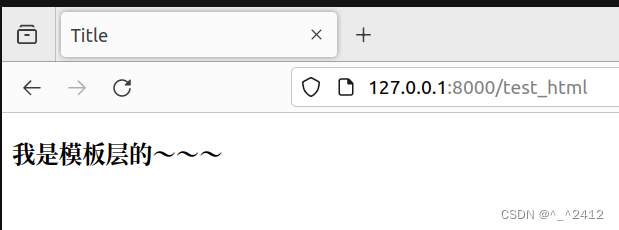
添加内容(作为测试):
<h3>我是模板层的~~~</h3>
在urls.py中添加
path('test_html',views.test_html)
测试结果
方案2——使用render() 直接加载并响应模板(推荐)
在views.py中:
def test_html(request):
	from django.shortcuts import render
	//return render(request, '模板文件名',字典数据)
	return render(request, 'test_html.html')
在templates和urls.py中的操作同方案一
视图层与模板层之间的交互
1.视图函数中可以将python变量封装到字典中传递到模板
样例:
def xxx_view(request):
    dic={
    		'变量1':'value1',
    		'变量2':'value2',
    		}
    return render(request,'xxx.html',dic)
对应代码:
def test_html(request):
	from django.shortcuts import render
    dic={'username':'hahaha','age':18}
    #return render(request, 'test_html.html')
    return render(request,'test_html.html',dic)
2. 模板中,我们可以用{{ 变量名 }}的语法 调用视图传进来的变量
在templates下的test_html.html中添加
<h3>{{username}}是{{age}}模板层的~~~</h3>
效果:

总结
本文介绍了Django设计模式及模板层,重点在于如何配置模板层/如何加载模板以及如何用视图向模板传变量。


 1145
1145


 被折叠的 条评论
为什么被折叠?
被折叠的 条评论
为什么被折叠?
 到【灌水乐园】发言


