


文章接上篇:
In [53]:
from PIL import Image
In [60]:
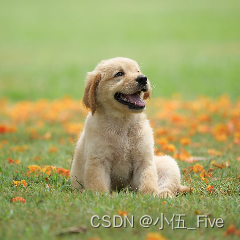
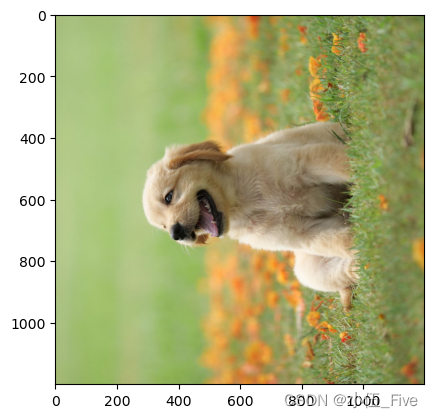
dog = Image.open('./dog.jpg')
dog
. . .
In [61]:
dog_data=np.array(dog)
# 图片数据是ndarray
# 彩色照片三维:高度,宽度,像素(表示不同颜色),红绿蓝三原色
dog_data
. . .
In [62]:
# 行,列,像素
dog_data.shape
Out[62]:
(1197, 1200, 3)
In [63]:
# uint8:无负号,0~255
dog_data.dtype
Out[63]:
dtype('uint8')
In [64]:
dog_data.max()
Out[64]:
255
In [67]:
dog2=dog_data[:,:,::-1]
dog2
解释一下:
`dog2=dog_data[:,:,::-1]` 是一个 NumPy 数组切片的操作,用于颜色通道的反转。这种操作通常用于图像处理,其中 `dog_data` 是一个三维的 NumPy 数组,表示一张彩色图像。
`[:,:,::-1]` 表示对数组的最后一个维度(颜色通道)进行切片,步长为 `-1`,即反向切片。
对于彩色图像,通常最后一个维度包含红、绿、蓝(RGB)三个颜色通道。
通过 `[::-1]` 操作,将颜色通道的顺序反转为蓝、绿、红(BGR)。
In [68]:
Image.fromarray(dog2)
Out[68]:

In [71]:
dog_data[::5, ::5]对数组进行切片,步长为 5,即每隔5个像素取一个值。- 这种操作实际上对图像进行了降采样,将图像的分辨率降低,使图像中的元素更稀疏。
Image.fromarray(dog_data[::5,::5])
简单理解:把图缩小点
Out[71]:
In [73]:
# 红绿蓝 0,1,2
# 绿红蓝 1,0,2
Image.fromarray(dog_data[:,:,[1,0,2]])
dog_data[:,:,[1,0,2]] 表示对数组的最后一个维度进行切片,其中 [1,0,2] 指定了新的颜色通道的顺序。这里的意思是将原本的颜色通道顺序(红、绿、蓝)改为新的顺序(绿、红、蓝)。
Out[73]:

改过后,小狗有点“绿”
In [75]:
Image.fromarray(dog_data[:,:,0])
Out[75]:
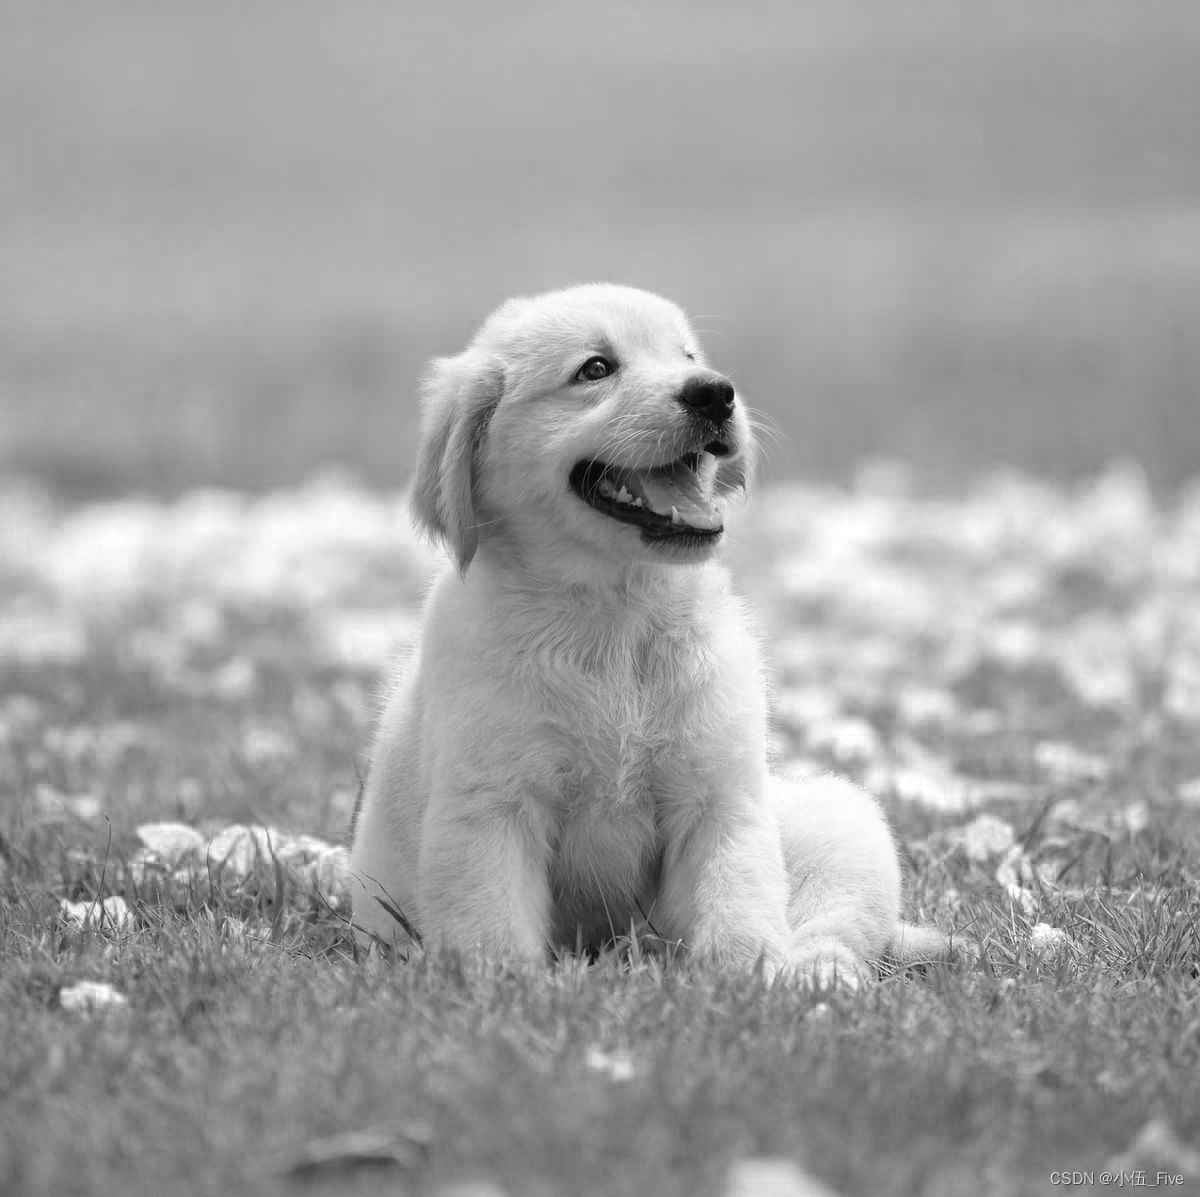
变成了灰度图像
In [76]:
import matplotlib.pyplot as plt
In [77]:
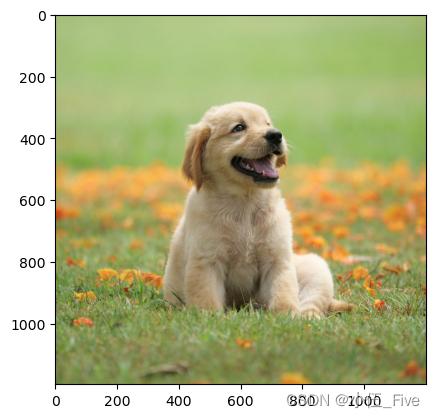
plt.imshow(dog_data)
Out[77]:
<matplotlib.image.AxesImage at 0x21f4d592210>

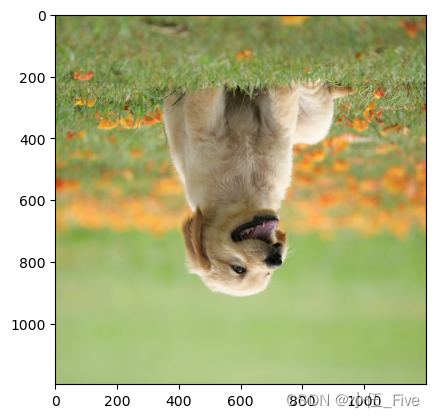
In [79]:
plt.imshow(dog_data[::-1])
Out[79]:
<matplotlib.image.AxesImage at 0x21f4db0d290>
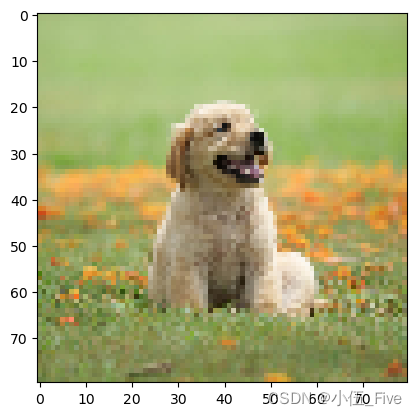
In [83]:
plt.imshow(dog_data[::15,::15])
Out[83]:
<matplotlib.image.AxesImage at 0x21f4eaef490>
变形
使用reshape函数,注意参数是一个tuple
In [84]:
nd2
Out[84]:
array([[ 26,  85,  41,  21,  49],
       [ 27,   2,  51,  55,  34],
       [133,  78,  63,  52, 135],
       [ 26,  56,  77,  51,  13]])
In [85]:
nd2.reshape(2,10)
Out[85]:
array([[ 26,  85,  41,  21,  49,  27,   2,  51,  55,  34],
       [133,  78,  63,  52, 135,  26,  56,  77,  51,  13]])
In [87]:
dog_data.shape
Out[87]:
(1197, 1200, 3)
In [89]:
dog5=dog_data.reshape(1200,1197,3)
plt.imshow(dog5)
Out[89]:
<matplotlib.image.AxesImage at 0x21f4eb3dd90>
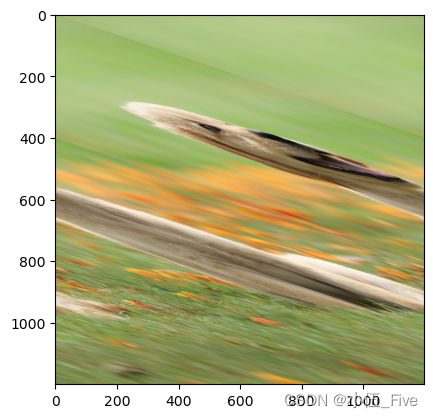
“小狗扭曲了”
In [90]:
# 高度0 宽度1 像素2
# 转置,行和列调整
dog6=np.transpose(dog_data,axes=(1,0,2))plt.imshow(dog6)
Out[90]:
<matplotlib.image.AxesImage at 0x21f4ef75d10>
级联
1.np.concatenate() 级联需要注意的点: 2.级联的参数是列表:一定要加中括号或小括号 3.维度必须相同 4.形状相符 5.【重点】级联的方向默认是shape这个tuple的第一个值所代表的维度方向 6.可通过axis参数改变级联的方向
In [91]:
nd2
Out[91]:
array([[ 26,  85,  41,  21,  49],
       [ 27,   2,  51,  55,  34],
       [133,  78,  63,  52, 135],
       [ 26,  56,  77,  51,  13]])
In [92]:
np.concatenate([nd2,nd2])
Out[92]:
array([[ 26,  85,  41,  21,  49],
       [ 27,   2,  51,  55,  34],
       [133,  78,  63,  52, 135],
       [ 26,  56,  77,  51,  13],
       [ 26,  85,  41,  21,  49],
       [ 27,   2,  51,  55,  34],
       [133,  78,  63,  52, 135],
       [ 26,  56,  77,  51,  13]])
In [93]:
plt.imshow(dog_data)
Out[93]:
<matplotlib.image.AxesImage at 0x21f4edb8dd0>
In [98]:
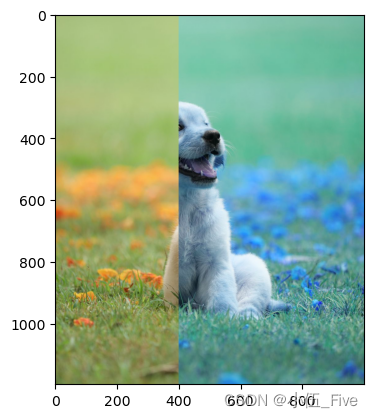
dog7=dog_data[:,:400]
plt.imshow(dog7)
切片左边:
Out[98]:
<matplotlib.image.AxesImage at 0x21f4f00dd90>

In [99]:
dog8=dog_data[:,600:,::-1]
plt.imshow(dog8)
切片右边,再换个色
Out[99]:
<matplotlib.image.AxesImage at 0x21f4f0eb410>

In [100]:
print(dog7.shape,dog8.shape)
(1197, 400, 3) (1197, 600, 3)
In [102]:
display(dog7.shape,dog8.shape)
(1197, 400, 3)(1197, 600, 3)
In [103]:
# 高度0 宽度1 像素2
dog9=np.concatenate([dog7,dog8],axis=1)
plt.imshow(dog9)
拼接一下:
Out[103]:
<matplotlib.image.AxesImage at 0x21f4f11dd90>
2.np.hstack与np.vstack 水平级联与垂直级联,处理自己,进行维度的变更
In [2]:
nd1=np.random.randint(0,150,size=(4,5))
In [3]:
nd2=np.random.randint(0,150,size=(2,5))
In [5]:
nd3=np.random.randint(0,150,size=(4,8))
In [6]:
display(nd1,nd2,nd3)
array([[123,  24,  86,  12,  89],
       [ 44,  13,  68,  97,  30],
       [ 35, 136,  40,  14,   2],
       [ 26, 141, 120,  12,  19]])
array([[133, 28, 1, 87, 139], [109, 34, 20, 44, 33]])array([[111, 74, 126, 97, 27, 102, 54, 82], [ 23, 83, 81, 131, 87, 120, 78, 32], [ 49, 97, 0, 89, 63, 21, 122, 47], [144, 111, 100, 98, 129, 18, 147, 88]])
In [7]:
np.concatenate([nd1,nd3],axis=1)
#列
. . .
In [9]:
#horizontal 水平的,列数增加
np.hstack((nd1,nd3))
. . .
In [4]:
#vertical 竖直方向,行数增多
nd4=np.vstack((nd1,nd2))
切片
与级联类似,三个函数完成切片工作:
np.split
np.vsplit
np.hsplit
In [6]:
nd4.shape
Out[6]:
(6, 5)
In [7]:
np.split(nd4,3)
Out[7]:
[array([[ 64, 136, 106,  76, 137],
        [ 26,   5,  29,  90,  25]]),
 array([[136,  81, 124,  90,  19],
        [106,  24,  89,  50,  33]]),
 array([[148, 125,  94,  22,  46],
        [  5,  60,  56,  45,  40]])]
In [9]:
np.split(nd4,[1,3])
Out[9]:
[array([[ 64, 136, 106,  76, 137]]),
 array([[ 26,   5,  29,  90,  25],
        [136,  81, 124,  90,  19]]),
 array([[106,  24,  89,  50,  33],
        [148, 125,  94,  22,  46],
        [  5,  60,  56,  45,  40]])]
In [10]:
np.vsplit(nd4,2)
Out[10]:
[array([[ 64, 136, 106,  76, 137],
        [ 26,   5,  29,  90,  25],
        [136,  81, 124,  90,  19]]),
 array([[106,  24,  89,  50,  33],
        [148, 125,  94,  22,  46],
        [  5,  60,  56,  45,  40]])]
In [16]:
np.hsplit(nd4,[2])
Out[16]:
[array([[ 64, 136],
        [ 26,   5],
        [136,  81],
        [106,  24],
        [148, 125],
        [  5,  60]]),
 array([[106,  76, 137],
        [ 29,  90,  25],
        [124,  90,  19],
        [ 89,  50,  33],
        [ 94,  22,  46],
        [ 56,  45,  40]])]


 412
412


 被折叠的 条评论
为什么被折叠?
被折叠的 条评论
为什么被折叠?
 到【灌水乐园】发言


