


健康生活应用参考了黑马程序员实战案例https://www.bilibili.com/video/BV1Sa4y1Z7B1?p=36&vd_source=49f2a8575dc8ef2586b13f73d3ac1808
欢迎页面 UI 实现与自定义弹窗的实现
一、引言
在现代应用程序中,用户体验是至关重要的。欢迎页面不仅为用户设置了应用的基调,还是展示品牌和传达重要信息的机会。本文将指导您如何实现一个具有自定义弹窗的欢迎页面UI,并集成到您的应用中。
二、页面布局设计
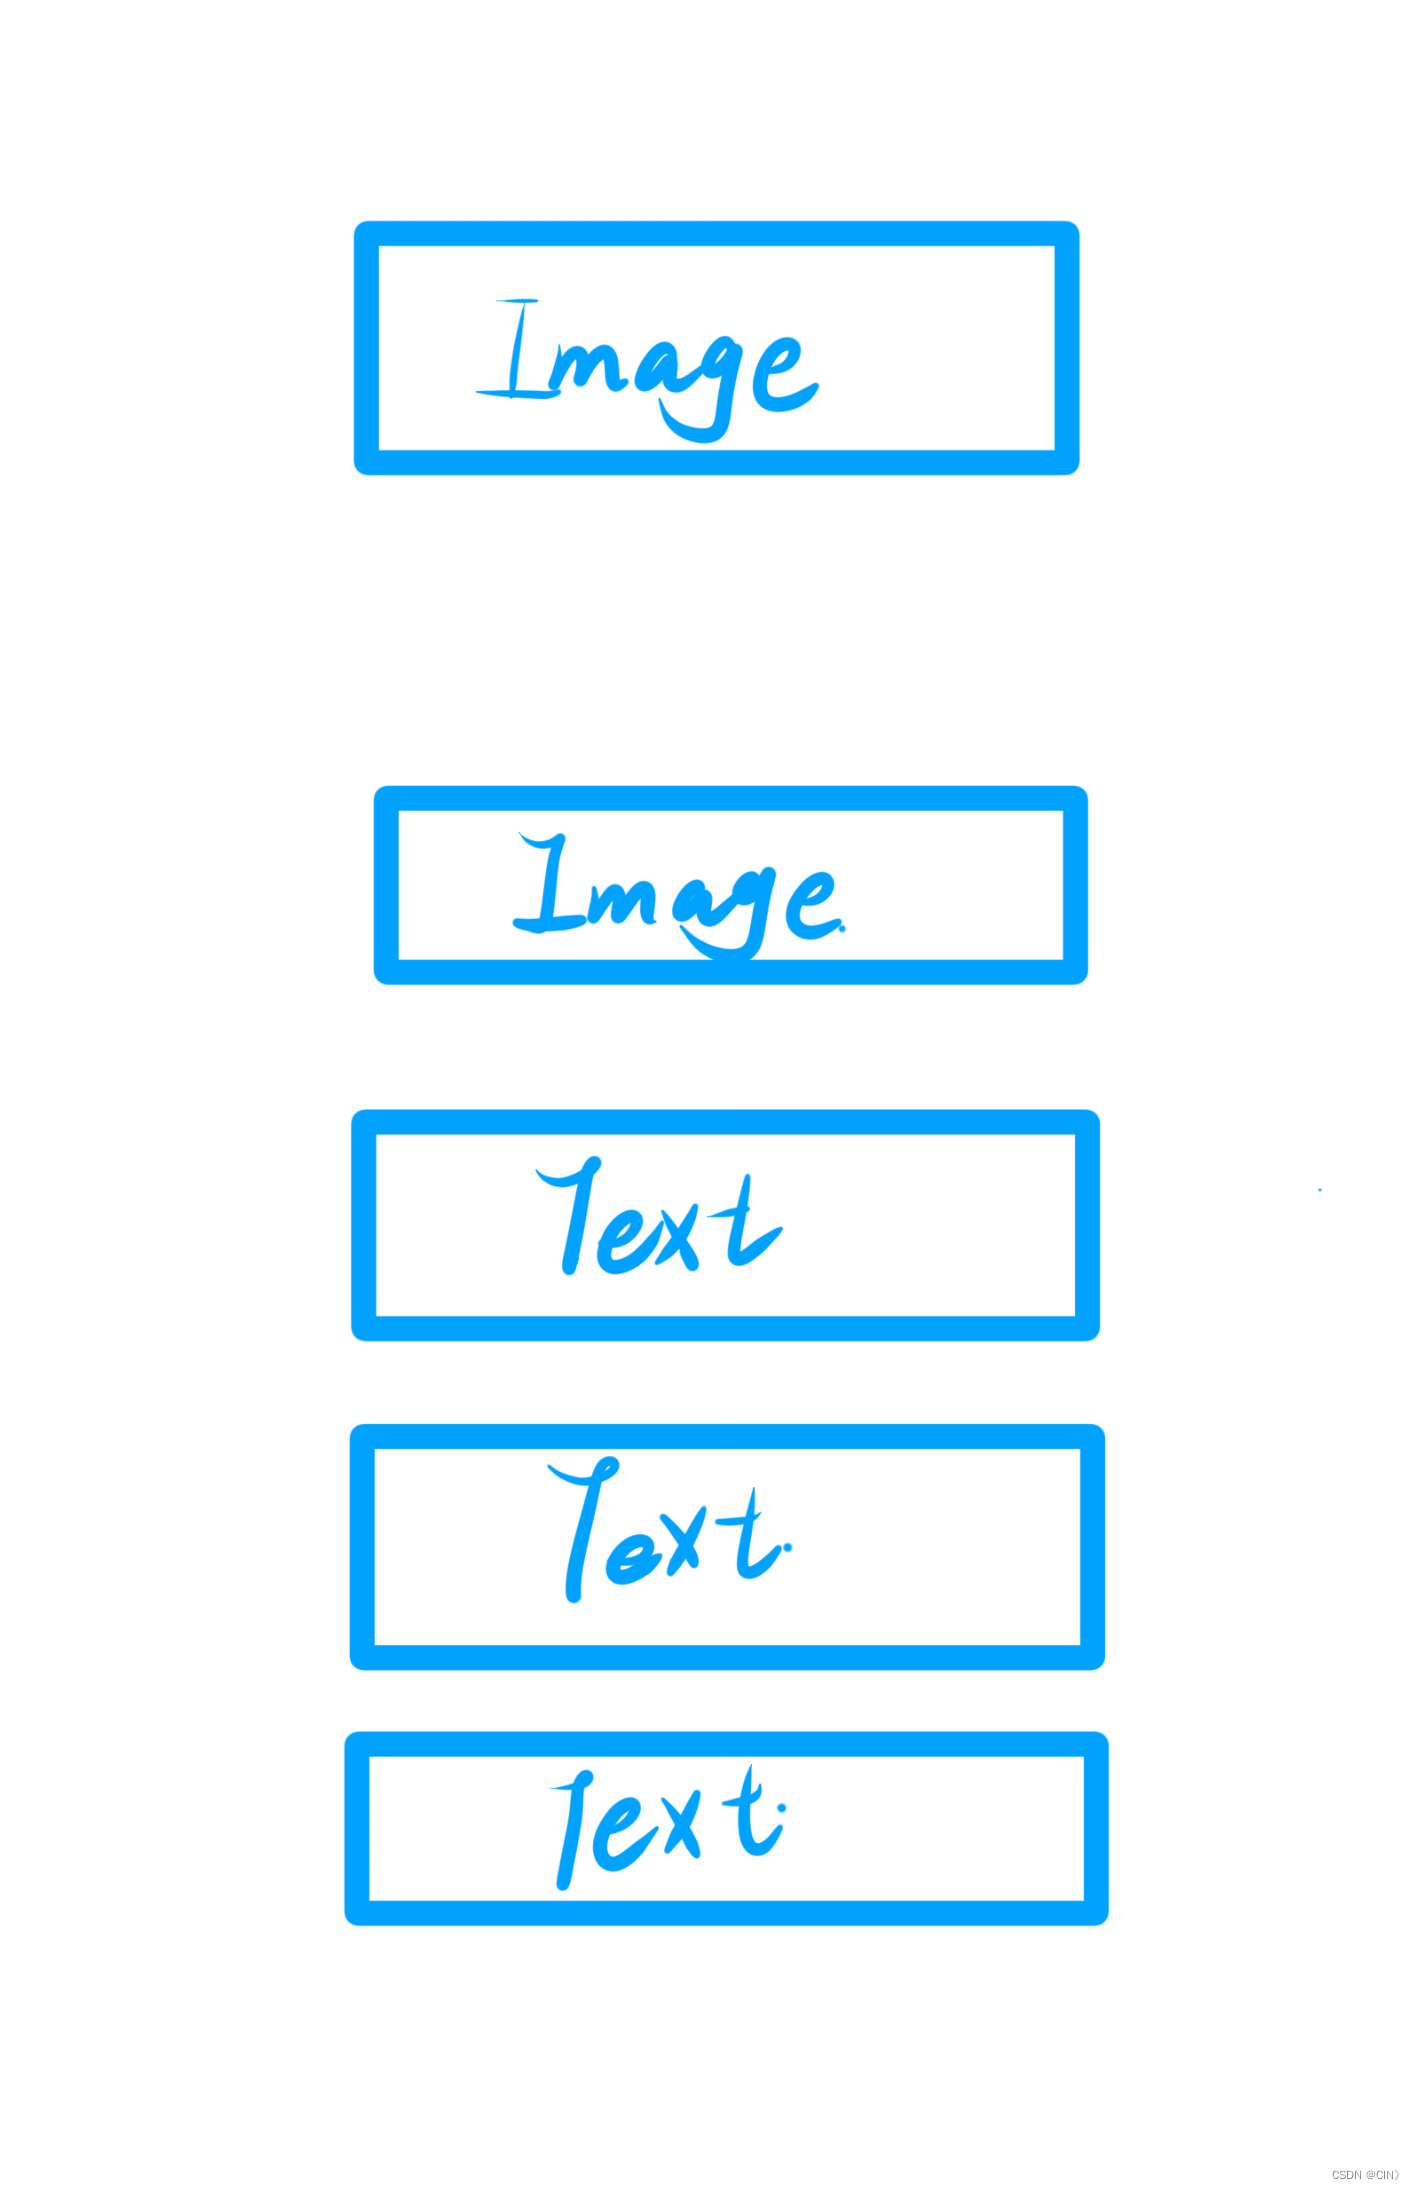
首先,我们将创建一个欢迎页面,它包含两个图像组件和三个文本组件。页面布局将使用一个占据整个屏幕的列(column)布局。
三、 技术栈
- UI框架:根据具体平台(如HarmonyOS、Flutter、React Native等),选择相应的UI框架。
四、页面布局实现
import common from '@ohos.app.ability.common'
import router from '@ohos.router'
import PreferenceUtil from '../common/utils/PreferenceUtil'
import UserPrivacyDialog from '../view/welcome/UserPrivacyDialog'
@Extend(Text) function opacityWhiteText(opacity: number, fontSize: number = 10) {
  .fontSize(fontSize)
  .opacity(opacity)
  .fontColor(Color.White)
}
const PREF_KEY = 'userPrivacyKey'
@Entry
@Component
struct WelcomePage {
  context = getContext(this) as common.UIAbilityContext
  controller: CustomDialogController = new CustomDialogController({
    builder: UserPrivacyDialog({
      confirm: () => this.onConfirm(),
      cancel: () => this.exitApp()
    })
  })

  async aboutToAppear(){
    // 1.加载首选项
    let isAgree = await PreferenceUtil.getPreferenceValue(PREF_KEY, false)
    // 2.判断是否同意
    if(isAgree){
      // 2.1.同意,跳转首页
      this.jumpToIndex()
    }else{
      // 2.2.不同意,弹窗
      this.controller.open()
    }
  }

  jumpToIndex(){
    setTimeout(() => {
      router.replaceUrl({
        url: 'pages/Index'
      })
    }, 1000)
  }

  onConfirm(){
    // 1.保存首选项
    PreferenceUtil.putPreferenceValue(PREF_KEY, true)
    // 2.跳转到首页
    this.jumpToIndex()
  }

  exitApp(){
    // 退出APP
    this.context.terminateSelf()
  }

  build() {
    Column({ space: 10 }) {
      // 1.中央Slogan
      Row() {
        Image($r('app.media.home_slogan')).width(260)
      }
      .layoutWeight(1)

      // 2.logo
      Image($r('app.media.home_logo')).width(150)
      // 3.文字描述
      Row() {
        Text('黑马健康支持').opacityWhiteText(0.8, 12)
        Text('IPv6')
          .opacityWhiteText(0.8)
          .border({ style: BorderStyle.Solid, width: 1, color: Color.White, radius: 15 })
          .padding({ left: 5, right: 5 })
        Text('网络').opacityWhiteText(0.8, 12)
      }

      Text(`'减更多'指黑马健康App希望通过软件工具的形式,帮助更多用户实现身材管理`)
        .opacityWhiteText(0.6)
      Text('浙ICP备0000000号-36D')
        .opacityWhiteText(0.4)
        .margin({ bottom: 35 })
    }
    .width('100%')
    .height('100%')
    .backgroundColor($r('app.color.welcome_page_background'))
  }
}
五、 自定义弹窗组件
接下来,我们将创建一个自定义弹窗,用于在用户进入系统时显示。
步骤 1: 声明弹窗组件
使用 `@CustomDialog` 装饰器声明弹窗组件。
import { CommonConstants } from '../../common/constants/CommonConstants'

@CustomDialog
export default struct UserPrivacyDialog {
  controller: CustomDialogController
  confirm: () => void
  cancel: () => void

  build() {
    .........
  }
}
步骤 2: 弹窗控制器
在欢迎页面中声明弹窗控制器,并使用其 `open` 方法打开弹窗。
controller: CustomDialogController = new CustomDialogController({
  builder: UserPrivacyDialog({
    confirm: () => this.onConfirm(),
    cancel: () => this.exitApp()
  })
})
步骤 3: 自定义弹窗内容
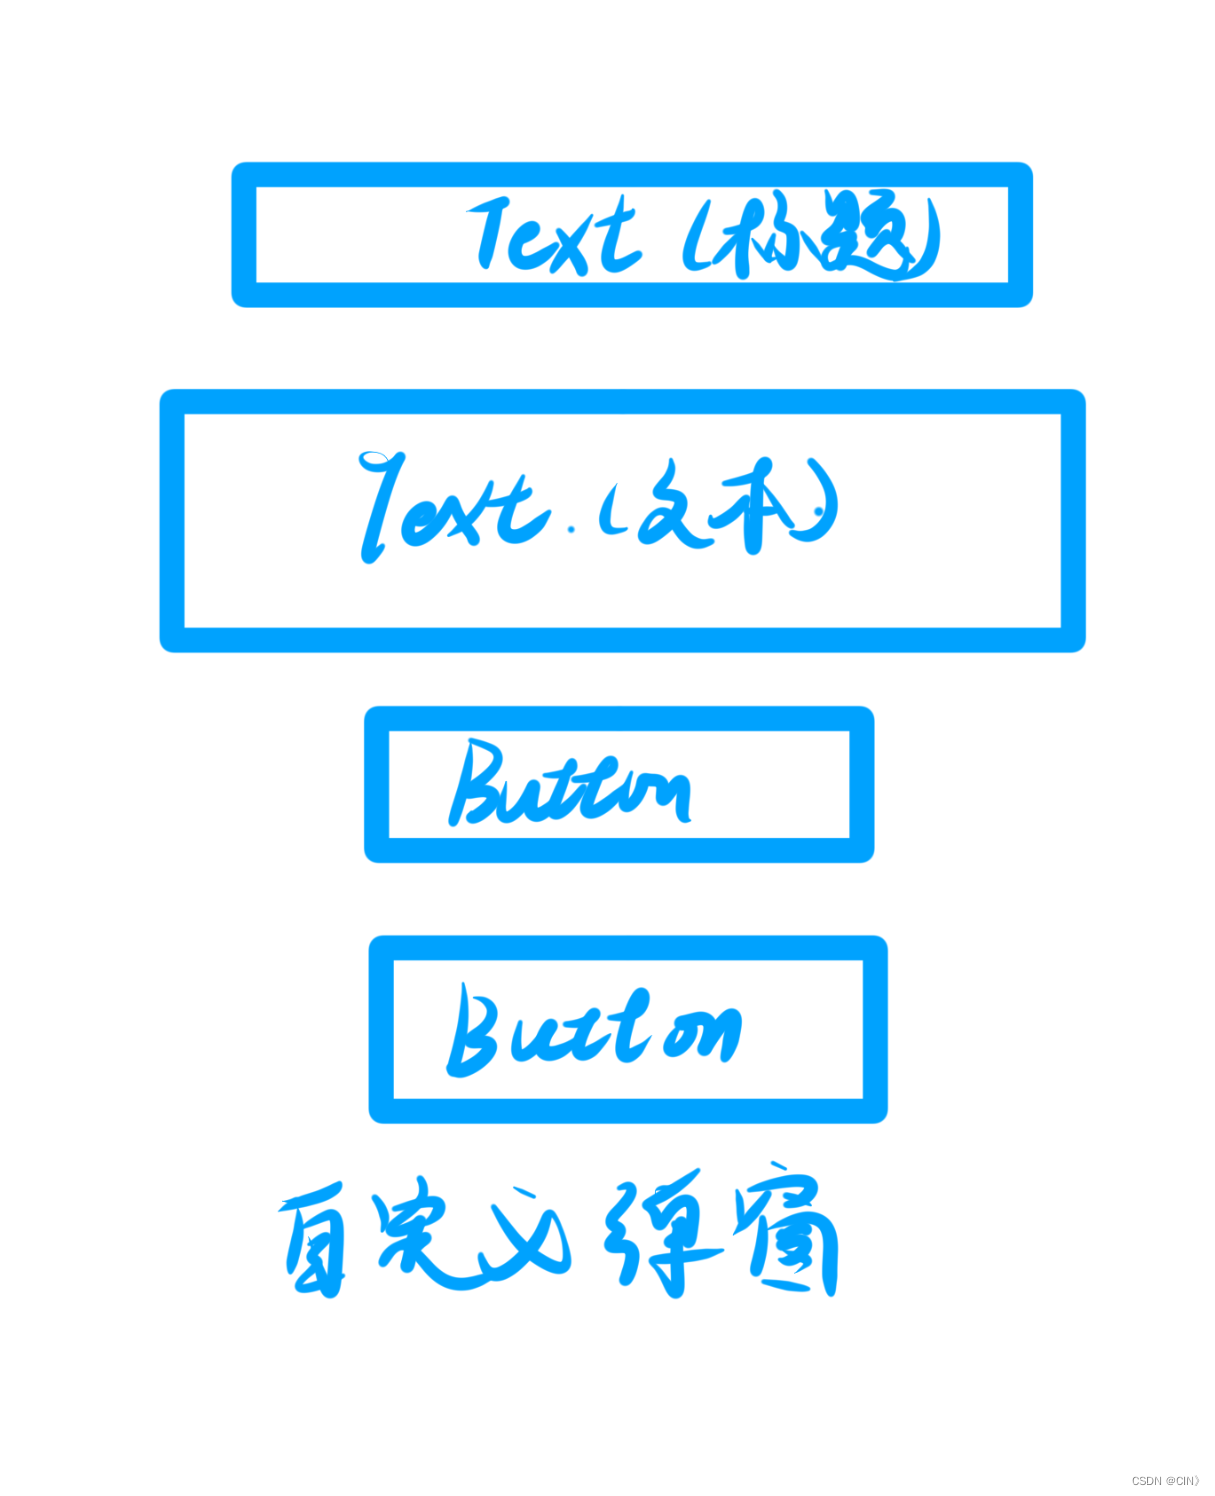
在弹窗内放置所需的组件,如按钮、文本等。使用 `@preview` 装饰器预览弹窗。
build() {
  Column({space: CommonConstants.SPACE_10}){
    // 1.标题
    Text($r('app.string.user_privacy_title'))
      .fontSize(20)
      .fontWeight(CommonConstants.FONT_WEIGHT_700)
    // 2.内容
    Text($r('app.string.user_privacy_content'))
    // 3.按钮
    Button($r('app.string.agree_label'))
      .width(150)
      .backgroundColor($r('app.color.primary_color'))
      .onClick(() => {
        this.confirm()
        this.controller.close()
      })
    Button($r('app.string.refuse_label'))
      .width(150)
      .backgroundColor($r('app.color.lightest_primary_color'))
      .fontColor($r('app.color.light_gray'))
      .onClick(() => {
        this.cancel()
        this.controller.close()
      })

  }
  .width('100%')
  .padding(10)
}
步骤 4: 页面加载时打开弹窗
在页面的 `abouttoappear` 方法中打开自定义弹窗。
async aboutToAppear(){
  // 1.加载首选项
  let isAgree = await PreferenceUtil.getPreferenceValue(PREF_KEY, false)
  // 2.判断是否同意
  if(isAgree){
    // 2.1.同意,跳转首页
    this.jumpToIndex()
  }else{
    // 2.2.不同意,弹窗
    this.controller.open()
  }
}
步骤 5: 完善交互逻辑
实现 `confirm` 和 `cancel` 方法,根据用户的选择执行相应的操作,如跳转到首页或关闭弹窗。
onConfirm(){
  // 1.保存首选项
  PreferenceUtil.putPreferenceValue(PREF_KEY, true)
  // 2.跳转到首页
  this.jumpToIndex()
}

exitApp(){
  // 退出APP
  this.context.terminateSelf()
}
步骤 6: 修改 EntryAbility
在应用的入口类 `EntryAbility` 中,修改默认打开的页面为欢迎页面。
import UIAbility from '@ohos.app.ability.UIAbility';
import hilog from '@ohos.hilog';
import window from '@ohos.window';
import { CommonConstants } from '../common/constants/CommonConstants';
import DateUtil from '../common/utils/DateUtil';
import DbUtil from '../common/utils/DbUtil';
import PreferenceUtil from '../common/utils/PreferenceUtil';
import RecordModel from '../model/RecordModel';
export default class EntryAbility extends UIAbility {
async onCreate(want, launchParam) {
// 1.加载用户首选项
PreferenceUtil.loadPreference(this.context)
// 2.初始化日期
AppStorage.SetOrCreate(CommonConstants.RECORD_DATE, DateUtil.beginTimeOfDay(new Date()))
// 3.初始化RDB工具
await DbUtil.initDB(this.context)
// 4.创建record表
DbUtil.createTable(RecordModel.getCreateTableSql())
// //5.创建表2
DbUtil.createTable(RecordModel.getCreateTableSql1())
hilog.info(0x0000, 'testTag', '%{public}s', 'Ability onCreate');
}
onDestroy() {
hilog.info(0x0000, 'testTag', '%{public}s', 'Ability onDestroy');
}
onWindowStageCreate(windowStage: window.WindowStage) {
// Main window is created, set main page for this ability
hilog.info(0x0000, 'testTag', '%{public}s', 'Ability onWindowStageCreate');
windowStage.loadContent('pages/WelcomePage', (err, data) => {
if (err.code) {
hilog.error(0x0000, 'testTag', 'Failed to load the content. Cause: %{public}s', JSON.stringify(err) ?? '');
return;
}
hilog.info(0x0000, 'testTag', 'Succeeded in loading the content. Data: %{public}s', JSON.stringify(data) ?? '');
});
}
onWindowStageDestroy() {
// Main window is destroyed, release UI related resources
hilog.info(0x0000, 'testTag', '%{public}s', 'Ability onWindowStageDestroy');
}
onForeground() {
// Ability has brought to foreground
hilog.info(0x0000, 'testTag', '%{public}s', 'Ability onForeground');
}
onBackground() {
// Ability has back to background
hilog.info(0x0000, 'testTag', '%{public}s', 'Ability onBackground');
}
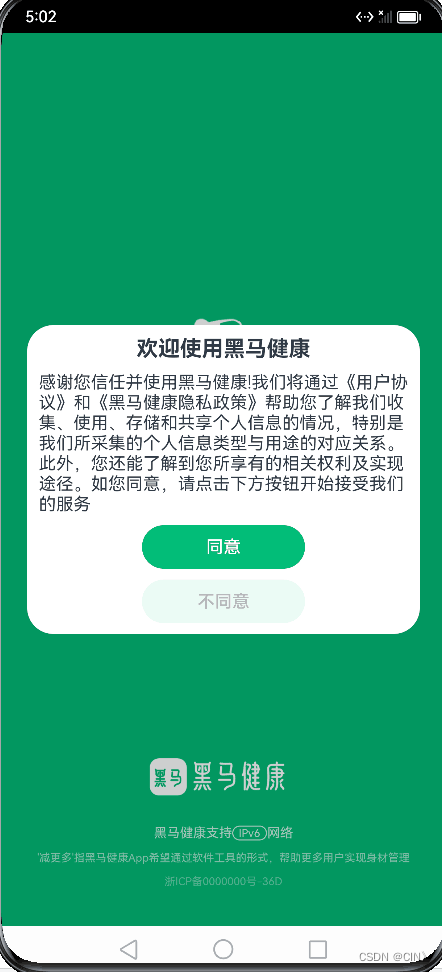
}六、实验结果截图
七、 结论
通过上述步骤,可以实现一个具有自定义弹窗的欢迎页面。


 1210
1210

 被折叠的 条评论
为什么被折叠?
被折叠的 条评论
为什么被折叠?
 到【灌水乐园】发言


