


提示:文章写完后,目录可以自动生成,如何生成可参考右边的帮助文档
文章目录
一、相关技术简介
1.Jedis
学习简单,操作指令和Redis大致相同,但在多线程使用中并不安全,一般对他的使用是采用线程池即:JedisPool(个人喜欢用)
2.lettuce
相较于jedis来说,他的学习成本要高一点,是线程安全的,支持异步通信
其他用于java客户端的还有Redission等
二、jedis在一般工程中的使用
1.导入主要依赖
	<dependency>
        <groupId>redis.clients</groupId>
        <artifactId>jedis</artifactId>
        <version>3.7.0</version>
    </dependency>
2.编写一个线程池配置类并设置相关属性
public class JedisPoolTest {
    private static final JedisPool jedispool;

    static {
        JedisPoolConfig config = new JedisPoolConfig();
        //最大连接数
        config.setMaxTotal(8);
        //最大空闲连接数
        config.setMaxIdle(8);
        //最小空闲连接数
        config.setMinIdle(0);
        //设置最大等待时间
        config.setMaxWaitMillis(1000);

        jedispool=new JedisPool(config,"127.0.0.1",6379,1000,"123456");
    }

    public static Jedis getJedis(){
        return jedispool.getResource();
    }
}
3.编写测试类
public class JedisTest {
    private Jedis jedis;


    /**
     * 建立连接
     */
    @BeforeEach
    public void getConnection(){
        //线程池获得Jedis对象
        jedis = JedisPoolTest.getJedis();
        //选择库
        jedis.select(0);
    }


    /**
     * 进行操作
     */
    @Test
    public void redisTest(){
        //String增加键值对
        String result = jedis.set("name", "张三");
        //获取值
        System.out.println(jedis.get("name"));
    }


    /**
     * 关闭连接
     */
    @AfterEach
    public void close(){
        if(jedis != null){
            jedis.close();
            System.out.println("**********关闭连接*************");
        }
    }
}
redis中也修改成功
三、jedis在SpringBoot中的使用
1.导入相关依赖
 	<dependencies>
        <dependency>
            <groupId>org.springframework.boot</groupId>
            <artifactId>spring-boot-starter-data-redis</artifactId>
        </dependency>

        <dependency>
            <groupId>org.projectlombok</groupId>
            <artifactId>lombok</artifactId>
            <optional>true</optional>
        </dependency>
        <dependency>
            <groupId>org.springframework.boot</groupId>
            <artifactId>spring-boot-starter-test</artifactId>
            <scope>test</scope>
        </dependency>
        <!-- https://mvnrepository.com/artifact/org.apache.commons/commons-pool2 -->
        <dependency>
            <groupId>org.apache.commons</groupId>
            <artifactId>commons-pool2</artifactId>
            <version>2.11.1</version>
        </dependency>
        <!--Jackson依赖-->
        <dependency>
            <groupId>com.fasterxml.jackson.core</groupId>
            <artifactId>jackson-databind</artifactId>
        </dependency>
    </dependencies>
2.写入配置文件(以ymal文件为例)
 spring:
    redis:
       host: 127.0.0.1
       password: 123456
       port: 6379
       lettuce:
          pool:
             max-active: 8  #最大连接数
             max-idle: 8   #最大空闲连接数
             min-idle: 8	#最小空闲连接数
             max-wait: 1000	#设置最大等待时间
注意:
- 在SpringBoot工程中使用Redis时,可以使用RedisTemplate(自动注入使用),而使用RedisTemplate需要指定泛型如:RedisTemplate<String,Object>,不然会出现问题
- RedisTemplate中String类型的使用还应注意序列化问题,要在配置类里面添加序列化工具,写入和写出时都要进行序列化,才能将一个对象存入写出
3.编写RedisTemplate配置类
@Configuration
public class RedisConfig {

    @Bean
    public RedisTemplate<String,Object> redisTemplate(RedisConnectionFactory redisConnectionFactory){
        RedisTemplate<String, Object> template = new RedisTemplate<>();
        //设置连接工厂
        template.setConnectionFactory(redisConnectionFactory);
         创建JSON序列化工具
        GenericJackson2JsonRedisSerializer serializer = new GenericJackson2JsonRedisSerializer();
        //设置Key的序列化
        template.setKeySerializer(RedisSerializer.string());
        template.setHashKeySerializer(RedisSerializer.string());
        //设置值的序列化
        template.setValueSerializer(serializer);
        template.setHashValueSerializer(serializer);
        return template;
    }
}
4.编写测试类
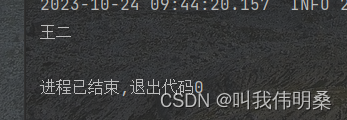
1.redistemplate对于String的简单使用
 @Test
    void tostringTest() {
        //写入数据
        redistemplate.opsForValue().set("name", "王二");
        //获取数据
        System.out.println(redistemplate.opsForValue().get("name"));
    }
2.使用StringRedisTemplate操作String类型
@Test
void StringRedisTemplate2String(){
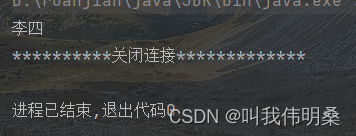
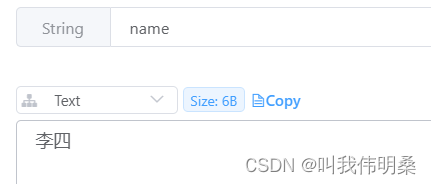
stringRedisTemplate.opsForValue().set("name", "李四");
System.out.println(stringRedisTemplate.opsForValue().get("name"));
}
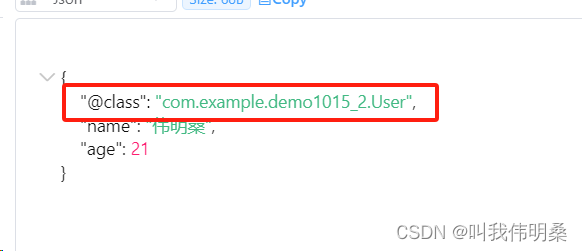
3.自动转换
//自动转json
    @Test
    void testSaveUser() {
        // 写入数据
        redistemplate.opsForValue().set("user:100", new User("伟明桑", 21));
        // 获取数据
        User o = (User) redistemplate.opsForValue().get("user:100");
        System.out.println("o = " + o);
    }
在使用自动转换时,虽然也能成功,但是在Redis存储数据时会流出一部分空间存储他的类别,用于反序列化时转为他对应的类型
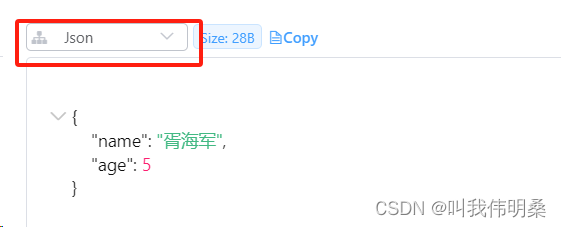
4.手动转换
//手动转json
    @Test
    void StringRedisTemplateTest() throws JsonProcessingException {
        //创建对象
        User user = new User("胥海军",5);

        //转json
        String s = mapper.writeValueAsString(user);

        //写入数据
        stringRedisTemplate.opsForValue().set("user:200",s);

        //取数据需要反序列化
        String result = stringRedisTemplate.opsForValue().get("user:200");
//        System.out.println(result);
        //反序列化
        User readValue = mapper.readValue(result, User.class);
        System.out.println(readValue);
    }


 968
968


 被折叠的 条评论
为什么被折叠?
被折叠的 条评论
为什么被折叠?
 到【灌水乐园】发言


