


 本文介绍了如何在ApacheSpark中使用MLlib库进行多分类问题的机器学习,包括逻辑回归、决策树、随机森林和梯度提升树等模型的训练与评估,以及多层感知器和线性支持向量机的应用,展示了模型的性能指标如F-measure和准确性。
|0.0| 0.05263157894736842|
|0.0| 0.07017543859649122|
|0.0| 0.08771929824561403|
|0.0| 0.10526315789473684|
|0.0| 0.12280701754385964|
|0.0| 0.14035087719298245|
|0.0| 0.15789473684210525|
|0.0| 0.17543859649122806|
|0.0| 0.19298245614035087|
|0.0| 0.21052631578947367|
|0.0| 0.22807017543859648|
|0.0| 0.24561403508771928|
|0.0| 0.2631578947368421|
|0.0| 0.2807017543859649|
|0.0| 0.2982456140350877|
|0.0| 0.3157894736842105|
|0.0| 0.3333333333333333|
±–±-------------------+
only showing top 20 rows
areaUnderROC: 1.0
#### 1.2 多分类LR


示例代码如下:
-*- coding: utf-8 -*-
from future import print_function
from pyspark.ml.classification import LogisticRegression
from pyspark.sql import SparkSession
if name == “__main__”:
spark = SparkSession
.builder
.appName(“MulticlassLogisticRegressionWithElasticNet”)
.getOrCreate()
training = spark \
    .read \
    .format("libsvm") \
    .load("../data/mllib/sample\_multiclass\_classification\_data.txt")

lr = LogisticRegression(maxIter=10, regParam=0.3, elasticNetParam=0.8)
lrModel = lr.fit(training)

# 系数和截距项
print("Coefficients: \n" + str(lrModel.coefficientMatrix))
print("Intercept: " + str(lrModel.interceptVector))

trainingSummary = lrModel.summary

# 获得每次迭代的优化目标(损失 + 惩罚项)
objectiveHistory = trainingSummary.objectiveHistory
print("objectiveHistory:")
for objective in objectiveHistory:
    print(objective)

# 可以查看每个类的FPR & TPR
print("False positive rate by label:")
for i, rate in enumerate(trainingSummary.falsePositiveRateByLabel):
    print("label %d: %s" % (i, rate))

print("True positive rate by label:")
for i, rate in enumerate(trainingSummary.truePositiveRateByLabel):
    print("label %d: %s" % (i, rate))

print("Precision by label:")
for i, prec in enumerate(trainingSummary.precisionByLabel):
    print("label %d: %s" % (i, prec))

print("Recall by label:")
for i, rec in enumerate(trainingSummary.recallByLabel):
    print("label %d: %s" % (i, rec))

print("F-measure by label:")
for i, f in enumerate(trainingSummary.fMeasureByLabel()):
    print("label %d: %s" % (i, f))

accuracy = trainingSummary.accuracy
falsePositiveRate = trainingSummary.weightedFalsePositiveRate
truePositiveRate = trainingSummary.weightedTruePositiveRate
fMeasure = trainingSummary.weightedFMeasure()
precision = trainingSummary.weightedPrecision
recall = trainingSummary.weightedRecall
print("Accuracy: %s\nFPR: %s\nTPR: %s\nF-measure: %s\nPrecision: %s\nRecall: %s"
      % (accuracy, falsePositiveRate, truePositiveRate, fMeasure, precision, recall))

spark.stop()
结果如下:
Coefficients:
3 X 4 CSRMatrix
(0,3) 0.3176
(1,2) -0.7804
(1,3) -0.377
Intercept: [0.05165231659832854,-0.12391224990853622,0.07225993331020768]
objectiveHistory:
1.09861228867
…
False positive rate by label:
label 0: 0.22
label 1: 0.05
label 2: 0.0
True positive rate by label:
label 0: 1.0
label 1: 1.0
label 2: 0.46
Precision by label:
label 0: 0.694444444444
label 1: 0.909090909091
label 2: 1.0
Recall by label:
label 0: 1.0
label 1: 1.0
label 2: 0.46
F-measure by label:
label 0: 0.819672131148
label 1: 0.952380952381
label 2: 0.630136986301
Accuracy: 0.82
FPR: 0.09
TPR: 0.82
F-measure: 0.800730023277
Precision: 0.867845117845
Recall: 0.82
### 2. 决策树分类器


举例


以LibSVM格式加载数据集,将其拆分为训练集和测试集,在第一个数据集上训练,然后在保留的测试集上进行评估。 我们使用两个特征变换器(transformers)来准备数据; 这些帮助标记和分类特征的索引类别,向决策树算法可识别的DataFrame添加元数据。
-*- coding: utf-8 -*-
from future import print_function
from pyspark.ml import Pipeline
from pyspark.ml.classification import DecisionTreeClassifier
from pyspark.ml.feature import StringIndexer, VectorIndexer
from pyspark.ml.evaluation import MulticlassClassificationEvaluator
from pyspark.sql import SparkSession
if name == “__main__”:
spark = SparkSession
.builder
.appName(“DecisionTreeClassificationExample”)
.getOrCreate()
data = spark.read.format("libsvm").load("../data/mllib/sample\_libsvm\_data.txt")

# 对于整个数据集,将label转换为索引
labelIndexer = StringIndexer(inputCol="label", outputCol="indexedLabel").fit(data)
# 自动识别数据集中的分类特征,并且进行矢量化处理;设定maxCategories,以便将具有> 4个不同值的特性视为连续的。
featureIndexer = VectorIndexer(inputCol="features", outputCol="indexedFeatures", maxCategories=4).fit(data)

# 切分训练集和测试集
(trainingData, testData) = data.randomSplit([0.7, 0.3])

# 训练一颗决策树
dt = DecisionTreeClassifier(labelCol="indexedLabel", featuresCol="indexedFeatures")

# 连接indexers和决策树
pipeline = Pipeline(stages=[labelIndexer, featureIndexer, dt])

model = pipeline.fit(trainingData)

# 进行预测
predictions = model.transform(testData)
predictions.select("prediction", "indexedLabel", "features").show(5)

# 计算测试误差
evaluator = MulticlassClassificationEvaluator(
    labelCol="indexedLabel", predictionCol="prediction", metricName="accuracy")
accuracy = evaluator.evaluate(predictions)
print("Test Error = %g " % (1.0 - accuracy))

treeModel = model.stages[2]
print(treeModel)

spark.stop()
结果如下:
±---------±-----------±-------------------+
|prediction|indexedLabel| features|
±---------±-----------±-------------------+
| 1.0| 1.0|(692,[98,99,100,1…|
| 1.0| 1.0|(692,[121,122,123…|
| 1.0| 1.0|(692,[122,123,148…|
| 1.0| 1.0|(692,[124,125,126…|
| 1.0| 1.0|(692,[126,127,128…|
±---------±-----------±-------------------+
only showing top 5 rows
Test Error = 0.0357143
DecisionTreeClassificationModel (uid=DecisionTreeClassifier_4f508c37c4be93461970) of depth 1 with 3 nodes
### 3. 随机森林分类器


与DT类似的,只不过选择RF来进行训练,示例代码如下:
-*- coding: utf-8 -*-
from future import print_function
from pyspark.ml import Pipeline
from pyspark.ml.classification import RandomForestClassifier
from pyspark.ml.feature import IndexToString, StringIndexer, VectorIndexer
from pyspark.ml.evaluation import MulticlassClassificationEvaluator
from pyspark.sql import SparkSession
if name == “__main__”:
spark = SparkSession
.builder
.appName(“RandomForestClassifierExample”)
.getOrCreate()
# 处理方式如DT类似
data = spark.read.format("libsvm").load("../data/mllib/sample\_libsvm\_data.txt")
labelIndexer = StringIndexer(inputCol="label", outputCol="indexedLabel").fit(data)
featureIndexer = VectorIndexer(inputCol="features", outputCol="indexedFeatures", maxCategories=4).fit(data)
(trainingData, testData) = data.randomSplit([0.7, 0.3])

# TRAIN RF
rf = RandomForestClassifier(labelCol="indexedLabel", featuresCol="indexedFeatures", numTrees=10)

# 将标签的索引转换为原始标签
labelConverter = IndexToString(inputCol="prediction", outputCol="predictedLabel", labels=labelIndexer.labels)

# 在Pipeline中进行整个训练流程
pipeline = Pipeline(stages=[labelIndexer, featureIndexer, rf, labelConverter])

model = pipeline.fit(trainingData)

predictions = model.transform(testData)

predictions.select("predictedLabel", "label", "features").show(5)

evaluator = MulticlassClassificationEvaluator(labelCol="indexedLabel", predictionCol="prediction",
                                              metricName="accuracy")
accuracy = evaluator.evaluate(predictions)
print("Test Error = %g" % (1.0 - accuracy))

rfModel = model.stages[2]
print(rfModel)

spark.stop()
结果如下:
±-------------±----±-------------------+
|predictedLabel|label| features|
±-------------±----±-------------------+
| 0.0| 0.0|(692,[98,99,100,1…|
| 0.0| 0.0|(692,[122,123,148…|
| 0.0| 0.0|(692,[124,125,126…|
| 0.0| 0.0|(692,[124,125,126…|
| 0.0| 0.0|(692,[124,125,126…|
±-------------±----±-------------------+
only showing top 5 rows
Test Error = 0.0294118
RandomForestClassificationModel (uid=RandomForestClassifier_421b9fdfb8d0ee9acde3) with 10 trees
### 4. 梯度提升树分类器


如前文类似,选用梯度提升树(Gradient-boosted trees, GBTs)来进行训练,示例代码如下:
-*- coding: utf-8 -*-
from future import print_function
from pyspark.ml import Pipeline
from pyspark.ml.classification import GBTClassifier
from pyspark.ml.feature import StringIndexer, VectorIndexer
from pyspark.ml.evaluation import MulticlassClassificationEvaluator
from pyspark.sql import SparkSession
if name == “__main__”:
spark = SparkSession
.builder
.appName(“GradientBoostedTreeClassifierExample”)
.getOrCreate()
data = spark.read.format("libsvm").load("../data/mllib/sample\_libsvm\_data.txt")
labelIndex = StringIndexer(inputCol="label", outputCol="indexedLabel").fit(data)
featureIndexer = VectorIndexer(inputCol="features", outputCol="indexedFeatures", maxCategories=4).fit(data)
(trainingData, testData) = data.randomSplit([0.7, 0.3])

# train
gbt = GBTClassifier(labelCol="indexedLabel", featuresCol="indexedFeatures", maxDepth=10)

# 在管道中进行整个训练流程
pipeline = Pipeline(stages=[labelIndex, featureIndexer, gbt])
model = pipeline.fit(trainingData)

# 预测
predictions = model.transform(testData)
predictions.select("prediction", "indexedLabel", "features").show(5)

# 计算测试误差
evaluator = MulticlassClassificationEvaluator(labelCol="indexedLabel", predictionCol="prediction",
                                              metricName="accuracy")
accuracy = evaluator.evaluate(predictions)
print("Test Error = %g" % (1.0 - accuracy))

gbtModel = model.stages[2]
print(gbtModel)

spark.stop()
结果如下:
±---------±-----------±-------------------+
|prediction|indexedLabel| features|
±---------±-----------±-------------------+
| 1.0| 1.0|(692,[95,96,97,12…|
| 1.0| 1.0|(692,[100,101,102…|
| 1.0| 1.0|(692,[122,123,148…|
| 1.0| 1.0|(692,[123,124,125…|
| 1.0| 1.0|(692,[124,125,126…|
±---------±-----------±-------------------+
only showing top 5 rows
Test Error = 0
GBTClassificationModel (uid=GBTClassifier_4a1fa549ada75fa70795) with 20 trees
### 5. 多层感知器分类器
多层感知器分类器(Multilayer perceptron classifier, MLPC)是基于前馈人工神经网络的分类器。 MLPC由多层节点组成。 每层完全连接到网络中的下一层。 输入层中的节点表示输入数据。 所有其他节点通过输入与节点权重www和偏差bbb的线性组合将输入映射到输出,并应用激活函数。 这可以用矩阵形式写入MLPC,K+1层如下:

中间层中的节点使用sigmoid函数:

输出层中的节点使用softmax函数:

输出层中的节点数N对应于类的数量。
MLPC采用反向传播来学习模型。 我们使用逻辑损失函数进行优化,使用L-BFGS作为优化过程。
示例代码如下:
-*- coding: utf-8 -*-
from future import print_function
from pyspark.ml.classification import MultilayerPerceptronClassifier
from pyspark.ml.evaluation import MulticlassClassificationEvaluator
from pyspark.sql import SparkSession
if name == “__main__”:
spark = SparkSession.builder.appName(“multilayer_perceptron_classification_example”).getOrCreate()
data = spark.read.format("libsvm").load("../data/mllib/sample\_multiclass\_classification\_data.txt")
(train_data, test_data) = data.randomSplit([0.6, 0.4], seed=2019)

# 输入层为features的大小(4),输出层为labels的大小(3)
layers = [4, 5, 4, 3]

# train
trainer = MultilayerPerceptronClassifier(maxIter=100, layers=layers, blockSize=128, seed=2019)
model = trainer.fit(train_data)

# 计算在测试集上的准确率
predictions = model.transform(test_data)
predictions.select("prediction", "label", "features").show(5)
evaluator = MulticlassClassificationEvaluator(labelCol="label", predictionCol="prediction",
                                              metricName="accuracy")
accuracy = evaluator.evaluate(predictions)
print("Test Error = %g" % (1.0 - accuracy))
print(model)

spark.stop()
结果如下:
±---------±----±-------------------+
|prediction|label| features|
±---------±----±-------------------+
| 0.0| 0.0|(4,[0,1,2,3],[-0…|
| 0.0| 0.0|(4,[0,1,2,3],[-0…|
| 0.0| 0.0|(4,[0,1,2,3],[0.0…|
| 0.0| 0.0|(4,[0,1,2,3],[0.0…|
| 0.0| 0.0|(4,[0,1,2,3],[0.1…|
±---------±----±-------------------+
only showing top 5 rows
Test Error = 0.0172414
MultilayerPerceptronClassifier_4f01847fd0f3f4531e41
### 6. 线性支持向量机


示例代码如下:
-*- coding: utf-8 -*-
from future import print_function
from pyspark.ml.classification import LinearSVC
from pyspark.ml.evaluation import BinaryClassificationEvaluator
from pyspark.sql import SparkSession
if name == “__main__”:
spark = SparkSession\
既有适合小白学习的零基础资料,也有适合3年以上经验的小伙伴深入学习提升的进阶课程,涵盖了95%以上大数据知识点,真正体系化!
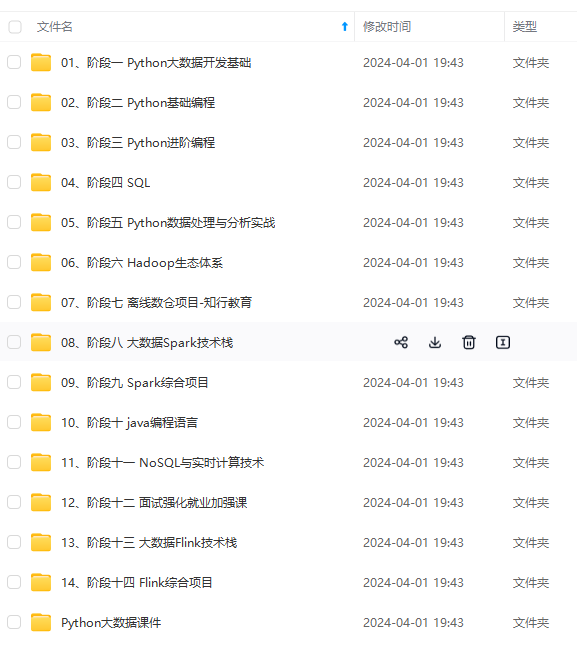
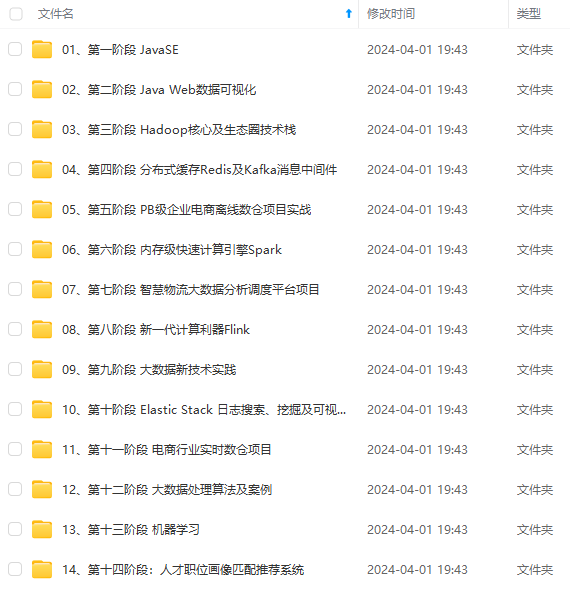
由于文件比较多,这里只是将部分目录截图出来,全套包含大厂面经、学习笔记、源码讲义、实战项目、大纲路线、讲解视频,并且后续会持续更新
uation import BinaryClassificationEvaluator
from pyspark.sql import SparkSession
if name == “__main__”:
spark = SparkSession\
[外链图片转存中…(img-IX7U4Iqs-1714262043898)]
[外链图片转存中…(img-xq2ikmgU-1714262043898)]
[外链图片转存中…(img-AvSmhiLp-1714262043899)]
既有适合小白学习的零基础资料,也有适合3年以上经验的小伙伴深入学习提升的进阶课程,涵盖了95%以上大数据知识点,真正体系化!
由于文件比较多,这里只是将部分目录截图出来,全套包含大厂面经、学习笔记、源码讲义、实战项目、大纲路线、讲解视频,并且后续会持续更新


 8594
8594

 被折叠的 条评论
为什么被折叠?
被折叠的 条评论
为什么被折叠?
 到【灌水乐园】发言


