


Linux,全称GNU/Linux,是一套免费使用和自由传播的类Unix操作系统,是一个基于POSIX和Unix的多用户、多任务、支持多线程和多CPU的操作系统。它能运行主要的Unix工具软件、应用程序和网络协议。它支持32位和64位硬件。Linux继承了Unix以网络为核心的设计思想,是一个性能稳定的多用户网络操作系统。

软件资源
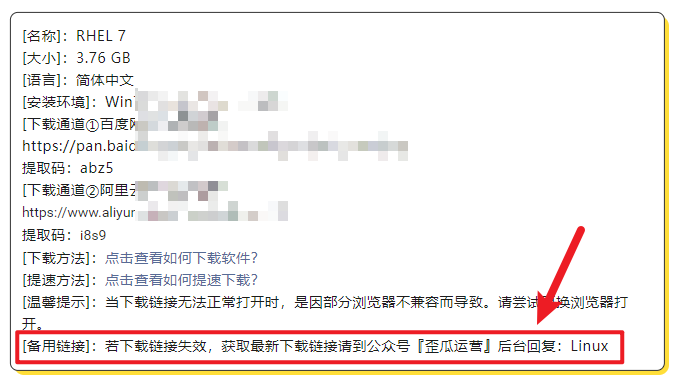
安装步骤
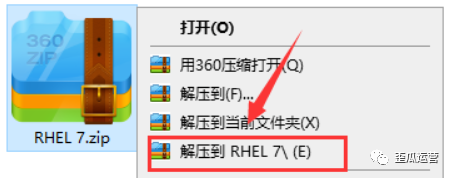
1.选中我们下载好的【RHEL 7】软件压缩包,鼠标直接右击选择【解压到RHEL 7】即可。
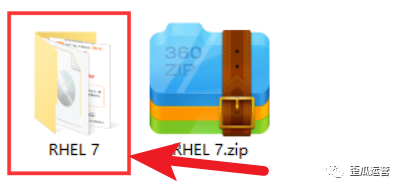
2.然后我们双击打开解压后的【RHEL 7】文件夹。
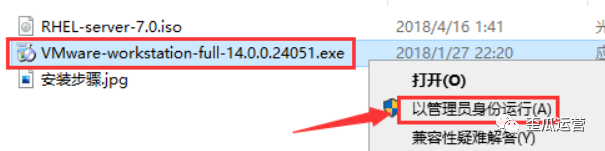
3.需要选中【VMware-workstation-full-14.0.0.24051.exe】可执行文件,然后鼠标右击选择【以管理员的身份运行】进行下一步。
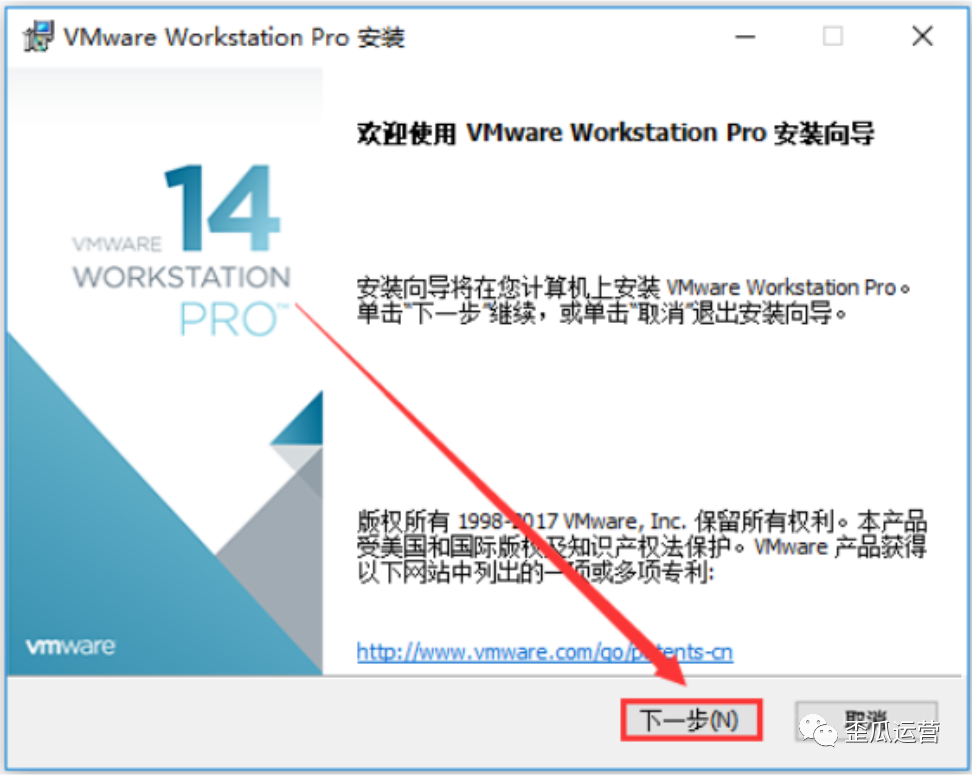
4.我们直接点击【下一步】操作。
(没收入的公众号都停更了)
支持小编
下面这个小卡片

我希望大家可以【点击一下】,点一下就关闭即可,你们的随手一点是我写出更多干货的动力,谢谢你们的支持!
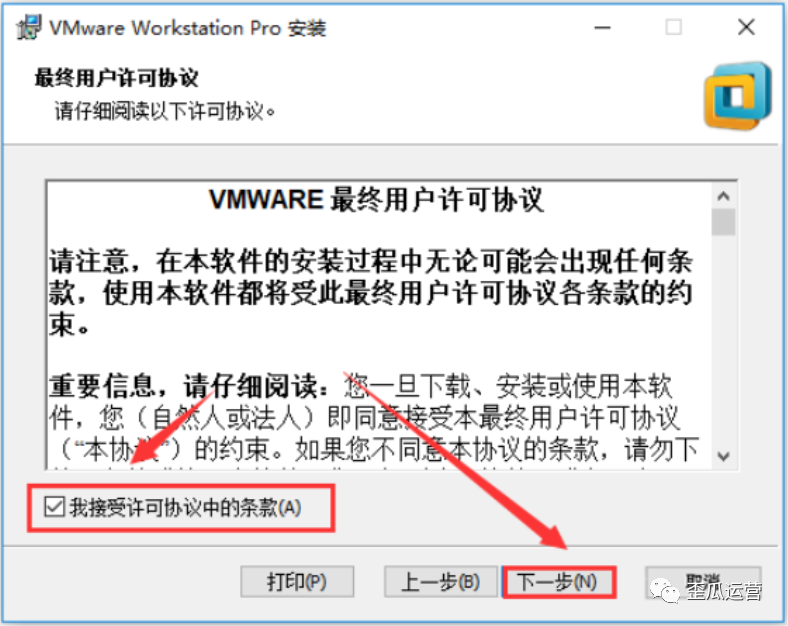
5.直接勾选【我接受许可协议中的条款】即可,然后点击【下一步】。
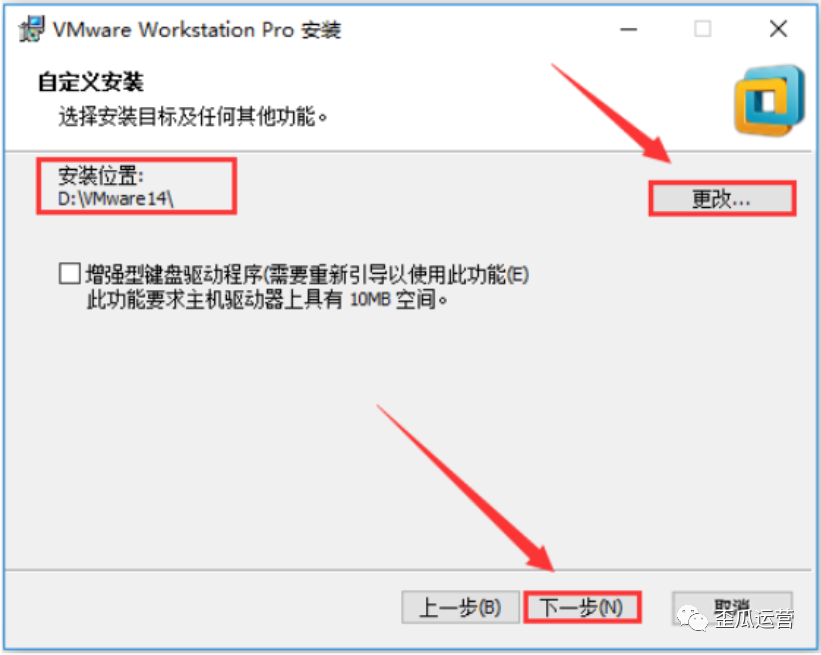
6.直接点击【更改】选择软件安装路径,首先建议大家安装在除C盘之外的其它磁盘,这样电脑不会出现卡顿的情况出现, 然后我们点击【下一步】。
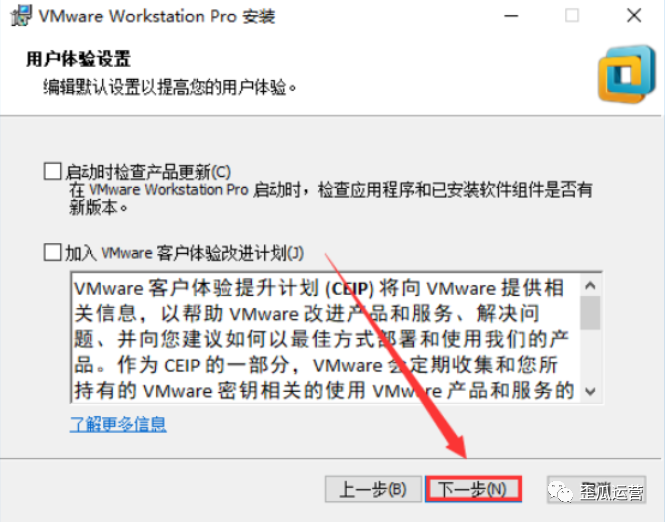
7.我们选择取消勾选【检查产品更新】和【客户体验改进计划】,然后直接点击【下一步】。
8.快捷方式勾选我们根据自己喜好,勾选完毕后直接点击【下一步】。

9.出现如下图所示直接点击【安装】。
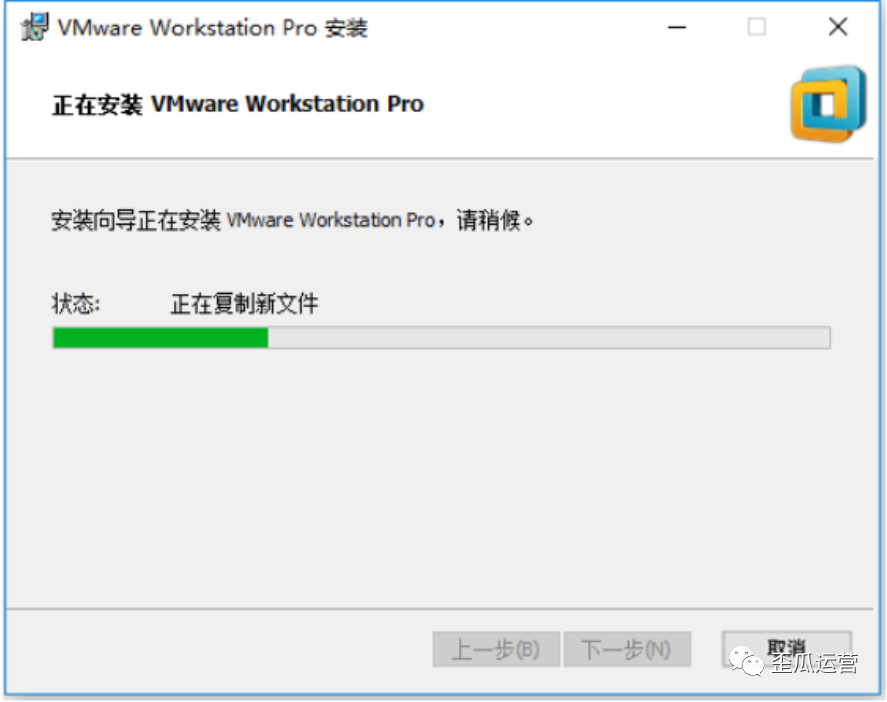
10.会出现软件正在安装中,我们等待一会儿
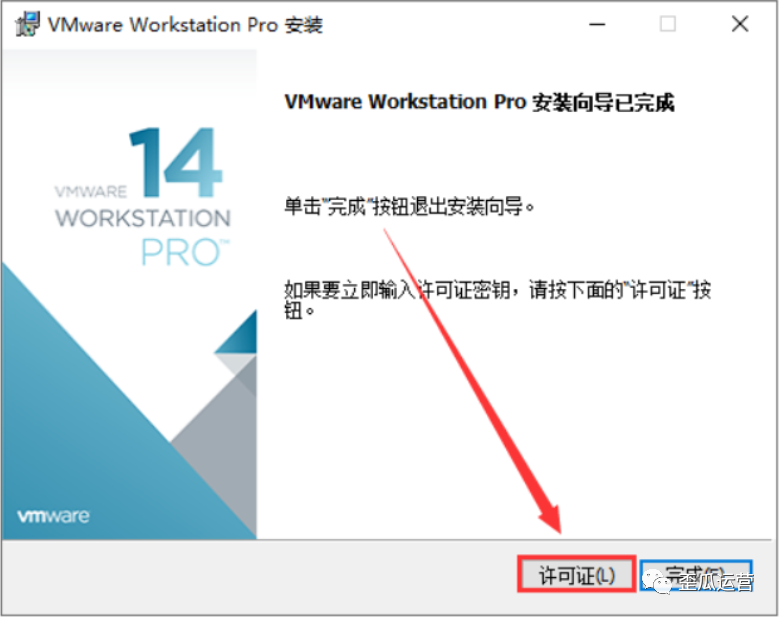
11.然后点击【许可证】。
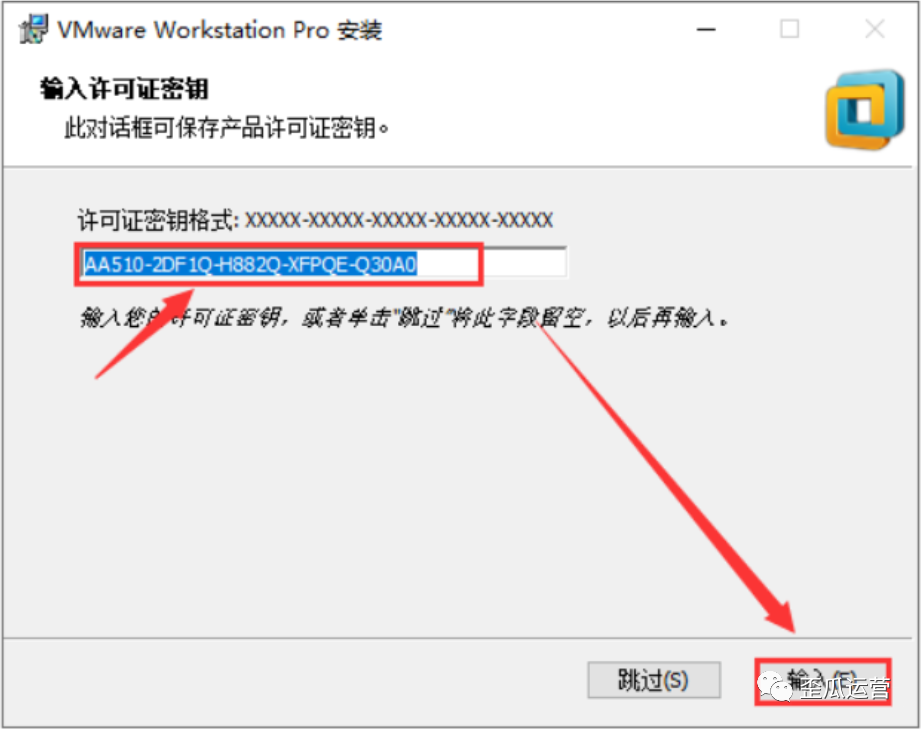
12.在框中输入:【AA510-2DF1Q-H882Q-XFPQE-Q30A0】后,点击【输入】按钮即可。
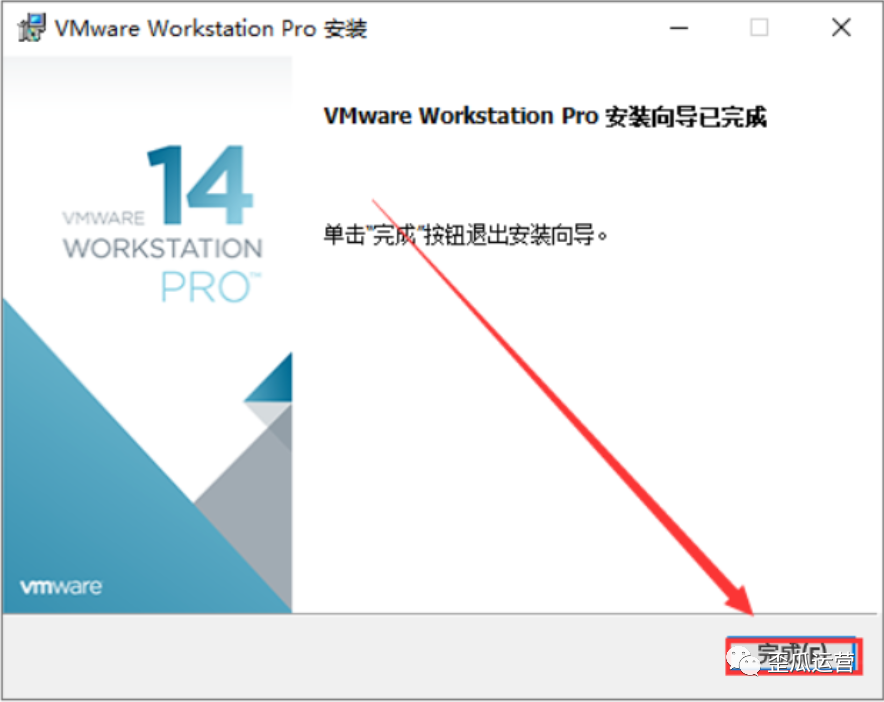
13.再次点击【完成】按钮即可。
14.我们返回桌面后首先找到【VMware Workstation Pro】,直接进行打开启动虚拟机。
15.打开面板后,我们找到并点击【创建新的虚拟机】。
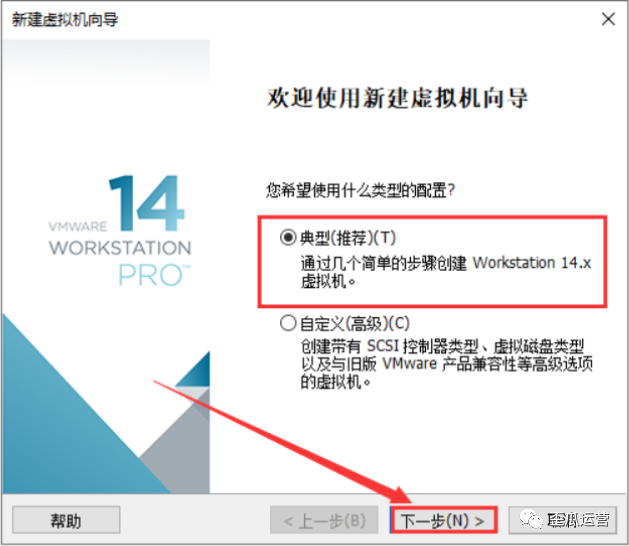
16.然后鼠标选择【典型】,我们点击【下一步】操作即可。
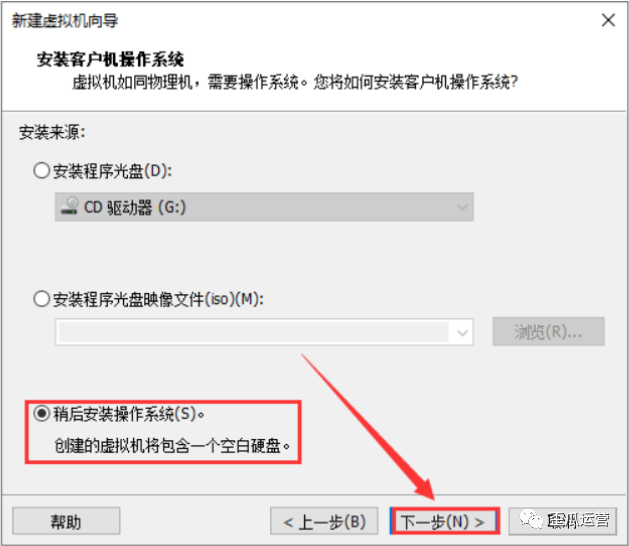
17.在这里我们选择【稍后安装操作系统】,鼠标点击【下一步】按钮。
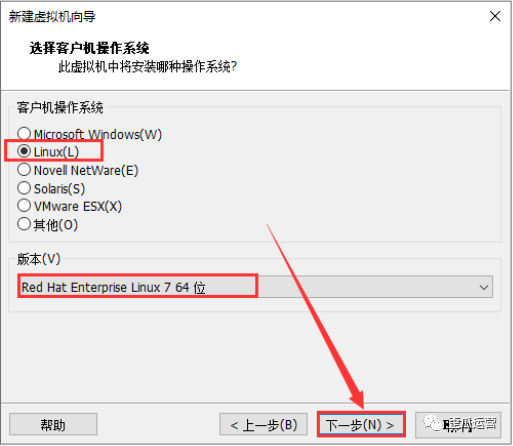
18.系统我们选择【Linux】,版本则选择【Red Hat Enterprise Liunx 7 64位】,然后我们再次点击【下一步】。
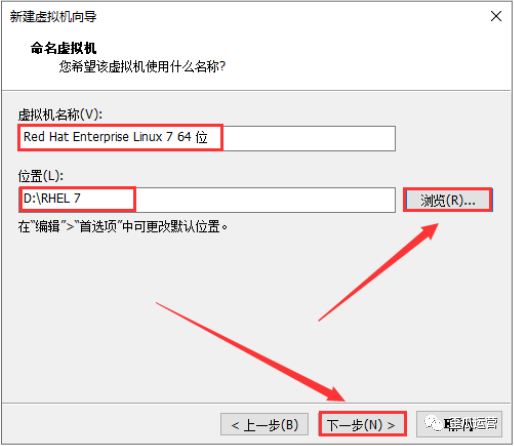
19.虚拟机名称框中输入【Red Hat Enterprise Linux 7 64 位】,点击直接【浏览】一定需要更改系统的安装位置,建议大家安装在除C盘之外的磁盘,然后点击【下一步】操作。
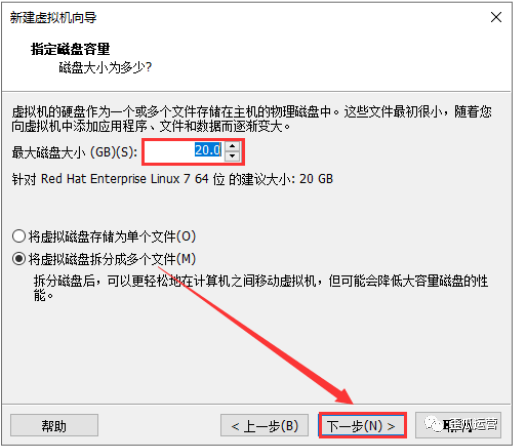
20.我们选择自己合适的磁盘大小,然后继续点击【下一步】。
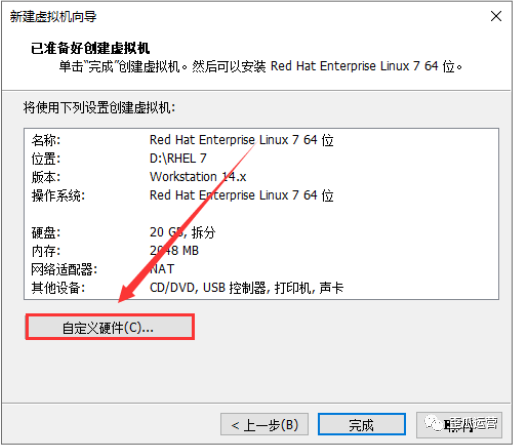
21.出现如下图所示,我们点击【自定义硬件】。
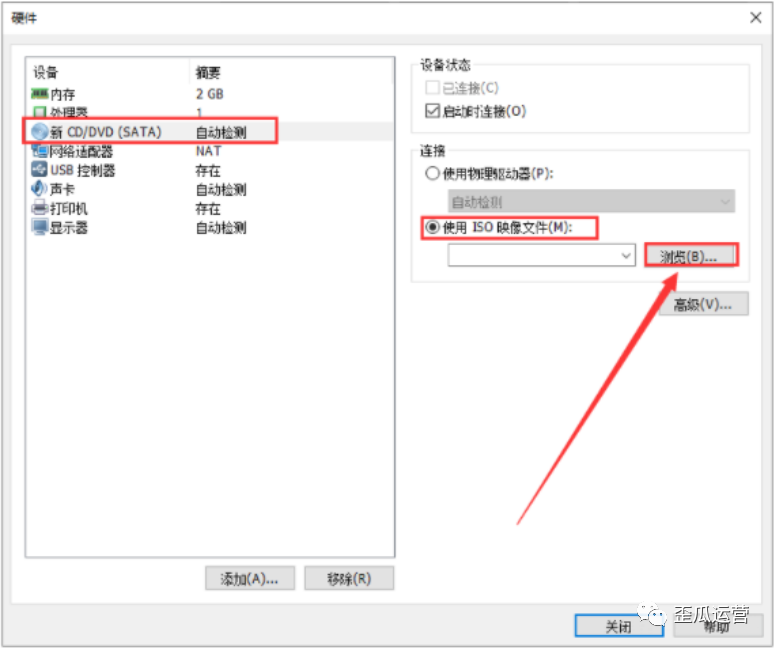
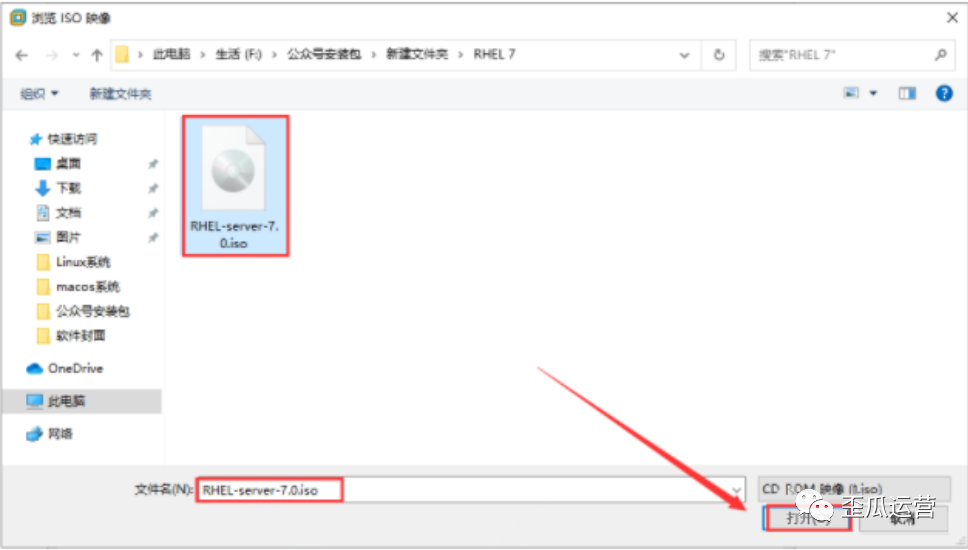
22.首先选择【新CD/DVD(SATA)】后再选择【使用ISO镜像文件】,鼠标点击【浏览】。
23.我们找到并选择刚解压后【RHEL 7】文件夹里面的【RHEL-server-7.0】镜像文件,然后我们点击【打开】。
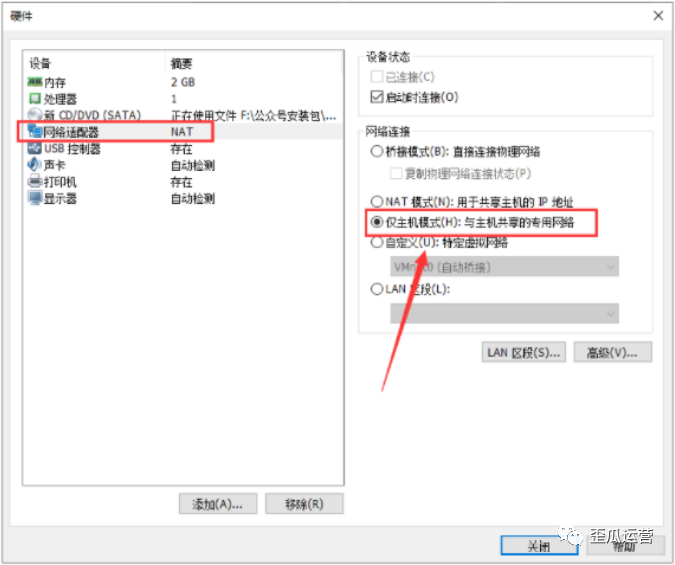
24.再点击【网络适配器】,网络连接则选择【仅主机模式】即可。
25.我们选中【USB控制器】后,直接点击【移除】。
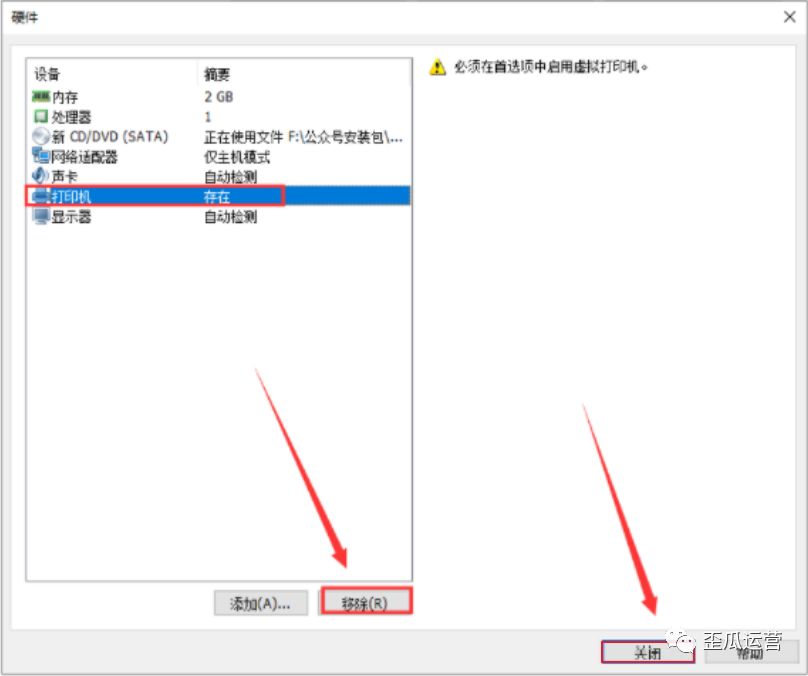
26.再选中【打印机】,直接点击【移除】按钮,然后点击【关闭】。
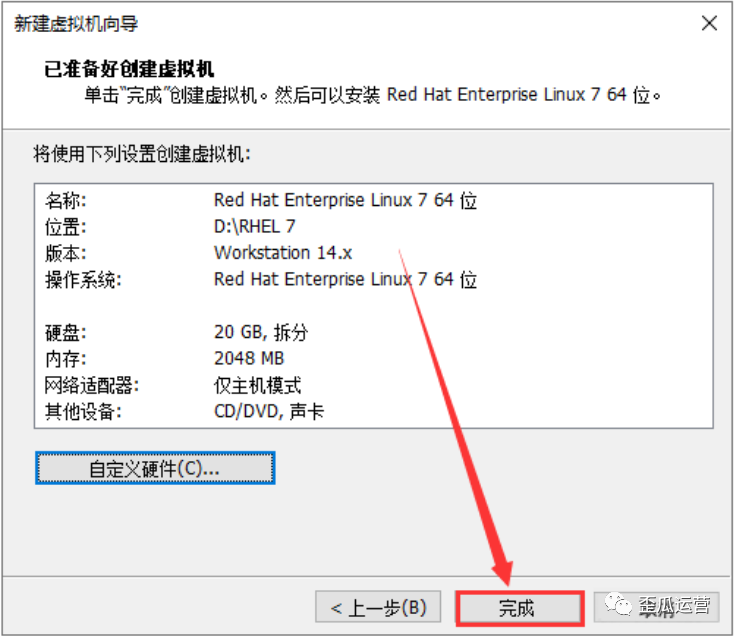
27.直接点击【完成】进行一步操作。
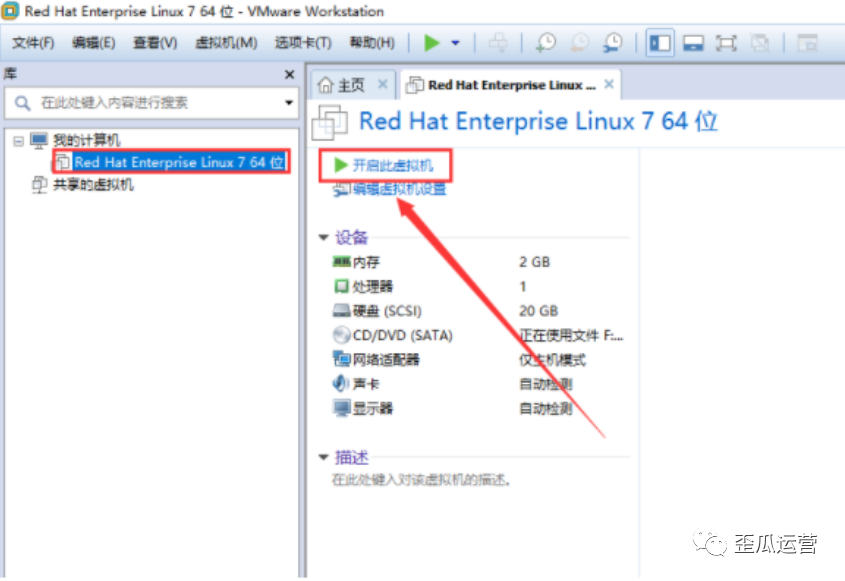
28.我们选中【Red Hat Enterprise Linux 7 64 位】,直接点击【开启此虚拟机】。
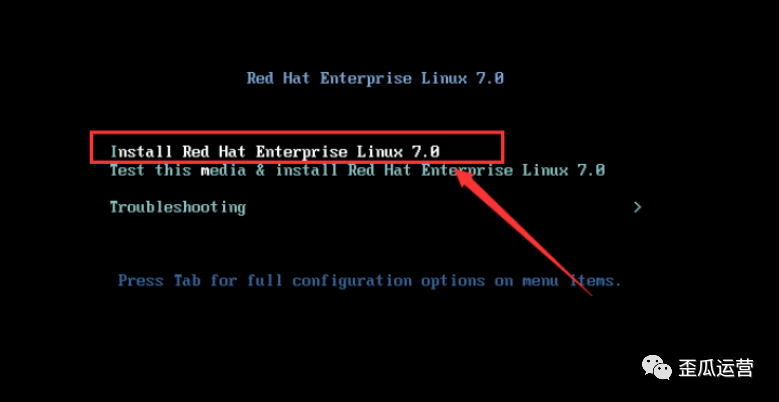
29.然后用键盘上的上下箭头,我们选择【Install Red Hat Enterprise Linux 7.0】。然后按键盘上的回车【Enter】键即可。
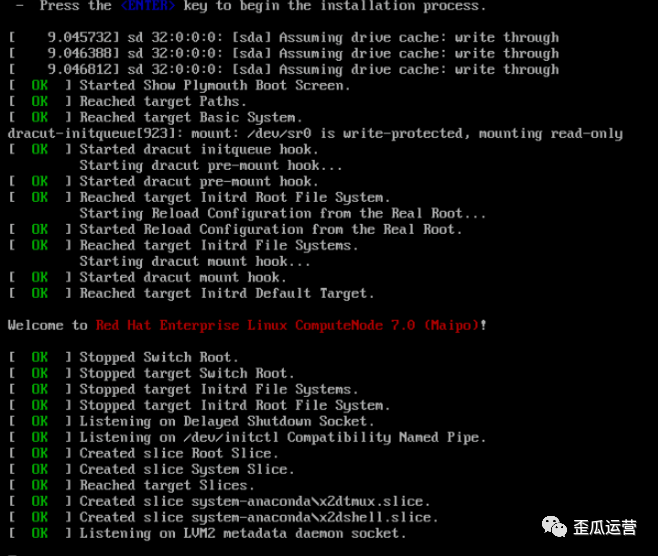
30.面板可见正在加载镜像。
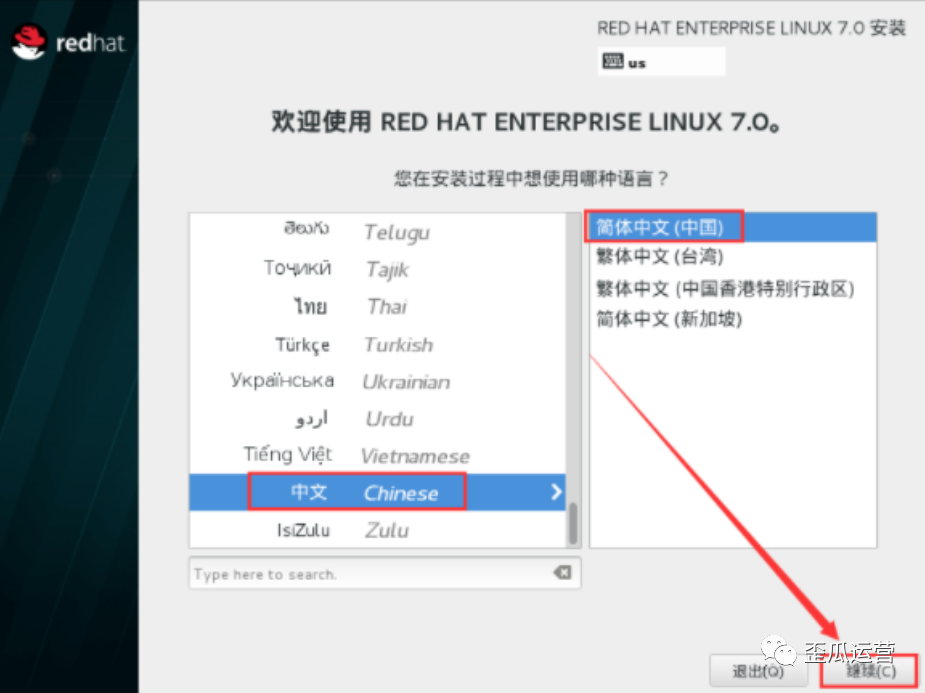
31.我们首先选择【中文】,然后点击【继续】。
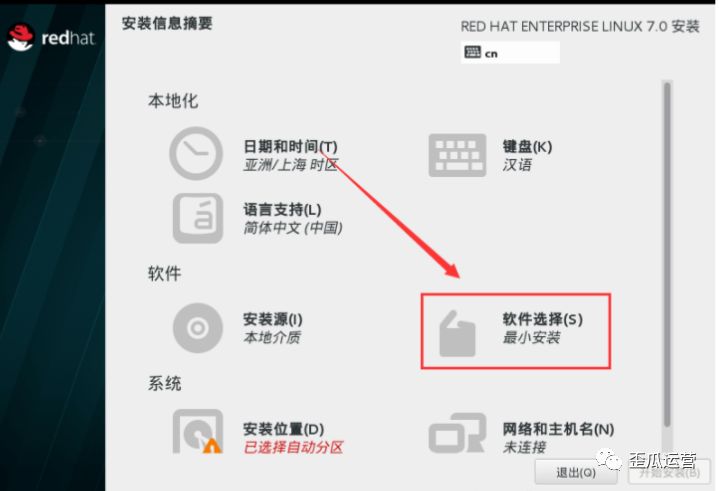
32.再点击【软件选择】。
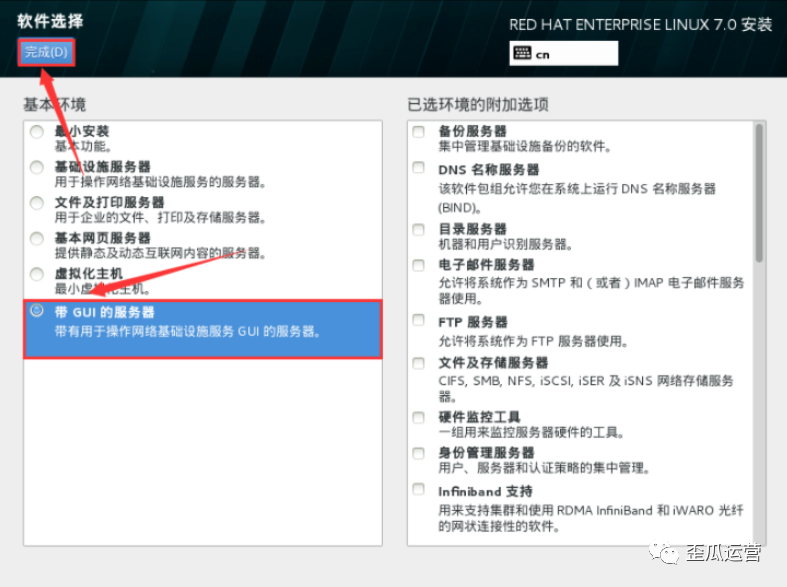
33.选择【带GUI的服务器】,然后直接点击【完成】。
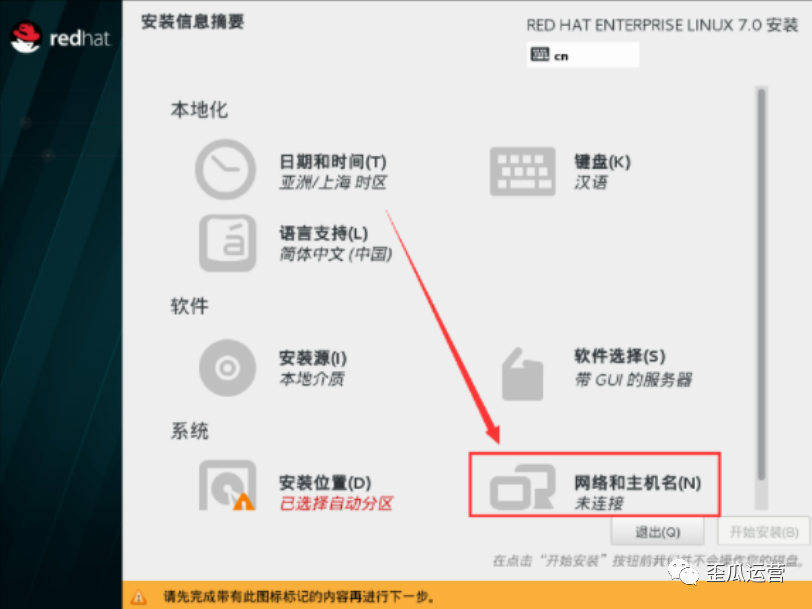
34.再点击【网络和主机名】。
35.主机名只需输入【linuxprobe.com】,然后鼠标点击【完成】。

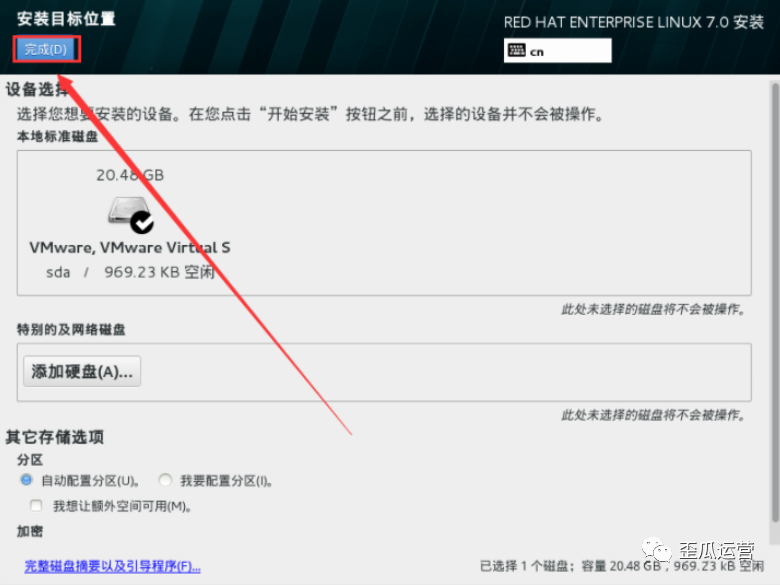
36.再点击【安装位置】。
37.在这里我们不做修改,只需直接点击【完成】。
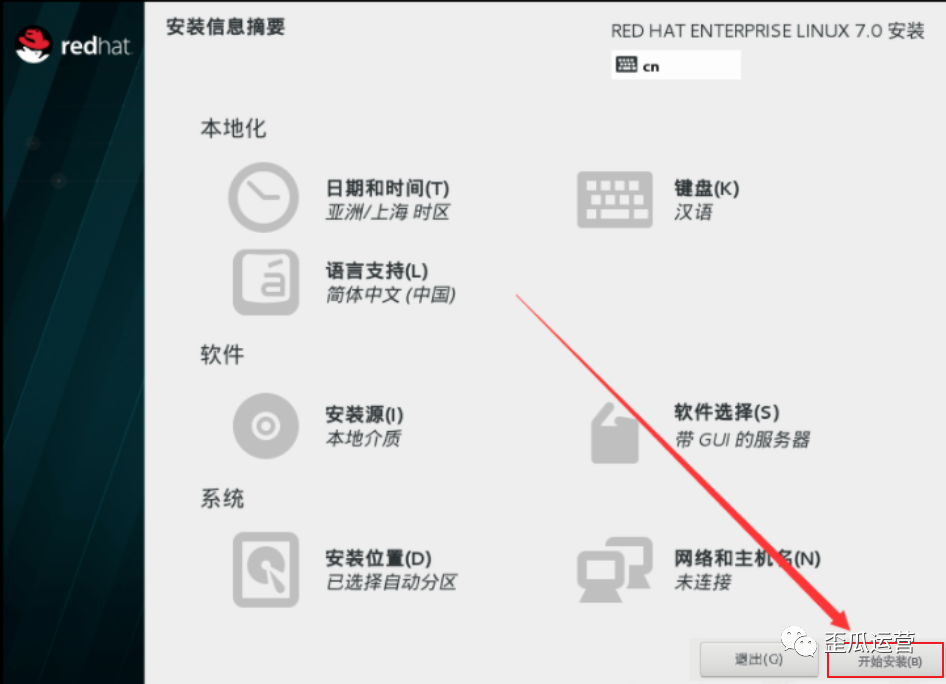
38.然后直接点击【开始安装】即可。
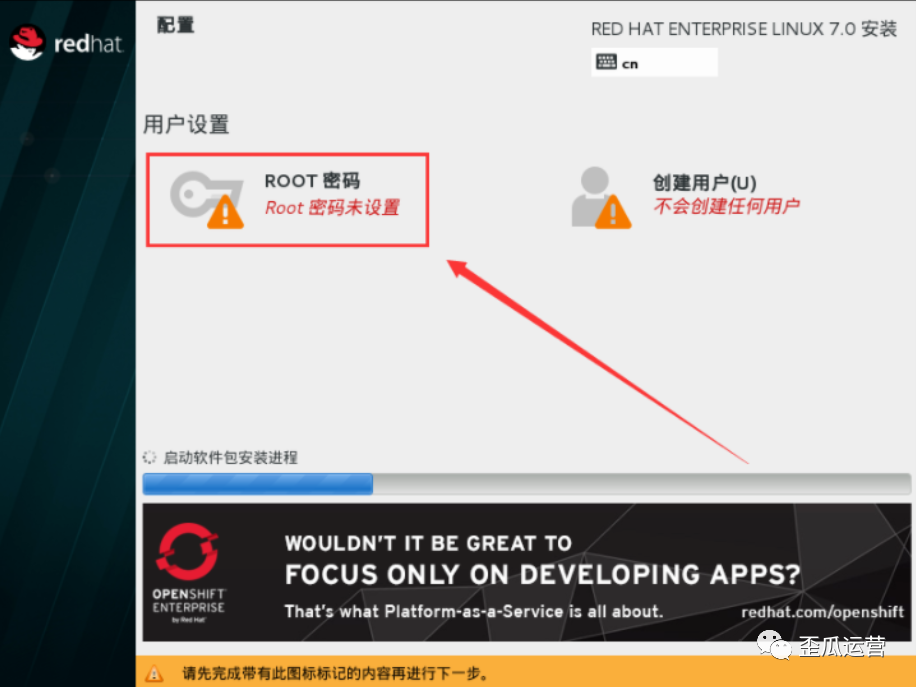
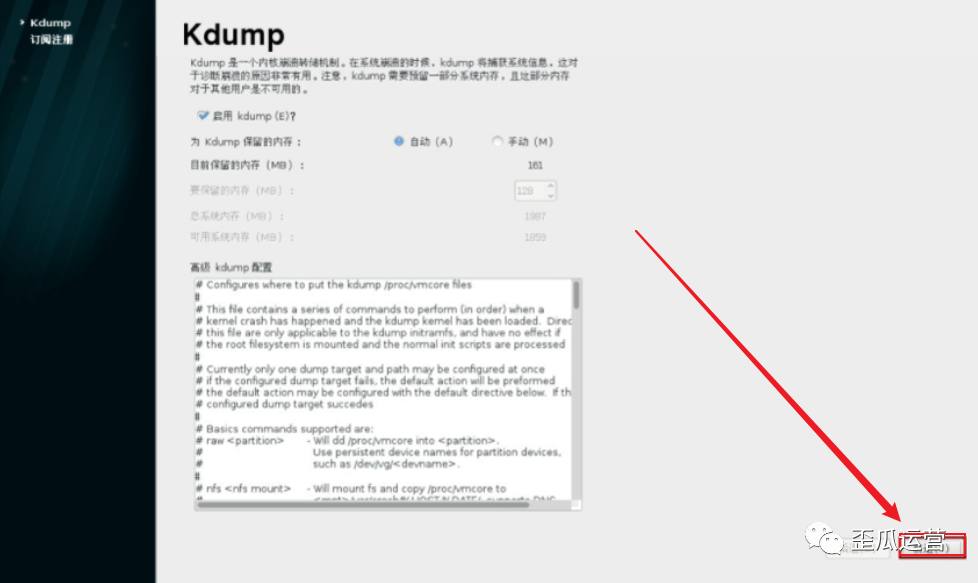
39.直接点击【Root密码】。
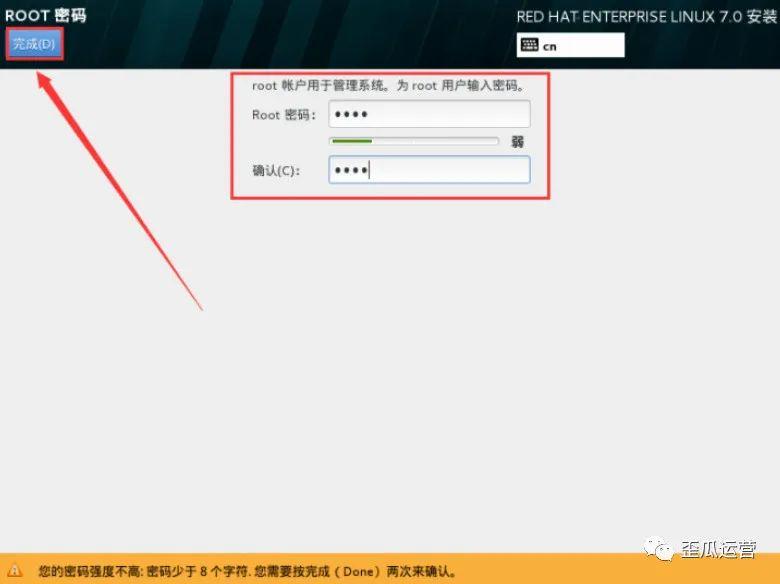
40.在我们输入Root密码,然后点击【完成】。
温馨提示:如果我们输入的密码较弱则需要点击两次【完成】才可以。
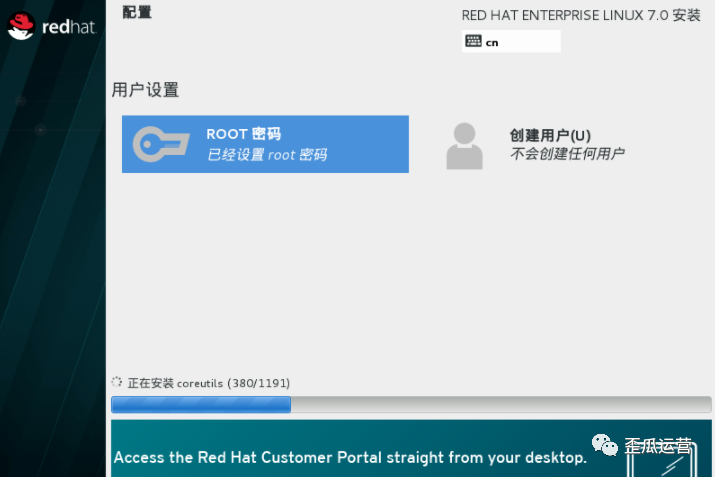
41.RHEL 7安装中,需要大家稍等一会儿。
42.待到安装完成后,我们手动点击【重启】。
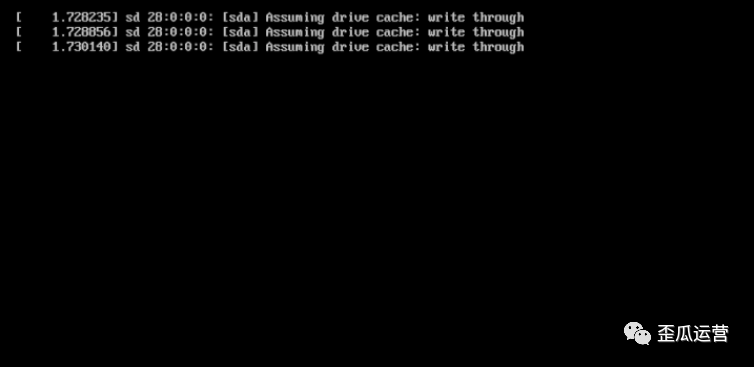
43.在重启后我们切记不要有任何操作。
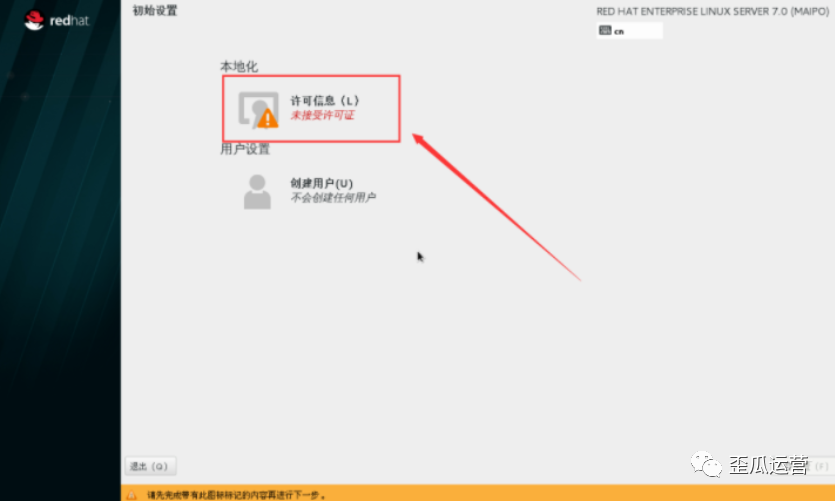
44.然后我们点击【许可信息】。
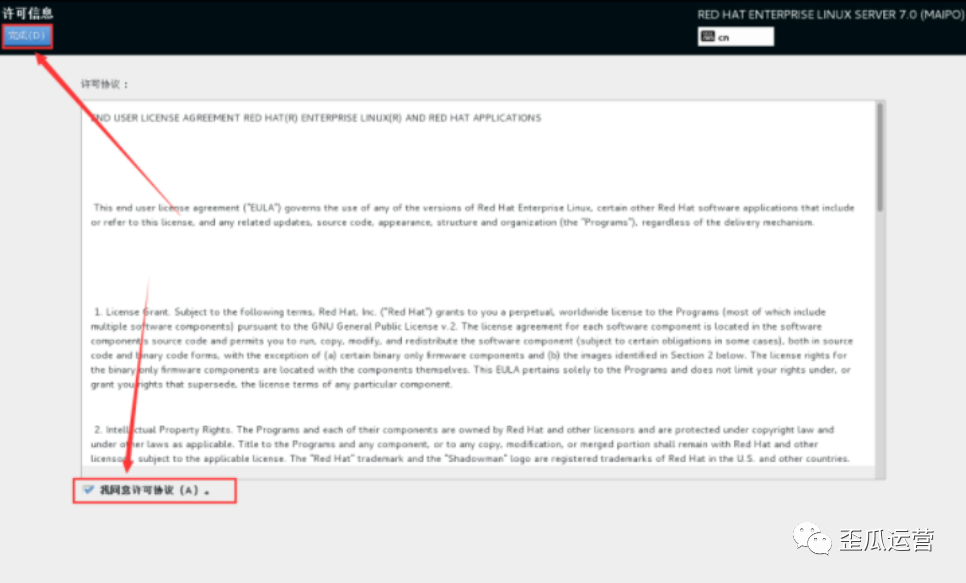
45.直接勾选【我同意许可协议】,然后我们点击【完成】。
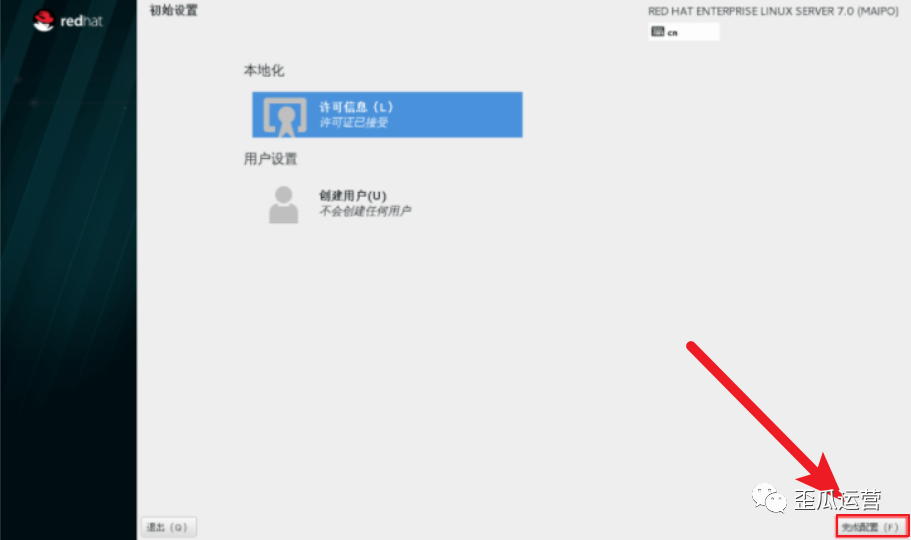
46.在这里直接点击【完成配置】。
47.然后再点击【前进】。
48.直接勾选【不,我想以后注册】,然后点击【完成】。

49.选择【汉语(中国)】即可,然后点击【前进】。
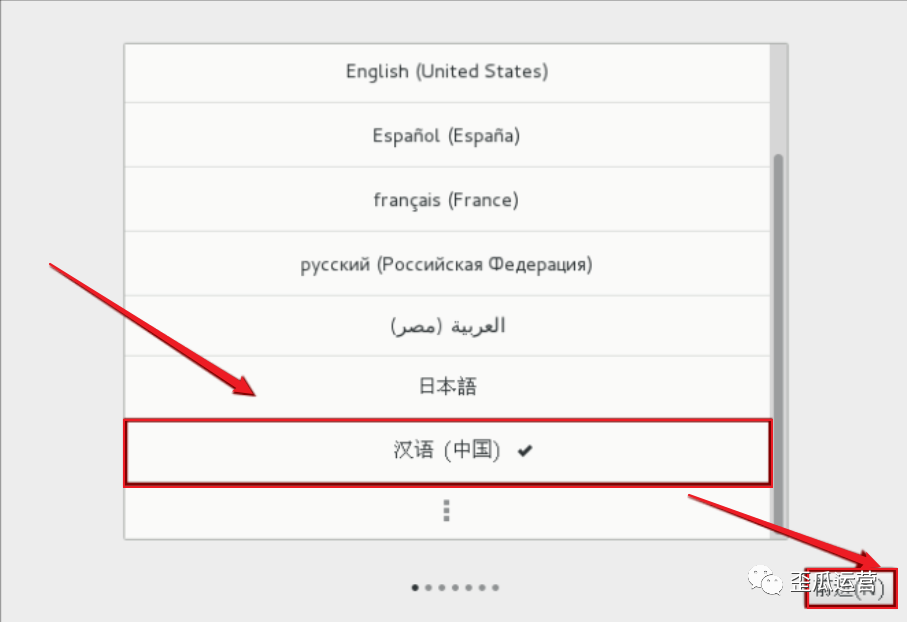
50.然后再点击【前进】。
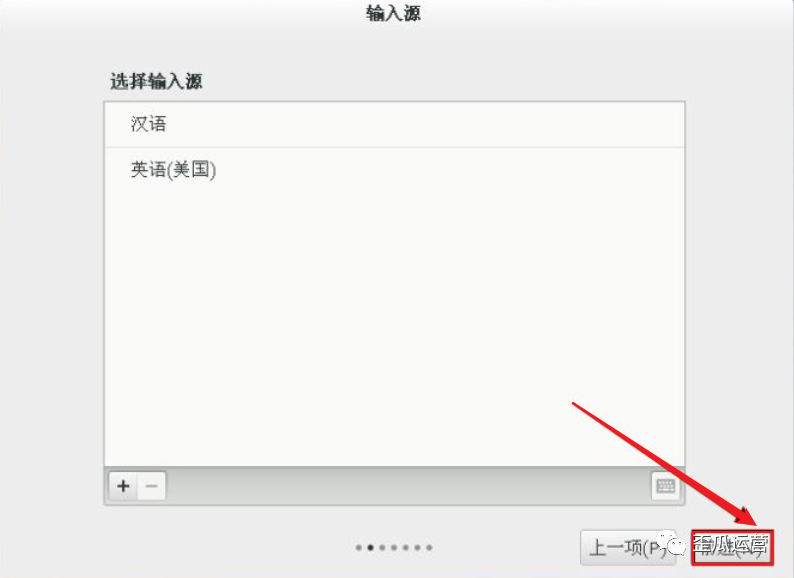
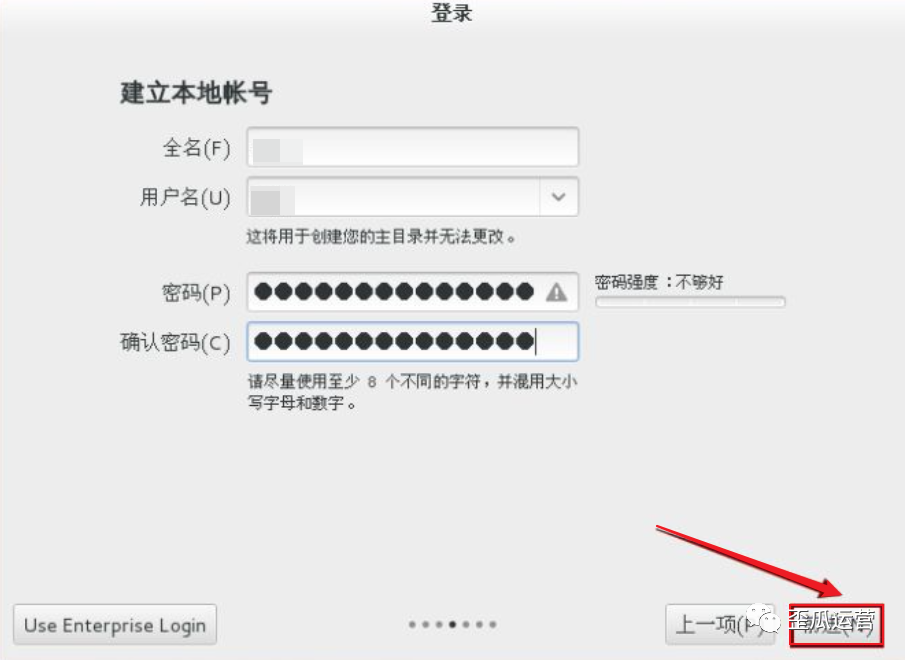
51.只需建立【本地用户】,点击【前进】按钮即可。
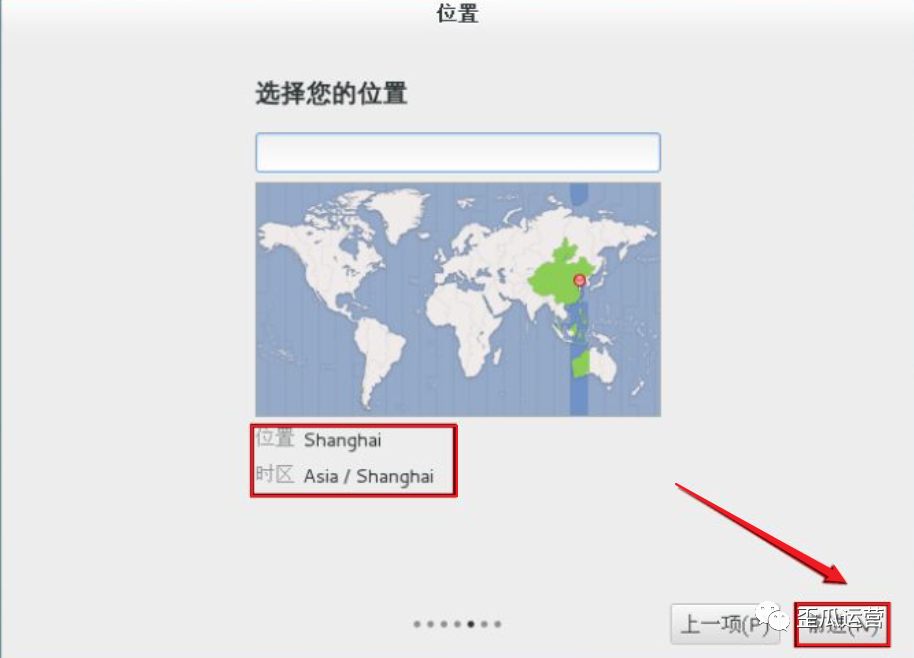
52.时区我们选择【shanghai】就好,然后点击【前进】。
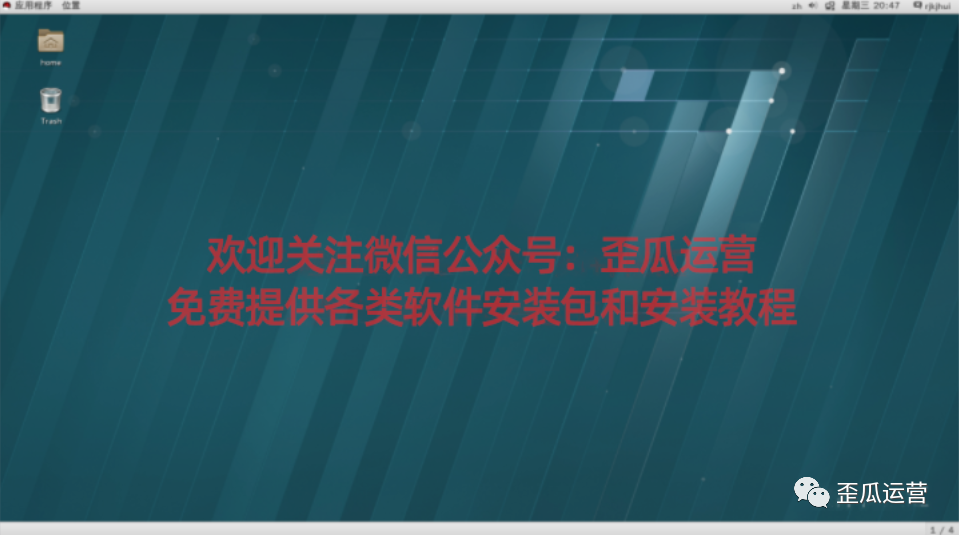
53.直接点击【Start using Red Hat Enterprise Linux Server】。

54.出现如下图所示,则代表RHEL系统已安装完成。


 1824
1824

 被折叠的 条评论
为什么被折叠?
被折叠的 条评论
为什么被折叠?
 到【灌水乐园】发言


