


Nacos之服务配置中心
Nacos不仅仅可以作为注册中心来使用,同时它支持作为配置中心。
基础配置
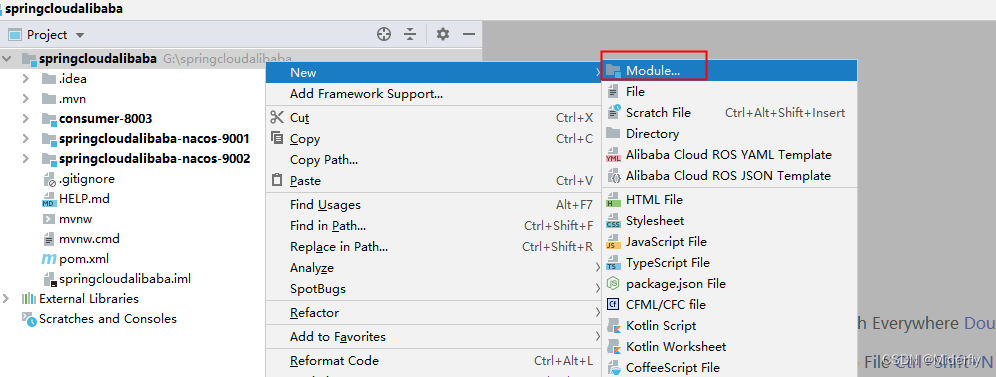
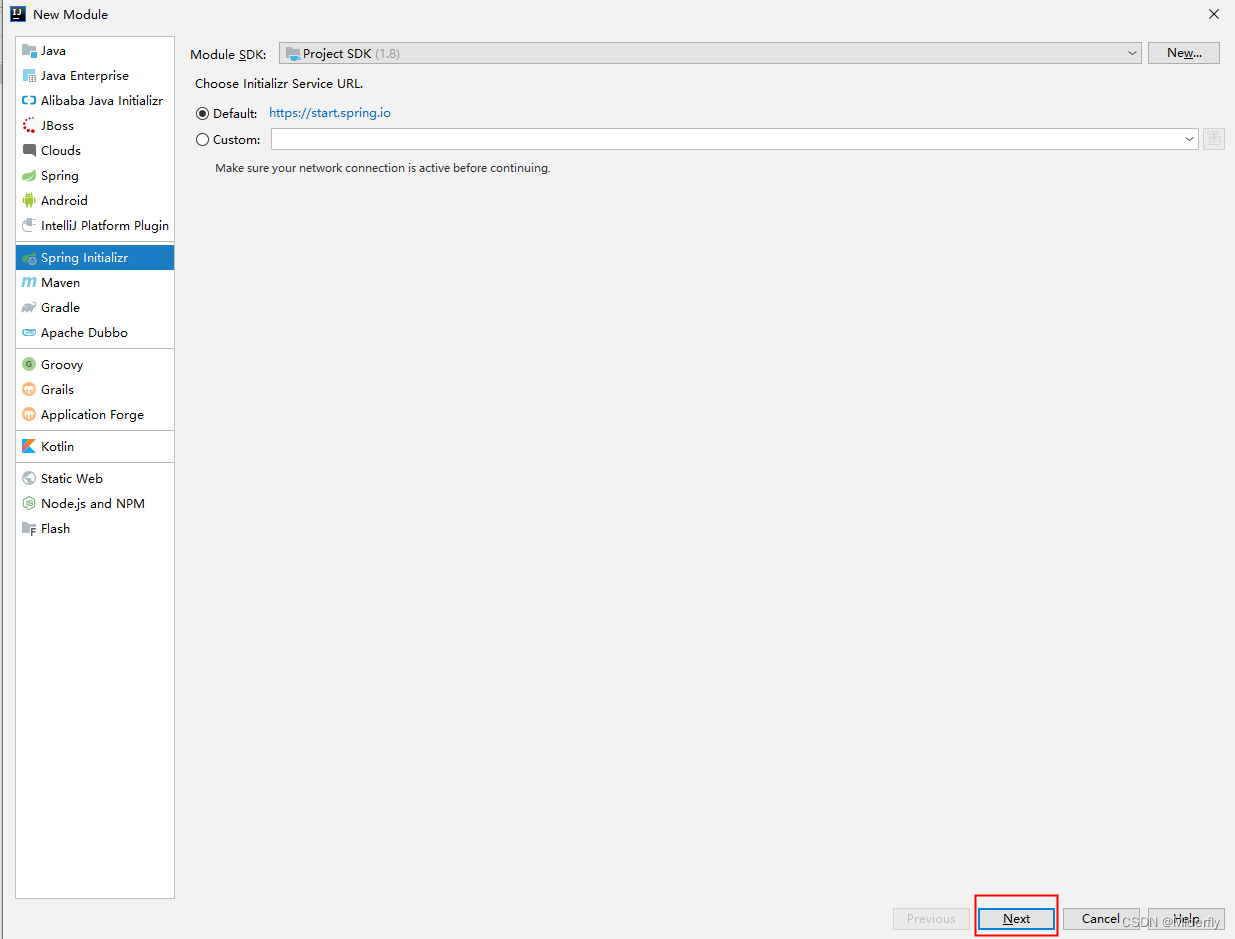
首先,我们新建一个子项目config-3377
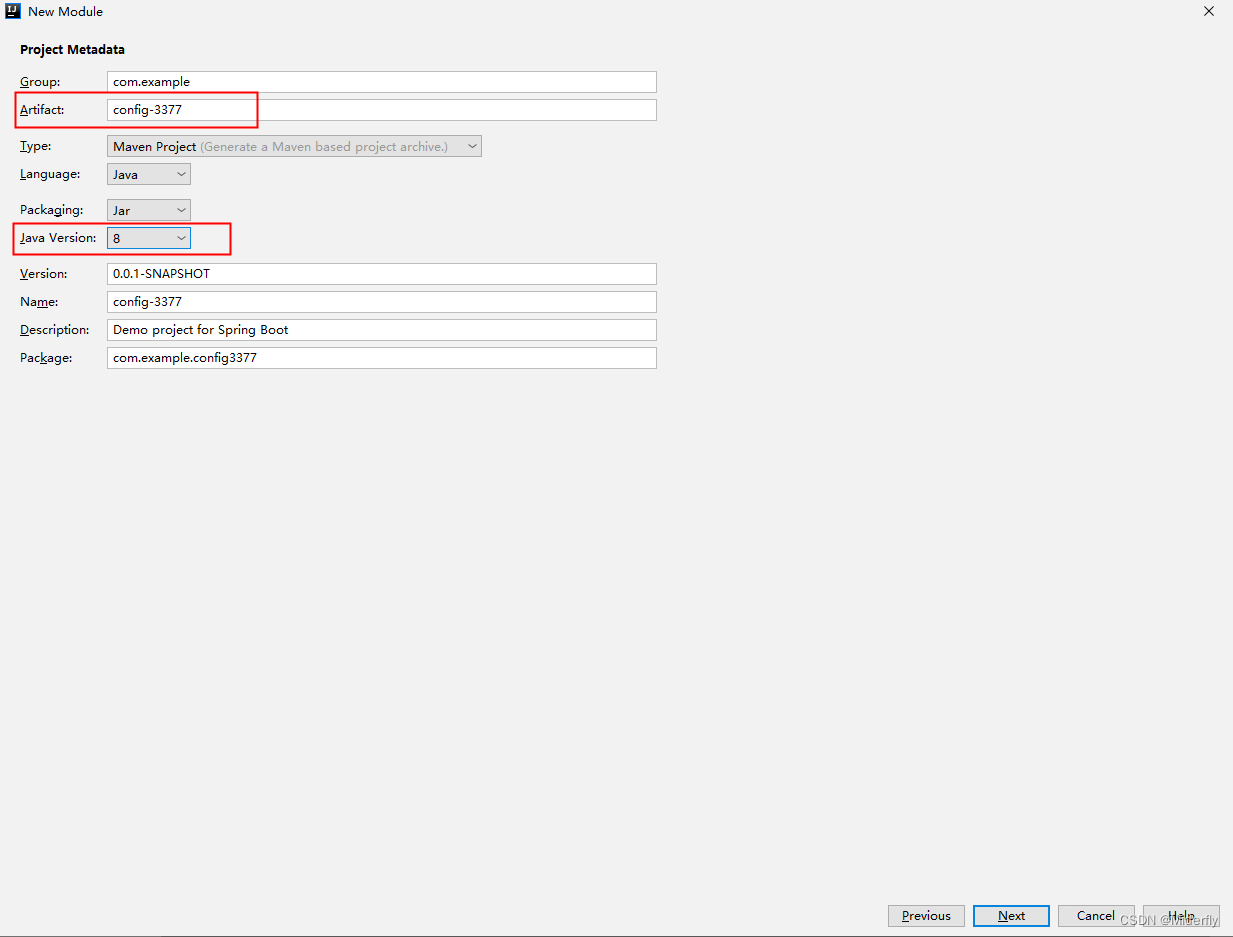
子项目config-3377 的pom文件为
<?xml version="1.0" encoding="UTF-8"?>
<project xmlns="http://maven.apache.org/POM/4.0.0" xmlns:xsi="http://www.w3.org/2001/XMLSchema-instance"
xsi:schemaLocation="http://maven.apache.org/POM/4.0.0 https://maven.apache.org/xsd/maven-4.0.0.xsd">
<modelVersion>4.0.0</modelVersion>
<parent>
<groupId>com.example</groupId>
<artifactId>springcloudalibaba</artifactId>
<version>0.0.1-SNAPSHOT</version>
<!-- <relativePath/> <!– lookup parent from repository –>-->
</parent>
<groupId>com.example</groupId>
<artifactId>config-3377</artifactId>
<version>0.0.1-SNAPSHOT</version>
<name>config-3377</name>
<description>Demo project for Spring Boot</description>
<properties>
<java.version>1.8</java.version>
</properties>
<dependencies>
<dependency>
<groupId>org.springframework.boot</groupId>
<artifactId>spring-boot-starter-web</artifactId>
</dependency>
<dependency>
<groupId>com.alibaba.cloud</groupId>
<artifactId>spring-cloud-starter-alibaba-nacos-discovery</artifactId>
</dependency>
<dependency>
<groupId>com.alibaba.cloud</groupId>
<artifactId>spring-cloud-starter-alibaba-nacos-config</artifactId>
</dependency>
</dependencies>
</project>
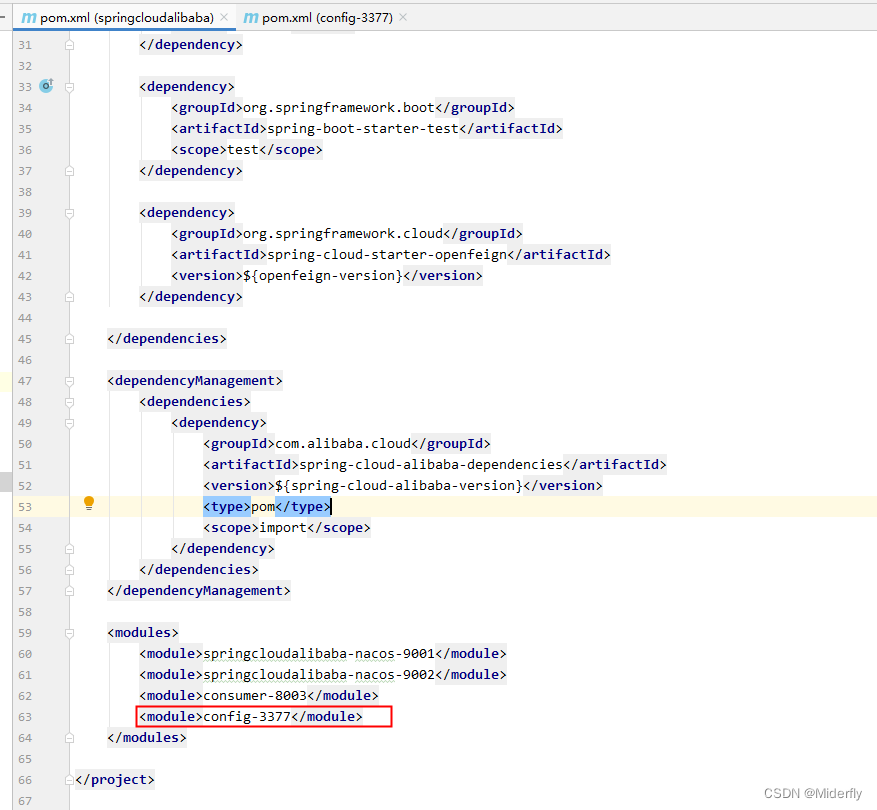
然后,我们需要修改父级项目springcloudalibaba 的pom文件,新增
<module>config-3377</module>
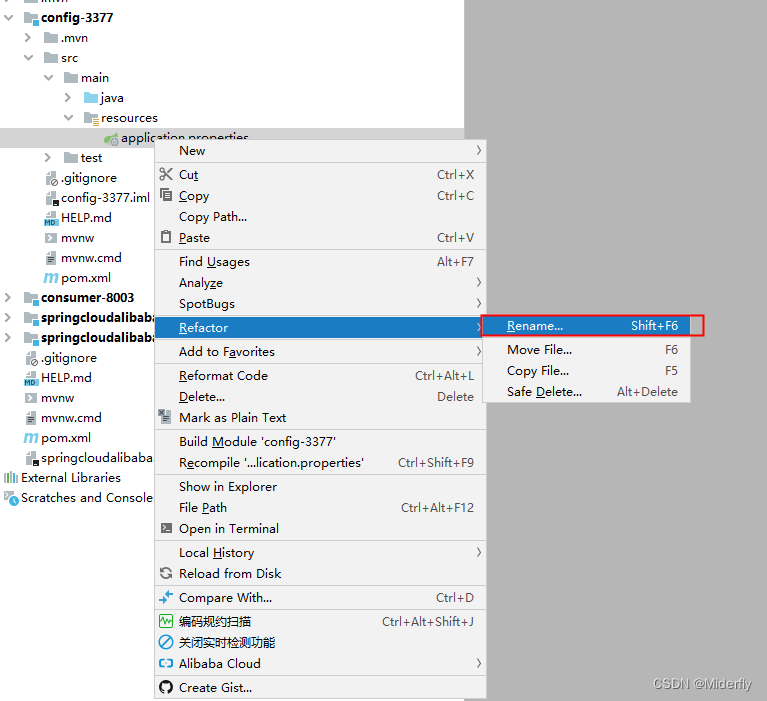
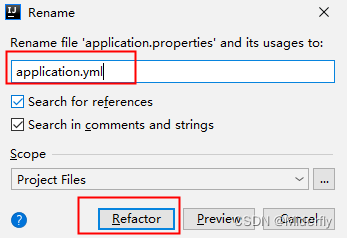
接着,我们将子项目config-3377 的配置文件改为yml文件
要注意的是这里我们要配置两个,因为Nacos同SpringCloud-config一样,在项目初始化时,要保证先从配置中心进行配置拉取,拉取配置之后,才能保证项目的正常启动。
springboot中配置文件的加载是存在优先级顺序的,bootstrap优先级高于application
分别要配置的是,这里bootstrap.yml配置好了以后,作用是两个,第一个让3377这个服务注册到Nacos中,第二个作用就是去Nacos中去读取指定后缀为yaml的配置文件:
所以我们新增一个bootstrap.yml文件,配置如下
server:
  port: 3377
spring:
  application:
    name: nacos-config-client
  cloud:
    nacos:
      discovery:
        server-addr: localhost:8848 #Nacos服务注册中心地址
      config:
        server-addr: localhost:8848 #Nacos作为配置中心地址
        file-extension: yaml #指定yaml格式的配置
同时,我们在application.yml文件中增加如下配置
spring:
  profiles:
    active: dev # 表示开发环境
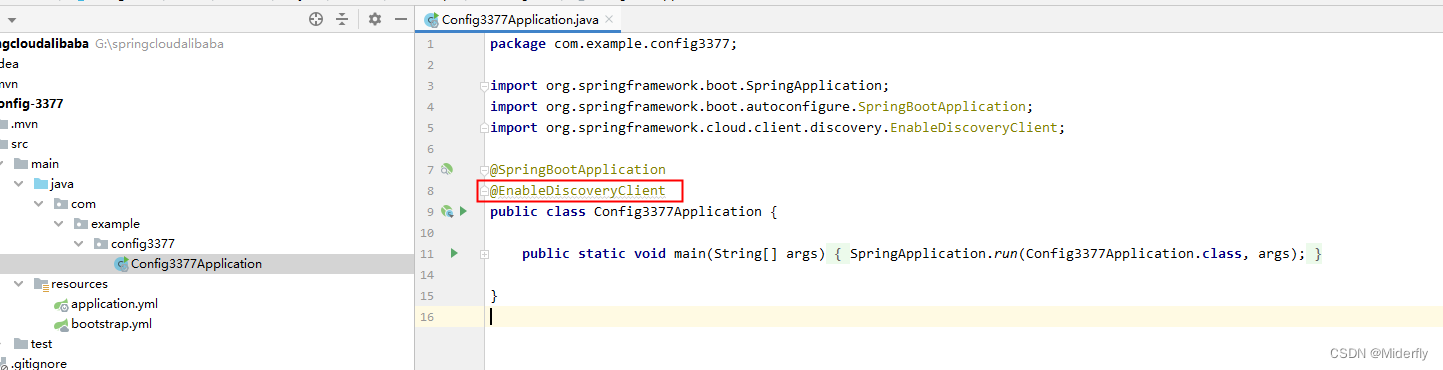
随后,我们修改子项目config-3377的启动类,新增一个@EnableDiscoveryClient注解
然后,我们新建一个业务类ConfigClientController
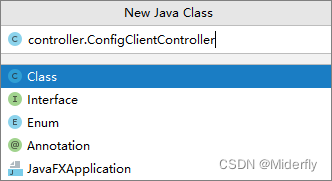
package com.example.config3377.controller;

import org.springframework.beans.factory.annotation.Value;
import org.springframework.cloud.context.config.annotation.RefreshScope;
import org.springframework.web.bind.annotation.GetMapping;
import org.springframework.web.bind.annotation.RestController;

@RestController
@RefreshScope //支持Nacos的动态刷新功能
public class ConfigClientController {

    @Value("${config.info}")
    private String configInfo;


    @GetMapping(value = "/config/info")
    public String getConfigInfo(){
        return configInfo;
    }
}
这里的@RefreshScope实现配置自动更新,意思为如果想要使配置文件中的配置修改后不用重启项目即生效,可以使用@RefreshScope配置来实现
Nacos配置规则
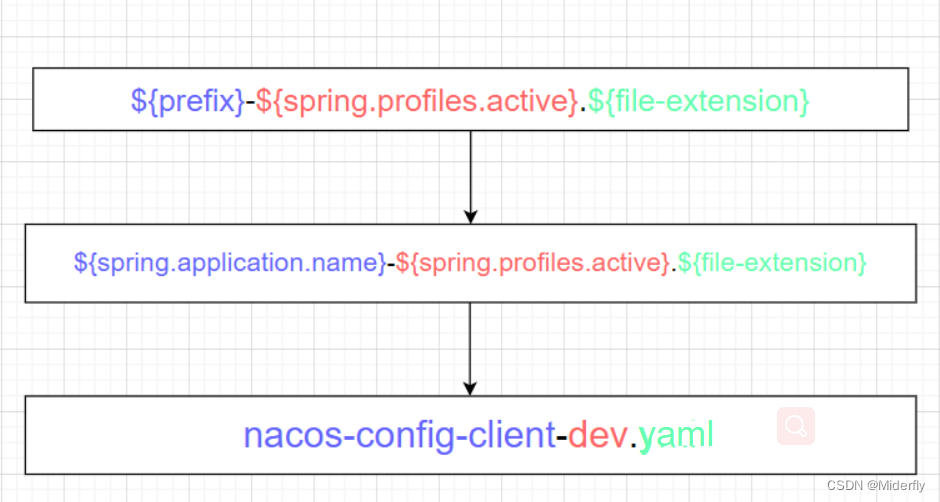
在 Nacos Spring Cloud 中,dataId 的完整格式如下(详情可以参考官网 https://nacos.io/zh-cn/docs/quick-start-spring-cloud.html):
${prefix}-${spring.profiles.active}.${file-extension}
1. `prefix` 默认为 `spring.application.name` 的值,也可以通过配置项 `spring.cloud.nacos.config.prefix`来配置。
2. `spring.profiles.active` 即为当前环境对应的 profile,注意:**当 `spring.profiles.active` 为空时,对应的连接符 `-` 也将不存在,dataId 的拼接格式变成 `${prefix}.${file-extension}`**(不能删除)
3. `file-exetension` 为配置内容的数据格式,可以通过配置项 `spring.cloud.nacos.config.file-extension` 来配置。目前只支持 `properties` 和 `yaml` 类型。
4. 通过 Spring Cloud 原生注解 `@RefreshScope` 实现配置自动更新:
5. 所以根据官方给出的规则我们最终需要在Nacos配置中心添加的配置文件的名字规则和名字为:
	# ${spring.application.name}-${spring.profiles.active}.${file-extension}
	# nacos-config-client-dev.yaml
	# 微服务名称-当前环境-文件格式
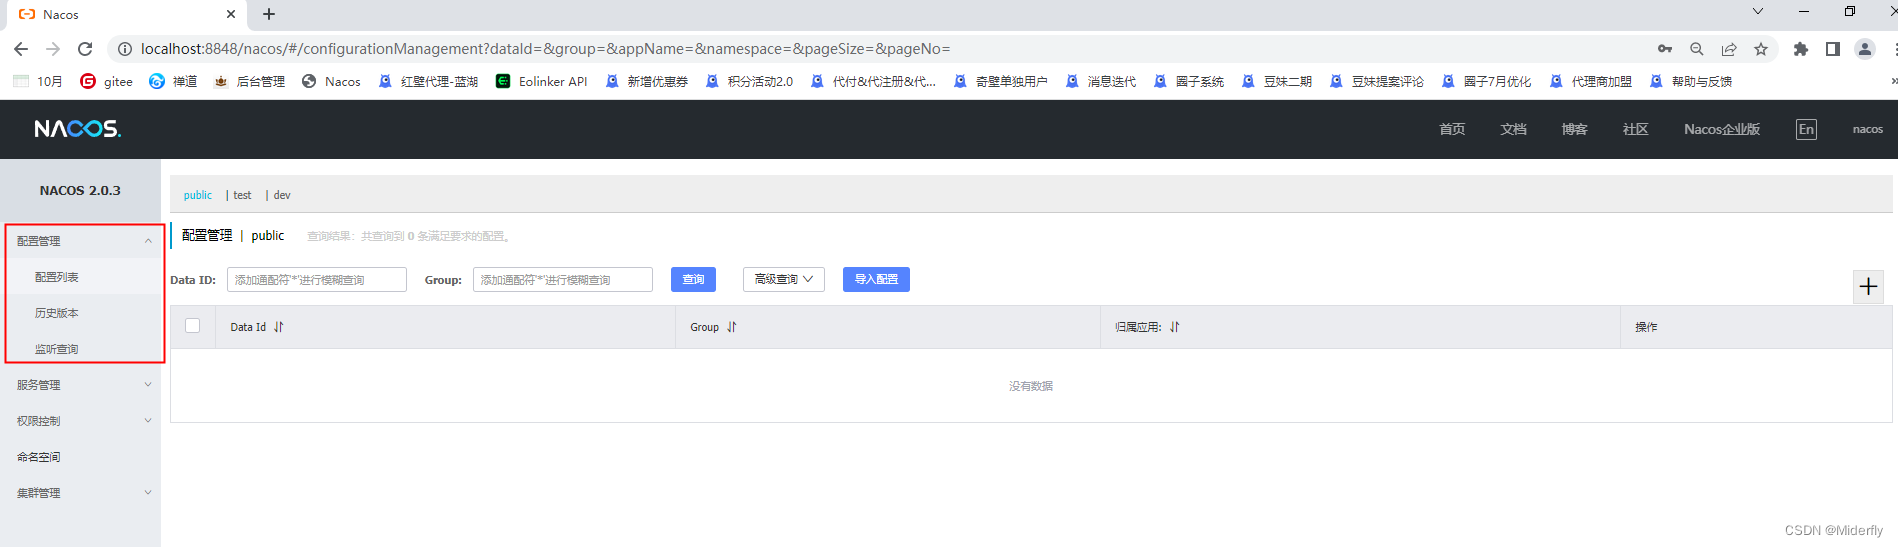
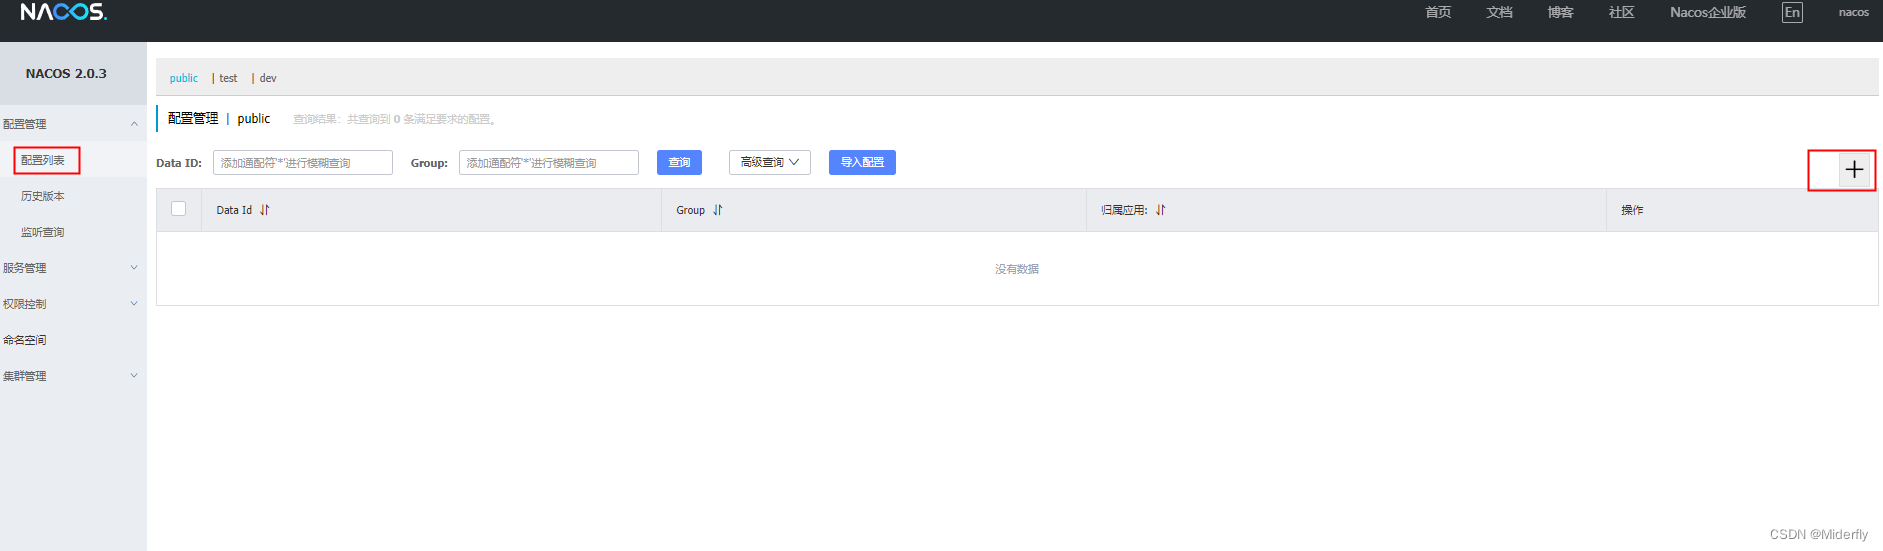
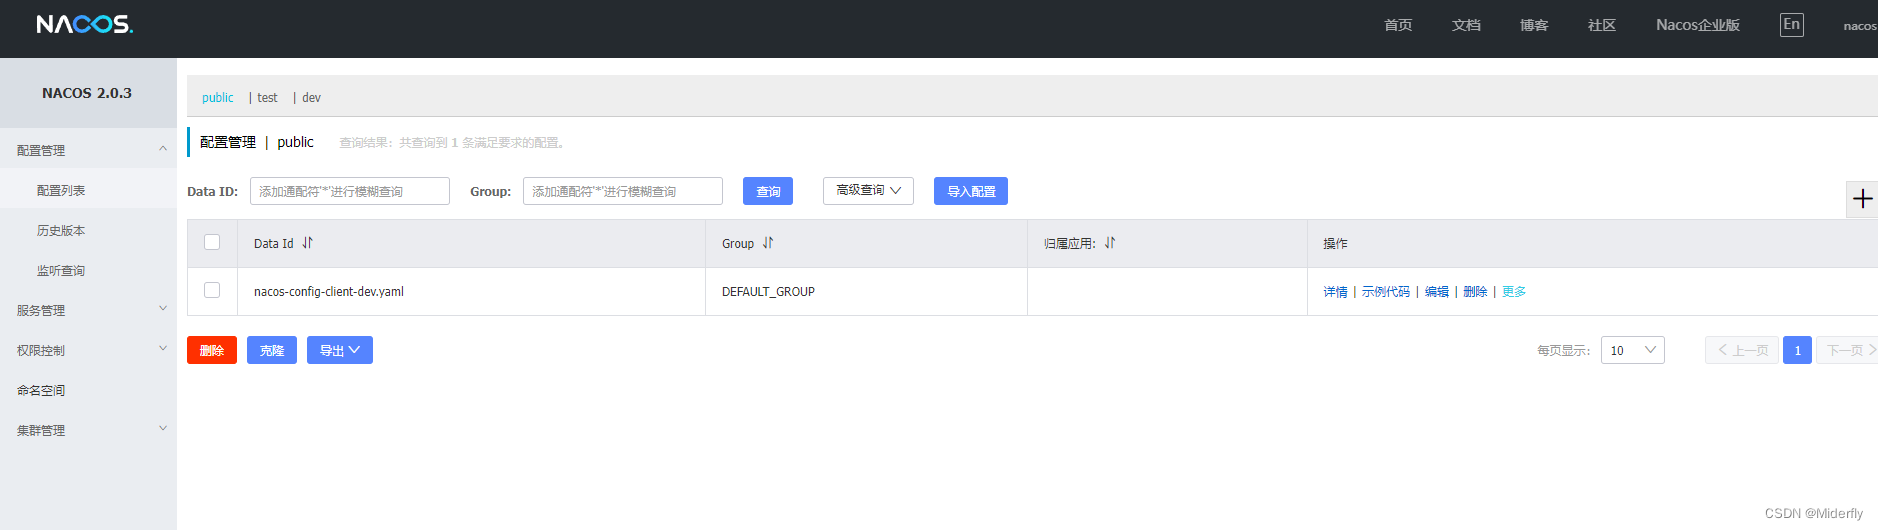
Nacos控制台创建配置操作
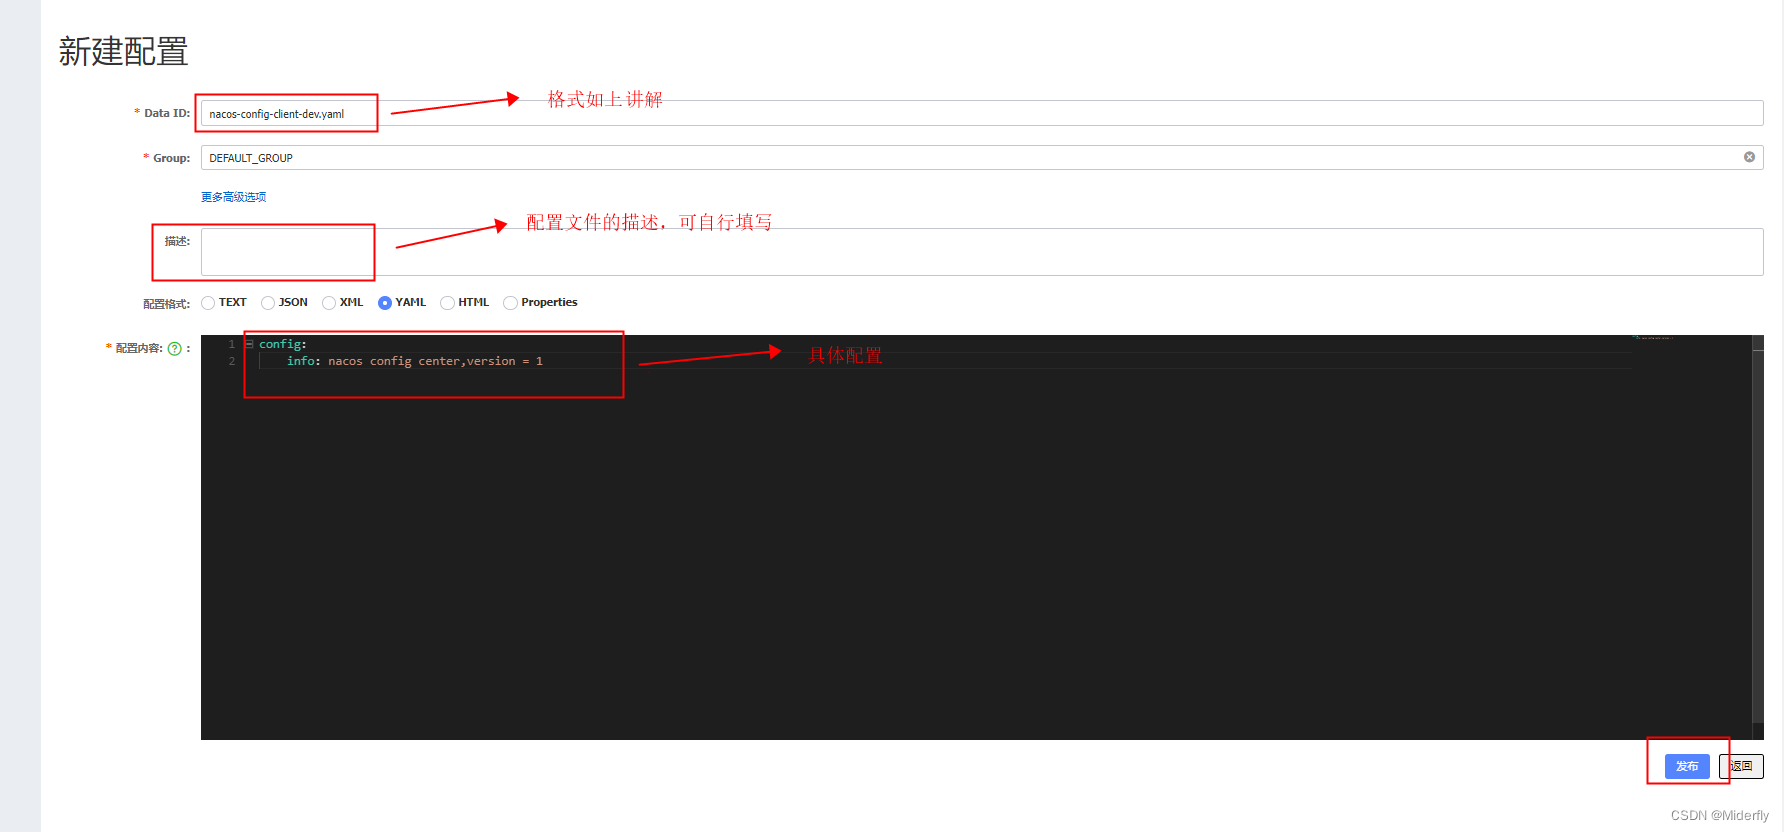
config:
    info: nacos config center,version = 1
点击发布之后,在配置中心就会看到刚刚发布的配置
测试
我们将子项目config-3377 运行起来,接着访问:http://localhost:3377/config/info
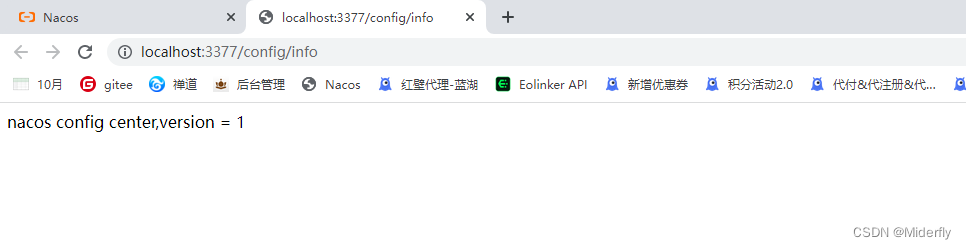
此时,可以看得到成功取到配置
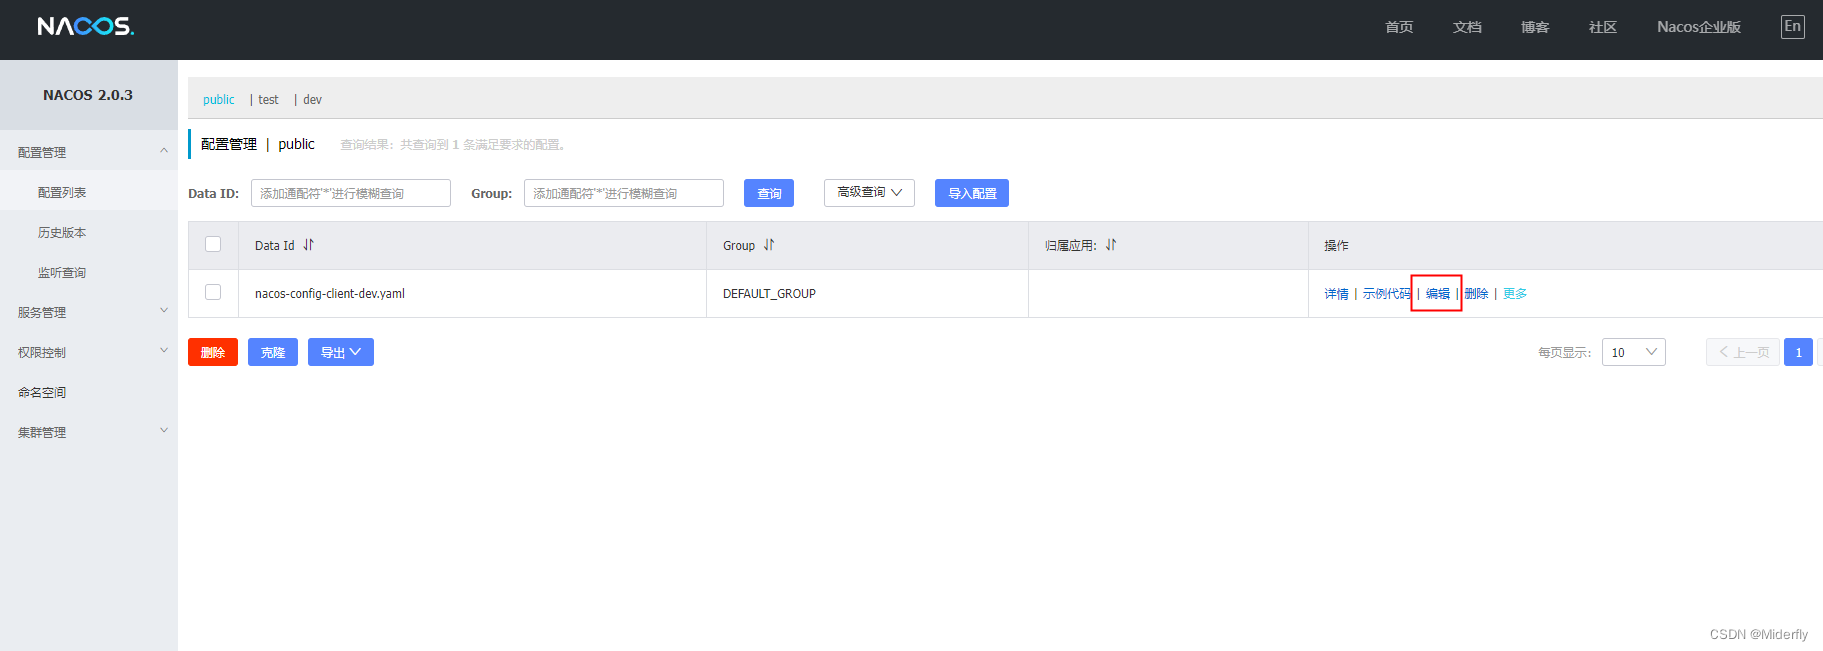
自动配置更新
修改Nacos配置,不需要重启项目即可自动刷新,我们编辑刚刚的配置,将配置的version修改为2,点击发布按钮
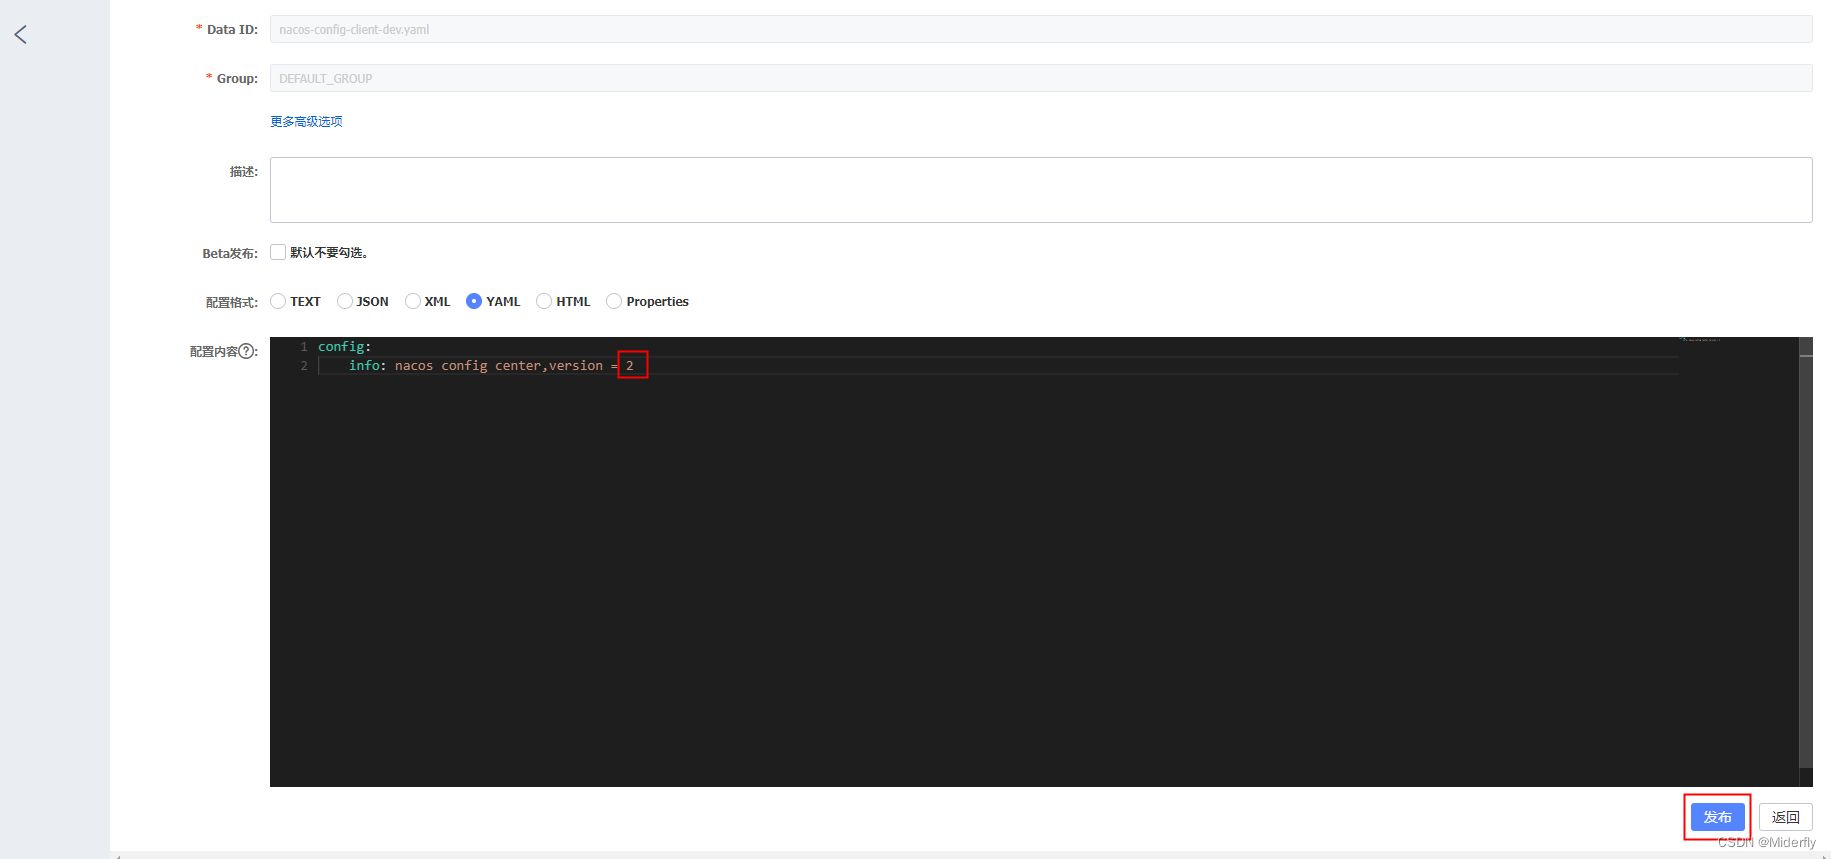
然后我们重新访问:http://localhost:3377/config/info ,此时已经取到了我们刚刚修改的最新配置
![[外链图片转存失败,源站可能有防盗链机制,建议将图片保存下来直接上传(img-3PQDwCU8-1663580365830)(img/image-20220919172535932.png)]](https://img-blog.csdnimg.cn/69bdf672cc2b4053bfc885d678467f77.png)


 1万+
1万+


 被折叠的 条评论
为什么被折叠?
被折叠的 条评论
为什么被折叠?
 到【灌水乐园】发言


