


当你想开展AI业务,却没有GPU,你该怎么办?
可以考虑用Cog,将AI服务部署在云上,serverless。
我们来看下,如何用Cog将其上云。
找一台开发服务器
Cog
安装
sudo curl -o /usr/local/bin/cog -L https://github.com/replicate/cog/releases/latest/download/cog_`uname -s`_`uname -m`
sudo chmod +x /usr/local/bin/cog
验证
这一步可以省略,非必须。主要用于验证你的环境是否ok。
sudo cog predict r8.im/stability-ai/stable-diffusion@sha256:f178fa7a1ae43a9a9af01b833b9d2ecf97b1bcb0acfd2dc5dd04895e042863f1 -i prompt="a pot of gold"
初始化
cog init
生成主要文件
├── cog.yaml # 类似 docker file,定义环境
├── predict.py # 推理代码
写代码
修改代码如下
cog.yaml 类似 docker file,定义环境
# Configuration for Cog ⚙️
# Reference: https://cog.run/yaml

build:
  # set to true if your model requires a GPU
  gpu: false

  # a list of ubuntu apt packages to install
  # system_packages:
  #   - "libgl1-mesa-glx"
  #   - "libglib2.0-0"

  # python version in the form '3.11' or '3.11.4'
  python_version: "3.10"

  # a list of packages in the format <package-name>==<version>
  # python_packages:
  #   - "numpy==1.19.4"
  #   - "torch==1.8.0"
  #   - "torchvision==0.9.0"

  # commands run after the environment is setup
  # run:
  #   - "echo env is ready!"
  #   - "echo another command if needed"

# predict.py defines how predictions are run on your model
predict: "predict.py:Predictor"
predict.py 定义了输入(name: str, scale: float),输出(str),推理过程
# Prediction interface for Cog ⚙️
# https://cog.run/python

from cog import BasePredictor, Input, Path

class Predictor(BasePredictor):
    def setup(self) -> None:
        """Load the model into memory to make running multiple predictions efficient"""
        # self.model = torch.load("./weights.pth")

    def predict(
        self,
        name: str = Input(description="Your name"),
        # image: Path = Input(description="Grayscale input image"),
        scale: float = Input(
            description="Factor to scale image by", ge=0, le=10, default=1.5
        ),
    ) -> str:
        """Run a single prediction on the model"""
        # processed_input = preprocess(image)
        # output = self.model(processed_image, scale)
        # return postprocess(output)
        return "hello " + name + " and scale " + str(scale)
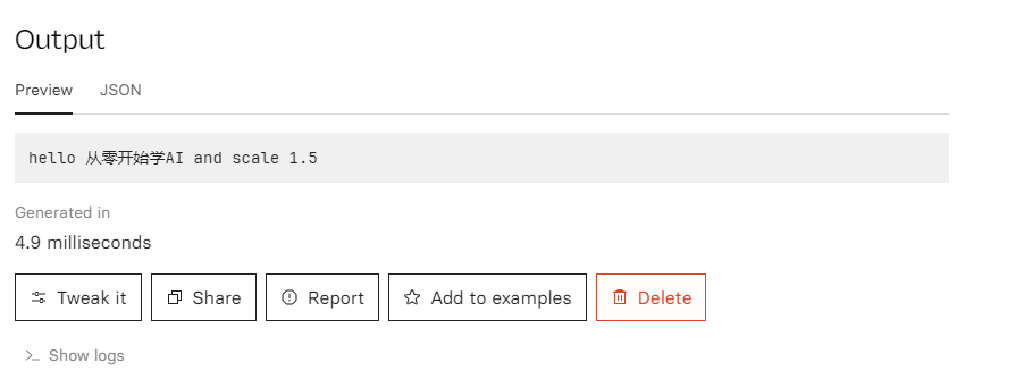
本地测试
测试一下
cog predict -i name=从零开始学AI
输出
Starting Docker image cog-git-base and running setup()...
Running prediction...
hello 从零开始学AI and scale 1.5
部署
在云上 create model
push model 到云上
cog login
cog push r8.im/<your-username>/<your-model-name>
云上测试

测试成功!
之后,就可以用 api 调用
结论
本文主要演示如何用 Cog 上云的整个流程。
文中的例子,未使用 GPU 。如有需要,可查文档。


 被折叠的 条评论
为什么被折叠?
被折叠的 条评论
为什么被折叠?
 到【灌水乐园】发言


