


1.leaflet 的英文文档:Documentation - Leaflet - a JavaScript library for interactive maps https://leafletjs.com/reference.html
2.leaflet的中文文档:Documentation - Leaflet - 一个交互式地图 JavaScript 库https://leafletjs.cn/reference-1.8.0.html
3.首先安装npm:
npm i leaflet -S4.引进需要编辑的地图组件中,没有全局去调用。比如说新建的OpenStreetMap.vue中:
import L from "leaflet";
import "leaflet/dist/leaflet.css";
5.leaflet通过插件是可以渲染多个第三方的地图的,目前先渲染单个地图,就是openstreetmap地图,这个地图是没有自己的官方的。
const options = {
center: [23.061977, 113.392585], // 地图中心
minZoom: 0,
maxZoom: 18,
zoom: 10,
zoomControl: true, //禁用 + - 按钮
doubleClickZoom: true, // 禁用双击放大
// attributionControl: true, // 移除右下角leaflet标识
dragging: true, //禁止鼠标拖动滚动
boxZoom: true, //决定地图是否可被缩放到鼠标拖拽出的矩形的视图,鼠标拖拽时需要同时按住shift键.
scrollWheelZoom: true, //禁止鼠标滚动缩放
zoomSnap: 0.5, //地图能放缩的zoom的最小刻度尺度,默认值1
fullscreenControl: true, //全屏控件,不显示
}
let map = L.map('mapId', options)
this.map = map;
//添加创建地图的函数
const createTileLayer = (map, url, options) => {
let tileLayer = L.tileLayer(url, options);
tileLayer.addTo(map);
return tileLayer;
};
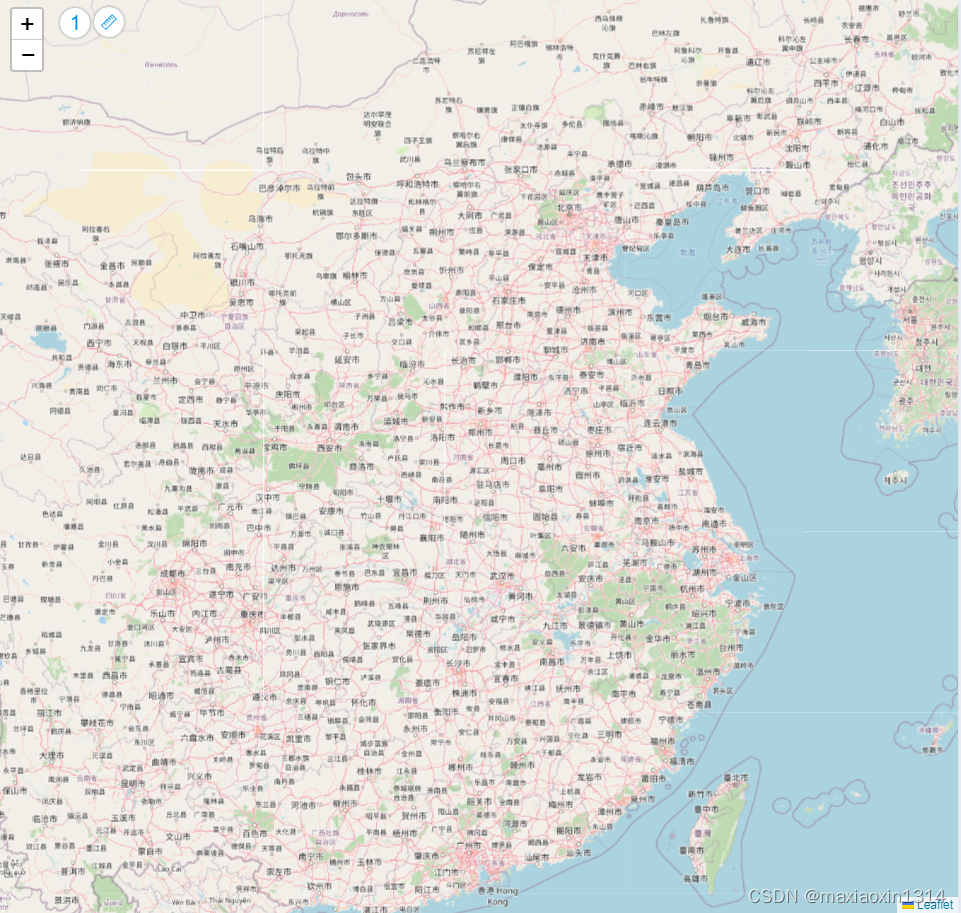
createTileLayer(this.map, "https://{s}.tile.openstreetmap.org/{z}/{x}/{y}.png");不出意外,以上的代码就可以简单渲染一个openstreetmap地图了
6.下面加上些小玩意,就是地图上的小工具控件,
首先安装:
npm i leaflet.pm -S然后在当前的地图组件中,引进:
import "leaflet.pm";
import "leaflet.pm/dist/leaflet.pm.css";
在地图初始化的方法中加上以下的代码:
const option= {
//leaflet.pm配置项
position: "topleft",
drawPolygon: true, // 添加绘制多边形
drawMarker: false, //添加按钮以绘制标记
drawCircleMarker: true, //添加按钮以绘制圆形标记
drawPolyline: true, //添加按钮绘制线条
drawRectangle: true, //添加按钮绘制矩形
drawCircle: true, // 添加按钮绘制圆圈
editMode: true, // 添加按钮编辑多边形
dragMode: true, // 添加按钮拖动多边形
cutPolygon: true, // 添加一个按钮以删除图层里面的部分内容
removalMode: true, // 清除图层
}
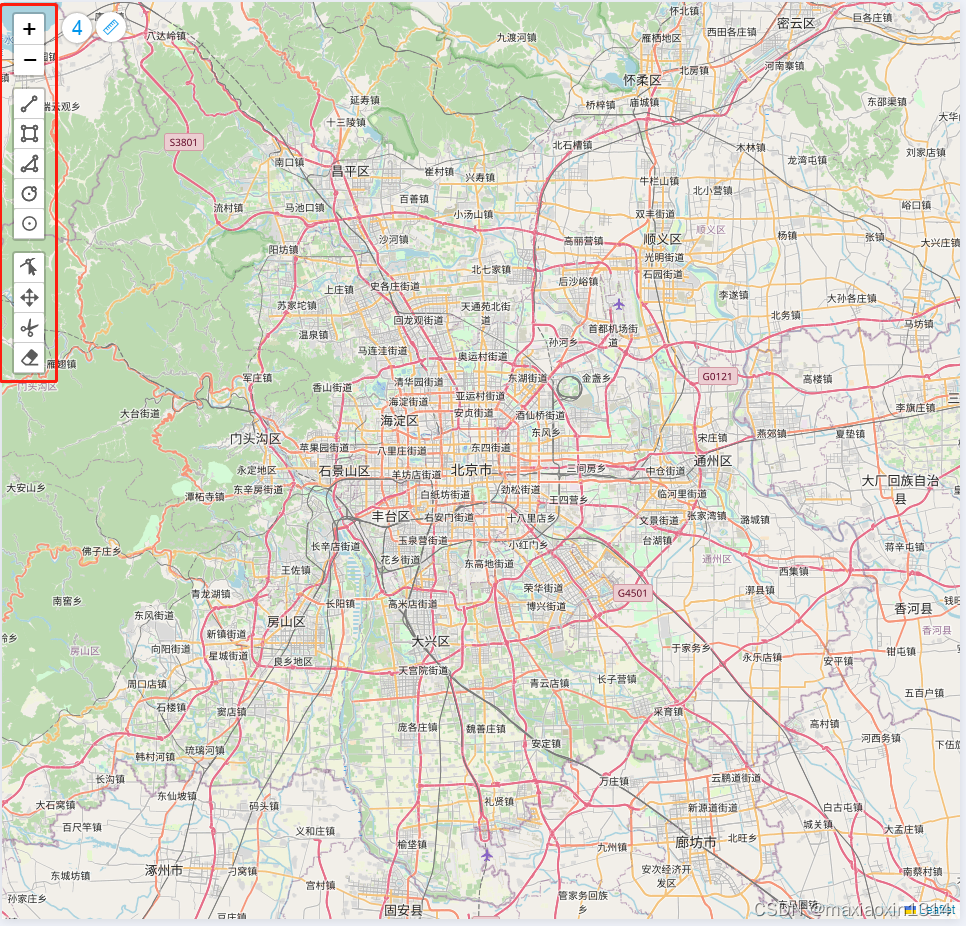
this.map.pm.setLang("zh"); //设置语言 en, de, it, ru, ro, es, fr, pt_br, zh , nl
this.map.pm.addControls(option); //添加工具不出意外应该有了
7.现在渲染多个地图,这边是封装了单独的地图组件,放到父组件中渲染,可以在父组件中,把某个地图的标识传个地图组件,然后监听,进行渲染不同的地图
首先要安装插件:
npm i leaflet.chinatmsproviders -S子组件中:
import "leaflet.chinatmsproviders";
props: {
mapUrl: {
type: String,
default: "Geoq.Normal.Map",
},
},
watch: {
mapUrl() {
this.map.removeLayer(this.layers);
this.$nextTick(() => {
this.layers = this.chinaLayers(this.map, this.mapUrl);
});
},
},
父组件中:
<map-component :map-url="mapUrl"></map-component>
data: ()=> ({
mapUrl: "Geoq.Normal.Map",
mapList: [
{
id: 1,
name: "智图地图",
url: "Geoq.Normal.Map",
},
{
id: 4,
name: "天地影像",
url: "TianDiTu.Satellite.Map",
},
{
id: 5,
name: "午夜蓝",
url: "Geoq.Normal.PurplishBlue",
},
{
id: 6,
name: "高德卫星地图",
url: "GaoDe.Satellite.Map",
},
{
id: 7,
name: "高德地图",
url: "GaoDe.Normal.Map",
},
{
id: 8,
name: "OSM地图",
url: "OSM.Normal.Map",
},
{
id: 9,
name: "腾讯地图",
url: "Tencent.Normal.Map",
},
{
id: 10,
name: "谷歌地图",
url: "Google.Normal.Map",
},
],
})最后在地图组件中的地图初始化方法中:
const chinaLayers = (map, url, option)=> {
        let chinaLeayer = L.tileLayer.chinaProvider(url, option);
        chinaLeayer.addTo(map);
        return chinaLeayer;
      };
this.layers = this.chinaLayers(this.map, this.mapUrl); //加载各种地图
不出意外的话,就会出现了多个地图的选择了:

8.先这样吧。。。


 453
453

 被折叠的 条评论
为什么被折叠?
被折叠的 条评论
为什么被折叠?
 到【灌水乐园】发言


