


什么是 Oracle APEX?
Oracle APEX 是广受欢迎的企业级低代码应用平台。借助该平台,您可以构建功能先进的可扩展安全企业应用,并在任何位置(云或内部部署)部署这些应用。
使用 APEX,开发人员可快速开发并部署出色的应用,从而解决实际问题并立即创造价值。您无需精通各种技术,就可以提供高级解决方案。您只需集中精力解决业务问题,其他工作都可以交给 APEX 来处理。
安装过程
1.1 提前安装好Apex所需要的数据库
由于Apex是依赖于Oracle数据库,请在安装Apex前准备好所需要的数据库;建议数据库版本19c;
1. 2. Apex支持的平台
| We support installation on the following platforms: Linux x86 Linux x86-64 Oracle Solaris on SPARC (64 bit) Oracle Solaris x86-64 (64 bit) HP-UX Itanium Microsoft Windows (32-bit) Microsoft Windows x64 (64-bit) IBM AIX on POWER Systems (64-bit) IBM: Linux on System z HP-UX PA-RISC (64-bit) |
- 3. 创建Apex使用的数据库
- 创建可插拔数据库
| SQL> create pluggable database pdbapex admin user pdbapex identified by oracle; Pluggable database created. SQL> alter pluggable database pdbapex open instances=all; Pluggable database altered. SQL> |
- 4 创建单独的Apex表空间
| SQL> alter session set container=pdbapex; Session altered. SQL> SQL> create tablespace apex datafile size 4G autoextend on; Tablespace created. |
- 5 下载Apex安装包
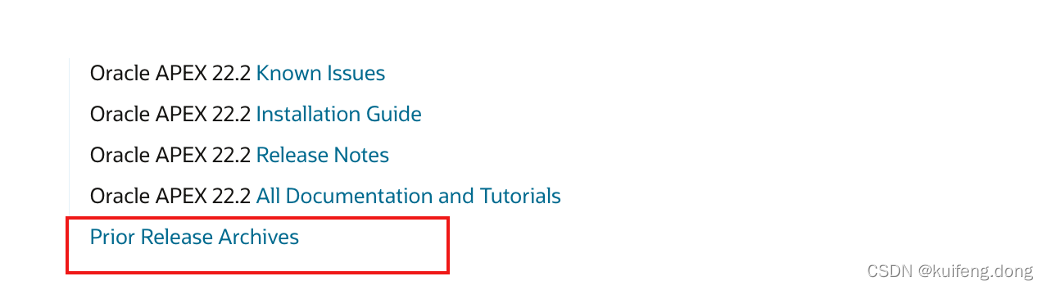
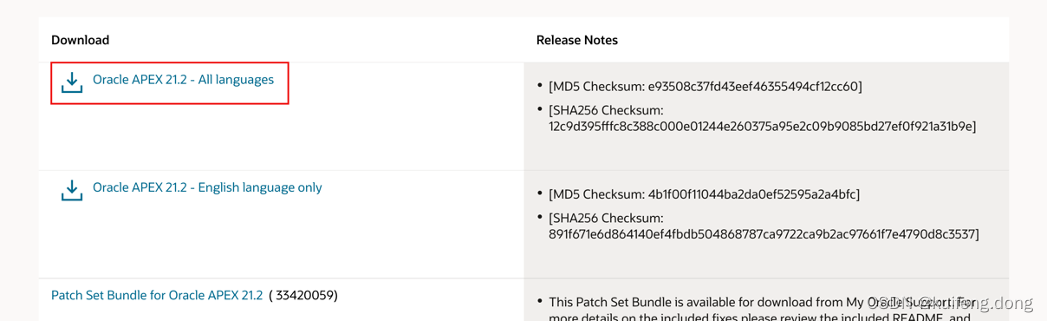
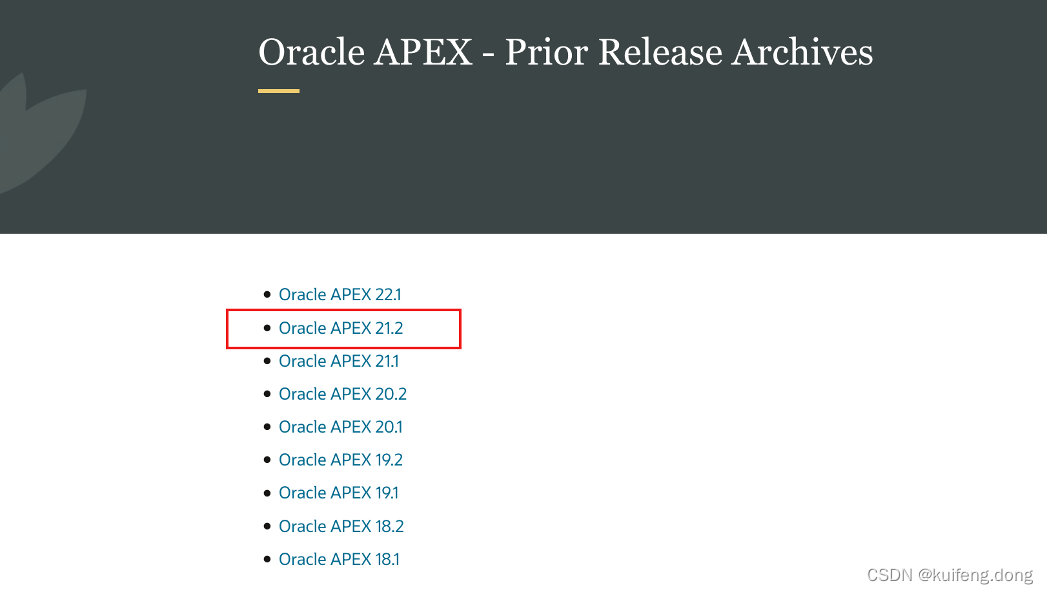 选择Oracle Apex 21.2,点击下载
- 6 规划Apex的安装目录
Apex安装包括Apex的安装和ords的安装,如果在数据库主机上进行安装,我们单独创建下独立的目录:
| [root@dkf Oracle]# cd /u01/app/ [root@dkf app]# mkdir apex ords [oracle@dkf apex]$ cd apex apex_21.2.zip [oracle@dkf apex]$ cd ../ords [oracle@dkf ords]$ ls ords-21.4.3.117.0405.zip |
- 7 安装Apex
- 7.1 解压Apex安装包
| [oracle@dkf apex]$ unzip apex_21.2.zip Archive: apex_21.2.zip [oracle@dkf apex]$ ls apexins1.sql apex_rest_config_core.sql apxdvins_cdb.sql apxremov_cdb.sql apxrtins.sql dbcsconf.sql apexins2.sql apex_rest_config_nocdb.sql apxdvins_nocdb.sql apxremov_nocdb.sql apxsilentins.sql dbcsins.sql apexins3.sql apex_rest_config.sql apxdvins.sql apxremov.sql builder devins.sql apexins_adb.sql appins.sql apxdwngrd.sql apxrtins1.sql core images apexins_cdb.sql apxappcon.sql apxpatch_cdb.sql apxrtins2.sql coreins2.sql LICENSE.txt apexins_cdb_upg.sql apxchpwd.sql apxpatch_nocdb.sql apxrtins3.sql coreins3.sql load_trans.sql apexins_nocdb.sql apxdevrm_cdb.sql apxpatch.sql apxrtins_cdb.sql coreins4.sql utilities apexins.sql apxdevrm_nocdb.sql apxremov1.sql apxrtins_cdb_upg.sql coreins5.sql apex_rest_config_cdb.sql apxdevrm.sql apxremov2.sql apxrtins_nocdb.sql coreins.sql |
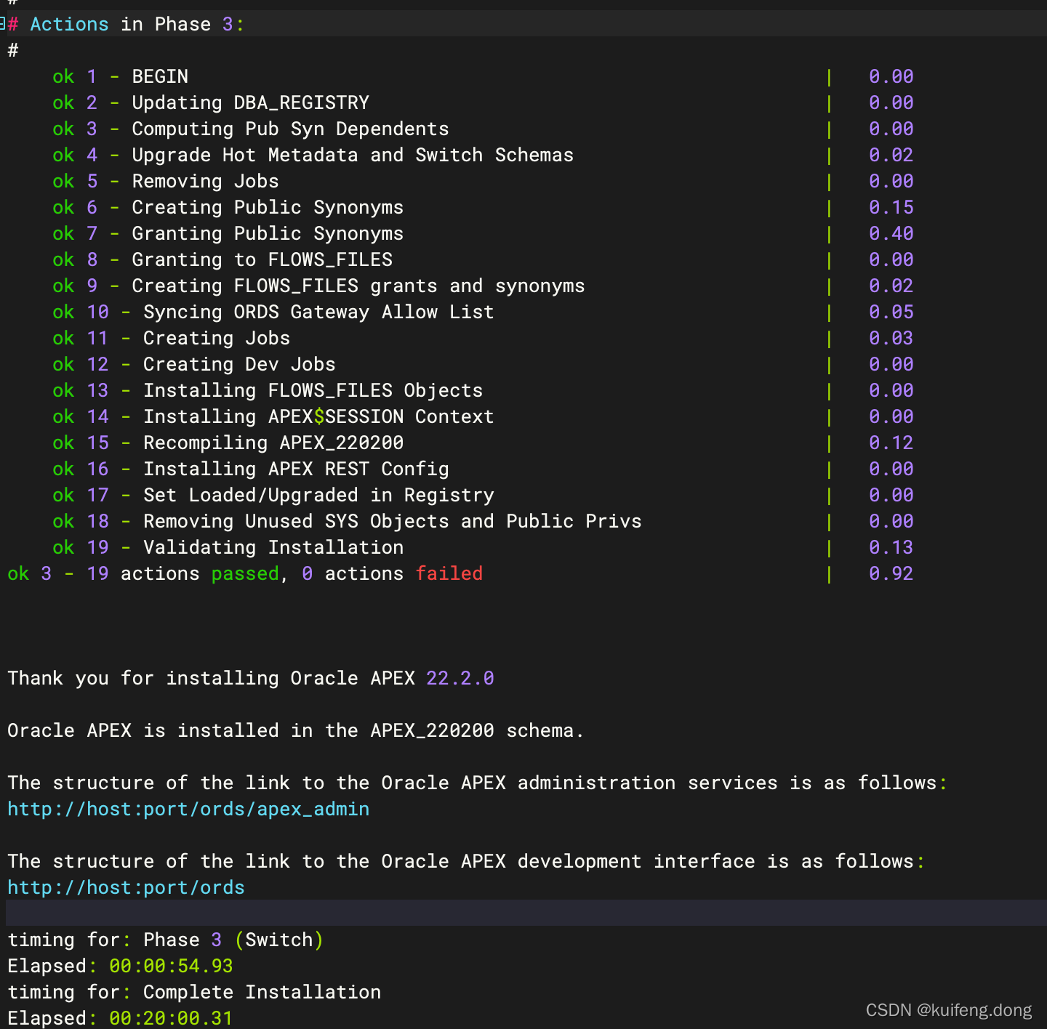
- 7.2 安装Apex
| sqlplus / as sysdba Connected to: Oracle Database 19c Enterprise Edition Release 19.0.0.0.0 - Production Version 19.3.0.0.0 SQL> alter session set container=pdbapex; Session altered. SQL> @apexins.sql APEX APEX TEMP /i/ ...set_appun.sql PL/SQL procedure successfully completed. …… |
安装完成的结果:
- 7.3 修改Apex管理员密码
| 密码为:Apex2023! SQL> @apxchpwd.sql ...set_appun.sql ================================================================================ This script can be used to change the password of an Application Express instance administrator. If the user does not yet exist, a user record will be created. ================================================================================ Enter the administrator's username [ADMIN] User "ADMIN" does not yet exist and will be created. Enter ADMIN's email [ADMIN] dongkuifeng@126.com Enter ADMIN's password [] Created instance administrator ADMIN. SQL> |
注意:密码需要符合复杂度的要求,否则会报错:
| SQL> @apxchpwd.sql ...set_appun.sql ================================================================================ This script can be used to change the password of an Application Express instance administrator. If the user does not yet exist, a user record will be created. ================================================================================ Enter the administrator's username [ADMIN] User "ADMIN" does not yet exist and will be created. Enter ADMIN's email [ADMIN] dongkuifeng@126.com Enter ADMIN's password [] -------------------------------------------------------------------------------- Password does not conform to this site's password complexity rules. * Password must contain at least one punctuation character (!"`'#$%&()[]{},.*+-/|\:;?_~). -------------------------------------------------------------------------------- declare * ERROR at line 1: ORA-20001: Password validation failed. ORA-06512: at line 30 ORA-06512: at "APEX_210200.WWV_FLOW_FND_USER_INT", line 3598 ORA-06512: at line 20 |
- 7.4 解锁APEX_PUBLIC_USER账号及密码
| ALTER USER APEX_PUBLIC_USER identified by apex1234 ACCOUNT UNLOCK; SQL> alter user APEX_REST_PUBLIC_USER identified by apex1234 account unlock; User altered. SQL> |
- 7.5 启用REST
| SQL> @apex_rest_config.sql Enter a password for the APEX_LISTENER user [] Enter a password for the APEX_REST_PUBLIC_USER user [] ...set_appun.sql ...setting session environment ...create APEX_LISTENER and APEX_REST_PUBLIC_USER users ...grants for APEX_LISTENER and ORDS_METADATA user SQL> |
- 7.6 安装中文语音包
| --安装语言包(APEX_210200 ) cd builder/zh-cn SQL> ALTER SESSION SET CURRENT_SCHEMA = PDBAPEX; SQL> @load_zh-cn.sql |
1.7.6 配置网络策略
| BEGIN DBMS_NETWORK_ACL_ADMIN.APPEND_HOST_ACE( host => '*', ace => xs$ace_type(privilege_list => xs$name_list('connect'), principal_name => 'APEX_210200', principal_type => xs_acl.ptype_db)); END; / |
- 8 安装ords
| cd /u01/app/apex/ords java -jar ords.war install advanced This Oracle REST Data Services instance has not yet been configured. Please complete the following prompts Enter the location to store configuration data: /u01/app/apex/ords Specify the database connection type to use. Enter number for [1] Basic [2] TNS [3] Custom URL [1]: Enter the name of the database server [localhost]:10.0.0.19 Enter the database listen port [1521]: Enter 1 to specify the database service name, or 2 to specify the database SID [1]: Enter the database service name:PDBAPEX Enter 1 if you want to verify/install Oracle REST Data Services schema or 2 to skip this step [1]: Enter the database password for ORDS_PUBLIC_USER: Confirm password: Requires to login with administrator privileges to verify Oracle REST Data Services schema. Enter the administrator username:sys Enter the database password for sys: Confirm password: Connecting to database user: sys url: jdbc:oracle:thin:@//10.0.0.19:1521/PDBAPEX Retrieving information. Enter the default tablespace for ORDS_METADATA [SYSAUX]: Enter the temporary tablespace for ORDS_METADATA [TEMP]: Enter the default tablespace for ORDS_PUBLIC_USER [SYSAUX]: Enter the temporary tablespace for ORDS_PUBLIC_USER [TEMP]: Enter 1 if you want to use PL/SQL Gateway or 2 to skip this step. If using Oracle Application Express or migrating from mod_plsql then you must enter 1 [1]: Enter the PL/SQL Gateway database user name [APEX_PUBLIC_USER]:APEX_PUBLIC_USER Enter the database password for APEX_PUBLIC_USER: Confirm password: Enter 1 to specify passwords for Application Express RESTful Services database users (APEX_LISTENER, APEX_REST_PUBLIC_USER) or 2 to skip this step [1]: Enter the database password for APEX_LISTENER: Confirm password: Enter the database password for APEX_REST_PUBLIC_USER: Confirm password: Enter a number to select a feature to enable: [1] SQL Developer Web (Enables all features) [2] REST Enabled SQL [3] Database API [4] REST Enabled SQL and Database API [5] None Choose [1]: 2023-02-26T22:43:10.479Z INFO reloaded pools: [] Installing Oracle REST Data Services version 21.4.3.r0501904 ... Log file written to /home/tomcat/ords_install_core_2023-02-26_224310_00605.log ... Verified database prerequisites ... Created Oracle REST Data Services proxy user ... Created Oracle REST Data Services schema ... Granted privileges to Oracle REST Data Services ... Created Oracle REST Data Services database objects ... Log file written to /home/tomcat/ords_install_datamodel_2023-02-26_224331_00645.log ... Log file written to /home/tomcat/ords_install_apex_2023-02-26_224332_00859.log Completed installation for Oracle REST Data Services version 21.4.3.r0501904. Elapsed time: 00:00:23.882 Enter 1 if you wish to start in standalone mode or 2 to exit [1]: input APEX static resource location:/u01/app/apex/ords/images if use HTTP, input 1; if use HTTPS, input 2 [1]: input HTTP port [8080]: 2023-02-26 22:39:34.405:INFO::main: Logging initialized @450091ms to org.eclipse.jetty.util.log.StdErrLog info: HTTP and HTTP/2 cleartext listening on port: 8080 …… |
拷贝Apex的静态文件到ords目录:
| cp -r /u01/app/apex/apex/images /u01/app/ords |
设置为开机自启动:
| [oracle@dkf apex]$ whereis java java: /usr/bin/java /usr/lib/java /etc/java /usr/share/java /usr/share/man/man1/java.1.gz [oracle@dkf apex]$ su - Password: [root@dkf ~]# cat > /etc/systemd/system/ords.service << EOF [Unit] Description=Start Oracle REST Data Services After=oracle-xe-18c.service [Service] User=oracle ExecStart=/usr/bin/java -jar /u01/app/apex/ords/ords.war StandardOutput=syslog SyslogIdentifier=ords [Install] WantedBy=multi-user.target EOF [root@dkf ~]# [root@dkf ~]# [root@dkf ~]# systemctl enable --now ords Created symlink /etc/systemd/system/multi-user.target.wants/ords.service → /etc/systemd/system/ords.service. [root@dkf ~]# systemctl start ords [root@dkf ~]# [root@dkf ~]# [root@dkf ~]# systemctl status ords ● ords.service - Start Oracle REST Data Services Loaded: loaded (/etc/systemd/system/ords.service; enabled; vendor preset: disabled) Active: active (running) since Sun 2023-02-26 01:36:55 EST; 16s ago Main PID: 1383999 (java) Tasks: 13 (limit: 24932) Memory: 412.2M CGroup: /system.slice/ords.service └─1383999 /usr/bin/java -jar /u01/app/apex/ords/ords.war |
至此,Apex安装完毕。
- 9 访问Apex平台
http://10.0.0.19:8080
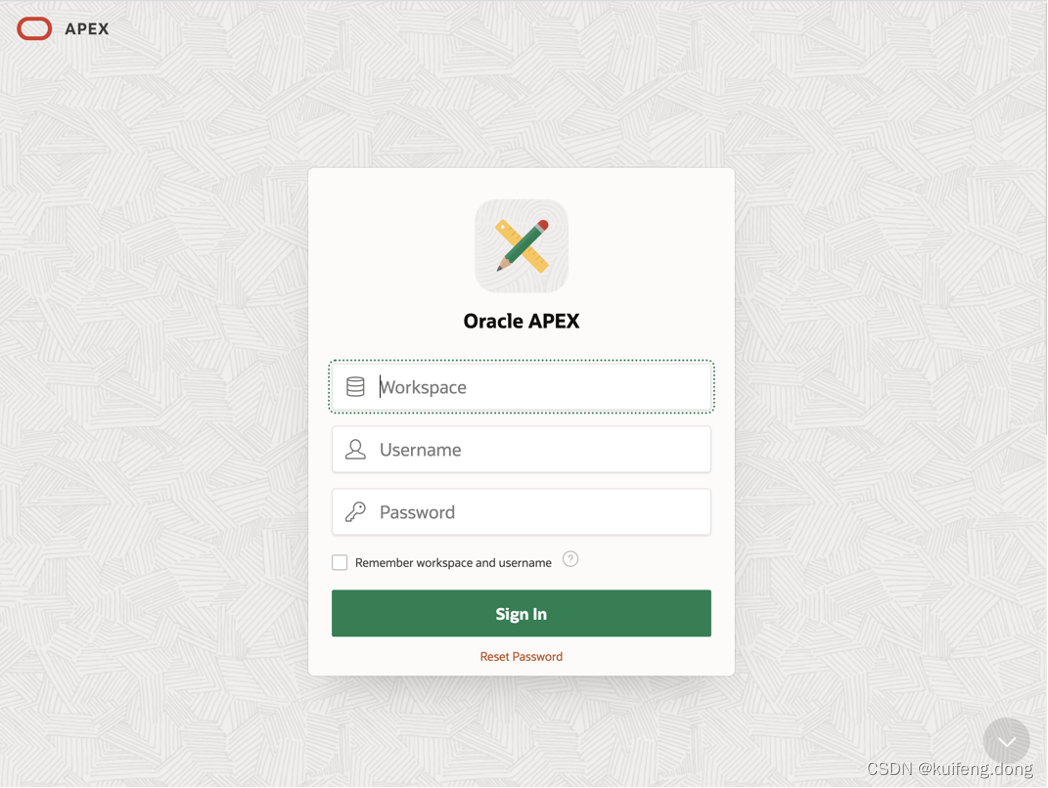
点击右下角的下箭头按钮,以管理员权限登录;
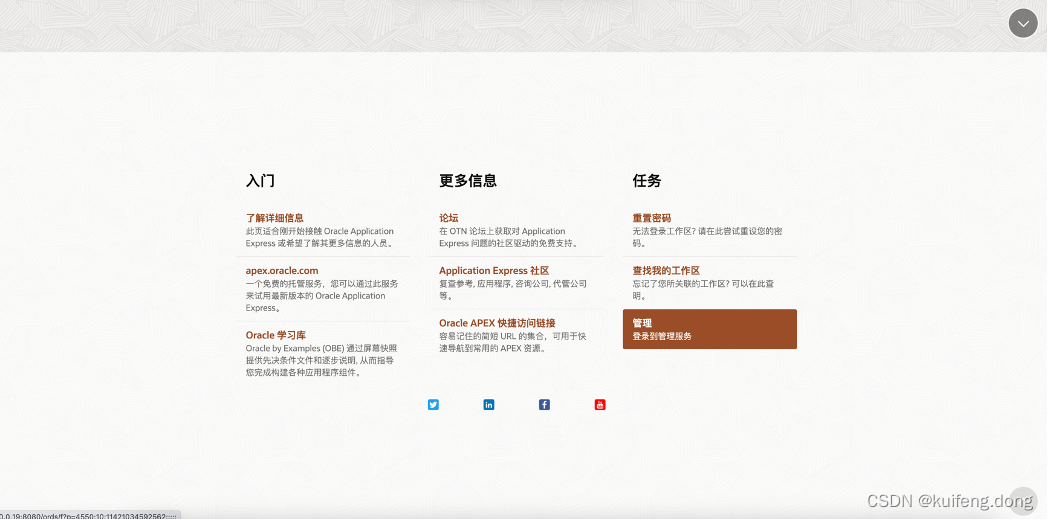
===Enjoy.


 2184
2184


 被折叠的 条评论
为什么被折叠?
被折叠的 条评论
为什么被折叠?
 到【灌水乐园】发言


