


<!--
* @Author: RealRoad1083425287@qq.com
* @Date: 2023-03-13 14:50:18
* @LastEditors: Mei
* @LastEditTime: 2023-03-13 15:08:54
* @FilePath: \vscode\鼠标跟随.html
* @Description:
*
* Copyright (c) 2023 by ${git_name_email}, All Rights Reserved.
-->
<!DOCTYPE html>
<html lang="en">
<head>
<meta charset="UTF-8">
<meta http-equiv="X-UA-Compatible" content="IE=edge">
<meta name="viewport" content="width=device-width, initial-scale=1.0">
<title>Document</title>
<style>
*{
margin: 0;
padding: 0;
}
#box{
width: 200px;
height: 50px;
background: yellow;
position: relative;
margin: 100px;
}
#box p{
width: 300px;
height: 200px;
background-color: red;
position: absolute;
left: 200px;
top: 100;
display: none;
pointer-events: none;
z-index: 100;
}
.test{
width: 200px;
height: 50px;
background: yellow;
position: relative;
margin: 100px;
}
</style>
</head>
<body>
<div id="box">
touxiang
<p>
jieshao
</p>
</div>
<div class="test">22222222222</div>
<script>
box.onmouseover=function(){
// console.log(this.firstElementChild)
this.firstElementChild.style.display="block"
}
box.onmouseout=function(){
// console.log(this.firstElementChild)
this.firstElementChild.style.display="none"
}
box.onmousemove=function(evt){
// console.log(evt.offsetX,evt.offsetY)
this.firstElementChild.style.left=evt.offsetX+"px"
this.firstElementChild.style.top=evt.offsetY+"px"
}
</script>
</body>
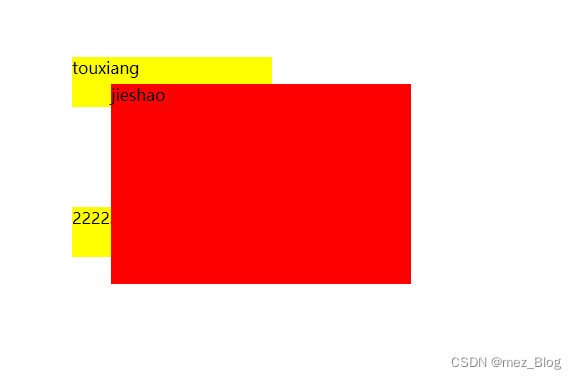
</html>鼠标跟随实例
鼠标拖拽实例
<!--
 * @Author: RealRoad1083425287@qq.com
 * @Date: 2023-03-13 15:11:26
 * @LastEditors: Mei
 * @LastEditTime: 2023-03-13 15:46:29
 * @FilePath: \vscode\鼠标拖拽.html
 * @Description:
 *
 * Copyright (c) 2023 by ${git_name_email}, All Rights Reserved.
-->
<!DOCTYPE html>
<html lang="en">
<head>
    <meta charset="UTF-8">
    <meta http-equiv="X-UA-Compatible" content="IE=edge">
    <meta name="viewport" content="width=device-width, initial-scale=1.0">
    <title>Document</title>
    <style>
        *{
            margin: 0;
            padding: 0;
        }
        div{
            width: 200px;
            height: 100px;
            background: yellow;
            position: absolute;
            /* margin: 100px; */
        }
    </style>
</head>
<body>
    <div id="box">

    </div>

    <script>
        box.onmousedown=function(){
            console.log("down")
            document.onmousemove=function(evt){
            console.log("move")
            // x=evt.clientX
            x=evt.clientX-box.offsetWidth/2
            // y=evt.clientY
            y=evt.clientY-box.offsetHeight/2
            if (y<=0) y=0
            if(x<=0) x=0
            if (x>=document.documentElement.clientWidth-box.offsetWidth)
            x=document.documentElement.clientWidth-box.offsetWidth
            if(y>=document.documentElement.clientHeight-box.offsetHeight)
            y=document.documentElement.clientHeight-box.offsetHeight
            console.log(evt.clientX,evt.clientY)
            box.style.left=x+"px"
            box.style.top=y+"px"

            }
        }
        box.onmouseup=function(){
            console.log("up")
            document.onmousemove=null
        }


    </script>
</body>
</html> 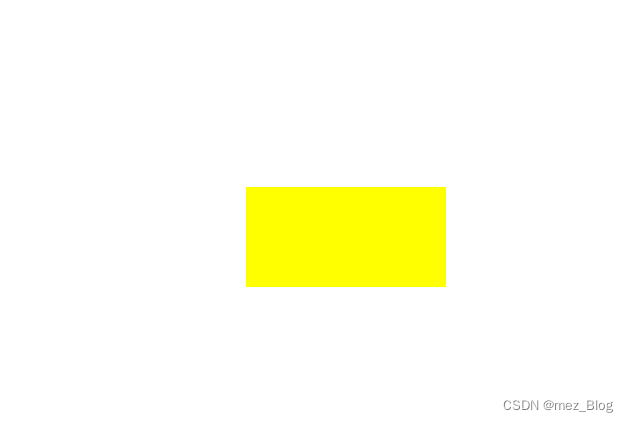
事件的传播
标准的dom事件流:
捕获:Windows=>document=>body=>outer=>
目标:inner
冒泡:outer=>body=>document=>window
默认情况下,只在冒泡触发
按照dom2事件绑定,并进行配置,才能看到捕获的回调函数被触发。
AJAX
(1)它能不刷新页面更新网页
(2)在加载页面后从服务器请求数据
(3)在页面加载后从服务器接收数据
(4)在后台向服务器发送数据
AJAX并不是编程语言。
AJAX是一种从网页王文web服务器的技术
AJAX代表异步JavaScript和XML
<!--
 * @Author: RealRoad1083425287@qq.com
 * @Date: 2023-03-13 16:31:04
 * @LastEditors: Mei
 * @LastEditTime: 2023-03-13 16:36:38
 * @FilePath: \vscode\Ajax.html
 * @Description:
 *
 * Copyright (c) 2023 by ${git_name_email}, All Rights Reserved.
-->
<!DOCTYPE html>
<html lang="en">
<head>
    <meta charset="UTF-8">
    <meta http-equiv="X-UA-Compatible" content="IE=edge">
    <meta name="viewport" content="width=device-width, initial-scale=1.0">
    <title>Document</title>
</head>
<body>
    <div id="demo">
        <h2>让Ajax改变这段文字</h2>
        <button type="button" onclick="loadDoc()">更改文本</button>
    </div>

    <script>
        function loadDoc(){
            var xhttp=new XMLHttpRequest();
            xhttp.onreadystatechange=function(){
                if(this.readyState==4 && this.status==200){
                    document.getElementById("demo").innerHTML=this.responseText;
                }
            };
            xhttp.open("GET","ajax_info.txt",true);
            xhttp.send()
        }
    </script>
</body>
</html>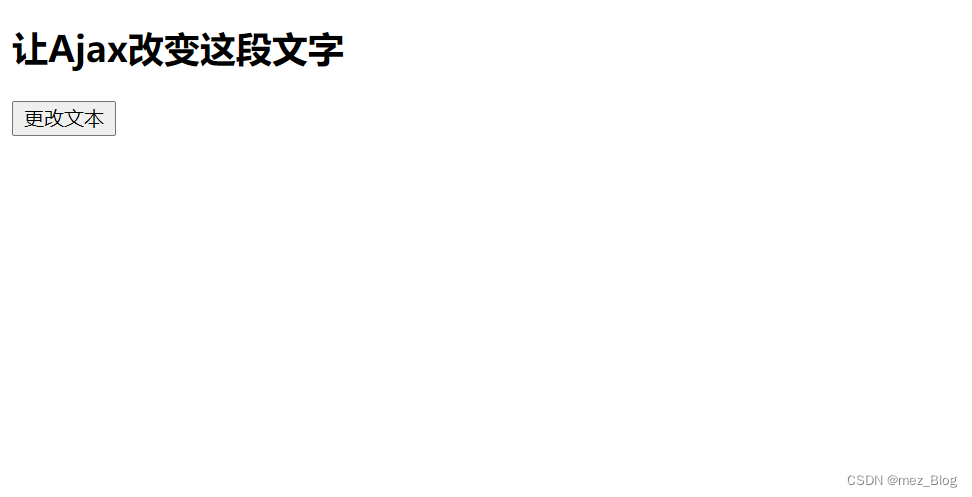
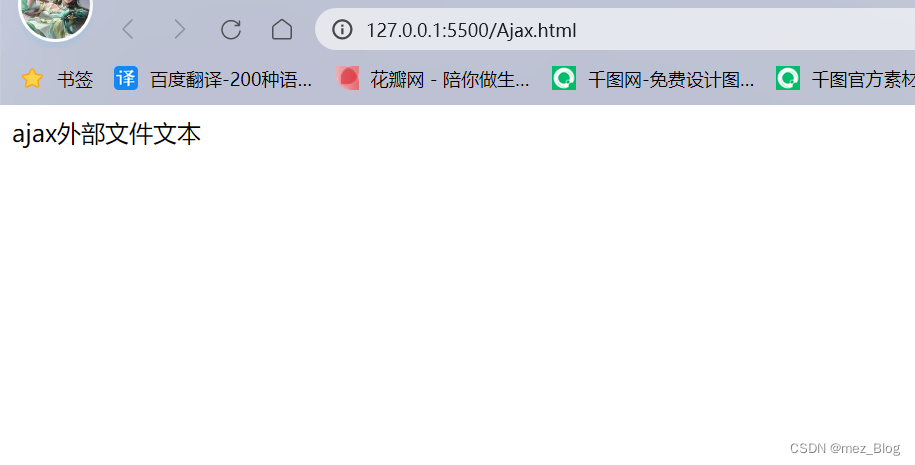
上述代码中点击button就从web服务器请求数据并显示它,这里读取的是Ajax_info.txt的文件内容。
AJAX(Asynchronous JavaScript And XML)
Ajax组合了浏览器内建的XMLHttpRequest对象(从web服务器请求数据)
JavaScript和HTML DOM(显示和使用数据)
Ajax是一个令人误导的名称。Ajax应用程序可能使用XML来传输数据,但数据作为存文本或JSON文本传输也同样常见。
Ajax允许通过与场景后面的web服务器交换数据来异步更新网页。这意味着可以更新网页的部分,而不需要重新加载整个页面。
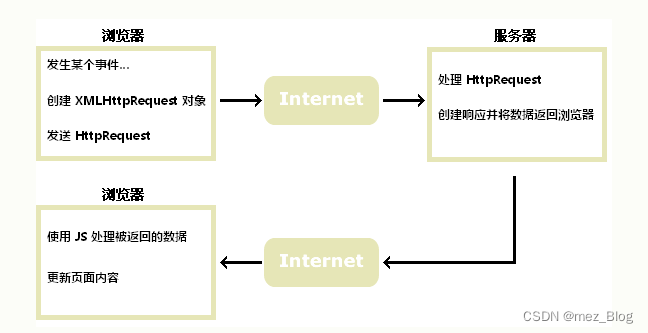
1.网页中发生一个事件(页面加载、按钮点击)
2.由JavaScript创建XMLhttpRequest对象
3.XMLHttpRequest对象向web服务器发送请求
4.服务器处理该请求
5.服务器将响应发送回网页
6.由JavaScript读取响应
7.由JavaScript执行正确的动作(比如更新页面)
Ajax的核心是XMLHttpRequest对象。
XMLHttpRequest对象用于同幕后服务器交换数据。这意味着可以更新网页的部分,而不需要重新加载整个页面。
创建XMLHttpRequest的语法:
var=new XMLHttpRequest();老版本IE浏览器语法为:
var=new ActiveXObject("Microsoft.XMLHTTP");跨域访问
出于安全原因,现代浏览器不允许跨域访问。
这意味着尝试加载的网页和XML文件都必须位于相同服务器上。
XMLHttpRequest对象方法
| 方法 | 描述 |
| new XMLHttpRequest() | 创建新的XMLHttpRequest对象 |
| abort() | 取消当前请求 |
| getAllResponseHeaders() | 返回头部信息 |
| getResponseHeader() | 返回特定的头部信息 |
| open(method,url,async,user,psw) | 规定请求 method:请求类型GET或POST URL:文件位置 async:TRUE(异步)或FALSE(同步) user:可选的用户名称 psw:可选的密码 |
| send() | 将请求发送到服务器,用于GET请求 |
| send(string) | 将请求发送到服务器,用于POST请求 |
| setRequestHeader() | 向要发送的报头添加标签/值对 |


 96
96


 被折叠的 条评论
为什么被折叠?
被折叠的 条评论
为什么被折叠?
 到【灌水乐园】发言


