


分片架构
MongODB分片(sharding)是一种跨多个服务器分布数据的方法,用于支持非常大的数据集和高吞吐量的操作。
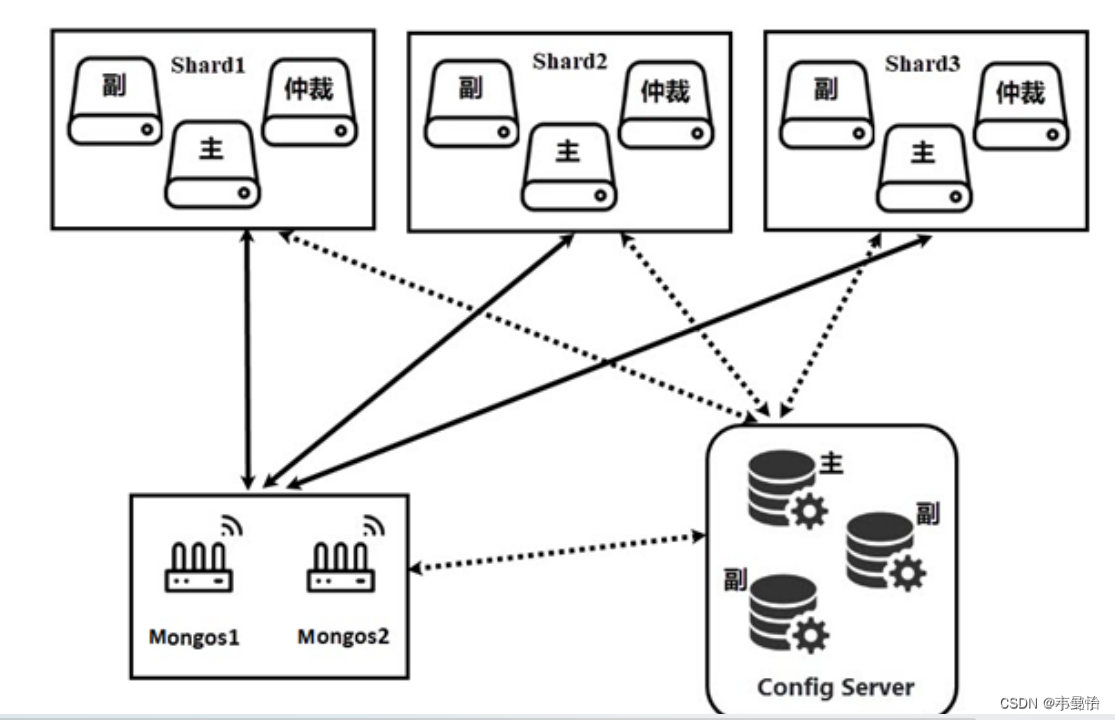
分片构架主要包括以下几个组件:
1.Shard: 每个shard是一个MongoDB实例,用于存储数据的一部分。
2.Config Server: 存储集群的元数据和配置信息。
3.Router: 前端请求路由,客户端通过它与分片集群的数据进行交互。
4.Mongos: 分片集群的查询路由器,客户端通过它来执行操作。
在MongoDB中设置分片需要进行以下操作
1.配置分片服务器(Shard Servers):这些是存储实际数据的服务器,可以是一个或多个mongod进程。
2.配置配置服务器(Config Servers):这些存储集群的元数据和配置设置。
3.配置分片路由服务器(Shard Router):这是客户端连接的入口,实际上是mongos进程。
部署分片集群
ps:部署shard:部署两个shard分片块,数据存储的地方。
步骤一:环境准备
| 分片 | 节点 | 端口 | 路径 |
| 1 | shaed11(主端口) | 4006 | dbpath:D:\shard1\shard11\data logpath:D:\shard1\shard11\log |
| shaed11(从端口) | 4007 | dbpath:D:\shard1\shard12\data logpath:D:\shard1\shard12\log | |
| 2 | shaed12(主端口) | 4008 | dbpath:D:\shard2\shard21\data logpath:D:\shard2\shard21\log |
| shaed12(从端口) | 4009 | dbpath:D:\shard2\shard22\data logpath:D:\shard2\shard22\log |
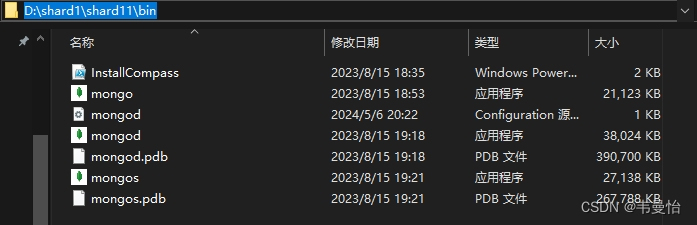
每一个分片都应该安装 MongoDB 实例,需要将 bin 文件复制到每个分片中, 并且创建data 文件以及 log 文件存放数据库数据和日志数据
1.创建文件夹


步骤二 启动分片服务
(1)启动分片集群 shard1(shard11和shard12)
进入数据库bin目录中,启动cmd:
1.点击路径
2.输入cmd,按回车键
3.输入代码
shard11
mongod -shardsvr -replSet shard1 -port 4006 -dbpath D:\shard1\shard11\data -logpath D:\shard1\shard11\log\shard11.logshard12
mongod -shardsvr -replSet shard1 -port 4007 -dbpath D:\shard1\shard12\data -logpath D:\shard1\shard12\log\shard12.logps:当命令一直保持运行状态则说明服务运行成功,此服务为一次性服务,不要关闭此窗口,最小化即可。
(2)启动分片集群 shard2(shard21和shard22)
进入数据库bin目录中,启动cmd:
1.点击路径
2.输入cmd,按回车键

3.输入代码
shard21
mongod --shardsvr --replSet shard2 -port 4008 -dbpath D:\shard2\shard21\data -logpath D:\shard2\shard21\log\shard21.logshard22
mongod -shardsvr --replSet shard2 -port 4009 -dbpath D:\shard2\shard22\data -logpath D:\shard2\shard22\log\shard22.log小贴士:
| 如果电脑版本比较高, 使用 cmd 需要管理员身份运行 |
| 启动服务均为一次性服务,关闭 cmd 即为关闭服务,所以在未完成任务前,请勿关闭 |
| 实例均未添加至系统环境变量,请在 bin 目录下启动 |
| 在 windows系统下,窗口很多,操作较复杂, Liux系统会简单一些 |
步骤三:配置分片(shard1和shard2)集群
1.进入到shard1集群任何一个节点中
use admin

config={_id:"shard2",members:[
... {_id:0,host:"localhost:4006",priority:2},
... {_id:1,host:"localhost:4007",priority:1}
... ]}

 rs.initiate(config)
2.进入到shard2集群任何一个节点中
use admin

config={_id:"shard1",members:[
... {_id:0,host:"localhost:4008",priority:2},
... {_id:1,host:"localhost:4009",priority:1}
... ]}

 rs.initiate(config)
3.返回MongoDB测试环境

部署config server
| config实例 | 端口 | 数据路径 | 日志路径 |
| config1(主) | 4002 | D:\config\config1\data | D:\config\config1\log |
| config2(从) | 4003 | D:\config\config2\data | D:\config\config2\log |
ps:通过Config-Server,你可以在一个地方集中对所有环境中的应用程序的外部化配置进行管理。
步骤一:环境准备
在 MongoDB 3,4 版本后 config 服务必须配置为 副本集,这里设置为一主一从。
1.创建文件夹
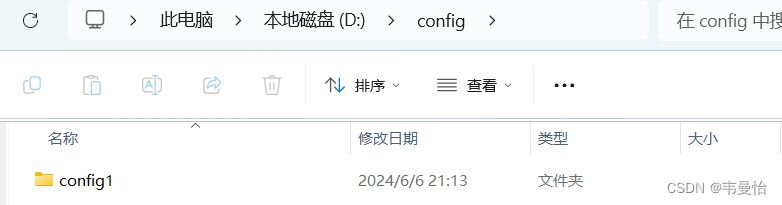
(1)创建名为config的文件夹,里再创建一个名为config1的文件夹
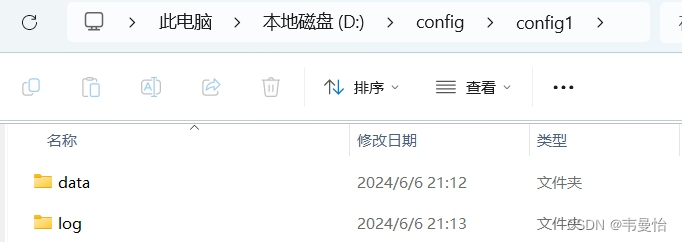
(2)在名为config1的文件夹里分别创建名为data、log的文件夹
步骤二:启动config server
启动config1
mongod --configsvr --replSet confset -port 4002 -dbpath D:\config\config1\data -logpath D:\config\config1\log\conf1.log启动config2
mongod --configsvr --replSet confset -port 4003 -dbpath D:\config\config1\data -logpath D:\config\config1\log\conf1.log不要关闭 cmd 窗口,最小化即可
步骤三:配置config server集群
进入任何一个配置服务器的节点初始化配置服务器的群集
D:\config\bin>mongoport 4002use admin
config={_id:"confset",configsvr:true,members:[
... {_id:0,host:"localhost:4002"},
... {_id:1,host:"localhost:4003"}
... ]}
rs.initiate(config)输出有结果即可

部署路由服务器 Route Process
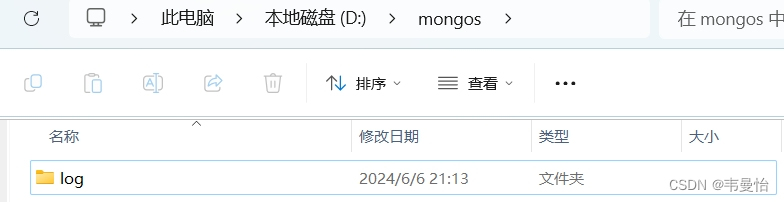
1.创建专门的文件夹存放日志
创建一个名为mongos的文件夹,里里面创建一个log文件夹
2.在进入 数据库 bin 目录中 启动 cmd
D: MongoDB\bin>mongos --configdb confset/localhost:4002, localhost:4003 -logpath D: mongos\ log \mongos.log -port 4000mongos:通过跨服务器横向划分数据集,每台服务器负责处理自己的数据部分同时不会有一台服务器会负载过重,这样分片就可以支持大数据集和高吞吐量。每一个分片都是一个独立的数据库,所有的分片共同组成单个的逻辑数据库,数据和片的对应关系以及相应的配置信息保存在 "config 服务器 " 上,它会根据管理员设置的 “ 片键 ” 将数据分摊到自己管理的mongod 集群。
D: MongoDB\bin>mongos --configdb confset/localhost:4002, localhost:4003 -logpath D: mongos\ log \mongos.log -port 4000
"t{"$date":"202404 16T07:55:48.002Z"},"s":"W","c":"SHARDING","id":24132,"ctx":"main","msg":"Running a sharded cluster with fewer than 3 config servers should only be done for testing purpoese and is not recommended for production."}
配置分片信息
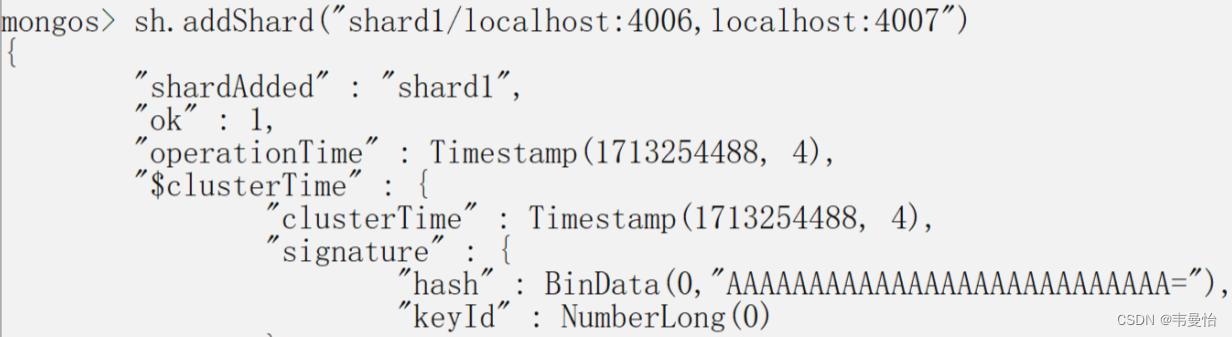
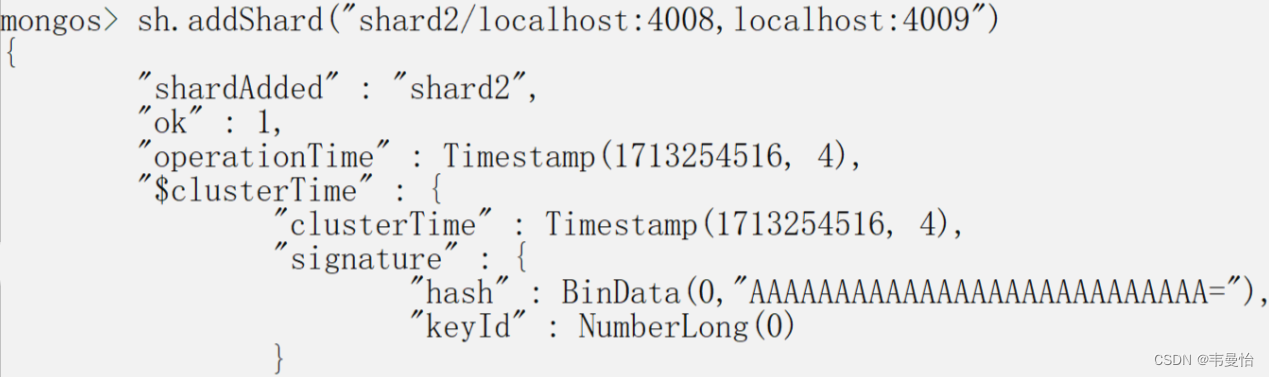
bin 目录下使用 MongoDB Shell 登录到 mongos ,添加 Shard 节点
D:MongoDB\bin>mongo -port 4000mongos> sh.addShard("shard1/localhost:4006,localhost:4007")
mongos> sh.addShard("shard2/localhost:4008,localhost:4009")


 1469
1469

 被折叠的 条评论
为什么被折叠?
被折叠的 条评论
为什么被折叠?
 到【灌水乐园】发言


