


以下介绍的是以源码编译安装方式:
✅下载
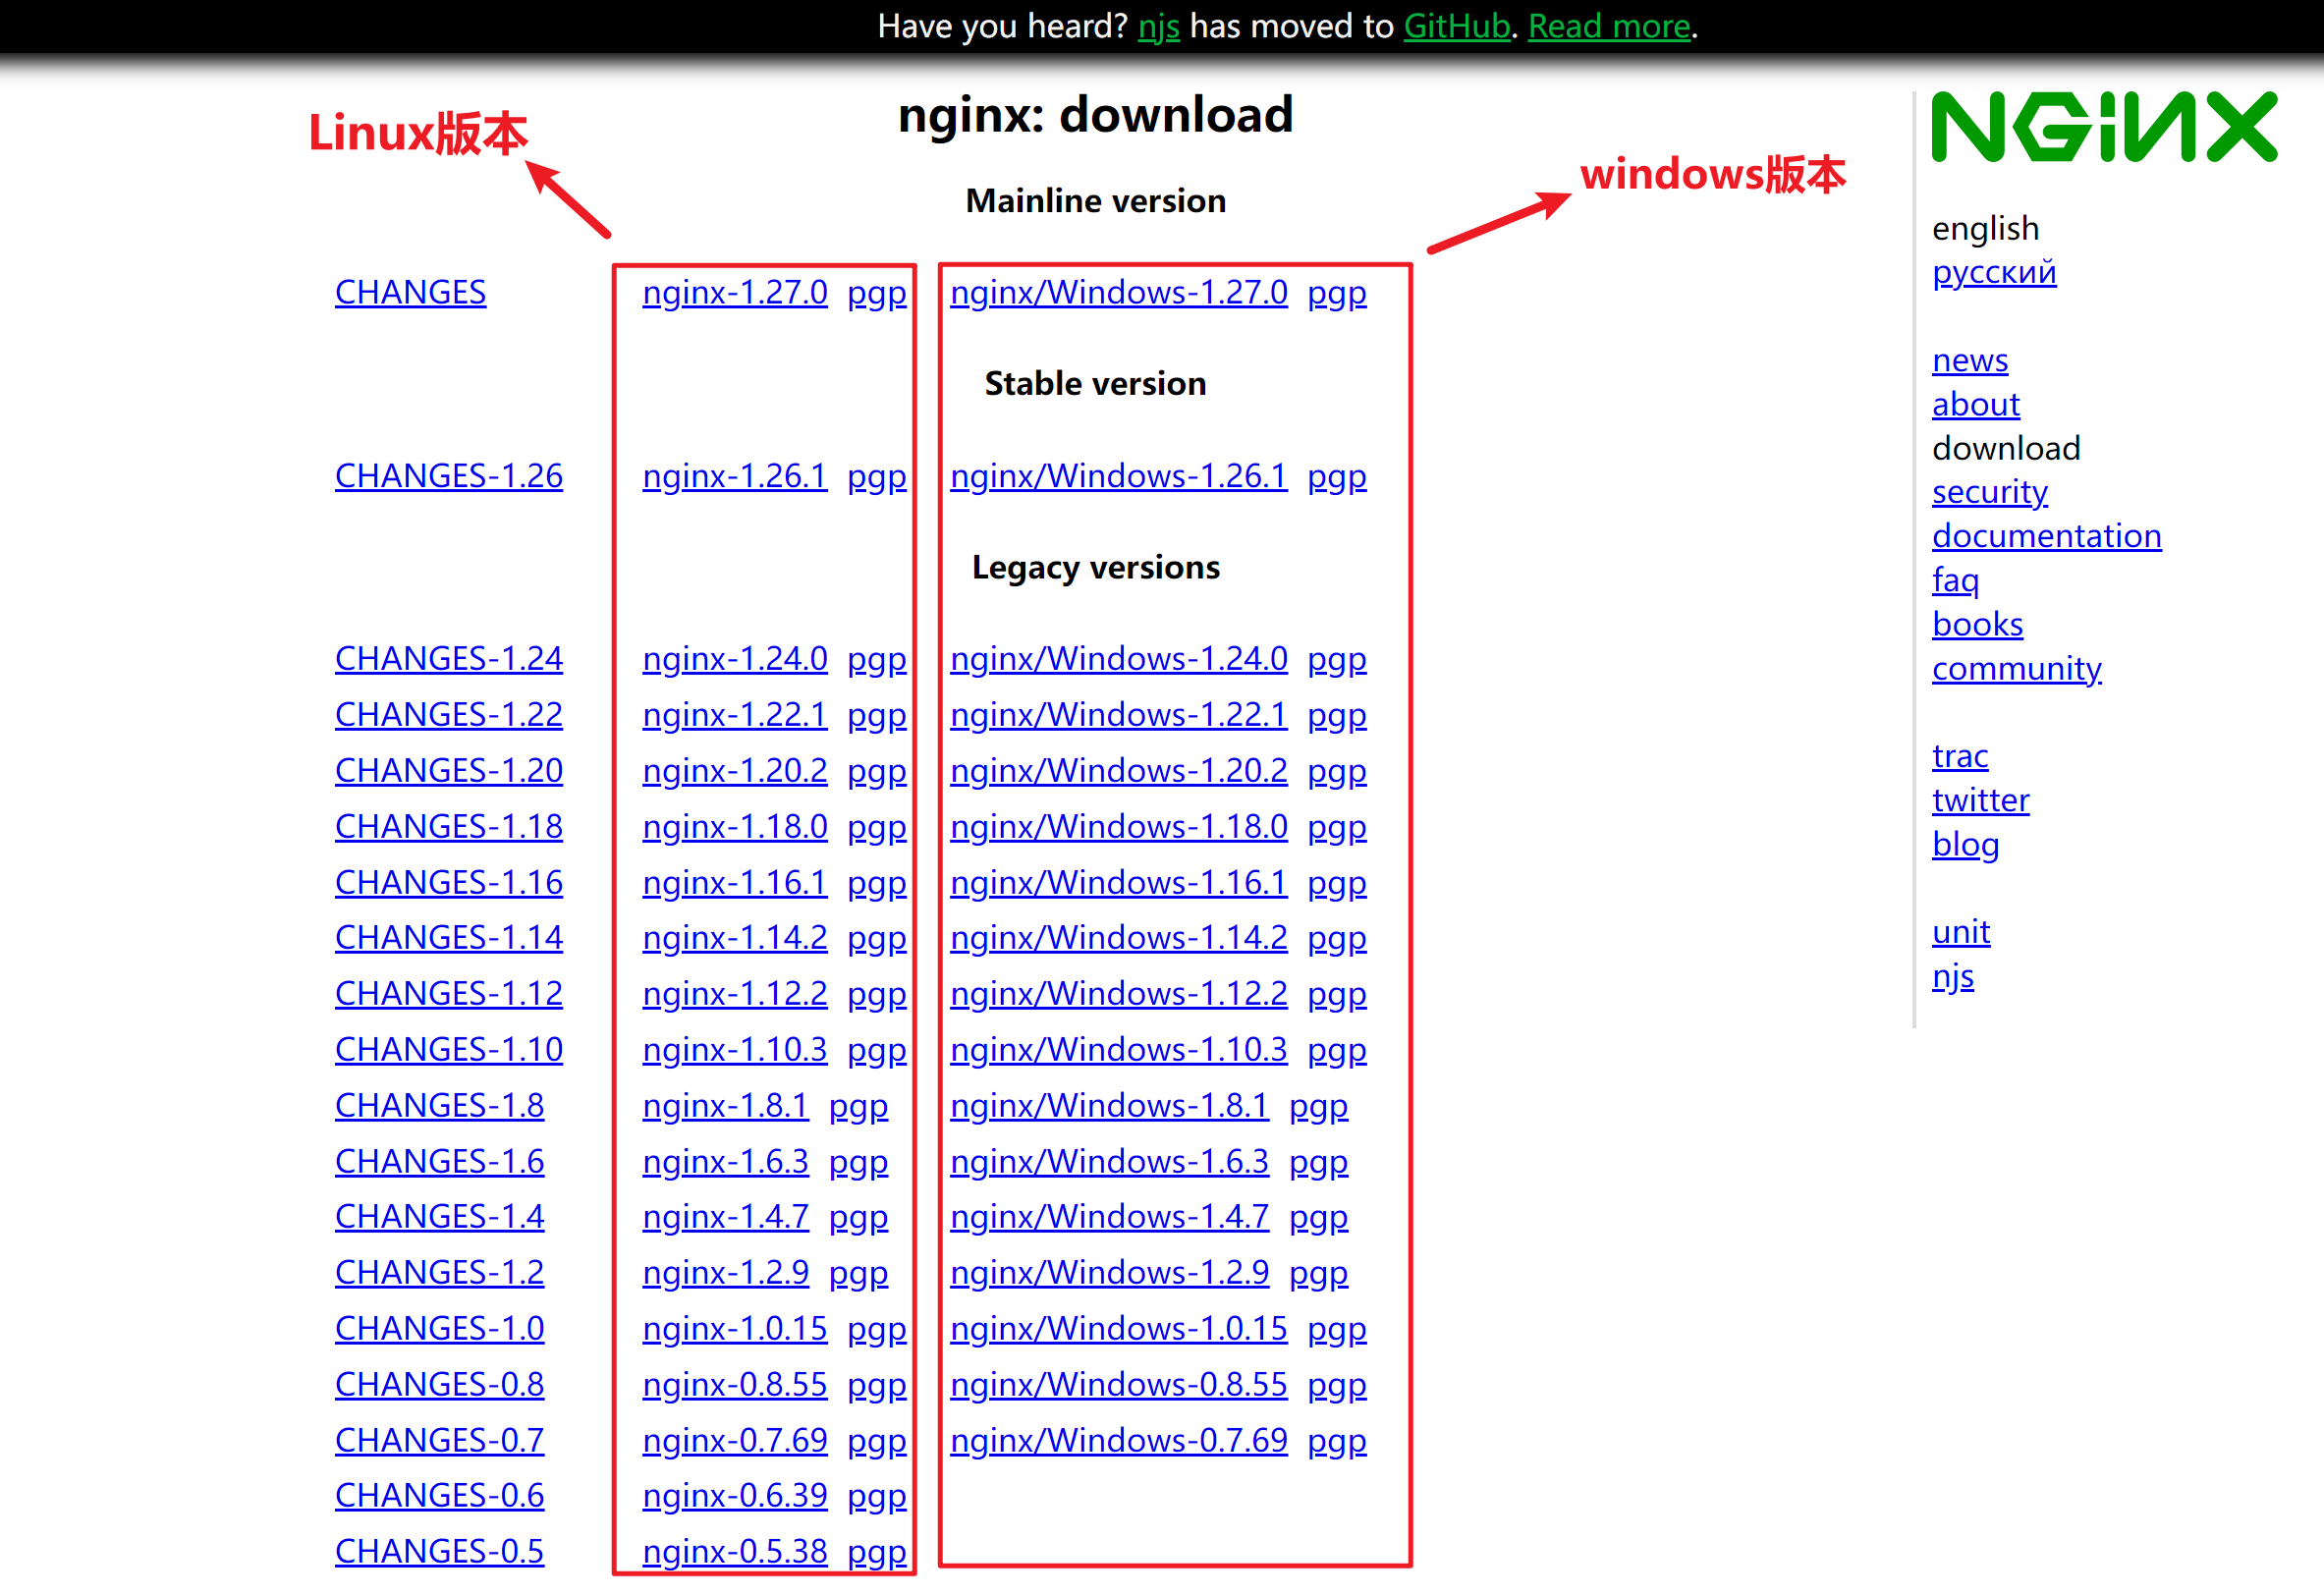
官方地址:https://nginx.org/en/download.html
123云盘地址:https://www.123pan.com/s/4brbVv-odmWA.html
✅安装
1.上传安装包nginx-1.20.2.tar.gz,并解压
tar -zxvf nginx-1.20.2.tar.gz
2.使用configure进行安装,进入解压后目录cd nginx-1.20.2/,找到configure文件
./configure --prefix=/usr/local/nginx # --prefix=/usr/local/nginx 指安装路径是/usr/local/nginx

如果出现下面警告或报错,说明缺少C环境,则安装gcc
checking for OS
- Linux 3.10.0-693.el7.x86_64 x86_64
checking for C compiler … not found
./configure: error: C compiler cc is not found
#安装gcc
yum install -y gcc
如果出现下面报错,则安装对应的perl库
/configure: error: the HTTP rewrite module requires the PCRE library.
You can either disable the module by using --without-http_rewrite_module
option, or install the PCRE library into the system, or build the PCRE library
statically from the source with nginx by using --with-pcre=option.
#安装perl库
yum install -y pcre pcre-devel
如果出现下面报错,则安装对应的zlib库
./configure: error: the HTTP gzip module requires the zlib library.
You can either disable the module by using --without-http_gzip_module
option, or install the zlib library into the system, or build the zlib library
statically from the source with nginx by using --with-zlib=option.
#安装alib库
yum install -y zlib zlib-devel
3.编译安装,如果过程没有报错则执行下面命令,进行编译安装
make
make install
执行完后会发现指定安装位置出现nginx目录。

✅启动nginx
进入安装好的目录 /usr/local/nginx/sbin
./nginx					    # 启动
./nginx -s stop			 	#快速停止
./nginx -s quit 			#优雅关闭,在退出前完成已经接受的连接请求
./nginx -s reload 			#重新加载配置
此时nginx启动等命令只能在sbin目录下使用,非常不便,可以将命令安装成系统服务,会非常方便。
✅安装成系统服务
1.创建服务脚本nginx.service,脚本内容如下,按ESC,:wq保存文件。
vi /usr/lib/systemd/system/nginx.service
[Unit]
Description=nginx - web server
After=network.target remote-fs.target nss-lookup.target

[Service]
Type=forking
PIDFile=/usr/local/nginx/logs/nginx.pid
ExecStartPre=/usr/local/nginx/sbin/nginx -t -c /usr/local/nginx/conf/nginx.conf
ExecStart=/usr/local/nginx/sbin/nginx -c /usr/local/nginx/conf/nginx.conf
ExecReload=/usr/local/nginx/sbin/nginx -s reload
ExecStop=/usr/local/nginx/sbin/nginx -s stop
ExecQuit=/usr/local/nginx/sbin/nginx -s quit
PrivateTmp=true

[Install]
WantedBy=multi-user.target
2.重新加载系统服务即可完成
systemctl daemon-reload
3.管理nginx.service服务的命令
systemctl start nginx.service	    #启动nginx服务
systemctl stop nginx.service	 #关闭nginx服务
systemctl status nginx.service	   #查看nginx状态
systemctl enable nginx.service       #开机自启动
systemctl reload nginx.service        #重载配置文件
✅常见问题:80端口被占用了
netstat -ntlp|grep 80
kill -9 端口号即可,如果杀不死,可以试试下面命令
fuser -k 80/tcp
✅卸载
1.首先查看nginx的服务并且停止
systemctl status nginx   #查看nginx服务状态
systemctl stop nginx      #停止nginx服务
2.查找、删除nginx相关文件
- 查看nginx相关文件:
whereis nginx - find查找相关文件
find / -name nginx
3.依次删除find查找到的所有目录。
rm -rf /usr/sbin/nginx/***
4.最后使用yum清理依赖包
yum remove nginx
✅目录结构
├── client_body_temp                 # POST 大文件暂存目录
├── conf                             # Nginx所有配置文件的目录
│   ├── fastcgi.conf                 # fastcgi相关参数的配置文件
│   ├── fastcgi.conf.default         # fastcgi.conf的原始备份文件
│   ├── fastcgi_params               # fastcgi的参数文件
│   ├── fastcgi_params.default
│   ├── koi-utf
│   ├── koi-win
│   ├── mime.types                   # 媒体类型
│   ├── mime.types.default
│   ├── nginx.conf                   #这是Nginx默认的主配置文件,日常使用和修改的文件
│   ├── nginx.conf.default
│   ├── scgi_params                  # scgi相关参数文件
│   ├── scgi_params.default
│   ├── uwsgi_params                 # uwsgi相关参数文件
│   ├── uwsgi_params.default
│   └── win-utf
├── fastcgi_temp                     # fastcgi临时数据目录
├── html                             # Nginx默认站点目录
│   ├── 50x.html                     # 错误页面优雅替代显示文件,例如出现502错误时会调用此页面
│   └── index.html                   # 默认的首页文件
├── logs                             # Nginx日志目录
│   ├── access.log                   # 访问日志文件
│   ├── error.log                    # 错误日志文件
│   └── nginx.pid                    # pid文件,Nginx进程启动后,会把所有进程的ID号写到此文件
├── proxy_temp                       # 临时目录
├── sbin                             # Nginx 可执行文件目录
│   └── nginx                        # Nginx 二进制可执行程序
├── scgi_temp                        # 临时目录
└── uwsgi_temp                       # 临时目录
主要的目录是conf,html,及sbin。
- conf目录放的是核心配置文件
- html目录放的是静态页面
- logs文件夹用于存放日志信息
- sbin存放的是可执行文件,可以用 ./nginx启动nginx:
刚安装好的nginx.conf(去掉注释)如下:
worker_processes  1; #允许进程数量,建议设置为cpu核心数或者auto自动检测,注意Windows服务器上虽然可以启动多个processes,但是实际只会用其中一个

events {
    #单个进程最大连接数(最大连接数=连接数*进程数)
    #根据硬件调整,和前面工作进程配合起来用,尽量大,但是别把cpu跑到100%就行。
    worker_connections  1024;
}


http {
    #文件扩展名与文件类型映射表(是conf目录下的一个文件)
    include       mime.types;
    #默认文件类型,如果mime.types预先定义的类型没匹配上,默认使用二进制流的方式传输
    default_type  application/octet-stream;

    #sendfile指令指定nginx是否调用sendfile 函数(zero copy 方式)来输出文件,对于普通应用,必须设为on。如果用来进行下载等应用磁盘IO重负载应用,可设置为off,以平衡磁盘与网络IO处理速度。
    sendfile        on;

     #长连接超时时间,单位是秒
    keepalive_timeout  65;

 #虚拟主机的配置
    server {
    #监听端口
        listen       80;
        #域名,可以有多个,用空格隔开
        server_name  localhost;

	#配置根目录以及默认页面
        location / {
            root   html;
            index  index.html index.htm;
        }

	#出错页面配置
        error_page   500 502 503 504  /50x.html;
        #/50x.html文件所在位置
        location = /50x.html {
            root   html;
        }

    }

}


 397
397


 被折叠的 条评论
为什么被折叠?
被折叠的 条评论
为什么被折叠?
 到【灌水乐园】发言


