


1.安装tui-image-editor
命令:npm i tui-image-editor
如果此步命令执行安装成功后启动还是报错找不到文件的话请检查以下文件

可手动添加到package.json后重新执行npm install 再次启动后便成功
或者单独安装此代码依赖块
npm install --save @toast-ui/vue-image-editor

npm install tui-code-snippet http://nhn.github.io/tui.image-editor/latest/ImageEditor#getImageName
2.使用tui-image-editor
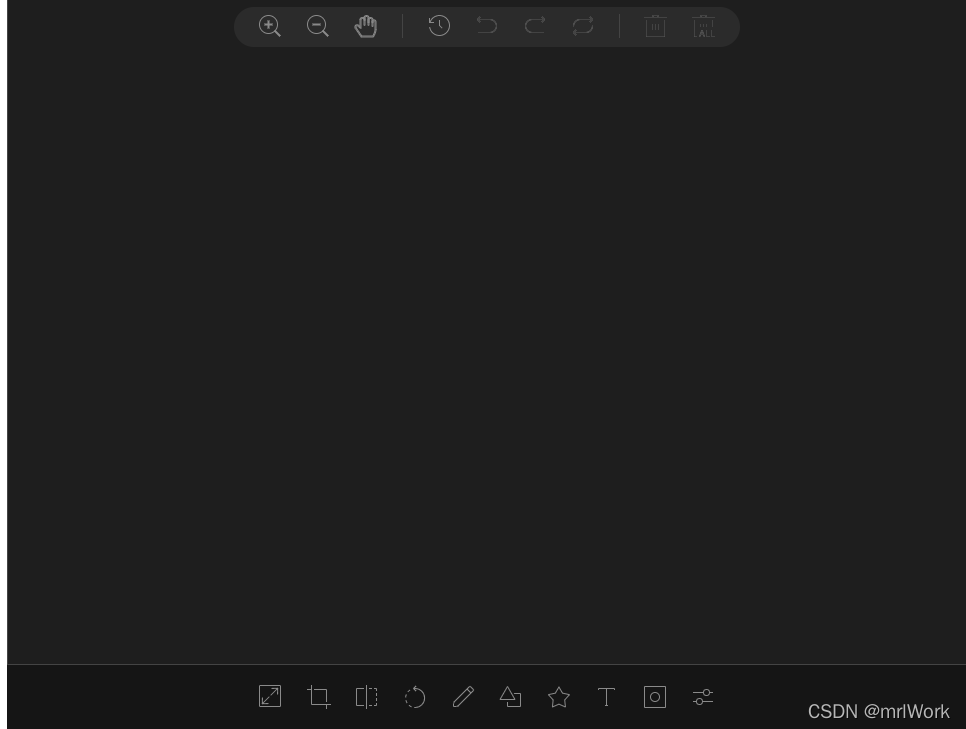
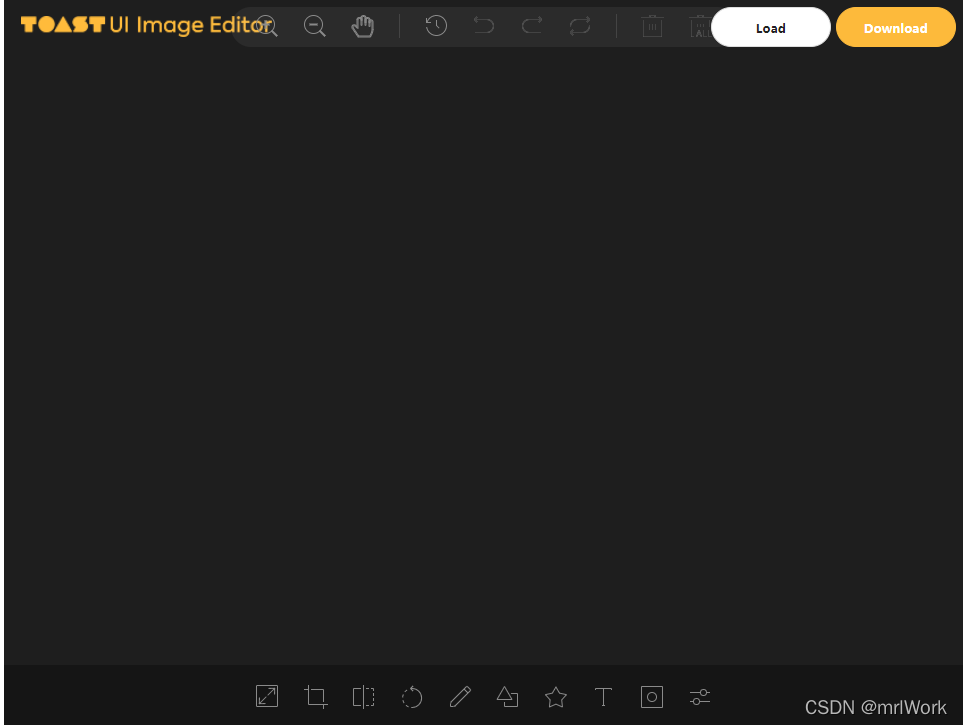
此处我将图片默认设置为空了,可根据path来设置自己的图片路径下面话不多说直接上代码 注释已经写清楚了
<template>
         //编辑图片的dom容器
      <div id="tui-image-editor"></div>
       //获取编辑后图片的按钮
    <div class="saveButton">
      <el-button v-show="showBtn" class="btns" type="primary" @click="uploadImg">完成并上传</el-button>
      <el-progress class="progress"
                   v-show="showProgress"
                   type="line"
                   :percentage="99"
                   :width="178"
                   :status="percentage === 100 ? 'success' : undefined"
      ></el-progress>
    </div>
  </div>
</template>
<script>
//在此处引入依赖块
import "tui-image-editor/dist/tui-image-editor.css";
import "tui-color-picker/dist/tui-color-picker.css";
import imgTypeChange from "@/components/edit_image/imgTypeChange";
//可以先行获取到dom块方便操作
const ImageEditor = require("tui-image-editor");

export default {
  data() {
    return {
      instance: null,
    };
  },
  mounted() {
    this.instance = new ImageEditor(
        document.querySelector("#tui-image-editor"),
        {
          includeUI: {
            loadImage: {
              path: ,//图片路径
              name: "",//如果是根据传值过来的话传值图片的名称
            },
            initMenu: "draw",
            menuBarPosition: "button",
          },
        }
    );
  },
  methods: {
    async uploadImg() {
        //获取编辑后图片的功能
      let fileName = this.instance.getImageName();
      var arr = this.instance.toDataURL().split(','),
          mime = arr[0].match(/:(.*?);/)[1],
          bstr = atob(arr[1]),
          n = bstr.length,
          u8arr = new Uint8Array(n)
      while (n--) {
        u8arr[n] = bstr.charCodeAt(n)
      }
      let file = new File([u8arr], fileName, {type: mime})
      if (!file.type.includes('image/jpeg')) {
        let myFile = await imgTypeChange(file)
        console.log(myFile);
        const formData = new FormData()
        formData.append('file', myFile)
        let data = formData.get('file')
        const reader = new FileReader()
        reader.readAsDataURL(data)
        reader.onload = () => {
          this.showBtn = false
          this.showProgress = true
          this.$axios.post('/v1/ocr', {
            "file": reader.result
          }).then(res => {
            console.log(res.data)
            if (res.data.status_code == '200') {
              this.percentage = 100
            }
          }).catch(err => {
            console.log(err)
          })
        }
      }
    },
  },
};
</script>

<style lang="scss" scoped>
</style>
大功告成后的效果就是这样子的
3.个性化编辑tui-image-editor
tui-image-editor是支持个性化编辑的{汉化,样式,显示什么都可以调的}
<template>
  <div class="container">
    <div class="PictureDisplay">
      <div class="pictureLeft">
        <img :src='imgUrl' style="
	width: auto;
	height: auto;
	max-width: 100%;
	max-height: 850px;" alt="">
      </div>
      <div id="tui-image-editor"></div>
    </div>
    <div class="saveButton">
      <el-button v-show="showBtn" class="btns" type="primary" @click="uploadImg">完成并上传</el-button>
      <el-progress class="progress"
                   v-show="showProgress"
                   type="line"
                   :percentage="99"
                   :width="178"
                   :status="percentage === 100 ? 'success' : undefined"
      ></el-progress>
    </div>
  </div>
</template>
<script>
import "tui-image-editor/dist/tui-image-editor.css";
import "tui-color-picker/dist/tui-color-picker.css";
import imgTypeChange from "@/components/edit_image/imgTypeChange";
// import qs from 'qs'
const ImageEditor = require("tui-image-editor");
const locale_zh = {
  // override default English locale to your custom
  ZoomIn: '放大',
  ZoomOut: '缩小',
  Hand: '手掌',
  History: '历史',
  Resize: '调整宽高',
  Crop: "裁剪",
  DeleteAll: "全部删除",
  Delete: "删除",
  Undo: "撤销",
  Redo: "反撤销",
  Reset: "重置",
  Flip: "镜像",
  Rotate: "旋转",
  Draw: "画",
  Shape: "形状标注",
  Icon: "图标标注",
  Text: "文字标注",
  Mask: "遮罩",
  Filter: "滤镜",
  Bold: "加粗",
  Italic: "斜体",
  Underline: "下划线",
  Left: "左对齐",
  Center: "居中",
  Right: "右对齐",
  Color: "颜色",
  "Text size": "字体大小",
  Custom: "自定义",
  Square: "正方形",
  Apply: "应用",
  Cancel: "取消",
  "Flip X": "X 轴",
  "Flip Y": "Y 轴",
  Range: "区间",
  Stroke: "描边",
  Fill: "填充",
  Circle: "圆",
  Triangle: "三角",
  Rectangle: "矩形",
  Free: "曲线",
  Straight: "直线",
  Arrow: "箭头",
  "Arrow-2": "箭头2",
  "Arrow-3": "箭头3",
  "Star-1": "星星1",
  "Star-2": "星星2",
  Polygon: "多边形",
  Location: "定位",
  Heart: "心形",
  Bubble: "气泡",
  "Custom icon": "自定义图标",
  "Load Mask Image": "加载蒙层图片",
  Grayscale: "灰度",
  Blur: "模糊",
  Sharpen: "锐化",
  Emboss: "浮雕",
  "Remove White": "除去白色",
  Distance: "距离",
  Brightness: "亮度",
  Noise: "噪音",
  "Color Filter": "彩色滤镜",
  Sepia: "棕色",
  Sepia2: "棕色2",
  Invert: "负片",
  Pixelate: "像素化",
  Threshold: "阈值",
  Tint: "色调",
  Multiply: "正片叠底",
  Blend: "混合色",
};

// 画布组件自定义样式
const customTheme = {
  // image 坐上角度图片
  'common.bi.image': '', // 在这里换上你喜欢的logo图片
  'common.bisize.width': '',
  'common.bisize.height': '0px',
  'common.backgroundImage': 'none',
  'common.border': '1px solid #444',

  // header
  'header.backgroundImage': 'none',
  'header.border': '0px',

  // load button
  'loadButton.backgroundColor': '#fff',
  'loadButton.border': '1px solid #ddd',
  'loadButton.color': '#222',
  'loadButton.fontFamily': 'NotoSans, sans-serif',
  'loadButton.fontSize': '12px',
  'loadButton.display': 'none', // 可以直接隐藏掉

  // download button
  'downloadButton.backgroundColor': '#fdba3b',
  'downloadButton.border': '1px solid #fdba3b',
  'downloadButton.color': '#fff',
  'downloadButton.fontFamily': 'NotoSans, sans-serif',
  'downloadButton.fontSize': '12px',
  'downloadButton.display': 'none', // 可以直接隐藏掉


  // rango style
  'range.pointer.color': '#fff',
  'range.bar.color': '#666',
  'range.subbar.color': '#d1d1d1',

  'range.disabledPointer.color': '#414141',
  'range.disabledBar.color': '#282828',
  'range.disabledSubbar.color': '#414141',

  'range.value.color': '#fff',
  'range.value.fontWeight': 'lighter',
  'range.value.fontSize': '11px',
  'range.value.border': '1px solid #353535',
  'range.value.backgroundColor': '#151515',
  'range.title.color': '#fff',
  'range.title.fontWeight': 'lighter',

  // colorpicker style
  'colorpicker.button.border': '1px solid #1e1e1e',
  'colorpicker.title.color': '#fff'
}
export default {
  data() {
    return {
      instance: null,
      imgUrl: '',
      showBtn: true,
      showProgress: false,
      percentage: 0,
    };
  },
  mounted() {
    this.imgUrl = this.$route.params.result
    this.instance = new ImageEditor(
        document.querySelector("#tui-image-editor"),
        {
          includeUI: {
            loadImage: {
              path: this.$route.params.result,
              name: "1",
            },
            initMenu: "draw",
            menuBarPosition: "right",
            locale: locale_zh,//文字汉化
            theme: customTheme,//样式修改
          },
        }
    );
  },
  methods: {
    async uploadImg() {
      let fileName = this.instance.getImageName();
      var arr = this.instance.toDataURL().split(','),
          mime = arr[0].match(/:(.*?);/)[1],
          bstr = atob(arr[1]),
          n = bstr.length,
          u8arr = new Uint8Array(n)
      while (n--) {
        u8arr[n] = bstr.charCodeAt(n)
      }
      let file = new File([u8arr], fileName, {type: mime})
      if (!file.type.includes('image/jpeg')) {
        let myFile = await imgTypeChange(file)
        console.log(myFile);
        const formData = new FormData()
        formData.append('file', myFile)
        let data = formData.get('file')
        const reader = new FileReader()
        reader.readAsDataURL(data)
        reader.onload = () => {
          this.showBtn = false
          this.showProgress = true
          this.$axios.post('/v1/ocr', {
            "file": reader.result
          }).then(res => {
            console.log(res.data)
            if (res.data.status_code == '200') {
              this.percentage = 100
            }
          }).catch(err => {
            console.log(err)
          })
        }
      }
    },
  },
};
</script>

<style lang="scss" scoped>
.container {
  display: flex;
  flex-direction: column;
  width: 100%;
  height: 850px;

  .PictureDisplay {
    flex: 1;
    display: flex;
    height: 850px;

    .pictureLeft {
      flex: 1;
    }

    #tui-image-editor {
      width: 50% !important;
    }
  }

  .saveButton {
    width: 100%;
    height: 120px;

    .btns {
      position: relative;
      left: 45%;
      top: 30%;
    }

    .progress {
      position: relative;
      left: 45%;
      top: 20px;
      width: 200px;
    }
  }

}
</style>
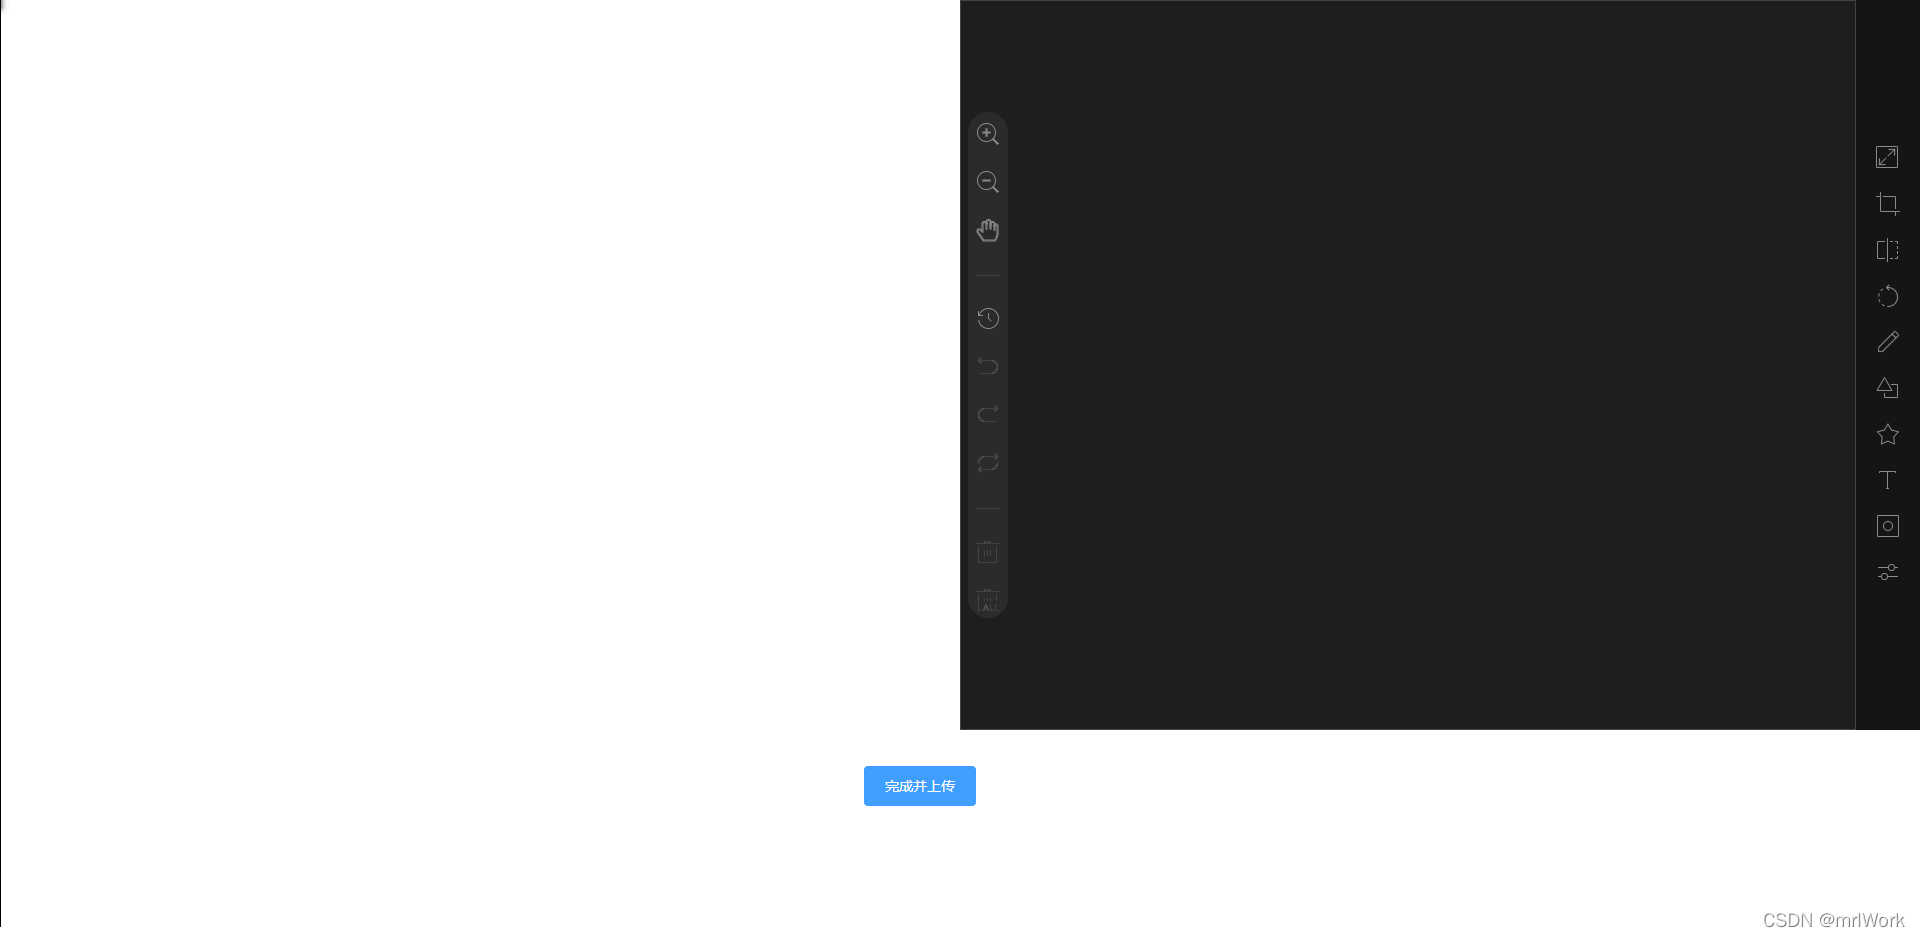
样式大概就是这样子啦我此处留白是放置了原图进行做对比,你们可以直接铺满全屏哦,完成并上传的话我取到的是base64的文件,所以我将其转为了file传给后台。具体的转换方法我会写在另一篇文章有需要的可自取哦!!
这就是以上全部内容了,掌声在哪里!!!!


 2000
2000

 被折叠的 条评论
为什么被折叠?
被折叠的 条评论
为什么被折叠?
 到【灌水乐园】发言


