


环境
- Win10 64位
下载
我在清华镜像网站下载,下载较快,参考了一篇文章,上面说在官网上下载会有一些什么问题,具体不太清楚。镜像网站下载较快。
安装
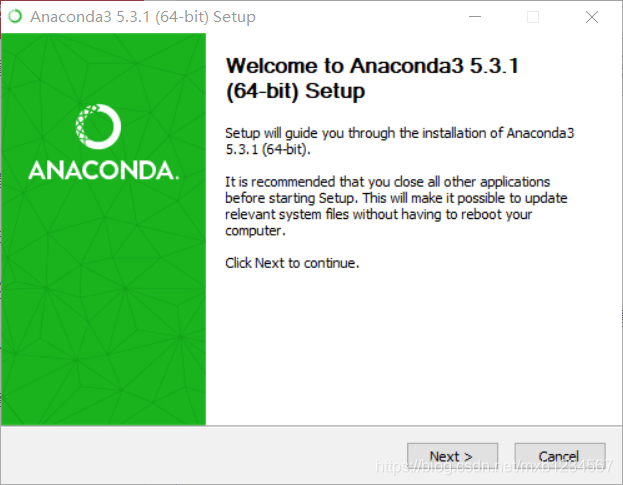
next
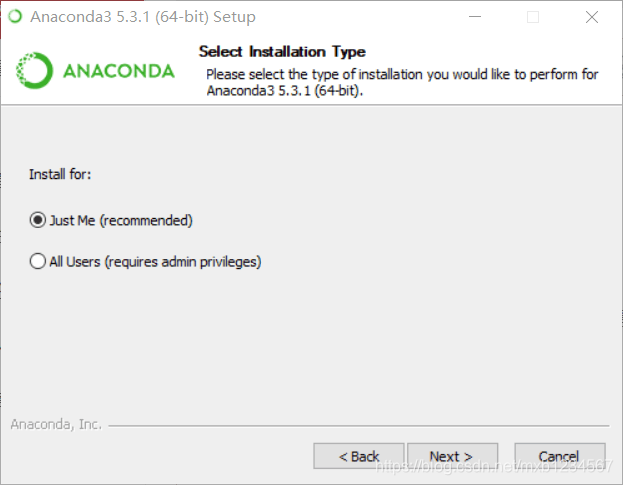
选第一个Just Me
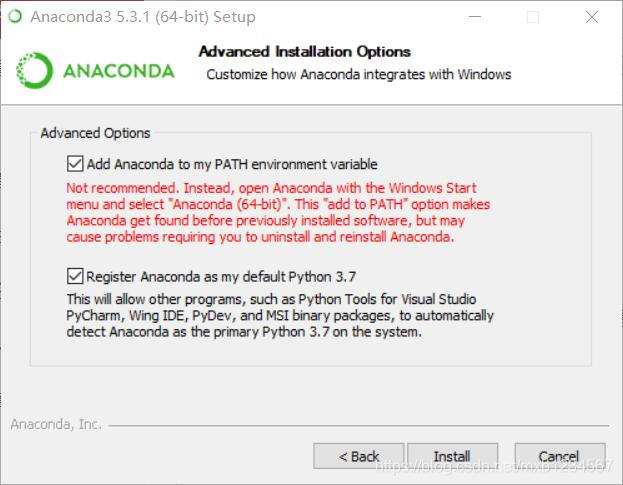
选择两个,第一个是配置环境变量,如果不选可以手动添加。
验证Anaconda是否安装成功的方法:
命令窗口中输入“conda --version” ----->得到conda 4.5.11
那么可以进行下一步
安装TensorFlow
打开Anaconda Prompt,输入
conda create -n tensorflow python=3.5.2输出如下
Solving environment: done


==> WARNING: A newer version of conda exists. <==
  current version: 4.5.11
  latest version: 4.6.3

Please update conda by running

    $ conda update -n base -c defaults conda


## Package Plan ##

  environment location: D:\promgramfiles\Anaconda3\envs\tensorflow

  added / updated specs:
    - python=3.5.2


The following packages will be downloaded:

    package                    |            build
    ---------------------------|-----------------
    pip-10.0.1                 |           py35_0         1.8 MB
    setuptools-40.2.0          |           py35_0         597 KB
    vc-14                      |       h0510ff6_3           3 KB
    wincertstore-0.2           |   py35hfebbdb8_0          13 KB
    python-3.5.2               |                0        30.3 MB
    wheel-0.31.1               |           py35_0          81 KB
    certifi-2018.8.24          |           py35_1         140 KB
    ------------------------------------------------------------
                                           Total:        33.0 MB

The following NEW packages will be INSTALLED:

    certifi:        2018.8.24-py35_1
    pip:            10.0.1-py35_0
    python:         3.5.2-0
    setuptools:     40.2.0-py35_0
    vc:             14-h0510ff6_3
    vs2015_runtime: 14.15.26706-h3a45250_0
    wheel:          0.31.1-py35_0
    wincertstore:   0.2-py35hfebbdb8_0

Proceed ([y]/n)?
提示我们进行升级,先不管直接输入y
Downloading and Extracting Packages
pip-10.0.1           | 1.8 MB    | ################################################################################## | 100%
setuptools-40.2.0    | 597 KB    | ################################################################################## | 100%
vc-14                | 3 KB      | ################################################################################## | 100%
wincertstore-0.2     | 13 KB     | ################################################################################## | 100%
python-3.5.2         | 30.3 MB   | ##########################8                                                                                                                       |  18%
wheel-0.31.1         | 81 KB     | ################################################################################## | 100%
certifi-2018.8.24    | 140 KB    | ################################################################################## | 100%

ChunkedEncodingError(ProtocolError('Connection broken: OSError("(10054, \'WSAECONNRESET\')")', OSError("(10054, 'WSAECONNRESET')")))
有一个下载18%就失败了
再次输入一遍,再试一次
==> WARNING: A newer version of conda exists. <==
  current version: 4.5.11
  latest version: 4.6.3

Please update conda by running

    $ conda update -n base -c defaults conda


## Package Plan ##

  environment location: D:\promgramfiles\Anaconda3\envs\tensorflow

  added / updated specs:
    - python=3.5.2


The following packages will be downloaded:

    package                    |            build
    ---------------------------|-----------------
    python-3.5.2               |                0        30.3 MB

The following NEW packages will be INSTALLED:

    certifi:        2018.8.24-py35_1
    pip:            10.0.1-py35_0
    python:         3.5.2-0
    setuptools:     40.2.0-py35_0
    vc:             14-h0510ff6_3
    vs2015_runtime: 14.15.26706-h3a45250_0
    wheel:          0.31.1-py35_0
    wincertstore:   0.2-py35hfebbdb8_0

Proceed ([y]/n)? y
这说明下过的不会白下
Downloading and Extracting Packages
python-3.5.2         | 30.3 MB   | ################################################################################################################################################# | 100%
Preparing transaction: done
Verifying transaction: done
Executing transaction: done
#
# To activate this environment, use
#
#     $ conda activate tensorflow
#
# To deactivate an active environment, use
#
#     $ conda deactivate
这个下载很慢,不知道为什么。(应该是我的网络环境问题,第二天下载的时候速度飞快)
看到上面的,tensorflow你已经安装成功啦,下面输入
conda activate tensorflow命令行前面的(base)就变成了(Tensorflow)
下面输入
pip install https://pypi.tuna.tsinghua.edu.cn/simple/https://mirrors.tuna.tsinghua.edu.cn/tensorflow/windows/cpu/tensorflow-1.1.0-cp35-cp35m-win_amd64.whl这个是CPU版的,我的GPU不支持,不再研究了,有需求可以看一些文章
期间提示我
You are using pip version 10.0.1, however version 19.0.2 is available.
You should consider upgrading via the 'python -m pip install --upgrade pip' command.
于是按照说明升级一下
Collecting pip
  Using cached https://files.pythonhosted.org/packages/d7/41/34dd96bd33958e52cb4da2f1bf0818e396514fd4f4725a79199564cd0c20/pip-19.0.2-py2.py3-none-any.whl
Installing collected packages: pip
  Found existing installation: pip 10.0.1
    Uninstalling pip-10.0.1:
      Successfully uninstalled pip-10.0.1
Successfully installed pip-19.0.2
这个特别快,两秒钟就成功了
然后输入
pip install --ignore-installed --upgrade https://storage.googleapis.com/tensorflow/windows/cpu/tensorflow-1.1.0-cp35-cp35m-win_amd64.whl输出
Collecting tensorflow==1.1.0 from https://storage.googleapis.com/tensorflow/windows/cpu/tensorflow-1.1.0-cp35-cp35m-win_amd64.whl
  Retrying (Retry(total=4, connect=None, read=None, redirect=None, status=None)) after connection broken by 'ReadTimeoutError("HTTPSConnectionPool(host='storage.googleapis.com', port=443): Read timed out. (read timeout=15)",)': /tensorflow/windows/cpu/tensorflow-1.1.0-cp35-cp35m-win_amd64.whl
  Retrying (Retry(total=3, connect=None, read=None, redirect=None, status=None)) after connection broken by 'ConnectTimeoutError(<pip._vendor.urllib3.connection.VerifiedHTTPSConnection object at 0x000001692E35AB70>, 'Connection to storage.googleapis.com timed out. (connect timeout=15)')': /tensorflow/windows/cpu/tensorflow-1.1.0-cp35-cp35m-win_amd64.whl
  Downloading https://storage.googleapis.com/tensorflow/windows/cpu/tensorflow-1.1.0-cp35-cp35m-win_amd64.whl (19.4MB)
    100% |████████████████████████████████| 19.4MB 1.5MB/s
Collecting six>=1.10.0 (from tensorflow==1.1.0)
  Downloading https://files.pythonhosted.org/packages/73/fb/00a976f728d0d1fecfe898238ce23f502a721c0ac0ecfedb80e0d88c64e9/six-1.12.0-py2.py3-none-any.whl
Collecting numpy>=1.11.0 (from tensorflow==1.1.0)
  Downloading https://files.pythonhosted.org/packages/2d/96/dc231b4bcd8781c16102e3deb5c857a39115917fe5abb8b137a36e453637/numpy-1.16.1-cp35-cp35m-win_amd64.whl (11.9MB)
    100% |████████████████████████████████| 11.9MB 243kB/s
Collecting werkzeug>=0.11.10 (from tensorflow==1.1.0)
  Downloading https://files.pythonhosted.org/packages/20/c4/12e3e56473e52375aa29c4764e70d1b8f3efa6682bef8d0aae04fe335243/Werkzeug-0.14.1-py2.py3-none-any.whl (322kB)
    100% |████████████████████████████████| 327kB 877kB/s
Collecting protobuf>=3.2.0 (from tensorflow==1.1.0)
  Downloading https://files.pythonhosted.org/packages/2f/30/2b3caddd3d7e15e919e8b03059ccf0eb9ccef62a9085a9ad92a5823193b7/protobuf-3.6.1-cp35-cp35m-win_amd64.whl (1.1MB)
    100% |████████████████████████████████| 1.1MB 438kB/s
Collecting wheel>=0.26 (from tensorflow==1.1.0)
  Downloading https://files.pythonhosted.org/packages/7c/d7/20bd3c501f53fdb0b7387e75c03bd1fce748a1c3dd342fc53744e28e3de1/wheel-0.33.0-py2.py3-none-any.whl
Collecting setuptools (from protobuf>=3.2.0->tensorflow==1.1.0)
  Downloading https://files.pythonhosted.org/packages/d1/6a/4b2fcefd2ea0868810e92d519dacac1ddc64a2e53ba9e3422c3b62b378a6/setuptools-40.8.0-py2.py3-none-any.whl (575kB)
    100% |████████████████████████████████| 583kB 523kB/s
Installing collected packages: six, numpy, werkzeug, setuptools, protobuf, wheel, tensorflow
Successfully installed numpy-1.16.1 protobuf-3.6.1 setuptools-40.8.0 six-1.12.0 tensorflow-1.1.0 werkzeug-0.14.1 wheel-0.33.0
提示已经成功,下面可以测试一下
测试
跑小段代码测试一下
>>>import tensorflow as tf

>>>sess = tf.Session()

>>>a = tf.constant(10)

>>>b= tf.constant(12)

>>>sess.run(a+b)
输出
>>>22好了,到这里可以放心了,可以使用Tensorflow了
分割线20190213:接下来写安装Spyder(TensorFlow)。


 133
133


 被折叠的 条评论
为什么被折叠?
被折叠的 条评论
为什么被折叠?
 到【灌水乐园】发言


