


前言
之前使用ESP32 来控制TFT屏幕显示动图时,找到现有的工具,需要先将动图gif格式一帧帧转为jpg格式,再将一帧帧的jgp转为hex十六进制格式,整个过程好麻烦。现用python写了脚本,将gif动图,一步生成hex16进制格式.h文件,过程时将gif动图获取到每一帧,然后将每一帧转成16进制hex文件可以直接使用,下面介绍脚本,和基于arduino框架使用TFT_eSPI库动图显示功能。
先看看单张动图效果
1. gif动图转十六进制文件(一步到位)
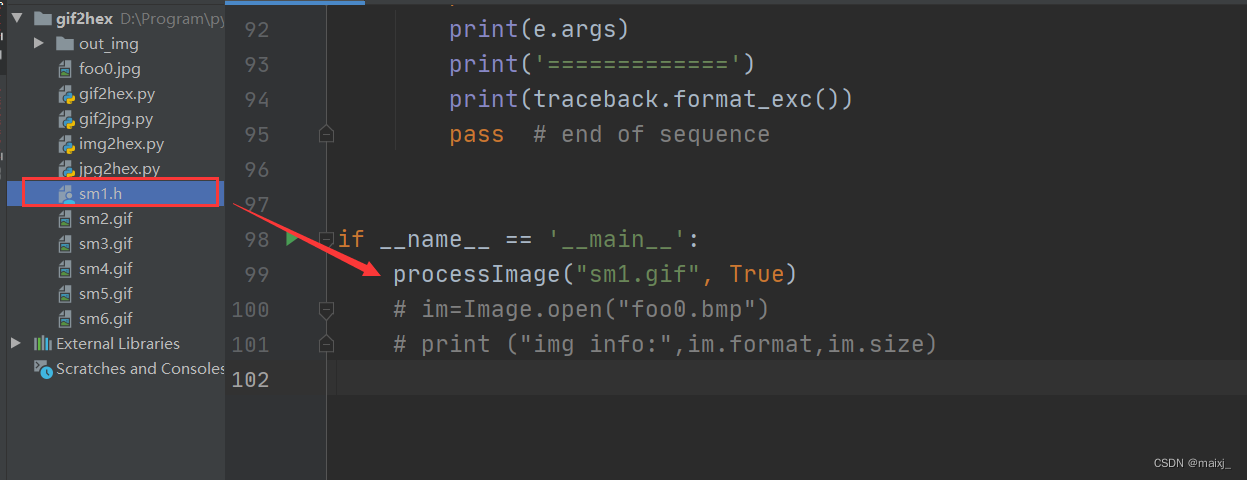
在主函数中修改动图gif路径,运行即可
- python脚本,处理gif动图函数如下
完整脚本源码可关注公众号【指针阿飞】 回复 【动图脚本】 免费获取
分享有三个文件,包含完整python脚本以及单张jpg图片转16进制hex的软件
'''
    参考链接
    https://stackoverflow.com/questions/10269099/pil-convert-gif-frames-to-jpg
'''
curdir = "./"
os.chdir(curdir)

def processImage(in_file, saveImg=True):

    im = Image.open(in_file)
    # 截取文件名
    filename = in_file.split('.')[0]

    i = 0
    mypalette = im.getpalette()

    arr_name_all = ''  # 存取数组
    arr_size_all = ''  # 存储数组容量

    try:
        with open(filename + '.h', 'w', encoding='utf-8') as f:  # 写入文件
            f.write('#include <pgmspace.h> \n\n')
            while 1:
                print('.', end="")
                im.putpalette(mypalette)
                new_im = Image.new("RGB", im.size)
                new_im.paste(im)

                # 缩放图像,
                width = new_im.size[0]  # 获取原始图像宽度
                height = new_im.size[1]  # 获取原始图像高度
                new_height = 82  # 等比例缩放后的图像高度,根据实际需要调整
                # print(width, " ", height)
                if height > new_height:
                    ratio = round(new_height / height, 3)  # 缩放系数
                    new_im = new_im.resize((int(width * ratio), int(height * ratio)), Image.ANTIALIAS)

                # 获取图像字节流,转16进制格式
                img_byte = BytesIO()  # 获取字节流
                new_im.save(img_byte, format='jpeg')
                # print(img_byte.getvalue())

                # 16进制字符串
                img_hex = binascii.hexlify(img_byte.getvalue()).decode('utf-8')

                arr_name = filename + '_' + str(i)
                arr_size = 0  # 记录数组长度
                arr_name_all += arr_name + ','

                # 将ac --> 0xac
                f.write('const uint8_t ' + arr_name + '[] PROGMEM = { \n')  # 写前
                for index, x in zip(range(len(img_hex)), range(0, len(img_hex), 2)):
                    temp_hex = '0x' + img_hex[x:x + 2] + ', '
                    # 30个数据换行
                    if (index + 1) % 30 == 0:
                        temp_hex += '\n'

                    f.write(temp_hex)  # 写入文件
                    arr_size += 1
                f.write('\n};\n\n')  # 写结尾
                i += 1
                arr_size_all += str(arr_size) + ','

                # 保存一帧帧图像
                if saveImg:
                    if not os.path.exists('./out_img'):
                        os.mkdir('./out_img')
                    if not os.path.exists('./out_img/' + filename):
                        os.mkdir('./out_img/' + filename)
                    new_im.save('./out_img/' + filename + '/' + str(i) + '.jpg')

                try:
                    im.seek(im.tell() + 1)
                except EOFError:
                    # 动图读取结束
                    f.write('const uint8_t *' + filename + '[' + str(i) + '] PROGMEM { ' + arr_name_all + '};\n')
                    f.write('const uint32_t ' + filename + '_size[' + str(i) + '] PROGMEM { ' + arr_size_all + '};')
                    print("成功保存文件为:" + filename + '.h')
                    break

    except EOFError as e:
        print(e.args)
        print(traceback.format_exc())
        pass  # end of sequence
运行即可生成相应的.h文件
下面是对生成的文件内容格式说明
.h文件内容格式
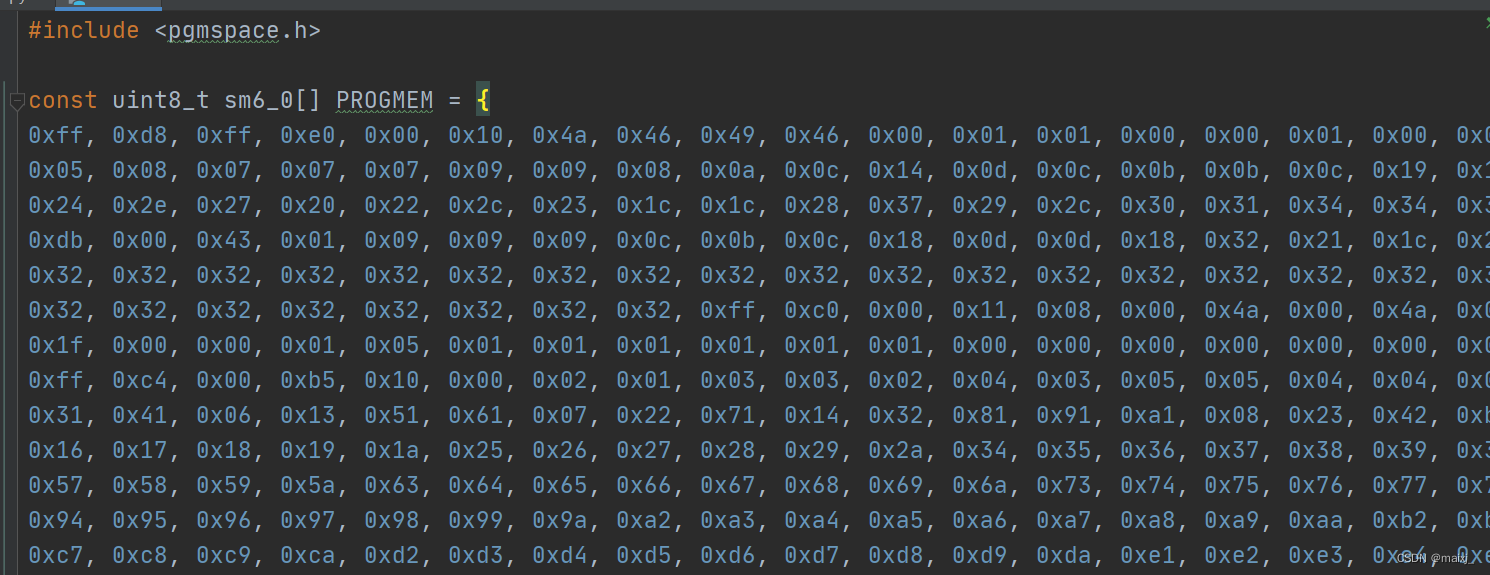
-将一帧帧图像数据存放到数组,程序要用到
数组名 sm1
数组大小 sm1_size

2.如何使用
#include <TFT_eSPI.h>
#include <SPI.h>
#include <TJpg_Decoder.h>
#include <Arduino.h>

#include "sm1.h"  //引入gif生成的.h文件

typedef unsigned char uint8_t;
typedef unsigned int uint32_t;

// LCD屏幕相关设置,是什么屏幕,什么驱动,
// 引脚需配置tft_espi库中的 User_Setup.h文件
TFT_eSPI tft = TFT_eSPI();

//动画更新时间记录
int Amimate_reflash_Time = 0;
int Animate_key = -1; //初始化图标显示帧数
//从动图数组里面获取一帧图像数据
void imgAnim(const uint8_t **Animate_value, uint32_t *Animate_size)
{
	 Animate_key++;
	//记得修改成你自定义的
    //sm1 是生成的文件中,数组名
    //sm1_size  数组容量名
    *Animate_value = sm1[Animate_key];
    *Animate_size = sm1_size[Animate_key];
    if (Animate_key >= (sizeof(sm1)/sizeof(sm1[0])-1))  //gif动图帧数  25-1
        Animate_key = -1;

}

// TFT屏幕输出函数
bool tft_output(int16_t x, int16_t y, uint16_t w, uint16_t h, uint16_t *bitmap)
{
  if (y >= tft.height())
    return 0;
  tft.pushImage(x, y, w, h, bitmap);
  // Return 1 to decode next block
  return 1;
}


void setup()
{
  Serial.begin(115200);
  tft.begin();
  tft.invertDisplay(1); //反转所有显示颜色:1反转,0正常
  tft.setRotation(0);
  tft.fillScreen(0x0000);

  TJpgDec.setJpgScale(1);
  TJpgDec.setSwapBytes(true);
  TJpgDec.setCallback(tft_output);

  tft.fillScreen(TFT_BLACK);
}

void loop()
{
    const uint8_t *Animate_value; //指向关键帧的指针
	uint32_t Animate_size;        //指向关键帧大小的指针

    if (millis() - Amimate_reflash_Time > 100) // 100 ms切换一次
    {
      Amimate_reflash_Time = millis();
      imgAnim(&Animate_value, &Animate_size);
      TJpgDec.drawJpg(0, 0, Animate_value, Animate_size);
    }
}
3.显示效果
多张动图的演示效果

🤵♂️ 个人主页阿飞AFlying
关注公众号【指针阿飞】获取更多学习资源~
如果文章对你有帮助的话,欢迎评论 💬点赞👍🏻 收藏 📂加关注


 506
506


 被折叠的 条评论
为什么被折叠?
被折叠的 条评论
为什么被折叠?
 到【灌水乐园】发言


