


1、创建自定义布局和引入
很多时候,多个布局文件上会出现很多相同的布局,这个时候创建并且引入一个自定义布局,就可以避免大量重复的劳动。
新建一个title.xml文件:
<LinearLayout xmlns:android="http://schemas.android.com/apk/res/android"
android:orientation="horizontal"
android:layout_width="match_parent"
android:layout_height="match_parent"
android:background="@color/colorBackground">
<Button
android:id="@+id/botton_back"
android:layout_width="wrap_content"
android:layout_height="wrap_content"
android:text="返回"
android:textColor="@color/colorRed"
android:layout_weight="1"
android:textSize="15dp"/>
<TextView
android:id="@+id/text_title"
android:layout_width="wrap_content"
android:layout_height="wrap_content"
android:layout_weight="3"
android:layout_margin="5dp"
android:text="我是标题栏"
android:textColor="@color/colorRed"
android:textSize="27dp"
android:background="@color/colorBlue"/>
<Button
android:id="@+id/button_edit"
android:layout_width="wrap_content"
android:layout_height="wrap_content"
android:layout_weight="1"
android:text="编辑"
android:textColor="@color/colorRed"
android:textSize="15dp"/>
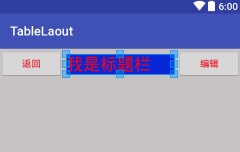
</LinearLayout>然后在要加载的布局,比如说我要在main_activity中加载,直接:
<include layout = "@layout/title"/>大体过程如下:

效果如下:
2、自定义控件的创建和引入
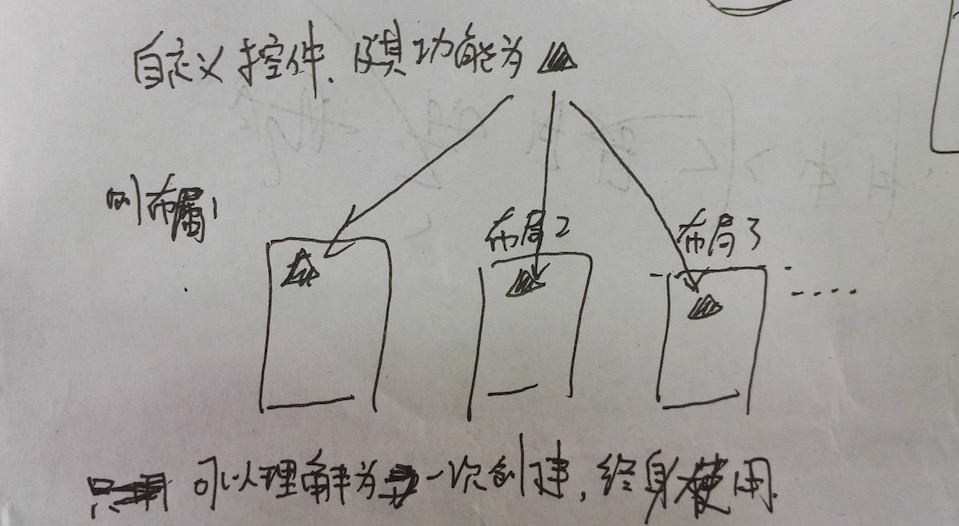
当有的空间需要有事件响应的时候,就需要再添加事件响应代码,所以也是为了节约工作量,可以创建自定义的控件。
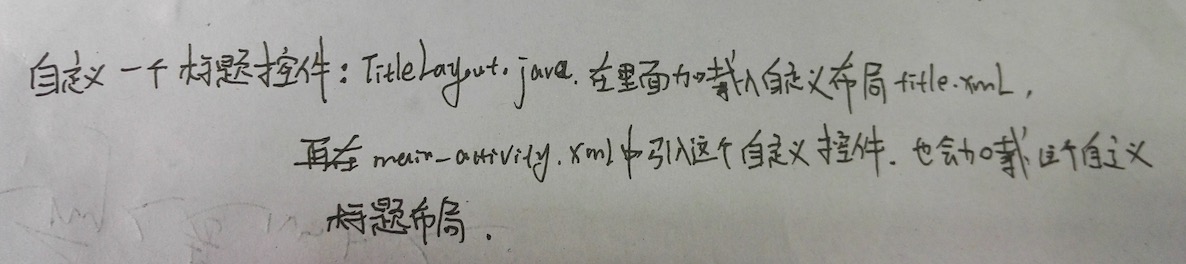
新建一个java文件,代码如下:
//自定义一个标题栏控件
public class TitleLayout extends LinearLayout {
    //重写构造函数
    public TitleLayout(Context context, AttributeSet attrs){
        super(context,attrs);
        //下面语句的意思是说,从这个context处,加载这个叫title的布局,到哪里,这里指的this
        //这里把布局文件title加载进来,再在主布局文件中把这个自定义控件加载进去就可以实现和刚会儿引入布局一样的功能
        LayoutInflater.from(context).inflate(R.layout.title,this);
        //然后可以去布局文件里面添加这个自定义控件了
    }
}
然后同理,我要加载到main_activity布局中:
<?xml version="1.0" encoding="utf-8"?>
<LinearLayout xmlns:android="http://schemas.android.com/apk/res/android"
    android:layout_width="match_parent"
    android:layout_height="match_parent">

//这里是我引入自定义控件的代码,一定要完整的引入包名
    <com.example.gucheng.tablelaout.TitleLayout
        android:layout_width="match_parent"
        android:layout_height="wrap_content">

    </com.example.gucheng.tablelaout.TitleLayout>

</LinearLayout>
最后实现的也是和上面相同的效果,因为布局文件是一样的。
当然你可以在自定义的控件上面实现一些自己想要的功能,例如给两个button注册点击事件,可以在TitleLayout.java文件中加入以下代码:
//接下来为布局文件中的button注册点击事件
        Button button_back = (Button)findViewById(R.id.botton_back);
        Button button_edit = (Button)findViewById(R.id.button_edit);

        button_back.setOnClickListener(new OnClickListener() {
            @Override
            public void onClick(View view) {
                ((Activity)getContext()).finish();
            }
        });

        button_edit.setOnClickListener(new OnClickListener() {
            @Override
            public void onClick(View view) {
                Toast.makeText(getContext(),"?╭(╯^╰)╮,你点了我也没有用",Toast.LENGTH_SHORT).show();
            }
        });
关于Toast函数,是实现显示小信息功能的,在我之前的博客可以查看到。
在你给自定义控件实现了一些功能之后,你只要在你创建的布局里加载这个控件,就会实现其功能,减少了代码的重复性。


 1443
1443

 被折叠的 条评论
为什么被折叠?
被折叠的 条评论
为什么被折叠?
 到【灌水乐园】发言


