


1. Vue的安装
npm install -g yarnyarn add -D viteyarn init -yyarn add vite -D
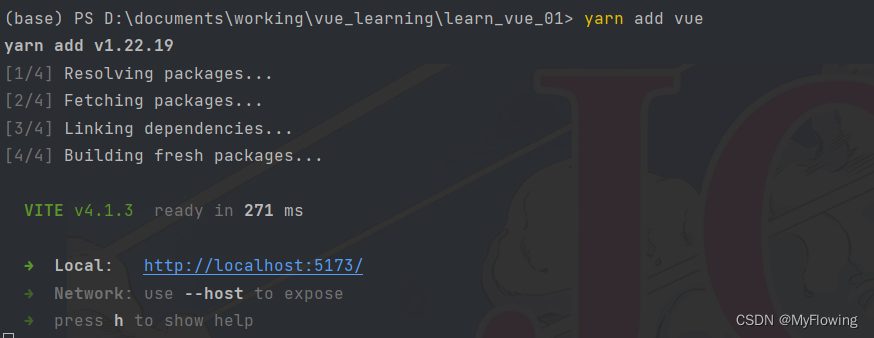
yarn add vue2. Vue的手动引入
index.html
<!DOCTYPE html>
<html lang="en">
<head>
    <meta charset="UTF-8">
    <title>Hello Vue!</title>
    <script type="module" src="./src/index.js"></script>
</head>
<body>
<div id="app"></div>
</body>
</html>
index.js
//引入Vue
//这里引入的vue默认不支持通过template属性来设置模板
import {createApp} from "vue/dist/vue.esm-bundler";

//创建一个根组件
const App = {
    data() {
        return {
            message: "Vueeee!"
        }
    },
    template: "<h1>{{message}}</h1>"
}

//创建应用挂载到页面
createApp(App).mount("#app")
package.json
{
  "devDependencies": {
    "vite": "^4.1.3"
  },
  "name": "learn_vue_01",
  "version": "1.0.0",
  "main": "index.js",
  "license": "MIT",
  "dependencies": {
    "vue": "^3.2.47"
  },
  "scripts": {
    "dev": "vite --open",
    "build": "vite build",
    "preview": "vite preview"
  }
}
3. 运行
yarn dev
4. 使用 .vue 文件
yarn add -D @vitejs/plugin-vue3. Vue项目的自动生成
1. 创建vue项目
yarn create vue或
npm init vue@latest2. 配置vue项目
yarn3. 运行项目
yarn dev4. Vue单组件文件的配置 :vite.config.js
import vue from "@vitejs/plugin-vue"

export default {
    plugins:[vue()]
}


 1242
1242


 被折叠的 条评论
为什么被折叠?
被折叠的 条评论
为什么被折叠?
 到【灌水乐园】发言


