


在之前的案例中,每次我们需要测试都是去创建一个controller进行测试,这很麻烦,非常的臃肿,效率低下。而使用单元测试可以解决这一窘境。
下面开始演示springboot如何单元测试。
github:https://github.com/fengqing11/springboot-test
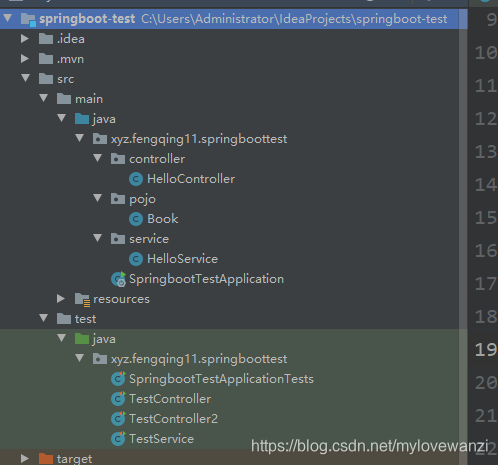
项目完整结构图:
基本用法:
首先需要添加spring-boot-starter-test依赖,默认创建项目时会添加。
<dependency>
    <groupId>org.springframework.boot</groupId>
    <artifactId>spring-boot-starter-test</artifactId>
    <scope>test</scope>
</dependency>
并且会为我们创建默认测试类:
package xyz.fengqing11.springboottest;

import org.junit.jupiter.api.Test;
import org.junit.runner.RunWith;
import org.springframework.boot.test.context.SpringBootTest;
import org.springframework.test.context.junit4.SpringRunner;

@RunWith(SpringRunner.class)
@SpringBootTest
class SpringbootTestApplicationTests {

    @Test
    void contextLoads() {
    }

}
代码解释:
- @RunWith注解表示使用Junit,SpringRunner时springframe中SpringJunit4ClassRunner的别名
- @SpringBootTest注解不仅提供了常规的测试功能,除此之外还提供了其他特性:默认的ContextLoader、自动搜索@Spring BootConfiguration、自定义环境属性、为不同的webEnvironment模式提供支持,例如:MOCK、RANDOM_PORT、DEFINED_PORT、NONE。
- @*Test注解会自动去加载项目启动类的注解相关的配置类。
- @Test注解来自junit,junit中的@After、@AfterClass、@Before、@BeforeClass、@Ignore等注册一样可以在这里使用。
Service测试:
先准备一个service。
package xyz.fengqing11.springboottest.service;

import org.springframework.stereotype.Service;

@Service
public class HelloService {
    public String sayHello(String name) {
        return "Hello " + name + "!";
    }
}
它的测试类可以这样写:
package xyz.fengqing11.springboottest;
import org.junit.Test;
import org.junit.runner.RunWith;
import org.springframework.beans.factory.annotation.Autowired;
import org.springframework.boot.test.context.SpringBootTest;
import org.springframework.test.context.junit4.SpringRunner;
import xyz.fengqing11.springboottest.service.HelloService;
@RunWith(SpringRunner.class)
@SpringBootTest
public class TestService {
@Autowired
HelloService helloService;
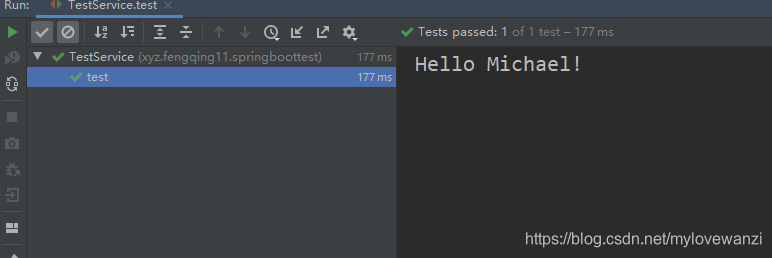
@Test
public void test(){
String hello = helloService.sayHello("Michael");
System.out.println(hello);
}
}
controlle测试:
先创建controller。
package xyz.fengqing11.springboottest.controller;

import org.springframework.web.bind.annotation.*;
import xyz.fengqing11.springboottest.pojo.Book;

@RestController
public class HelloController {
    @GetMapping("/hello")
    public String  hello(String name) {
        return "hello" + name + "!";
    }

    @PostMapping("/book")
    public String addBook(@RequestBody Book book){
        return book.toString();
    }
}
运行结果:
它的测试类可以这样写:
package xyz.fengqing11.springboottest;
import com.fasterxml.jackson.databind.ObjectMapper;
import org.junit.Before;
import org.junit.Test;
import org.junit.runner.RunWith;
import org.springframework.beans.factory.annotation.Autowired;
import org.springframework.boot.test.context.SpringBootTest;
import org.springframework.http.MediaType;
import org.springframework.test.context.junit4.SpringRunner;
import org.springframework.test.web.servlet.MockMvc;
import org.springframework.test.web.servlet.MvcResult;
import org.springframework.test.web.servlet.request.MockMvcRequestBuilders;
import org.springframework.test.web.servlet.result.MockMvcResultHandlers;
import org.springframework.test.web.servlet.result.MockMvcResultMatchers;
import org.springframework.test.web.servlet.setup.MockMvcBuilders;
import org.springframework.web.context.WebApplicationContext;
import xyz.fengqing11.springboottest.pojo.Book;
@RunWith(SpringRunner.class)
@SpringBootTest
public class TestController {
@Autowired
WebApplicationContext webApplicationContext;
MockMvc mockMvc;
@Before
public void before() {
mockMvc = MockMvcBuilders.webAppContextSetup(webApplicationContext).build();
}
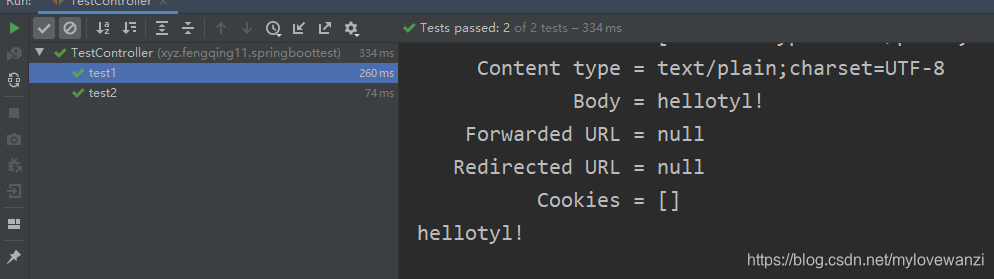
@Test
public void test1() throws Exception {
MvcResult mvcResult = mockMvc
.perform(
MockMvcRequestBuilders
.get("/hello")
.contentType(MediaType.APPLICATION_FORM_URLENCODED)
.param("name", "tyl"))
.andExpect(MockMvcResultMatchers.status().isOk())
.andDo(MockMvcResultHandlers.print())
.andReturn();
System.out.println(mvcResult.getResponse().getContentAsString());
}
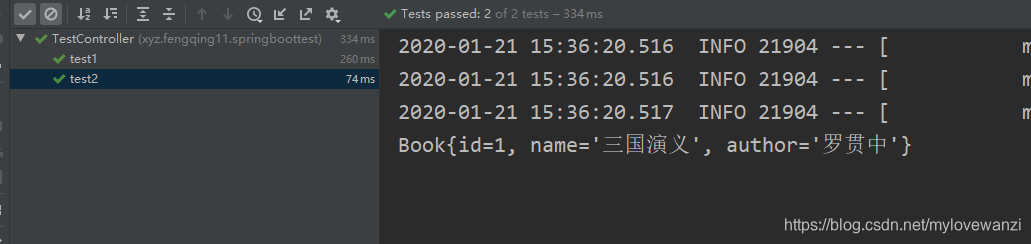
@Test
public void test2() throws Exception {
ObjectMapper objectMapper = new ObjectMapper();
Book book = new Book();
book.setAuthor("罗贯中");
book.setName("三国演义");
book.setId(1);
String s = objectMapper.writeValueAsString(book);
MvcResult mvcResult = mockMvc
.perform(MockMvcRequestBuilders
.post("/book")
.contentType(MediaType.APPLICATION_JSON)
.content(s))
.andExpect(MockMvcResultMatchers.status().isOk())
.andReturn();
System.out.println(mvcResult.getResponse().getContentAsString());
}
}
运行结果:
除了使用MockMvc这种测试方式,springboot还可以使用TestRestTemplate来测试。
package xyz.fengqing11.springboottest;
import org.junit.Test;
import org.junit.runner.RunWith;
import org.springframework.beans.factory.annotation.Autowired;
import org.springframework.boot.test.context.SpringBootTest;
import org.springframework.boot.test.web.client.TestRestTemplate;
import org.springframework.http.ResponseEntity;
import org.springframework.test.context.junit4.SpringRunner;
import javax.swing.*;
@RunWith(SpringRunner.class)
@SpringBootTest(webEnvironment = SpringBootTest.WebEnvironment.DEFINED_PORT)
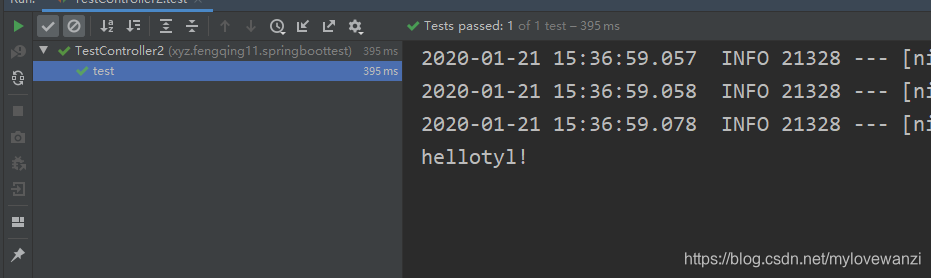
public class TestController2 {
@Autowired
TestRestTemplate restTemplate;
@Test
public void test() {
ResponseEntity<String> hello = restTemplate
.getForEntity("/hello?name={0}", String.class, "tyl");
System.out.println(hello.getBody());
}
}
运行结果:
-end-


 205
205


 被折叠的 条评论
为什么被折叠?
被折叠的 条评论
为什么被折叠?
 到【灌水乐园】发言


