


SSH框架搭建
由于配置过程会使用到很多图片,如果都写在一篇的话,会显得过于冗长,因此搭建过程分为几个博文来写,最终的框架项目我放到整合的那一篇博文中
配置struts2
1.百度搜索struts2下载
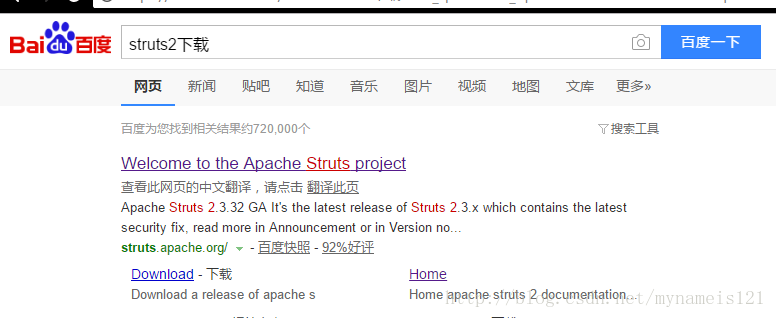
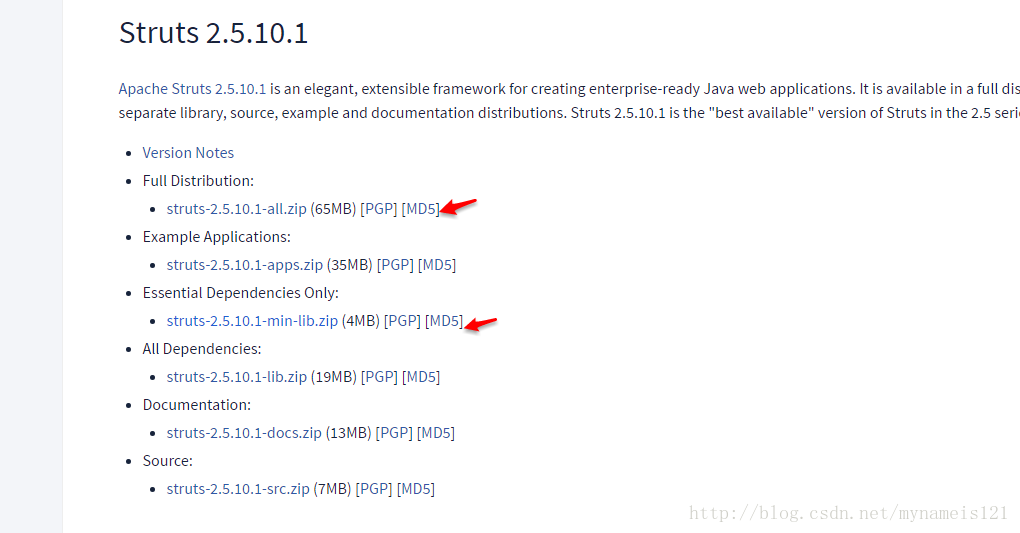
2.进入官网选择两个文件下载(一个用于查询配置文件模板,一个是struts核心库)
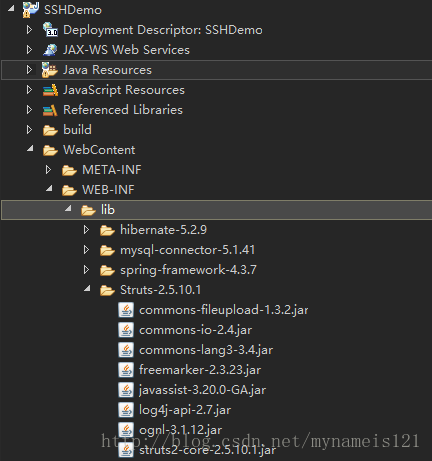
3.回到Eclipse项目中,在lib下创建文件夹,放入下载的核心库中jar包,然后和之前一样需要将jar配置到项目中
4.在src下新建一个包pers.zzf.action,在包下新建UserAction.java
package pers.zzf.action;

import com.opensymphony.xwork2.ActionSupport;
import com.opensymphony.xwork2.ModelDriven;

import pers.zzf.domain.User;

@SuppressWarnings("serial")
public class UserAction extends ActionSupport implements ModelDriven<User>{

    private User user = new User();

    @Override
    public User getModel() {
        return user;
    }

    public String login(){
        System.out.println("登录信息为:");
        System.out.println("登录名:"+user.getName());
        System.out.println("密码:"+user.getPassword());
        return "success";
    }
}
5.由于Eclipse项目创建时默认不创建web.xml,这里我们需要在WEB-INF下新建一个web.xml(模板可以到我们之前下载的整个文件包里搜索web.xml选择一个进行参照)
<?xml version="1.0" encoding="UTF-8"?>

<web-app id="starter" version="2.4" xmlns="http://java.sun.com/xml/ns/j2ee"
    xmlns:xsi="http://www.w3.org/2001/XMLSchema-instance"
    xsi:schemaLocation="http://java.sun.com/xml/ns/j2ee http://java.sun.com/xml/ns/j2ee/web-app_2_4.xsd">

    <display-name>Struts 2 Rest Example</display-name>


    <!-- Filters -->
    <!-- START SNIPPET: filter -->
    <filter>
        <filter-name>action2</filter-name>
        <filter-class>org.apache.struts2.dispatcher.filter.StrutsPrepareAndExecuteFilter</filter-class>
    </filter>
    <!-- END SNIPPET: filter -->

    <filter-mapping>
        <filter-name>action2</filter-name>
        <url-pattern>/*</url-pattern>
    </filter-mapping>

    <!-- Welcome file lists -->
    <welcome-file-list>
        <welcome-file>index.jsp</welcome-file>
    </welcome-file-list>
</web-app>
6.此外struts框架还需要在src创建一个文件struts.xml(模板可以到我们之前下载的整个文件包里搜索struts.xml选择一个进行参照)
<?xml version="1.0" encoding="UTF-8"?>
<!DOCTYPE struts PUBLIC
    "-//Apache Software Foundation//DTD Struts Configuration 2.0//EN"
    "http://struts.apache.org/dtds/struts-2.0.dtd">
<struts>
    <package name="test" extends="struts-default">
        <action name="login" class="pers.zzf.action.UserAction" method="login">
            <result name="success">index.jsp</result>
        </action>
    </package>
</struts>
7.然后在WebContent下建立index.jsp
<%@ page language="Java" contentType="text/html; charset=UTF-8"
    pageEncoding="UTF-8"%>
<%
    String path = request.getContextPath();
    String basePath = request.getScheme() + "://" + request.getServerName() + ":" + request.getServerPort()
            + path + "/";
%>
<!DOCTYPE HTML PUBLIC "-//W3C//DTD HTML 4.01 Transitional//EN">
<html>
<head>
<base href="<%=basePath%>">
<title>SSH测试</title>
<meta http-equiv="pragma" content="no-cache">
<meta http-equiv="cache-control" content="no-cache">
<meta http-equiv="expires" content="0">
<meta http-equiv="keywords" content="keyword1,keyword2,keyword3">
<meta http-equiv="description" content="This is my page">
<meta http-equiv="Content-Type" content="text/html; charset=UTF-8">
</head>
<body>
    <form action="login" method="post">
        <table>
            <tr>
                <td>登录名</td>
                <td><input type="text" name="name" /></td>
            </tr>
            <tr>
                <td>密码</td>
                <td><input type="password" name="password" /></td>
            </tr>
            <tr>
                <td><input type="submit" value="登录" /></td>
            </tr>
        </table>
    </form>
</body>
</html>
8.运行index.jsp文件,此时控制台那边会显示一个错误
java.lang.ClassNotFoundException: org.apache.struts2.dispatcher.filter.StrutsPrepareAndExecuteFilter
此时我们可以按照如下步骤设置:
右键项目->build path->configure build path->左侧菜单栏找到Deployment Assembly->右侧点击add->选择所有jar包->finish
按照以上步骤做完后,再次运行index.jsp就可以看到控制台输出我们在网页中输入的数据了
9.但此时我们发现项目名那里有个红叉,
到问题列表查看原来是javassist-3.20.0-GA.jar重复了,将lib下的jar包删除,并到build path中将相应jar删除即可
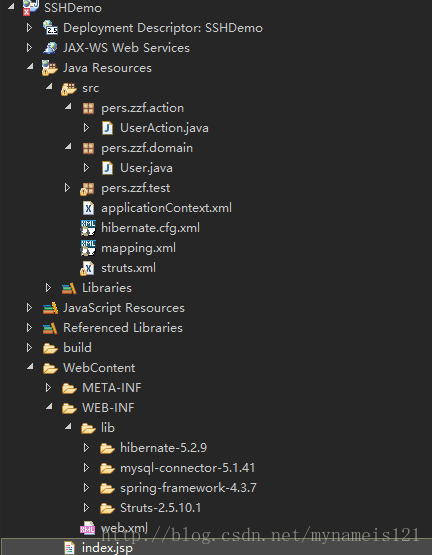
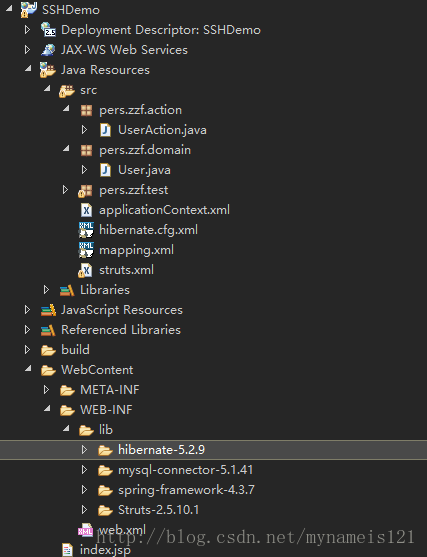
10.至此项目结构如下
项目地址:链接:http://pan.baidu.com/s/1bpMygUz 密码:tgyf


 被折叠的 条评论
为什么被折叠?
被折叠的 条评论
为什么被折叠?
 到【灌水乐园】发言


