


--------------ex2_01_solution 选取时间-----------------------
...
private function dateChangeHandler():void
{
// The Alert.show() message displays a static string plus the selected date in the startDate control
Alert.show('You have selected ' + startDate.selectedDate.toDateString());
}
...
<mx:DateChooser id="startDate"
x="34" y="94"
showToday="true"
change="dateChangeHandler()"/>
--------------ex2_2_solution 选取时间-----------------------CalendarLayoutChangeEvent
protected function dateChangeHandler(event:CalendarLayoutChangeEvent):void
{
if ((event.target.id == "endDate") && (startDate.selectedDate > endDate.selectedDate))
{
Alert.show("Start date must be scheduled before end date.");
}
}
....
<mx:DateChooser id="startDate"
x="34" y="94"
showToday="true"
change="dateChangeHandler(event)"/>
--------------ex2_3_solution 选取时间-----------------------addEventListener
<s:Application xmlns:fx="http://ns.adobe.com/mxml/2009"
xmlns:s="library://ns.adobe.com/flex/spark"
xmlns:mx="library://ns.adobe.com/flex/halo"
minWidth="1024" minHeight="768"
creationComplete="initApp()">
...
private function initApp():void
{
// Add the event listener using ActionScript instead of inline in the DateChooser instances
startDate.addEventListener(CalendarLayoutChangeEvent.CHANGE, dateChangeHandler);
endDate.addEventListener(CalendarLayoutChangeEvent.CHANGE, dateChangeHandler);
}
--------------ex2_4_solution 选取时间-----------------------Formatting dates
<fx:Declarations>
<mx:DateFormatter id="dateInputFormatter"
formatString="MM-DD-YYYY"/>
</fx:Declarations>
...
<mx:FormItem label="Date:">
<!-- use the format() method of the formatter instance to specify the data to format -->
<s:TextInput text="{dateInputFormatter.format(dateSelector.selectedDate)}"/>
<mx:DateChooser id="dateSelector"/>
</mx:FormItem>
--------------ex2_5_solution 提交表单-----------------------Validating form data
<fx:Declarations>
<mx:DateFormatter id="dateInputFormatter"
formatString="MM-DD-YYYY"/>
<mx:NumberValidator id="hourValidator"
precision="2"
allowNegative="false"
required="true"
source="{hoursInput}"
property="text"
triggerEvent=""/>
<mx:EmailValidator id="empIdValidator"
source="{empIdInput}"
property="text"
triggerEvent=""/>
<mx:DateValidator id="dateInputValidator"
source="{dateInput}"
property="text"
triggerEvent=""/>
</fx:Declarations>
--------------ex2_6_solution 通过title来显示不同的组件-----------------------Navigating using MX navigator containers

<mx:LinkBar dataProvider="{employeeDepartments}"/>
...
<mx:ViewStack id="employeeDepartments"
resizeToContent="true"> <!--调整内容大小-->
<components:HumanResources label="Human Resources"/> <!--引用自定义类-->
<components:Marketing label="Marketing" />
<components:InformationTechnology label="Information Technology" />
</mx:ViewStack>
--------------ex2_7_solution 切换登陆,主页界面-----------------------Creating and navigating application states
 step1
step1
 step2
step2
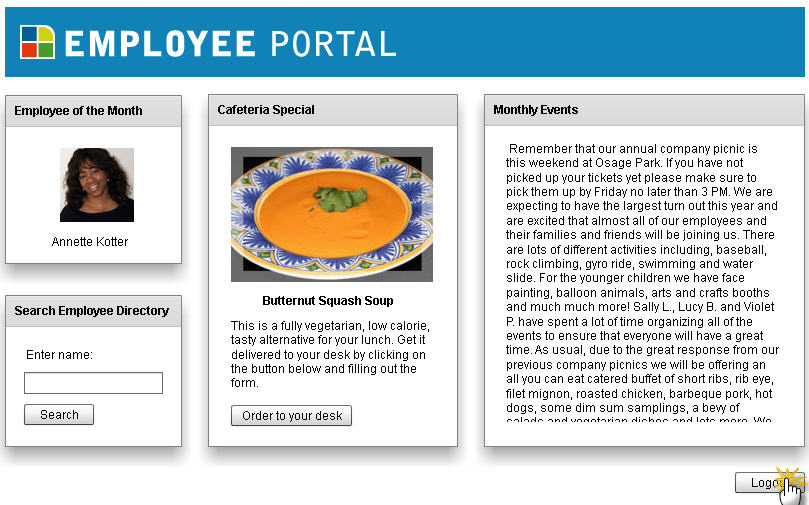
这里注意的就是“Employee of the Month”panel会根据不同的页面显示在不同的地方。故看此处:
<s:Panel id="employeeOfTheMonth"
title="Employee of the Month"
x="24" y="112"
x.loginState="298" y.loginState="111"
width="177" height="169"
width.loginState="264">
蓝色是在 loginState状态下的位置。
红色是在 非loginState状态下的位置。


 3084
3084

 被折叠的 条评论
为什么被折叠?
被折叠的 条评论
为什么被折叠?
 到【灌水乐园】发言


