


node.js写后端接口返回图片
这篇有点问题 等我再写写看 别用!!这篇返回的是绝对路径 浏览器用不了!!
node.js写后端接口返回图片
其实这个跟之前那篇差不多,我采用的是数据库存图片相对路径,接口返回图片的绝对路径(用的__dirname)
文件结构

tools/pathProcessing.js(路径处理函数)
因为写的是前后端分离,如果直接返回相对路径前端拿到相对路径就去前端的文件夹那里去找了,实际根本没有。所以目前的想法是利用__dirname返回绝对路径。
因为图片存在了public/img/swiper,在路由上几层的文件夹所以要用要对路径进行处理。
tool/pathProcessing.js
// 处理绝对路径的路径处理函数
// dirname=>__dirname(目前的绝对地址) num往上走几层
function pathProcessing(dirname,num){
    let localString=dirname
    let locationArr=localString.split("\\").slice(0,-num).join("\\")
    return locationArr;
}
module.exports =pathProcessing ;
// pathProcessing(__dirname,1)
router/img/swiper.js(图片接口)
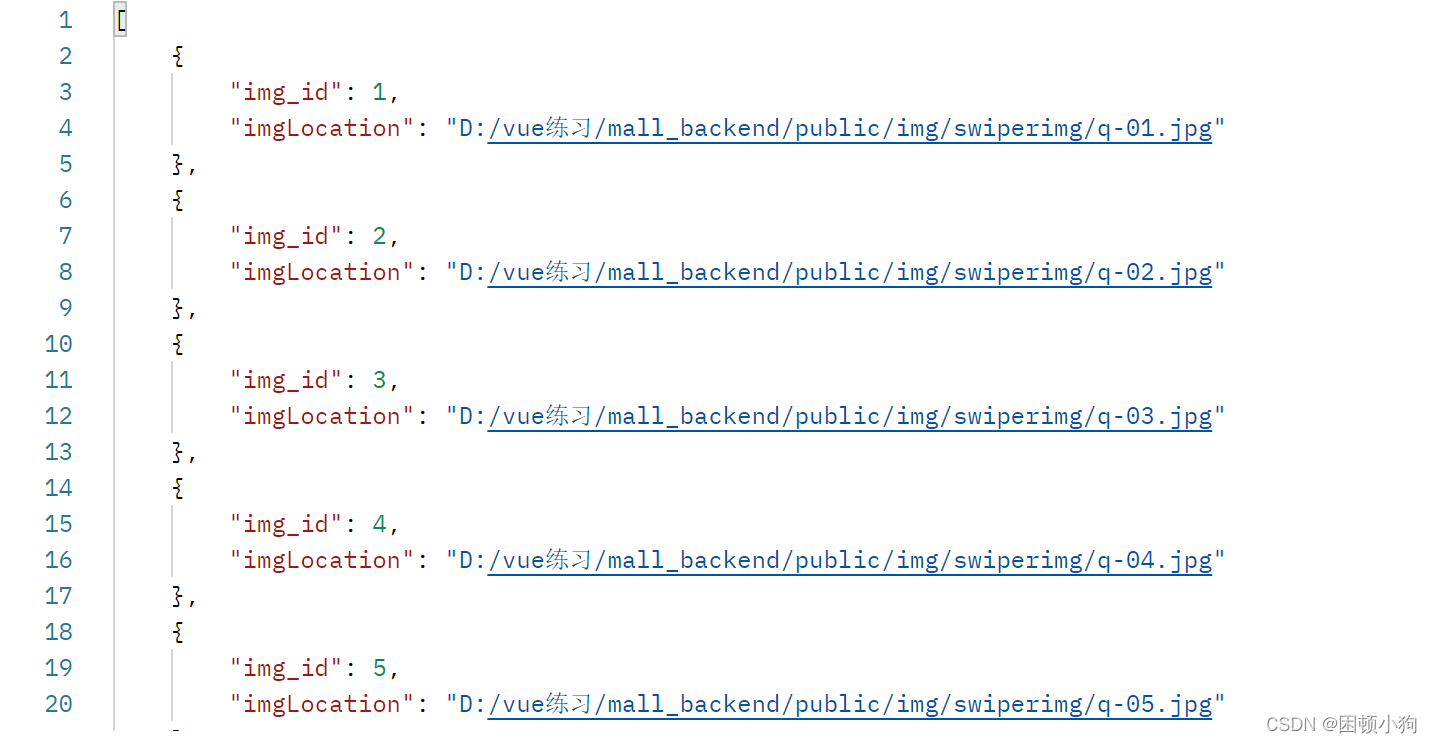
返回的是一组图片的绝对路径
const { pool, router } = require("../../connect");
// 导入路径处理函数
const pathProcessing = require("../../tools/pathProcessing");

var path = require("path");

// 返回的数据库数据
// 要改成自己的数据
function Result({ img_id = "", img_name = "", location = " ", img_type = "" }) {
  // console.log(a)
  this.img_id = img_id;
  this.img_name = img_name;
  this.location = location;
  this.img_type = img_type;
}

router.get("/img/swiper", (req, res) => {
  pool.getConnection((err, conn) => {
    //这个sql语句要改成自己的用的
    conn.query("SELECT * FROM mall.swiper;", (e, results) => {
      if (e) throw error;
      var dataString = JSON.stringify(results);
      var data = JSON.parse(dataString);
      imgLocation_arr = new Array();
      let img;
      for (let index in data) {
        img=new Result(data[index])
        let imgObj={}
        imgObj.img_id=img.img_id
        let imgLocation=img.location+img.img_name+img.img_type
        //这里可以使用replaceAll 我的node.js好像版本不够 就不支持 我也懒得更新了 有兴趣的可以试试看
        imgLocation=(pathProcessing(__dirname, 2).toString() +imgLocation).replace(/\\/g, '/');
        imgObj.imgLocation=imgLocation;
        imgLocation_arr .push(imgObj)
      }
      res.json(imgLocation_arr )

    });
    pool.releaseConnection(conn); // 释放连接池,等待别的连接使用
  });
});

module.exports = router;
顺带一提,可以直接用res.sendFile(相对此文件的相对路径(更深的),{root:__dirname}来返回图片 能用成功了,但是这样写好像只能返回一张,我没能返回一组。找个时间试试看返回一组。
postman测试结果


 5038
5038


 被折叠的 条评论
为什么被折叠?
被折叠的 条评论
为什么被折叠?
 到【灌水乐园】发言


