


热力图是通过摄像头获取的
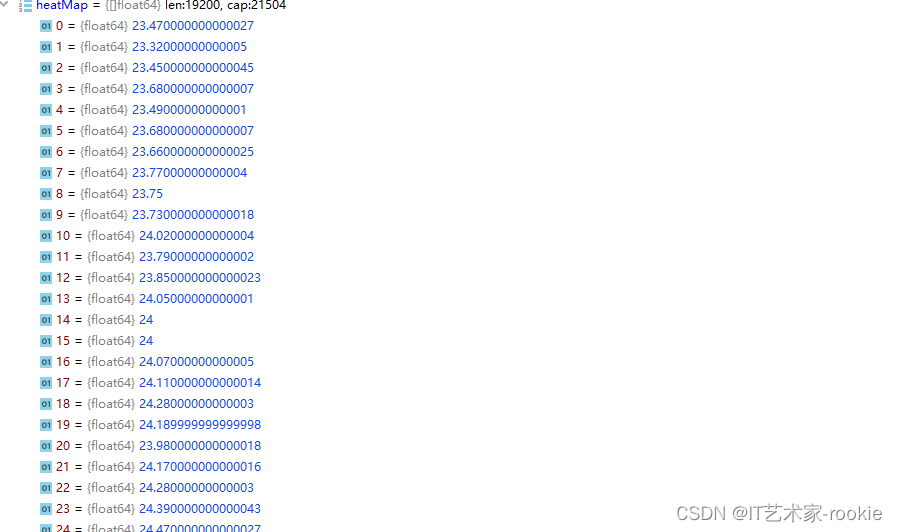
热力图的数据本身是一个温度数据的矩阵(二维数组),代表热力图上每个点的数据。
下图是一个数组,里面都是一个点的温度值。
下面两张图就是一个二维数组,将上方的数组经过一定的算法处理之后,得到一个二维数组,每个点就基本直接代表热力图的每个像素代表的温度,这里是一个160*120的矩阵,也就是这个热力图长宽比就是160:120
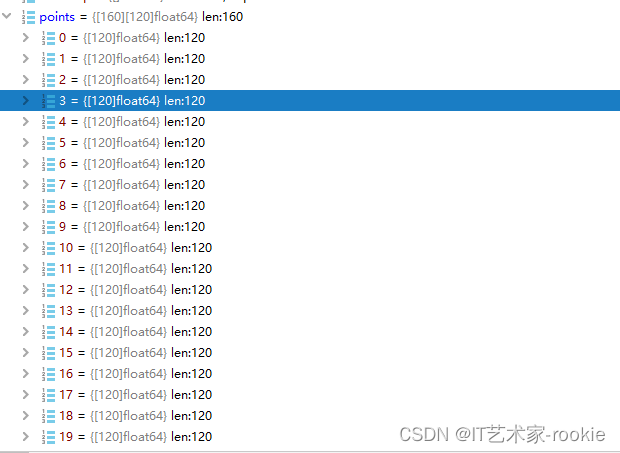

该图片我是打了马赛克的,大概的样子也就是这样了

func ChangeImg(rgbMapArr [160][120]float64, max, min float64) {

	imgfile, err := os.Open("./1653982887954641200.jpeg")//照片
	if err != nil {
		fmt.Println(err.Error())
	}
	defer imgfile.Close()

	backgroud, err := jpeg.Decode(imgfile)
	if err != nil {
		fmt.Println(err.Error())
	}
	backgroudCImg := NewMyImg(backgroud)
	bounds := backgroud.Bounds()
	xd := bounds.Dx()//照片的y方向的边界
	yd := bounds.Dy()//照片的x方向的边界
	image3 := image.NewRGBA(backgroud.Bounds())//这里通过新画一个图,在这个图上通过计算照片和热力图每个对应点的rgba后再渲染到这个新的图上
	for x := 0; x < xd; x++ { //这里的两个for循环就是在从照片的第一个点开始遍历,遍历每一个点,图片本身我们可以看出就是一个很多个像素点组成,也就是一个二维数组,图片就像是放在直角坐标系的第四象限里面的
		for y := 0; y < yd; y++ {
			r1, g1, b1, a1 := backgroudCImg.At(x, y).RGBA()//获取每个像素点的rgba数据
			//这里是因为热力图的比例小于照片,为了更加贴合照片,我们需要按照一定的比例改变照片的颜色,这里热力图的一个点相当于照片16.2个点,也就是照片的对应的16.2个点都要使用热力图的这对应的一个点的rgba数据来改变
			hx := int(math.Round(float64(x) / 16.2))
			hy := int(math.Round(float64(y) / 16.2))
			if hy == 120 {
				hy = 119
			}
			if hx == 160 {
				hx = 159
			}
			rgbMap := coverToData(rgbMapArr[hx][hy], max, min)//通过一个温度值,以及当前这组温度的最大值和最小值来得到,这个温度对应的rgb值
			image3.SetRGBA64(x, y, color.RGBA64{//改变图片的rgba值
				R: uint16((r1 + uint32(rgbMap["R"])*256) / 2),
				G: uint16((g1 + uint32(rgbMap["G"])*256) / 2),
				B: uint16((b1 + uint32(rgbMap["B"])*256) / 2),
				A: uint16(a1),
			})
		}
	}

	out, _ := os.Create("./result2.jpeg")
	if err != nil {
		log.Fatalf("failed to create: %s", err)
	}
	jpeg.Encode(out, image3, &jpeg.Options{jpeg.DefaultQuality})
	defer out.Close()
}
type MyImg struct {
	image.Image
	custom sync.Map
}


func NewMyImg(img image.Image) *MyImg {
	return &MyImg{img, sync.Map{}}
}


func (m *MyImg) Set(x, y int, c color.Color) {
	m.custom.Store(image.Point{x, y}, c)
}

func (m *MyImg) At(x, y int) color.Color {
	// Explicitly changed part: custom colors of the changed pixels:
	if c, ok := m.custom.Load(image.Point{x, y}); c != nil && ok {
		return c.(color.Color)
	}
	// Unchanged part: colors of the original image:
	return m.Image.At(x, y)
}
func coverToData(data, max, min float64) map[string]int {
	result := make(map[string]int)
	result["R"] = 0
	result["G"] = 0
	result["B"] = 0

	//max := max
	//min := min
	ranges := max - min + 1
	if data < min {
		return result
	}
	if data > max {
		result["R"] = 255
		result["G"] = 255
		result["B"] = 255
		return result
	}
	r := (data - min) / ranges
	step := ranges / 5
	idx := int(r * 5)
	h := (float64(idx)+1.0)*step + min
	m := float64(idx)*step + min
	localR := (data - m) / (h - m)

	switch idx {
	case 0: //蓝色-青色
		result["R"] = 0
		result["G"] = int(localR * 255)
		result["B"] = 255
		return result
	case 1: //绿色-青色
		result["R"] = 0
		result["G"] = 255
		result["B"] = int((1 - localR) * 255)
		return result
	case 2: //绿色-橙色
		result["R"] = int(localR * 255)
		result["G"] = 255
		result["B"] = 0
		return result
	case 3: //红色-橙色
		result["R"] = 255
		result["G"] = int((1 - localR) * 255)
		result["B"] = 0
		return result
	case 4: //红色-紫色
		result["R"] = 255
		result["G"] = 0
		result["B"] = int(localR * 255)
		return result
	}
	return result
}


 378
378


 被折叠的 条评论
为什么被折叠?
被折叠的 条评论
为什么被折叠?
 到【灌水乐园】发言


