


上一遍文章说到SwipeMenuLayout是FragmentLayout子类,那么画菜单控件的代码应该就在该类里面的onLayout函数了。我们看看该函数
		mContentView.layout(0, 0, getMeasuredWidth(),
				mContentView.getMeasuredHeight());
		if (mSwipeDirection == SwipeMenuListView.DIRECTION_LEFT) {
			mMenuView.layout(getMeasuredWidth(), 0,
					getMeasuredWidth() + mMenuView.getMeasuredWidth(),
					mContentView.getMeasuredHeight());
		} else {
			mMenuView.layout(-mMenuView.getMeasuredWidth(), 0,
					0, mContentView.getMeasuredHeight());
		}
里面有两个变量,一个是mContentView, 另外一个是mMenuView,根据名字和类型可以知道这就是菜单和内容的显示了。
那么为了测试SwipeMenuLayout类,我们先给SwipeMenuListView类提供合适的数据源,由于该类是ListView的子类,那么数据源的获取必须是个Adapter类的子类。那么这个类在该开源项目中就是SwipeMenuAdapter.我们自己先简单写一下,以便提供合适的SwipeMenuLayout对象。
接下来就是实现了Adapter的子类,参考该开源项目,我们也直接继承WrapperListAdapter,该类其实是一个包裹另外一个Adapter类的类,我们将该类中定义一个ListAdapter,而所有的该类的操作基本上依赖ListAdapter的对象,代码如下。
/**
 * Created by kankan on 2016/5/12.
 */
public class SwipeMenuAdapter implements WrapperListAdapter {
    String TAG = this.getClass().getSimpleName();
    Context mContext;
    ListAdapter mListAdapter;
    public SwipeMenuAdapter(Context context,ListAdapter listAdapter ) {
        mContext = context;
        mListAdapter = listAdapter;
    }

    @Override
    public ListAdapter getWrappedAdapter() {
        return mListAdapter;
    }

    @Override
    public boolean areAllItemsEnabled() {
        return mListAdapter.areAllItemsEnabled();
    }

    @Override
    public boolean isEnabled(int position) {
        return mListAdapter.isEnabled(position);
    }

    @Override
    public void registerDataSetObserver(DataSetObserver observer) {
        mListAdapter.registerDataSetObserver(observer);
    }

    @Override
    public void unregisterDataSetObserver(DataSetObserver observer) {
        mListAdapter.unregisterDataSetObserver(observer);
    }

    @Override
    public int getCount() {
        Log.i(TAG,"the number of items is "+mListAdapter.getCount());
        return mListAdapter.getCount();
    }

    @Override
    public Object getItem(int position) {
        return mListAdapter.getItem(position);
    }

    @Override
    public long getItemId(int position) {
        return mListAdapter.getItemId(position);
    }

    @Override
    public boolean hasStableIds() {
        return mListAdapter.hasStableIds();
    }

    int num = 0;
    @Override
    public View getView(int position, View convertView, ViewGroup parent) {
       // convertView = View.inflate()
        convertView =mListAdapter.getView(position,convertView,parent);
      SwipeMenuLayout swipeMenuLayout = new SwipeMenuLayout(convertView.getContext());
        Log.i(TAG,"the current item number id is " +num);
        num++;
        return swipeMenuLayout;
    }

    @Override
    public int getItemViewType(int position) {
        return mListAdapter.getItemViewType(position);
    }

    @Override
    public int getViewTypeCount() {
        return mListAdapter.getViewTypeCount();
    }

    @Override
    public boolean isEmpty() {
        return mListAdapter.isEmpty();
    }
}
可以看出上面类的函数基本都是封装了ListAdapter对象的。为了演示方便,我们修改getView方法,让它直接返回一个SwipeMenuLayout的对象,这样我们就可以查看效果了。
由于该类依赖于ListAdapter,那么我们参考开源项目在MainActivity里面实现一个含有ListAdapter接口的BaseAdapter类。该类中主要改写了getCount函数,返回固定个数。
getView,返回一个包含context的View,仅测试使用。
    class AppAdapter extends BaseAdapter{

        @Override
        public int getCount() {
            return 5;
        }

        @Override
        public Object getItem(int position) {
            return "adb";
        }

        @Override
        public long getItemId(int position) {
            return position;
        }

        @Override
        public View getView(int position, View convertView, ViewGroup parent) {
           // SwipeMenuLayout swipeMenuLayout = new SwipeMenuLayout(convertView.getContext());
            convertView = View.inflate(getApplicationContext(),R.layout.item,null);
            return convertView;
        }
    }
在MainActivity的onCreater函数里面实列化该类,并将其设置为SwipeMenuView的Adapter。
swipeMenuAdapter = new SwipeMenuAdapter(this,appAdapter);
        mySwipeMenuListView.setAdapter(swipeMenuAdapter);
接下来,我们实现自定义的SwipeMenuLayout类,实现的代码如下。
/**
 * Created by kankan on 2016/5/11.
 */
public class SwipeMenuLayout extends FrameLayout {
    String TAG= this.getClass().getSimpleName();
    public SwipeMenuLayout(Context context) {
        super(context);
        init(context);
    }


    public SwipeMenuLayout(Context context, AttributeSet attrs) {
        super(context, attrs);
        init(context);
    }

    void init(Context context){
        setLayoutParams(new AbsListView.LayoutParams(ViewGroup.LayoutParams.MATCH_PARENT, ViewGroup.LayoutParams.WRAP_CONTENT));
        Button button = new Button(context);
        button.setText("button");
        TextView textView = new TextView(context);
        textView.setText("text");
        this.addView(button);
        this.addView(textView);
    }
    @Override
    protected void onLayout(boolean changed, int left, int top, int right, int bottom) {
        super.onLayout(changed, left, top, right, bottom);
        int count = getChildCount();
        for(int i=0; i<count ; i++){
            View view= getChildAt(i);
            view.layout(0, 0, right, bottom);
        }
        Log.i(TAG, "the top position of current item is "+top);
    }

    @Override
    protected void onMeasure(int widthMeasureSpec, int heightMeasureSpec) {
        super.onMeasure(widthMeasureSpec, heightMeasureSpec);
    }
}
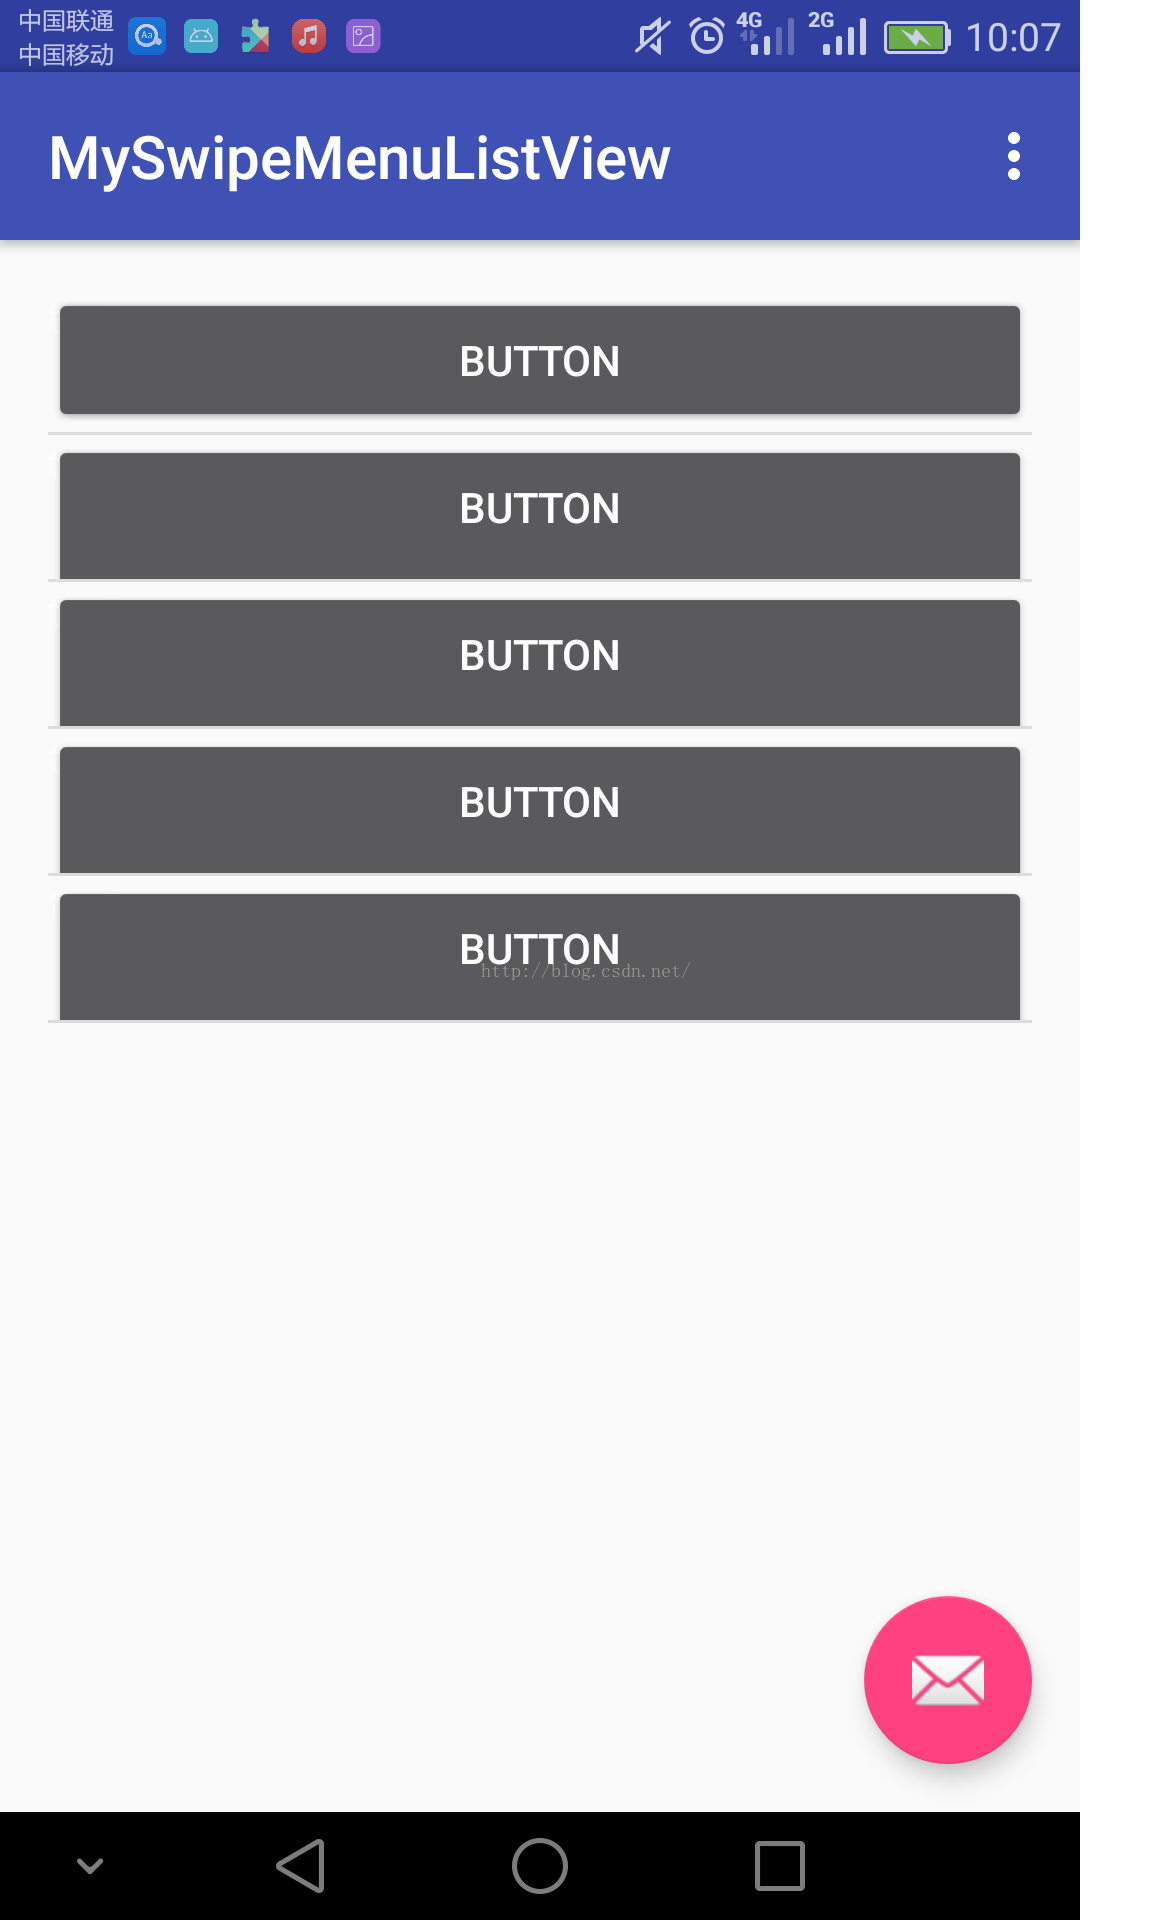
初始化函数中我们给该类添加了两个控件,一个是Button,一个是TextView。在layout函数中将这两个控件给画出来。最后的效果如图。


 被折叠的 条评论
为什么被折叠?
被折叠的 条评论
为什么被折叠?
 到【灌水乐园】发言


