


一、Post,Get请求方法代码
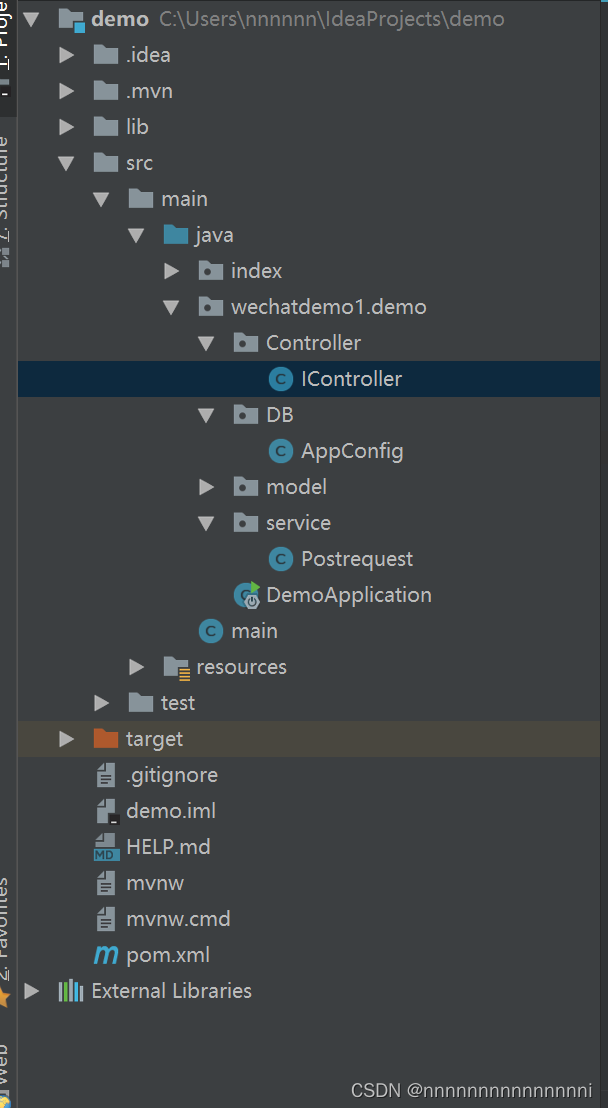
Spring boot 目录结构
package wechatdemo1.demo.service;//包名 调用方法为 import 包名.类名
import com.alibaba.fastjson.JSON;
import java.io.*;
import java.net.*;
import java.util.Map;

public class PostRequest { //类名Postrequest
    /**
     * 调用接口 post
     * @param apiPath
     */
    public String doGetPost(String apiPath,String type,Map<String,Object> paramMap){
        OutputStreamWriter out = null;
        InputStream is = null;
        String result = null;
        try{
            URL url = new URL(apiPath);// 创建连接
            HttpURLConnection connection = (HttpURLConnection) url.openConnection();
            connection.setDoOutput(true);
            connection.setDoInput(true);
            connection.setUseCaches(false);
            connection.setInstanceFollowRedirects(true);
            connection.setRequestMethod(type) ; // 设置请求方式
            connection.setRequestProperty("Accept", "application/json"); // 设置接收数据的格式
            connection.setRequestProperty("Content-Type", "application/json"); // 设置发送数据的格式
            //connection.setRequestProperty("Authorization","Basic XXXXXXXXXXXXXX"); //base 64加密 username:password方式。若用不到可注释
            connection.connect();
            if(type.equals("POST")){
                out = new OutputStreamWriter(connection.getOutputStream(), "UTF-8"); // utf-8编码
                out.append(JSON.toJSONString(paramMap));
                out.flush();
                out.close();
            }
// 读取响应
            is = connection.getInputStream();
            int length = (int) connection.getContentLength();// 获取长度
            if (length != -1) {
                byte[] data = new byte[length];
                byte[] temp = new byte[512];
                int readLen = 0;
                int destPos = 0;
                while ((readLen = is.read(temp)) > 0) {
                    System.arraycopy(temp, 0, data, destPos, readLen);
                    destPos += readLen;
                }
                result = new String(data, "UTF-8"); // utf-8编码
            }
        } catch (IOException e) {
            e.printStackTrace();
        } finally {
            try {
                is.close();
            } catch (IOException e) {
                e.printStackTrace();
            }
        }
        return result;
    }
}
二、引入JSON依赖
在pom.XML里添加dependency
		<dependency>
			<groupId>com.alibaba</groupId>
			<artifactId>fastjson</artifactId>
			<version>1.2.75</version>
		</dependency>
右下角 Import Changes 后生效
三、调用Post,Get请求
import wechatdemo1.demo.service.*;//改为自己方法所在的package包名
public String cs(){  //改为自己的方法名
	String url="http://xxbnby-1.natapp1.cc/hello";//修改为自己的url
	Postrequest postrequest=new Postrequest();
	Map<String, Object> paramMap = new HashMap<String, Object>();//body 参数
	postrequest.doGetPost(url,"POST",paramMap );//发送请求 POST可以改为GET
}


 3374
3374


 被折叠的 条评论
为什么被折叠?
被折叠的 条评论
为什么被折叠?
 到【灌水乐园】发言


