


配置:Mac 10.10, xCode6
一、
1、新建一个基于storyboard的新项目。(不得不说storyboard对项目的整体UI架构的帮助)。
2、删掉原来的ViewController及storyboard中的所有视图。
3、storyboard中拖入一个UINavigationViewController + UITableViewController。
4、新建一个UITableViewController命名为ChatTableViewcontroller,不需要Nib文件。
5、在storyboard中将拖入的UITableViewController的class改为ChatTableViewcontroller。
二、
1、加入消息气泡图片(bubbleleft@2x.png、bubbleright@2x.png)
2、新建一个消息模型类:MessageModel,其字段如下:
@interface MessageModel :NSObject
@property (nonatomic,strong) NSString *userAlias;
@property (nonatomic,strong) NSString *messageText;
@end
3、新建一个UITableViewCell,不需要Nib文件。
加入以下字段:
@interface MessageTableViewCell :UITableViewCell
@property (nonatomic,strong) UIButton *btnDatetime;
@property (nonatomic,strong) UIButton *btnUser;
@property (nonatomic,strong) UIImageView *imageBubble;
@property (nonatomic,strong) UITextView *MessagetextView;
@property (nonatomic,strong) MessageModel *messageModel;
@end
看名字都应该知道是干什么的了。
4、在ChatTableViewcontroller的viewDidLoad方法中添加聊天消息数据:
self.arrMessageModel = [NSMutableArrayarrayWithCapacity:10];
for (int i=0; i<10; i++) {
MessageModel *model = [[MessageModelalloc] init];
model.userAlias = i %2 == 0 ? @"Girl" : @"Me";
model.messageText = i %2 == 0 ? longText : sortText;
[self.arrMessageModeladdObject:model];
}
- (CGFloat)tableView:(UITableView *)tableView heightForRowAtIndexPath:(NSIndexPath *)indexPath
{
MessageModel *model = [self.arrMessageModelobjectAtIndex:indexPath.row];
returnDefaultRowHeight;
}
- (NSInteger)tableView:(UITableView *)tableView numberOfRowsInSection:(NSInteger)section {
returnself.arrMessageModel.count;
}
- (UITableViewCell *)tableView:(UITableView *)tableView cellForRowAtIndexPath:(NSIndexPath *)indexPath {
staticNSString *identifier = @"i";
MessageTableViewCell *cell = [tableViewdequeueReusableCellWithIdentifier:identifier];
if (!cell) {
cell = [[MessageTableViewCellalloc] initWithStyle:UITableViewCellStyleDefaultreuseIdentifier:identifier];
}
cell.messageModel = [self.arrMessageModelobjectAtIndex:indexPath.row];
return cell;
}
现在的效果应该是这样的:
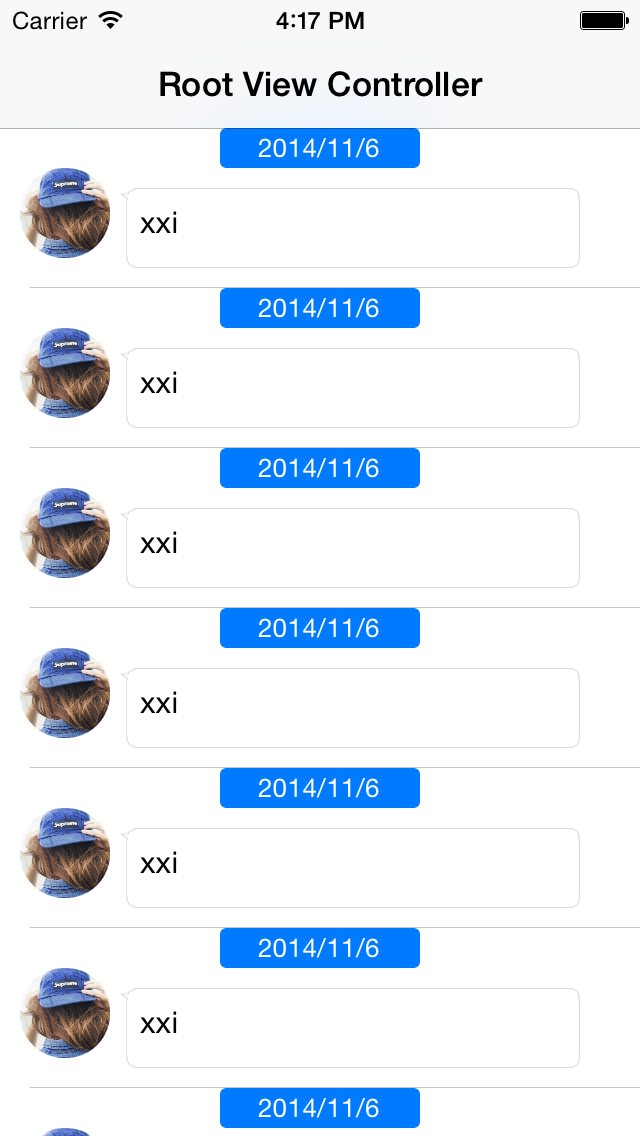
下次继续。


 1797
1797


 被折叠的 条评论
为什么被折叠?
被折叠的 条评论
为什么被折叠?
 到【灌水乐园】发言


