


ansible主机清单
inventory主机清单文件
主机清单的路径在/etc/ansible/ansible.cfg文件中的inventory参数定义
如不修改,默认主机清单路径是 /etc/ansible/hosts
[student@workstation ~]$ cat /etc/ansible/ansible.cfg

[defaults]

# some basic default values...

#inventory      = /etc/ansible/hosts

编辑主机清单

vim /etc/ansible/hosts
## 添加主机组
[webservers]
192.168.0.11 ansible_ssh_user=root ansible_ssh_pass=123.com ansible_ssh_port=3333
192.168.0.12 ansible_ssh_user=root ansible_ssh_pass=123.com
## ansible_ssh_user=root  指定主机登陆用户名为root
## ansible_ssh_pass=123.com 指定主机登陆用户的密码为123.com
## ansible_ssh_port=3333  指定ssh的端口

# 保存主机清单并退出
:wq!
定义主机范围
适用于主机数量多和有规律的主机
[usa]
192.168.0.[0:254]
192.168.1.[0:254]
# 高级写法
192.168.[0:1].[0:254]

server[a:z]
server[1:254]
嵌套组写法
[student]  # 红帽294练习环境组
workstation.lab.example.com
server[a:d].lab.exmaple.com
astion.lab.example.com

[test]   # test组
node1
[proxy]		# proxy组
node2
[webserver]		# webserver组
node[3:4]
[database]		# 数据库组
node5
# 定义嵌套组(主组套子组,子组用:chidren定义)
[cluster:children]		# 集群组
webserver      # webserver组
database		# database组

查看主机列表(inventory)中的主机信息
ansible -i 可以指定主机清单文件
# ansible -i 主机清单文件 主机组/主机名 --list-all
[student@workstation ~]$ ansible -i inventory all --list-hosts
  hosts (6):
    workstation.lab.example.com
    servera.lab.example.com
    serverb.lab.example.com
    serverc.lab.example.com
    serverd.lab.example.com
    astion.lab.example.com
主机清单内置参数
参考: https://blog.51cto.com/breezey/1757643

| 参数 | 解释 |
|---|---|
| ansible_ssh_host | 用于指定被管理的主机的真实IP |
| ansible_ssh_port | 用于指定连接到被管理主机的ssh端口号,默认是22 |
| ansible_ssh_user | ssh连接时默认使用的用户名 |
| ansible_ssh_pass | ssh连接时的密码 |
| ansible_sudo_pass | 使用sudo连接用户时的密码 |
| ansible_sudo_exec | 如果sudo命令不在默认路径,需要指定sudo命令路径 |
| ansible_ssh_private_key_file | 秘钥文件路径,秘钥文件如果不想使用ssh-agent管理时可以使用此选项 |
| ansible_shell_type | 目标系统的shell的类型,默认sh |
| ansible_connection | SSH 连接的类型: local , ssh , paramiko,在 ansible 1.2 之前默认是 paramiko ,后来智能选择,优先使用基于 ControlPersist 的 ssh (支持的前提) |
| ansible_python_interpreter | 用来指定python解释器的路径,默认为/usr/bin/python 同样可以指定ruby 、perl 的路径 |
| ansible_*_interpreter | 其他解释器路径,用法与ansible_python_interpreter类似,这里"*"可以是ruby或才perl等其他语言 |
主主机组指定密码变量
# 为所有主机组指定密码
[all:vars]
ansible_ssh_pass=rhel
#
ansible_ssh_pass='rhel'
对主机组设置变量group_vras
# 在主机清单文件的同目录下新建目录group_vras
mkdir group_vras

# 如果要对all组生效变量,就创建一个all文件
touch all

# 将变量写入all文件中
## 例如,将ssh密码写在all文件中
ansible_ssh_pass: redhat
操作主机清单
ansible测试主机是否可达。
https://blog.csdn.net/QYHuiiQ/article/details/119548059
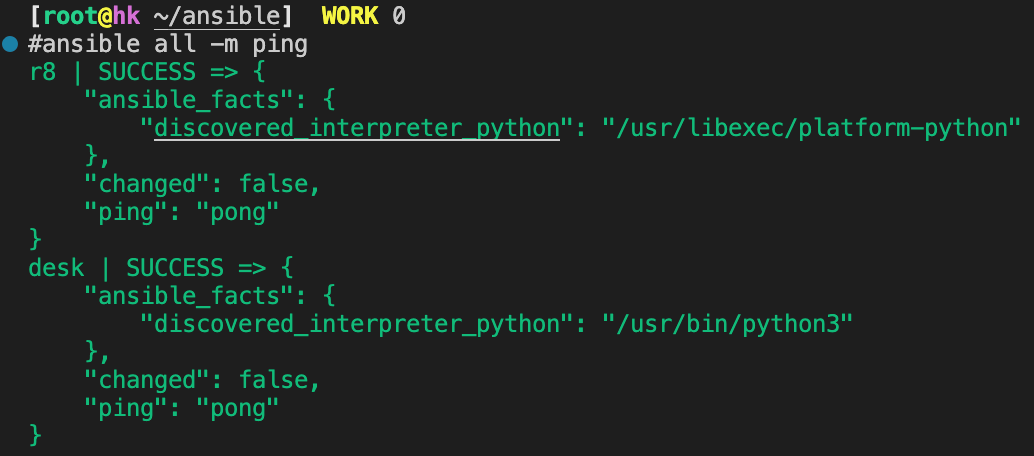
# 查看所有主机是否可以连通
ansible all -m ping
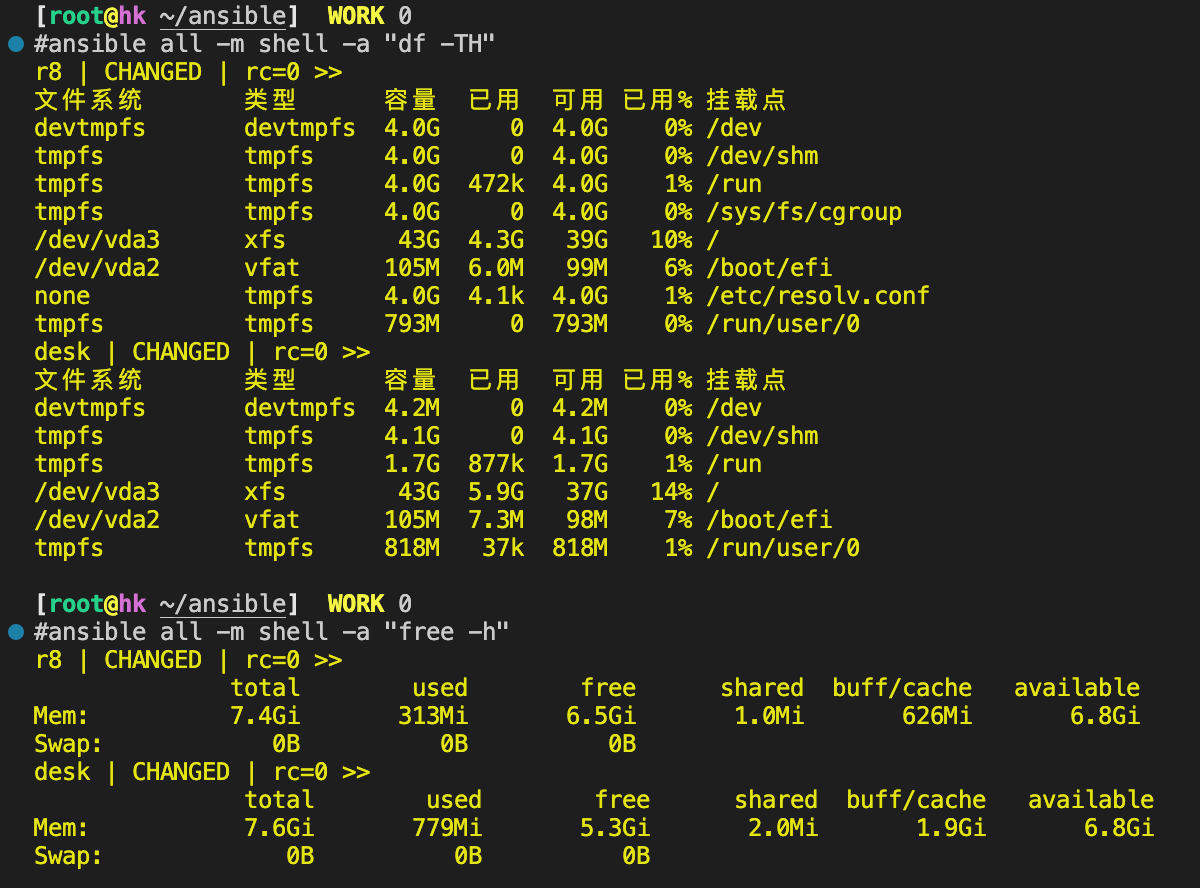
# 查看webservers主机组的磁盘空间
ansible webservers -m shell -a "df -h"
## 绿色结果是执行成功
# 查看webservers主机组的内存使用情况
ansible webservers -m shell -a "free -h"
使用yaml主机清单
练习第二章练习:主机清单
开始新章节的环境
[student@workstation ~]$ lab deploy-inventory start

Setting up workstation for lab exercise work:

 · Verify ansible is installed on workstation control node.....  SUCCESS
 · Backup /etc/ansible/hosts inventory.........................  SUCCESS
编辑主机清单
在student的home目录下创建主机清单deploy_inventory
[student@workstation ~]$ touch ~/deploy_inventory

# 编辑主机清单内容
[student@workstation ~]$ vim deploy_inventory
写入的主机清单内容
workstation.lab.example.com
astion.lab.example.com

# 根据服务器角色分组
[webserver]
server[a:d].lab.example.com

# 根据服务器环境分组
[Development]
servera.lab.example.com

[Testing]
serverb.lab.example.com

[Production]
server[c:d].lab.example.com

# 根据地理位置分组
[Raleigh]
server[a:b].lab.example.com

[Mountaion_View]
serverc.lab.example.com

[London]
serverd.lab.example.com
查看主机清单
# 查看所有主机
[student@workstation ~]$ ansible all --list-hosts
  hosts (6):
    workstation.lab.example.com
    astion.lab.example.com
    servera.lab.example.com
    serverb.lab.example.com
    serverc.lab.example.com
    serverd.lab.example.com

# 查看不属于任何组的主机
[student@workstation ~]$ ansible ungrouped --list-hosts
  hosts (2):
    workstation.lab.example.com
    astion.lab.example.com
指定主机清单文件查看主机清单
ansible底层调用的是json格式的主机清单
编写主机清单的时候,必须要确认能解析成json
# 指定主机清单文件查看主机清单
[student@workstation files]$ ansible-inventory -i inventory --list
{
    "_meta": {
        "hostvars": {
            "servera.lab.example.com": {},
            "workstation.lab.example.com": {}
        }
    },
    "all": {
        "children": [
            "ungrouped",
            "webservers",
            "workstations"
        ]
    },
    "webservers": {
        "hosts": [
            "servera.lab.example.com"
        ]
    },
    "workstations": {
        "hosts": [
            "workstation.lab.example.com"
        ]
    }
}
动态主机清单文件
aws,阿里云等云服务器厂商,开放了相关的接口,是可以动态拉取主机清单的。
需要自己写python脚本动态生成主机清单。
厂商一般会提供demo。
动态主机清单示例1
新建python文件inventorya.py
#!/usr/bin/python3

from subprocess import Popen,PIPE
import sys
import json

result = {}
result['webservers'] = {}
result['webservers']['hosts'] = []
result['webservers']['vars'] = {}

pipe = Popen(['getent', 'hosts'], stdout=PIPE, universal_newlines=True)

for line in pipe.stdout.readlines():
   s = line.split()
   if s[1].startswith('servera'):
      result['webservers']['hosts'].append(s[1])

if len(sys.argv) == 2 and sys.argv[1] == '--list':
    print(json.dumps(result))
elif len(sys.argv) == 3 and sys.argv[1] == '--host':
    print(json.dumps({}))
else:
    print("Requires an argument, please use --list or --host <host>")
动态主机清单示例2
新建python文件inventoryw.py
#!/usr/bin/python3

from subprocess import Popen,PIPE
import sys
import json

result = {}
result['all'] = {}

pipe = Popen(['getent', 'hosts'], stdout=PIPE, universal_newlines=True)

result['all']['hosts'] = []
for line in pipe.stdout.readlines():
   s = line.split()
   if s[1].startswith('workstation'):
      result['all']['hosts'].append(s[1])

result['all']['vars'] = {}

if len(sys.argv) == 2 and sys.argv[1] == '--list':
    print(json.dumps(result))
elif len(sys.argv) == 3 and sys.argv[1] == '--host':
    print(json.dumps({}))
else:
    print("Requires an argument, please use --list or --host <host>")
查看动态主机清单文件的主机列表
# 赋予python脚本可执行权限
chmod +x inventory/inventorya.py

# 查看主机清单
[student@workstation ]$ ./inventory/inventorya.py --list
{"webservers": {"hosts": ["servera.lab.example.com"], "vars": {}}}
ansible指定动态主机清单文件
# 赋予python脚本可执行权限
chmod +x inventory/inventorya.py

# 指定动态主机清单文件查看主机列表
ansible -i inventory/inventorya.py webservers --list-host
完成练习
[student@workstation ~]$ lab deploy-inventory finish

Cleanup workstation control node

 · Restore /etc/ansible/hosts..................................  SUCCESS


 1658
1658


 被折叠的 条评论
为什么被折叠?
被折叠的 条评论
为什么被折叠?
 到【灌水乐园】发言


