


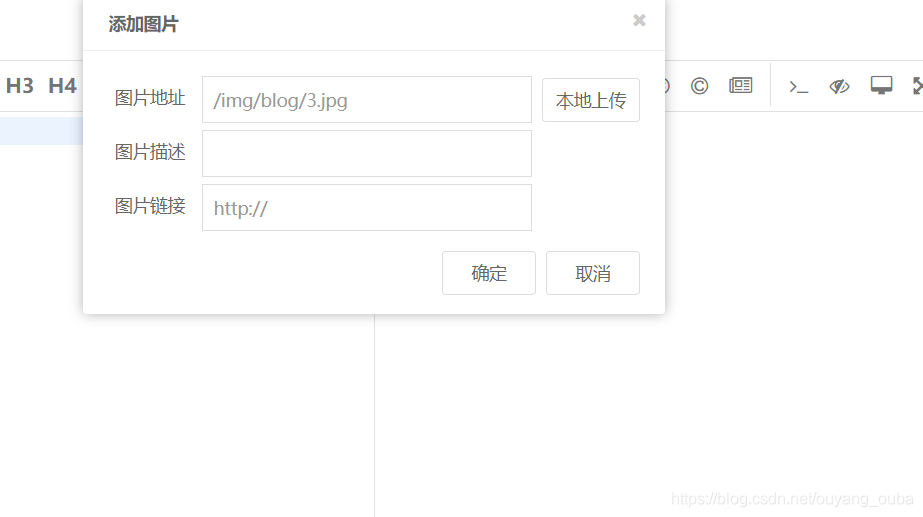
 本文详细介绍了如何使用Spring MVC框架实现图片上传功能,并通过配置虚拟地址映射确保图片即使在服务器重启后也能正常访问。文章包括了Controller层的代码示例及WebMvcConfig配置示例。
其中
private static final String UPLOADED_FOLDER = "/usr/img/blog/";
Controller层方法
 @RequestMapping(value="/uploadfile",method=RequestMethod.POST)
    public void hello(HttpServletRequest request,HttpServletResponse response,@RequestParam(value = "editormd-image-file", required = false) MultipartFile attach){
        try {
            request.setCharacterEncoding( "utf-8" );
            response.setHeader( "Content-Type" , "text/html" );
            String rootPath = request.getSession().getServletContext().getRealPath("/img/blog/");
            String physicPath=UPLOADED_FOLDER;

            /**
             * 文件路径不存在则需要创建文件路径
             */
            File filePath=new File(rootPath);
            File filePath2=new File(physicPath);
            if(!filePath2.exists()){
                filePath2.mkdirs();
            }
            if(!filePath.exists()){
                filePath.mkdirs();
            }

            //最终文件名
            File realFile=new File(rootPath+File.separator+attach.getOriginalFilename());
            File realFile2=new File(physicPath+File.separator+attach.getOriginalFilename());
            FileUtils.copyInputStreamToFile(attach.getInputStream(), realFile);
            FileUtils.copyInputStreamToFile(attach.getInputStream(), realFile2);

            //下面response返回的json格式是editor.md所限制的,规范输出就OK
            response.getWriter().write( "{\"success\": 1, \"message\":\"上传成功\",\"url\":\"/img/blog/" + attach.getOriginalFilename() + "\"}" );
        } catch (Exception e) {
            try {
                response.getWriter().write( "{\"success\":0}" );
            } catch (IOException e1) {
                e1.printStackTrace();
            }
        }
然后config里配置一下路径转换
import org.springframework.context.annotation.Configuration;
import org.springframework.web.servlet.config.annotation.ResourceHandlerRegistry;
import org.springframework.web.servlet.config.annotation.WebMvcConfigurerAdapter;


@Configuration
public class WebMvcConfig extends WebMvcConfigurerAdapter {

   @Override
   public void addResourceHandlers(ResourceHandlerRegistry registry) {
       registry.addResourceHandler("/img/blog/**").addResourceLocations("file:/usr/img/blog/");
   }

}
本身不配置地址转换,图片上传是保存在tomcat临时文件夹里面的,当服务器重启,就无法访问以前上传的图片了。所以这里来把图片保存至本地,做一个虚拟地址映射。
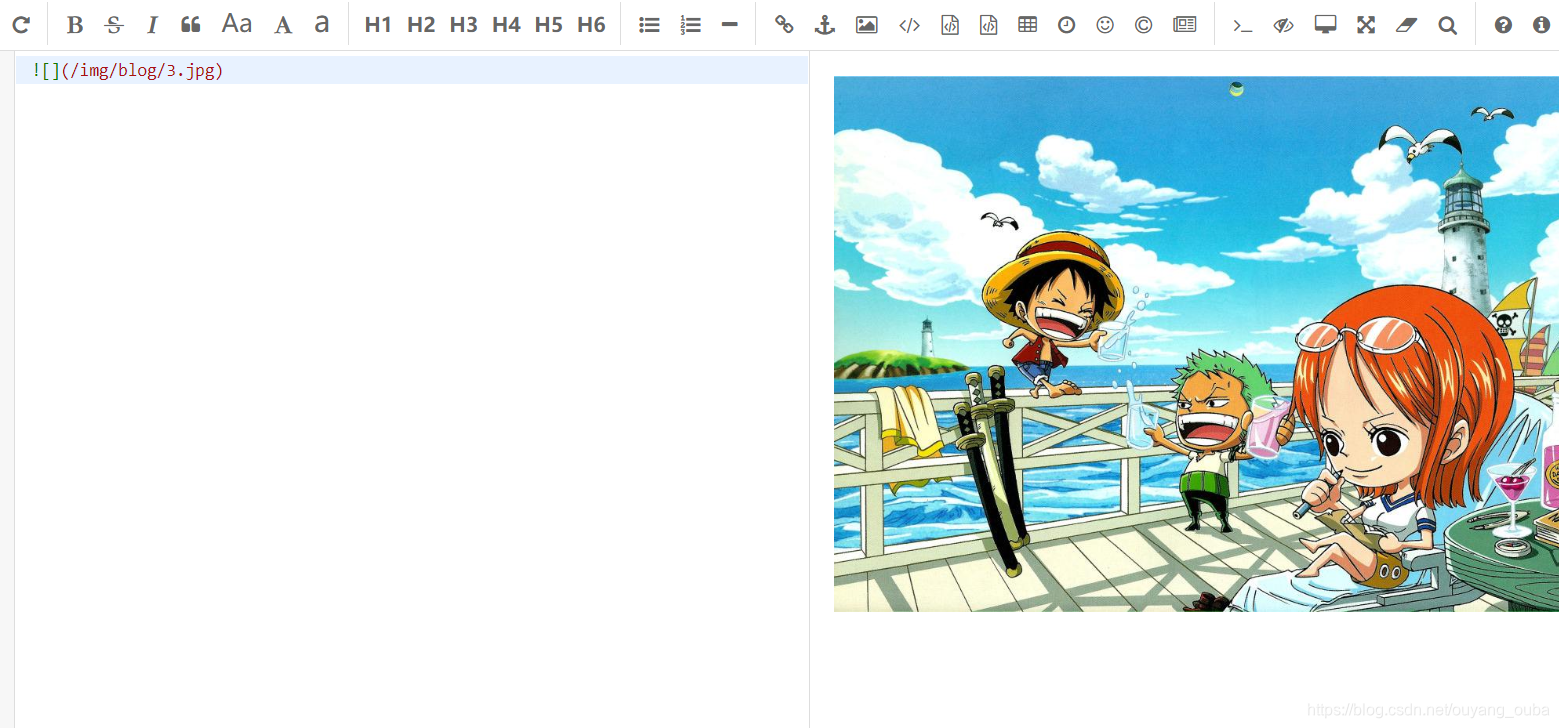
这里图片映射的地址就是虚拟的tomcat服务器的地址,但是我们配置了地址映射,这样服务器在找/img/blog/下的文件就会去我们配置的物理地址上去找了。


 2979
2979

 被折叠的 条评论
为什么被折叠?
被折叠的 条评论
为什么被折叠?
 到【灌水乐园】发言


