


提示:文章写完后,目录可以自动生成,如何生成可参考右边的帮助文档
文章目录
前言
提示:这里可以添加本文要记录的大概内容:
最近公司想开发个客户需求变更发布系统,以前都是邮件飞来飞去,无记可寻,容易出现失误,要让客户变更要求系统化数字化,这样的数据可以进行分类统计分析,来更好的服务客户,我想使用vue3(element-plus)前后端分离的来实现此系统,故此学习了下vue框架
提示:以下是本篇文章正文内容,下面案例可供参考
一、vue3(element-plus)是什么?
vue:是一个用于创建用户界面的开源JavaScript框架,也是一个创建单页应用的Web应用框架;Vue所关注的核心是MVC模式中的视图层,同时,它也能方便地获取数据更新,并通过组件内部特定的方法实现视图与模型的交互。简单的说,vue是一套前端的开发框架,vue是目前三大主流的框架之一,其他两个框架是:React、Angular。
前端开发框架出现的意义:
1、前端工程化
1)规范化,也就是制定或者约定一个开发规则、开发标准,比如,类的命名规范、制定编码模板代码,等等,提倡约定大于配置(vue、springboot等等当中就有约定大于配置的规范)
2)可定量的过程化方法,简单来说就是制定衡量整个开发流程和进度的方法
3)版本控制,来管理代码的更新
4)开发使用的技术、方法。
2、前后端分离
前端:负责View(视图层)和Controller(业务模块流程控制层)
后端:负责Model层、业务、数据处理等
3、组件化开发
element-plus:基于 Vue 3,面向设计师和开发者的组件库
二、token 安全验证
基于Token的身份验证是无状态的,我们不将用户信息存在服务器中。这种概念解决了在服务端存储信息时的许多问题。NoSession 意味着我们的程序可以根据需要去增减机器,而不用去担心用户是否登录。
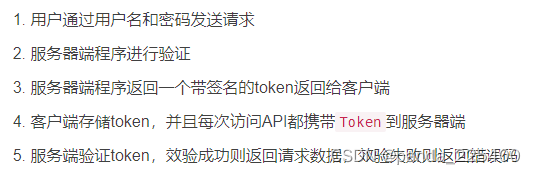
1、基于Token的验证过程
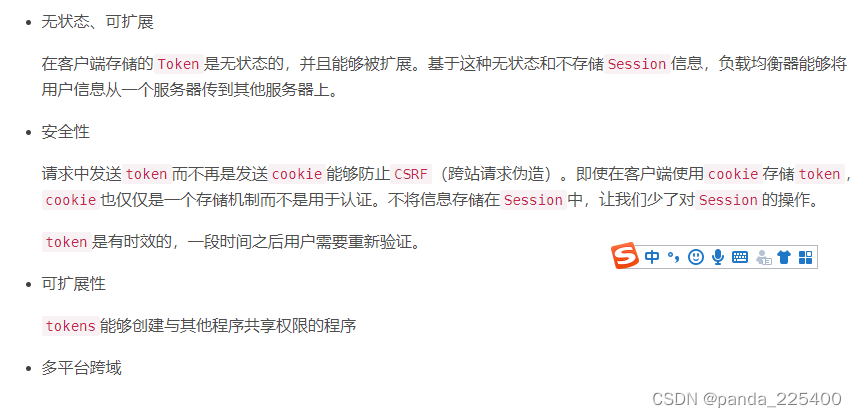
2、Token验证的优势
三、使用步骤
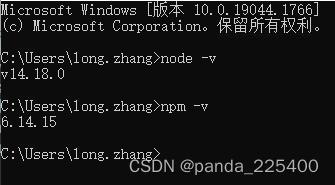
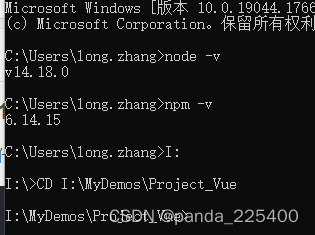
1.安装node环境
2.环境搭建
代码如下(示例):
1、npm install -g cnpm --registry=https://registry.npm.taobao.org
2、npm config set registry https://registry.npm.taobao.org
npm install -g yarn
yarn
npm install -g @vue/cli
vue -V
vue create 项目名称(将自己的项目名称写好就可以,在这里我的项目名称是vue-manage)
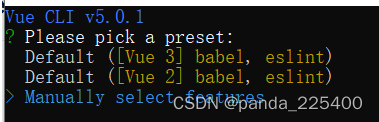
vue create springboot-vue-demo
选择Manually select features
选择路由和vuex
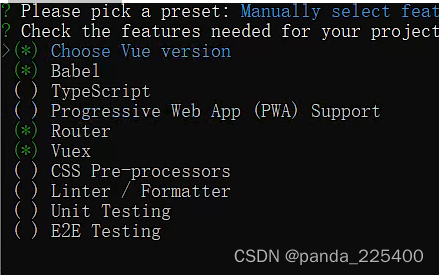
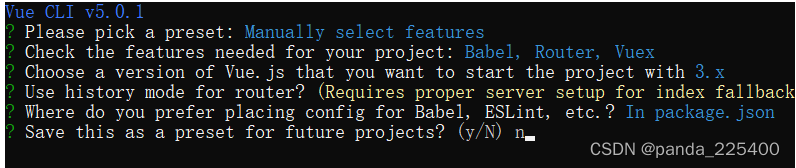
选择3.x版本

输入y (路由信息为history)

选择In package.json

是否保存配置
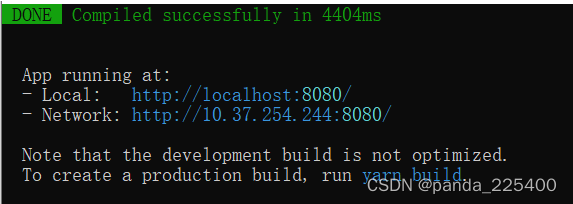
创建,启动项目
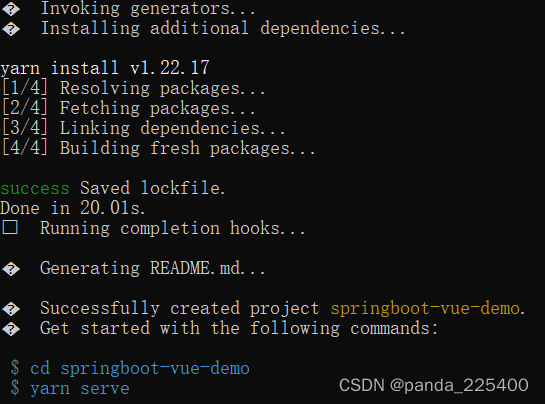
启动成功,浏览器输入8080端口进行访问
3.idea启动Vue项目
选择npm,在npm中Script选项中输入serve
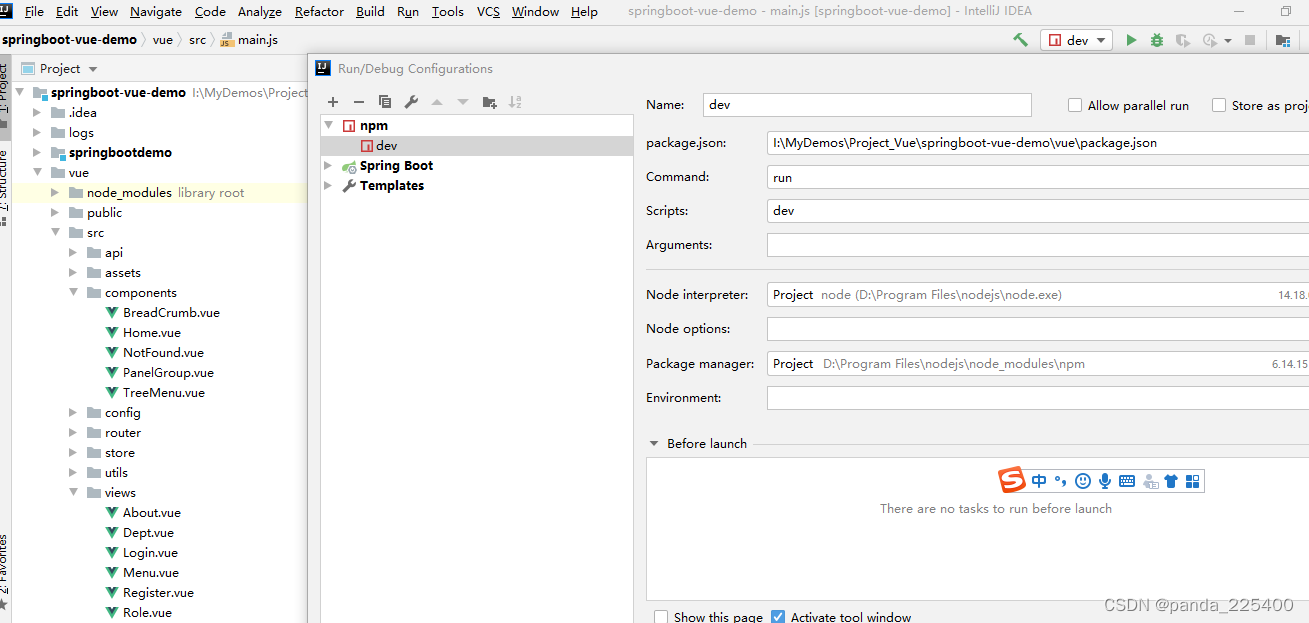
我这边为什么是dev呢,因为我配置多个环境dev,pro,test
这样我可以通过这个来切换不同的环境

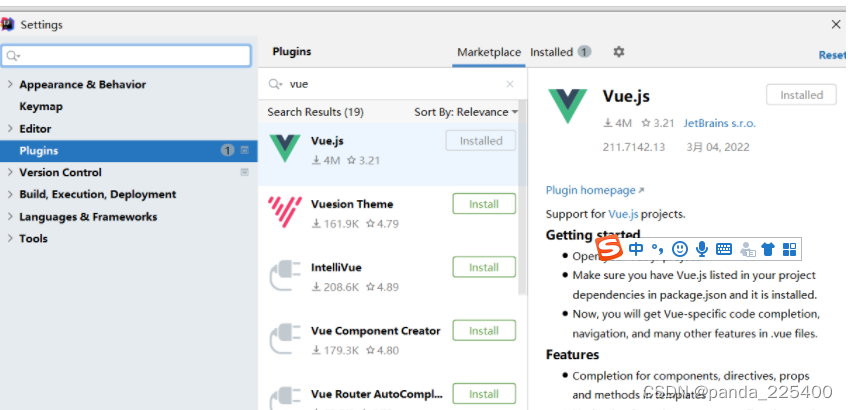
安装vue插件
4.项目基本布局
1.引入Element-plus(基于vue3.x版本)
代码如下(示例):
npm install element-plus --save
npm i axios -S

npm i qs

npm install sass-loader -D
npm install node-sass -D

cnpm install sass-loader -D
cnpm install node-sass -D

npm install i18n
npm install i18n -save

npm install crypto-js
npm install --save crypto-js

npm install --save nprogress

npm i webpack@3.6.0 -g

cnpm install @element-plus/icons
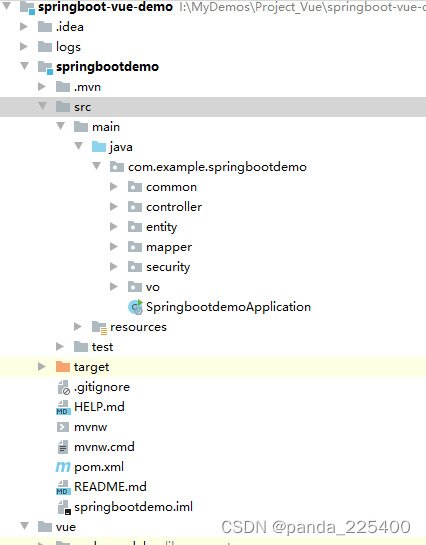
5.后端项目结构
springboot+Mybaties-plus+hutool
代码如下(示例):
package com.example.springbootdemo.controller;

import com.alibaba.druid.sql.ast.statement.SQLIfStatement;
import com.baomidou.mybatisplus.core.toolkit.Wrappers;
import com.example.springbootdemo.common.*;
import com.example.springbootdemo.entity.User;
import com.example.springbootdemo.mapper.UserMapper;
import com.example.springbootdemo.security.utils.JwtTokenUtils;
import com.example.springbootdemo.security.utils.SignUtils;
import com.example.springbootdemo.vo.UserLoginVo;
import com.example.springbootdemo.vo.UserRegVo;
import lombok.extern.slf4j.Slf4j;
import org.springframework.web.bind.annotation.*;

import javax.annotation.Resource;
import java.io.ByteArrayOutputStream;
import java.io.IOException;
import java.io.OutputStream;
import java.util.HashMap;
import java.util.Map;

@Slf4j
@CrossOrigin
@RestController
@RequestMapping("/api/auth")
public class AuthController {

    @Resource
    UserMapper userMapper;

    private final JwtTokenUtils jwtTokenUtils;
    public AuthController(JwtTokenUtils jwtTokenUtils) {
        this.jwtTokenUtils = jwtTokenUtils;
    }

    @GetMapping(value = "/getToken")
    public Result<?> getToken(String user, String password){
        Map map = new HashMap();
        map.put("user",user);
        map.put("password",password);
        String token = jwtTokenUtils.createToken(map);

        return Result.success(token);
    }

    @GetMapping(value = "/identifyCode")
    public Result<?> identifyCode() throws IOException {
        // 生成随机字串
        String verifyCode = VerifyCodeUtils.generateVerifyCode(5);

        Map<String, String> params = new HashMap<String, String>();
        params.put("signature",verifyCode);


        Map map = new HashMap();
        map.put("signature",Base64.encode(SignUtils.getSign(params, Constants.APP_KEY).getBytes()));
        map.put("code", verifyCode);

        return Result.success(map);
    }

    @GetMapping(value = "/kaptcha")
    public Result<?> kaptcha() throws IOException {

        // 生成随机字串
        String verifyCode = VerifyCodeUtils.generateVerifyCode(4);

        // 生成图片
        int w = 111, h = 36;
        ByteArrayOutputStream stream = new ByteArrayOutputStream();
        VerifyCodeUtils.outputImage(w, h, stream, verifyCode);

        Map<String, String> params = new HashMap<String, String>();
        params.put("signature",verifyCode);


        Map map = new HashMap();
        map.put("signature",Base64.encode(SignUtils.getSign(params, Constants.APP_KEY).getBytes()));
        map.put("img", Base64.encode(stream.toByteArray()));

        return Result.success(map);
    }

    //登录接口
    @PostMapping("/login")
    public Result<?> login(@RequestBody UserLoginVo user)
    {
        Map<String, String> params = new HashMap<String, String>();
        params.put("signature",user.getKaptcha());
        String kaptcha = Base64.encode(SignUtils.getSign(params, Constants.APP_KEY).getBytes());
        if(!kaptcha.equals(user.getSignature()))
        {
            return Result.error(ResultCode.FAIL.getCode(),"验证码错误");
        }

        User res = userMapper.selectOne(Wrappers.<User>lambdaQuery().eq(User::getUsername,user.getUsername()).eq(User::getPassword,user.getPassword()));
        //判断查询是否存在
        if (res == null||res.getStatus()==StatusCode.DELETE.getCode()){
            return Result.error(ResultCode.FAIL.getCode(),"用户名或密码错误");
        }

        if (res.getStatus()==StatusCode.NOT_PASS.getCode())
        {
            return Result.error(ResultCode.FAIL.getCode(),"用户在还审核中");
        }

        Map map = new HashMap();
        map.put("username",res.getUsername());
        map.put("password",res.getPassword());
        String token = jwtTokenUtils.createToken(map);

        map = new HashMap();
        map.put("token",token);
        map.put("expire",43200);
        map.put("user",res);

        return Result.success(map);
    }

    //注册接口
    @PostMapping("/register")
    public Result<?> register(@RequestBody UserRegVo user) {
        //注册之前先验证是否有重名

        User res = userMapper.selectOne(Wrappers.<User>lambdaQuery().eq(User::getUsername, user.getUsername()));
        //判断查询是否存在
        if (res != null) {
            return Result.error(ResultCode.FAIL.getCode(), "用户名重复!");
        }

        Map<String, String> params = new HashMap<String, String>();
        params.put("signature", user.getIdentifyCode());
        String identifyCode = Base64.encode(SignUtils.getSign(params, Constants.APP_KEY).getBytes());
        if (!identifyCode.equals(user.getSignature())) {
            return Result.error(ResultCode.FAIL.getCode(), "验证码错误");
        }

        //默认角色
        if (user.getRoleId() == null) {
            user.setRoleId(-1);
        }

        try {
            userMapper.insert(user);

        } catch (Exception e) {
            System.out.println("异常:"+ e.getMessage());
            log.error(e.getMessage());
            return Result.error(ResultCode.FAIL.getCode(),"注册失败!");
        }
        return Result.success();
    }
}
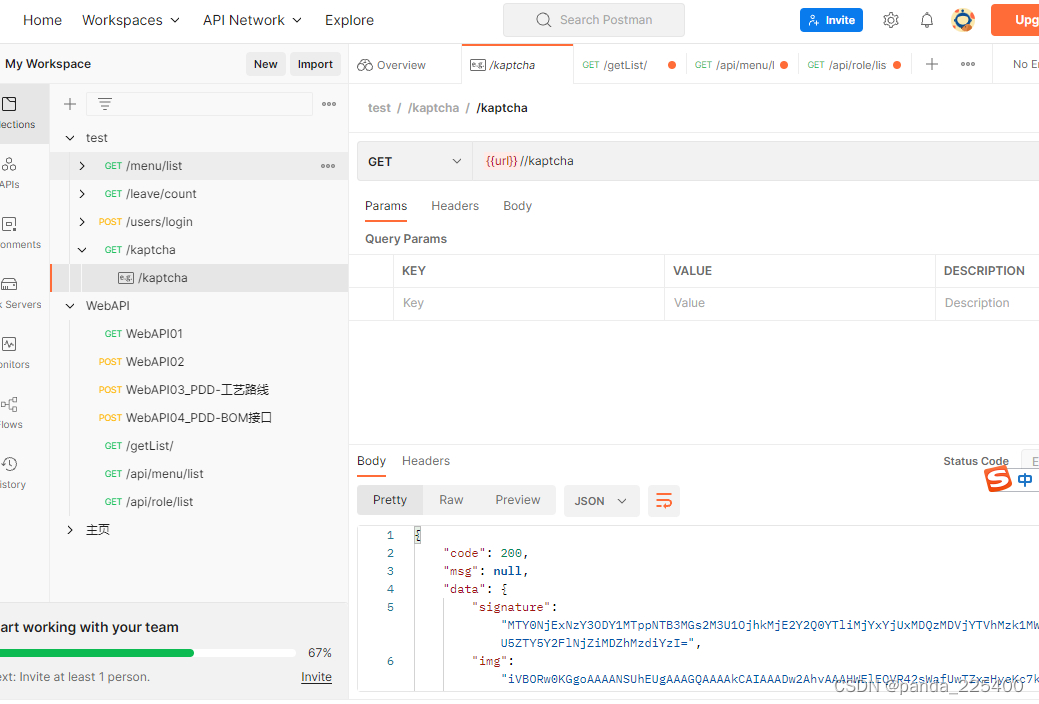
Postman 测试API接口
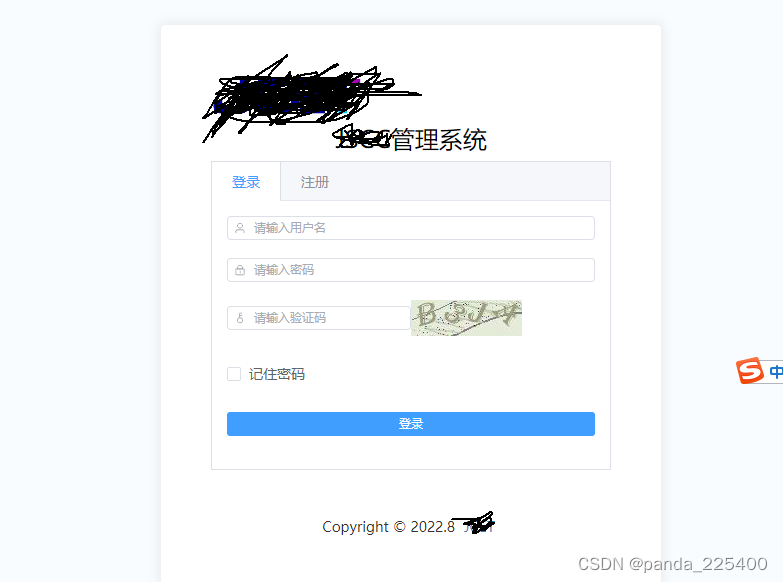
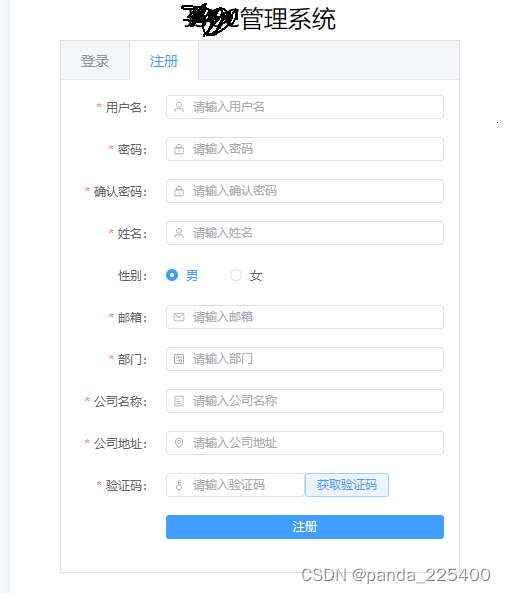
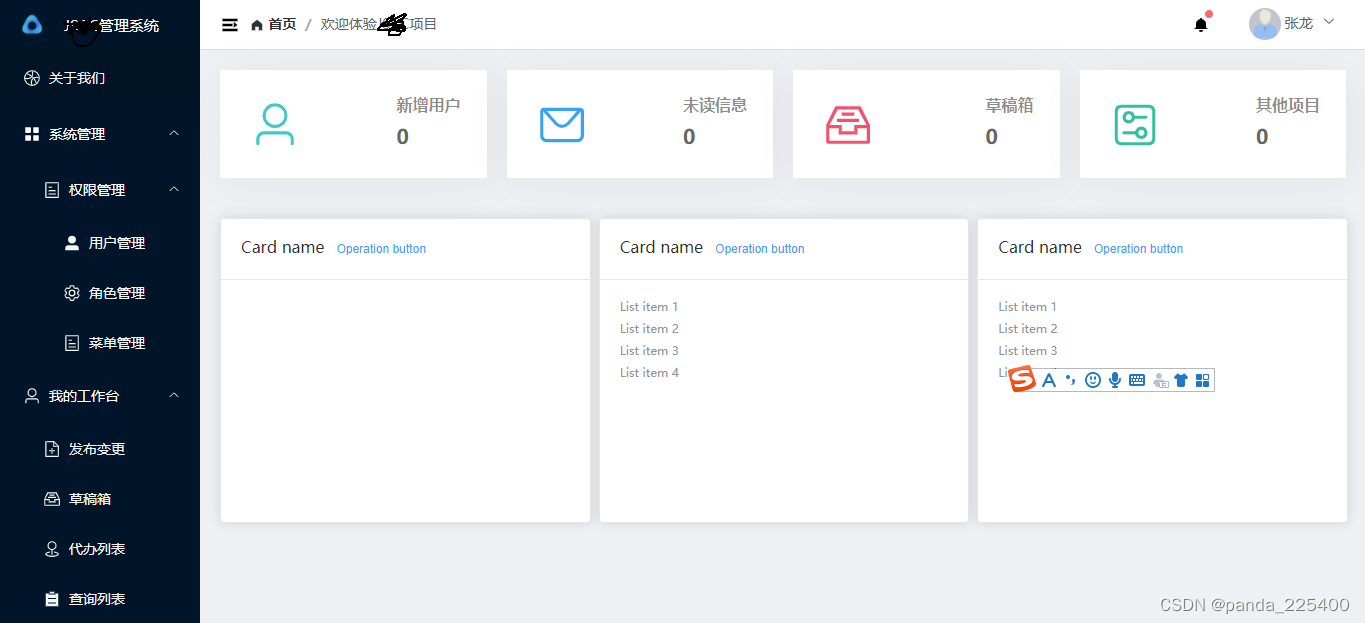
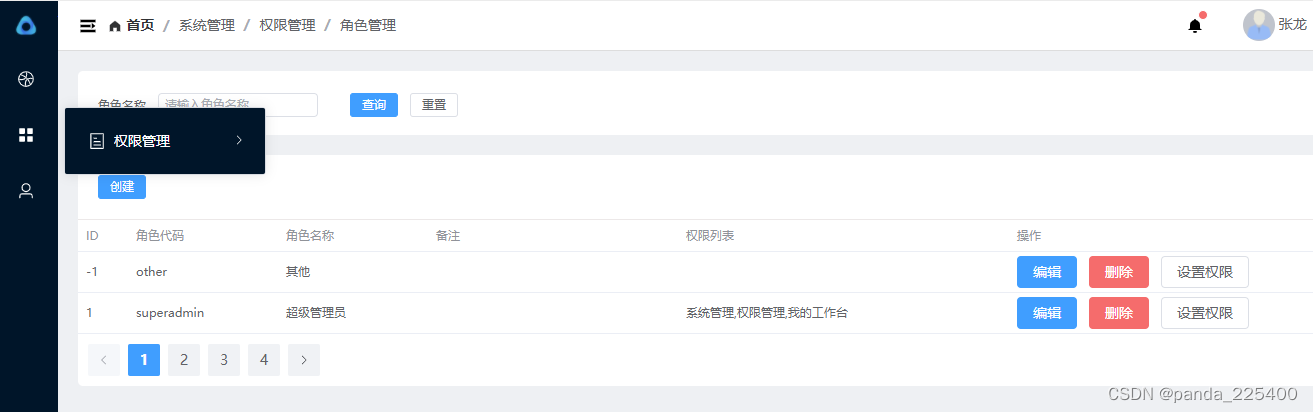
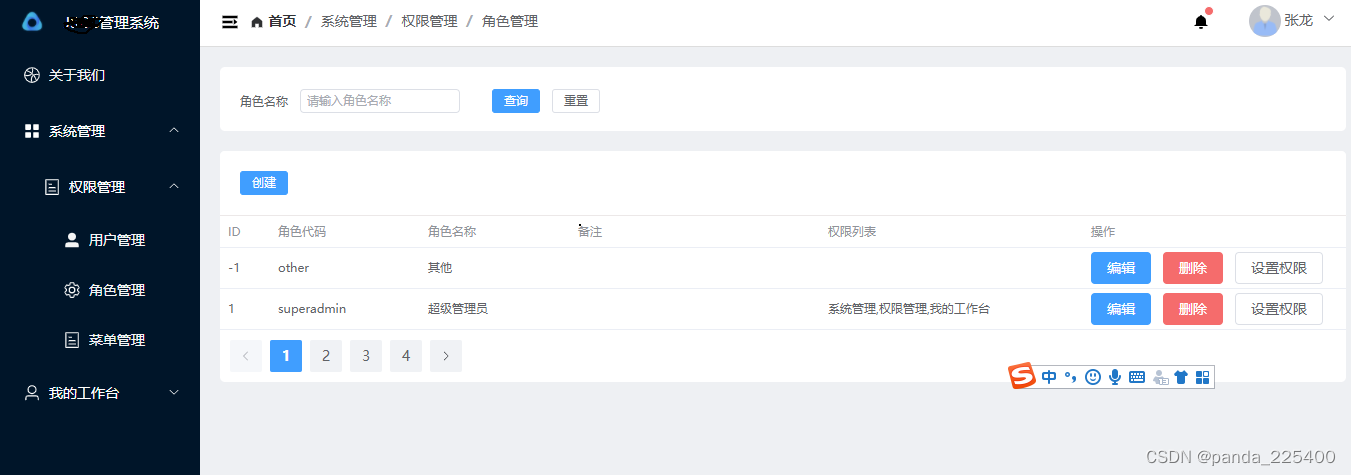
6.前端界面
登录
注册
首页
总结
记录点点滴滴


 5114
5114


 被折叠的 条评论
为什么被折叠?
被折叠的 条评论
为什么被折叠?
 到【灌水乐园】发言


