


UITableViewController是系统提供的一个便利类,主要是为了方便我们使用UITableView,该类生成的时候就将自身设置成了其包含的tableView的dataSource和delegate,并创建了很多代理函数的框架,为我们大大的节省了时间,我们可以通过其tableView属性获取该controller内部维护的tableView对象。注意:默认情况下使用UITableViewController创建的tableView是充满全屏的,如果需要用到tableView是不充满全屏的话,我们应该使用UIViewController自己创建和维护tableView。
UITableViewController提供一个初始化函数initWithStyle:,根据需要我们可以创建Plain或者Grouped类型的tableView,当我们使用其从UIViewController继承来的init初始化函数的时候,默认将会我们创建一个Plain类型的tableView。
UITableViewController默认的会在viewWillAppear的时候,清空所有选中cell,我们可以通过设置self.clearsSelectionOnViewWillAppear = NO,来禁用该功能,并在viewDidAppear中调用UIScrollView的flashScrollIndicators方法让滚动条闪动一次,从而提示用户该控件是可以滑动的。
以下为一个简单的例子
步骤一:创建一个工程,并且删除原来的ViewController.h和ViewController.m
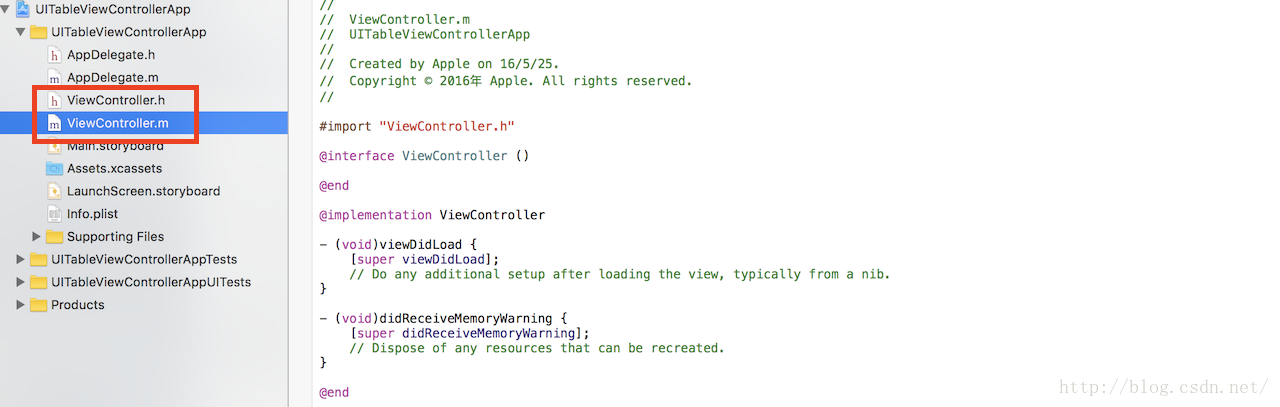
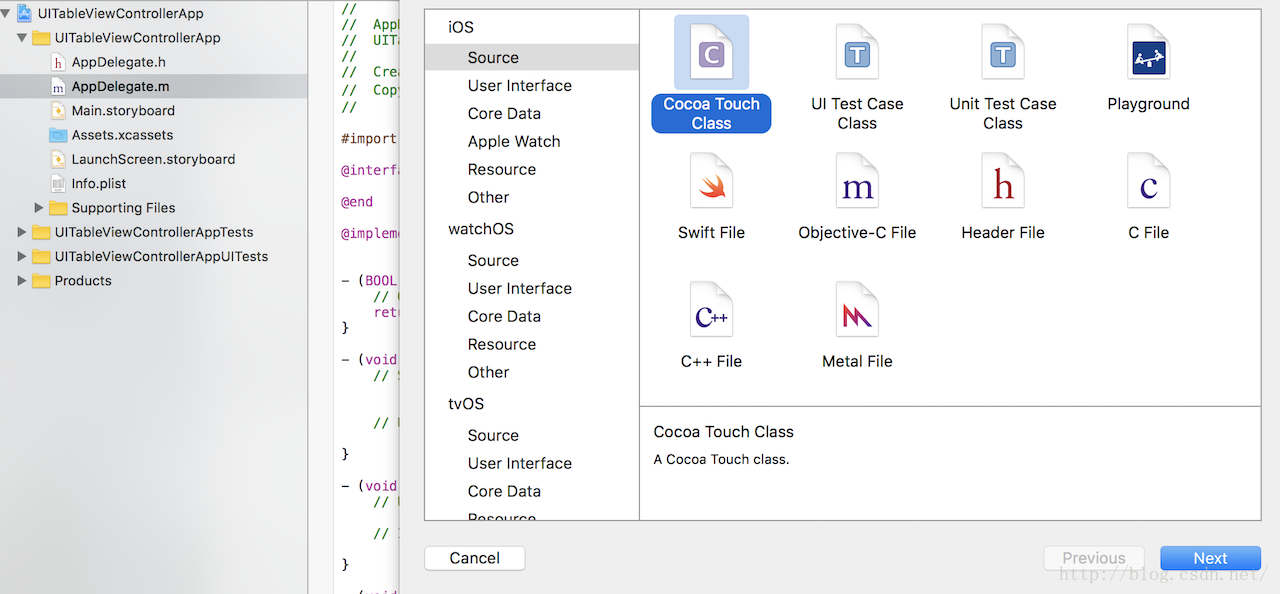
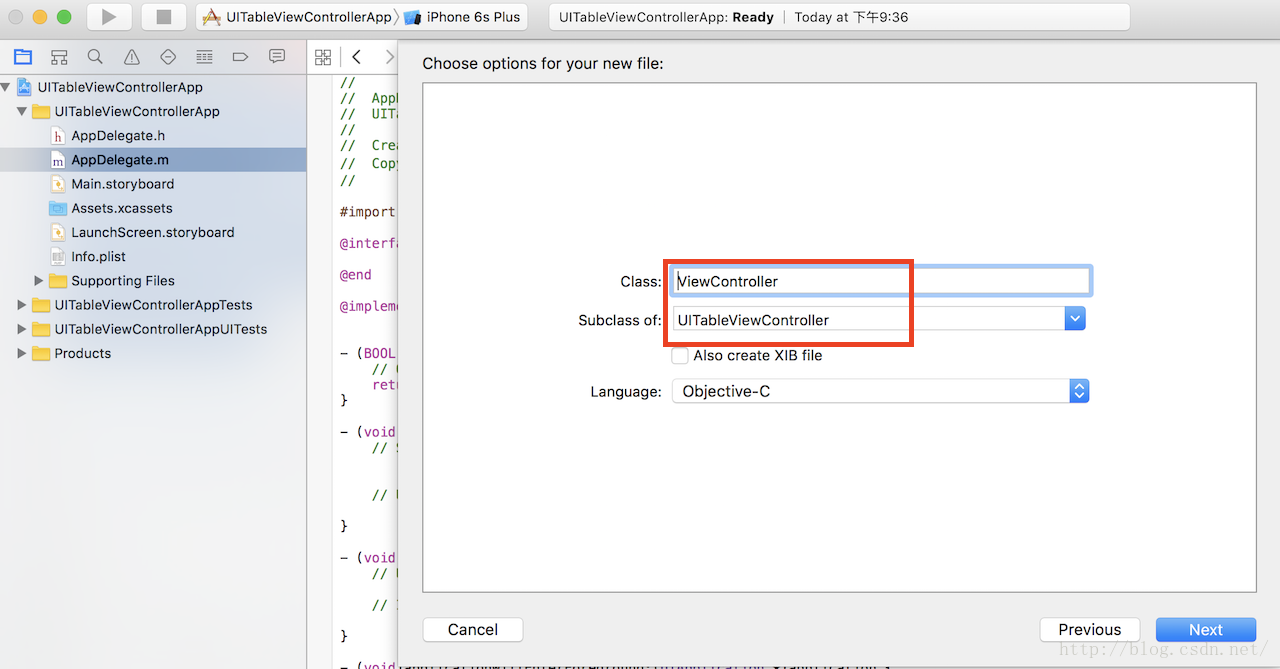
步骤二:重新建立一个文件,命名为ViewController,继承UITableViewController
步骤三:点击ViewController.m,可以看到如下代码,里面自动生成了很多方法。

然后敲入如下代码:
AppDelegate.m
//
//  AppDelegate.m
//  UITableViewControllerApp
//
//  Created by Apple on 16/5/25.
//  Copyright © 2016年 Apple. All rights reserved.
//

#import "AppDelegate.h"
#import "ViewController.h"

@interface AppDelegate ()

@end

@implementation AppDelegate


- (BOOL)application:(UIApplication *)application didFinishLaunchingWithOptions:(NSDictionary *)launchOptions {

    self.window = [[UIWindow alloc] initWithFrame:[[UIScreen mainScreen] bounds]];
    self.window.backgroundColor = [UIColor whiteColor];
    ViewController* viewController = [[ViewController alloc] initWithStyle:UITableViewStyleGrouped];
    self.window.rootViewController = viewController;
    [self.window makeKeyAndVisible];

    return YES;
}


@end
ViewController.m
//
//  ViewController.m
//  UITableViewControllerApp
//
//  Created by Apple on 16/5/25.
//  Copyright © 2016年 Apple. All rights reserved.
//

#import "ViewController.h"

@interface ViewController ()

@end

@implementation ViewController

NSMutableArray* list;
UITableView* tableView;

- (void)viewDidLoad {
    [super viewDidLoad];

    //创建一个数组,存储需要显示的数据
    // 初始化NSMutableArray集合
    list = [[NSMutableArray alloc] initWithObjects:@"瑞文",
            @"马尔扎哈",
            @"劫",
            @"潘森",
            @"艾克",
            @"提莫" , nil];

    [self.tableView registerClass:[UITableViewCell class] forCellReuseIdentifier:@"reuseIdentifier"];

}


#pragma mark - Table view data source

- (NSInteger)numberOfSectionsInTableView:(UITableView *)tableView {
#warning Potentially incomplete method implementation.
    // Return the number of sections.
    return 1;
}

- (NSInteger)tableView:(UITableView *)tableView numberOfRowsInSection:(NSInteger)section {
#warning Incomplete method implementation.
    // Return the number of rows in the section.
    return [list count];
}


- (UITableViewCell *)tableView:(UITableView *)tableView cellForRowAtIndexPath:(NSIndexPath *)indexPath {
    UITableViewCell *cell = [tableView dequeueReusableCellWithIdentifier:@"reuseIdentifier" forIndexPath:indexPath];

    cell.textLabel.text = [list objectAtIndex:indexPath.row];

    return cell;
}

/*
// Override to support conditional editing of the table view.
- (BOOL)tableView:(UITableView *)tableView canEditRowAtIndexPath:(NSIndexPath *)indexPath {
    // Return NO if you do not want the specified item to be editable.
    return YES;
}
*/

/*
// Override to support editing the table view.
- (void)tableView:(UITableView *)tableView commitEditingStyle:(UITableViewCellEditingStyle)editingStyle forRowAtIndexPath:(NSIndexPath *)indexPath {
    if (editingStyle == UITableViewCellEditingStyleDelete) {
        // Delete the row from the data source
        [tableView deleteRowsAtIndexPaths:@[indexPath] withRowAnimation:UITableViewRowAnimationFade];
    } else if (editingStyle == UITableViewCellEditingStyleInsert) {
        // Create a new instance of the appropriate class, insert it into the array, and add a new row to the table view
    }
}
*/

/*
// Override to support rearranging the table view.
- (void)tableView:(UITableView *)tableView moveRowAtIndexPath:(NSIndexPath *)fromIndexPath toIndexPath:(NSIndexPath *)toIndexPath {
}
*/

/*
// Override to support conditional rearranging of the table view.
- (BOOL)tableView:(UITableView *)tableView canMoveRowAtIndexPath:(NSIndexPath *)indexPath {
    // Return NO if you do not want the item to be re-orderable.
    return YES;
}
*/

/*
#pragma mark - Navigation

// In a storyboard-based application, you will often want to do a little preparation before navigation
- (void)prepareForSegue:(UIStoryboardSegue *)segue sender:(id)sender {
    // Get the new view controller using [segue destinationViewController].
    // Pass the selected object to the new view controller.
}
*/

@end
效果图如下:


 2万+
2万+


 被折叠的 条评论
为什么被折叠?
被折叠的 条评论
为什么被折叠?
 到【灌水乐园】发言


