


添加标题或封面图片
[](your GitHub link)
添加浮动图像或 GIF
<img align="right" alt="Coding" width="400" src="add your link here">

社交图标部分
<h3 align="left">Connect with me:</h3>
<p align="left">
<a href="your link" target="blank"><img align="center" src="https://cdn.jsdelivr.net/npm/simple-icons@3.0.1/icons/twitter.svg" alt="" height="30" width="40" /></a>
<a href="your link" target="blank"><img align="center" src="https://cdn.jsdelivr.net/npm/simple-icons@3.0.1/icons/linkedin.svg" alt="" height="30" width="40" /></a>
<a href="your link" target="blank"><img align="center" src="https://cdn.jsdelivr.net/npm/simple-icons@3.0.1/icons/instagram.svg" alt="" height="30" width="40" /></a>
<a href="your link" target="blank"><img align="center" src="https://cdn.jsdelivr.net/npm/simple-icons@3.0.1/icons/youtube.svg" alt="" height="30" width="40" /></a>
</p>
语言和工具部分
<h3 align="left">Languages and Tools:</h3>
<p align="left"> <a href="https://www.cprogramming.com/" target="\_blank"> <img src="https://devicons.github.io/devicon/devicon.git/icons/c/c-original.svg" alt="c" width="40" height="40"/> </a> <a href="https://www.w3schools.com/cpp/" target="\_blank"> <img src="https://devicons.github.io/devicon/devicon.git/icons/cplusplus/cplusplus-original.svg" alt="cplusplus" width="40" height="40"/> </a> <a href="https://www.w3schools.com/css/" target="\_blank"> <img src="https://devicons.github.io/devicon/devicon.git/icons/css3/css3-original-wordmark.svg" alt="css3" width="40" height="40"/> </a> <a href="https://www.figma.com/" target="\_blank"> <img src="https://www.vectorlogo.zone/logos/figma/figma-icon.svg" alt="figma" width="40" height="40"/> </a> <a href="https://flutter.dev" target="\_blank"> <img src="https://www.vectorlogo.zone/logos/flutterio/flutterio-icon.svg" alt="flutter" width="40" height="40"/> </a> <a href="https://git-scm.com/" target="\_blank"> <img src="https://www.vectorlogo.zone/logos/git-scm/git-scm-icon.svg" alt="git" width="40" height="40"/> </a> <a href="https://www.w3.org/html/" target="\_blank"> <img src="https://devicons.github.io/devicon/devicon.git/icons/html5/html5-original-wordmark.svg" alt="html5" width="40" height="40"/> </a> <a href="https://www.linux.org/" target="\_blank"> <img src="https://devicons.github.io/devicon/devicon.git/icons/linux/linux-original.svg" alt="linux" width="40" height="40"/> </a> <a href="https://www.photoshop.com/en" target="\_blank"> <img src="https://devicons.github.io/devicon/devicon.git/icons/photoshop/photoshop-plain.svg" alt="photoshop" width="40" height="40"/> </a> <a href="https://www.python.org" target="\_blank"> <img src="https://devicons.github.io/devicon/devicon.git/icons/python/python-original.svg" alt="python" width="40" height="40"/> </a> </p>
GitHub streak
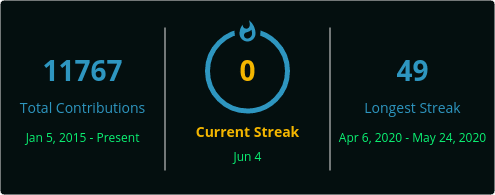
1.将下面的 markdown 复制粘贴到您的 GitHub 个人资料自述文件中
1.将 ?user= 之后的值替换为您的 GitHub 用户名
[](https://git.io/streak-stats)
在这里定制👉点击我!
Spotify 播放
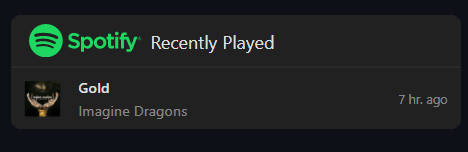
github上查看:https://github.com/JeffreyCA/spotify-recently-played-readme
徽章 - 盾牌
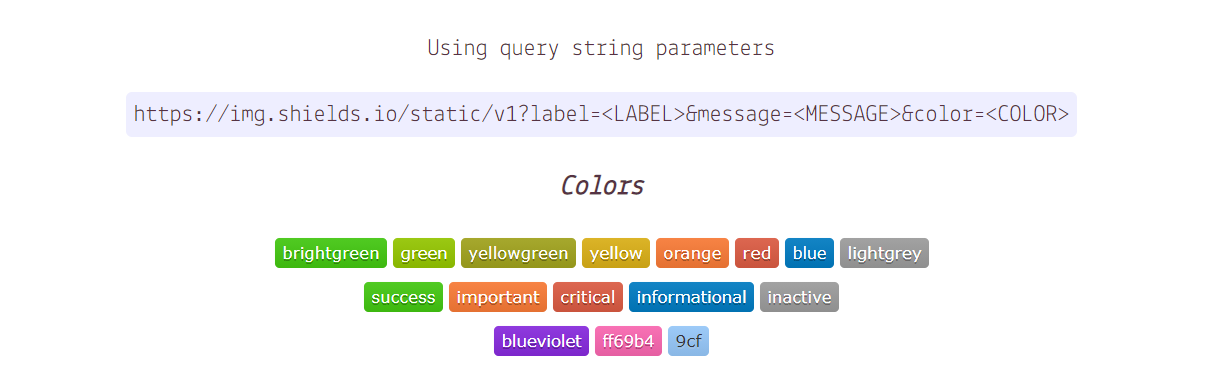
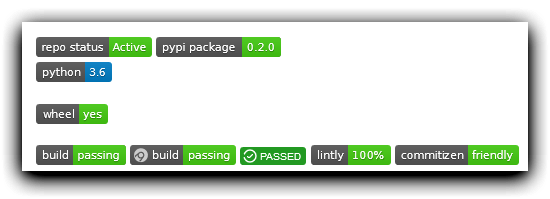
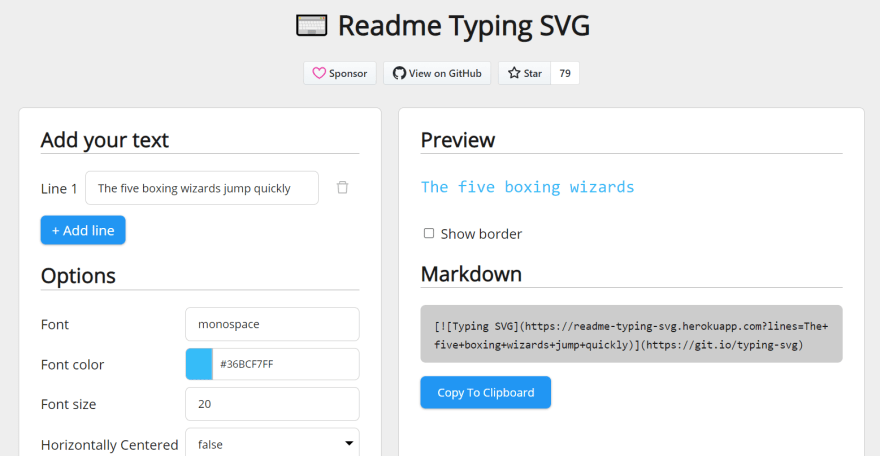
自述文件输入 SVG ⌨️
观看次数计数器

GitHub 上查看:https://github.com/antonkomarev/github-profile-views-counter
博客帖子工作流程
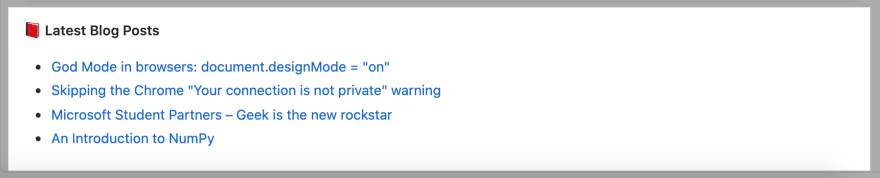
GitHub 上查看:https://github.com/gautamkrishnar/blog-post-workflow
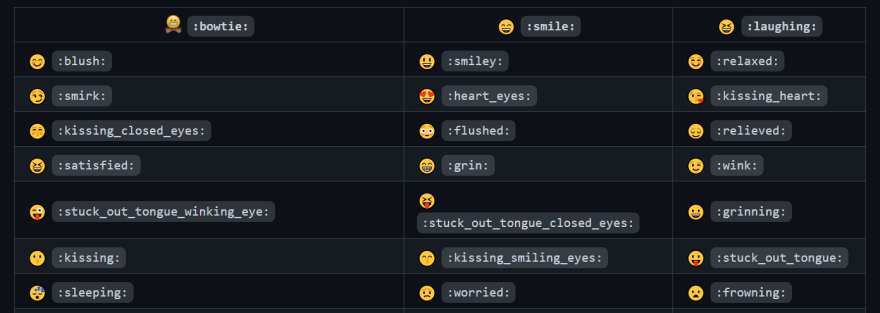
添加表情符号
自述文件引用
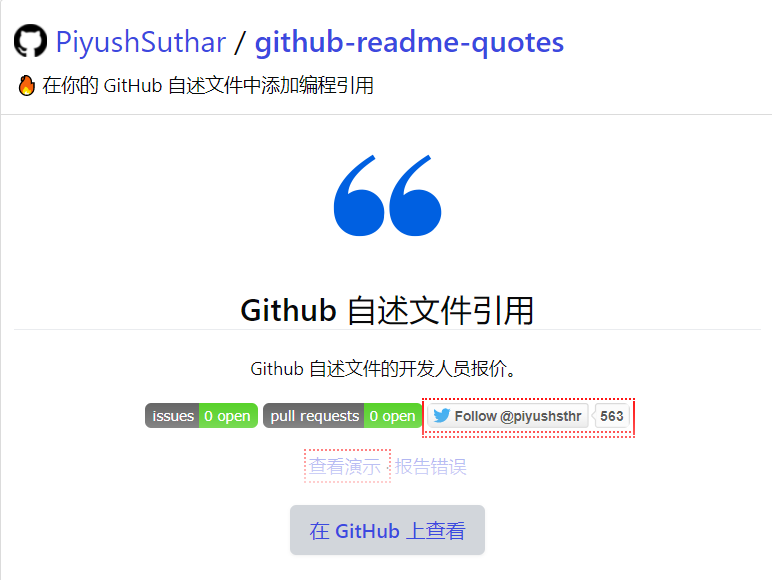
GitHub 上查看:https://github.com/PiyushSuthar/github-readme-quotes
开发指标
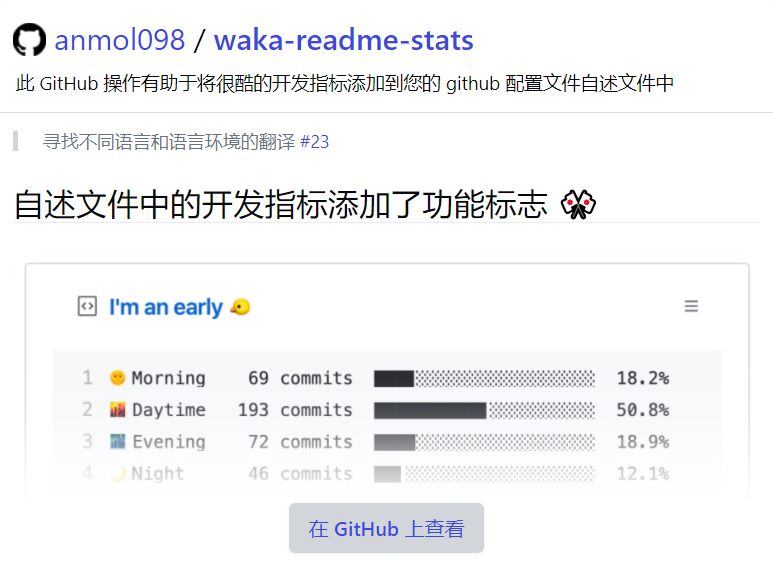
GitHub 上查看:https://github.com/anmol098/waka-readme-stats
4. 替代方式!
如果您发现以上有点复杂了,请不要担心!
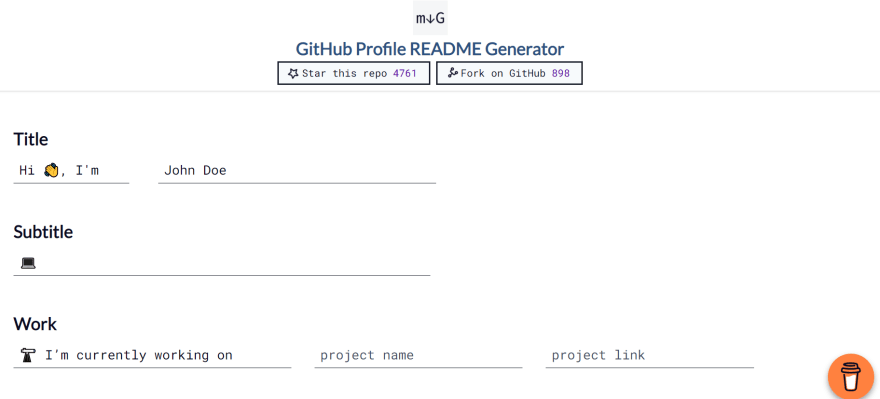
这是如何做到的(简单的方法)
由 rahuldkjain 创建的 GitHub 配置文件 README 生成器
👉( https://rahuldkjain.github.io/gh-profile-readme-generator/ )
- GitHub 分析器
👉试试 GitHub 存储库
或者
1.您可以简单地分叉某人的存储库
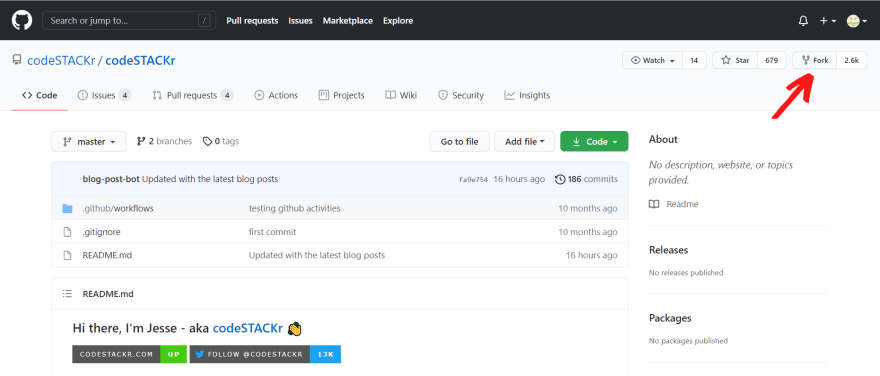
2.单击README 文件中的编辑图标

3.复制代码并将其粘贴到您的自述文件中。当然,您可以根据自己的选择进行修改。

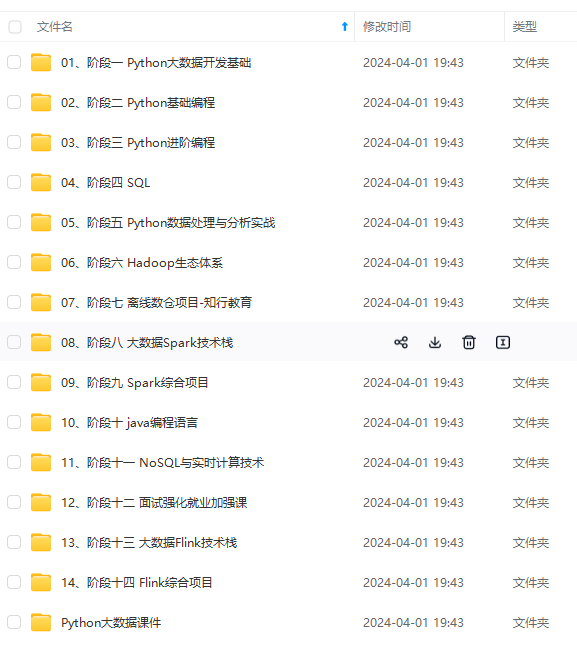
既有适合小白学习的零基础资料,也有适合3年以上经验的小伙伴深入学习提升的进阶课程,涵盖了95%以上大数据知识点,真正体系化!
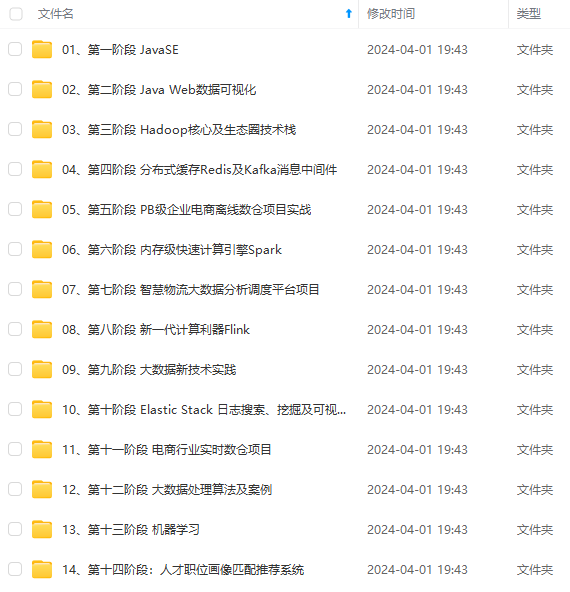
由于文件比较多,这里只是将部分目录截图出来,全套包含大厂面经、学习笔记、源码讲义、实战项目、大纲路线、讲解视频,并且后续会持续更新
]
[外链图片转存中…(img-x7eq0MZV-1714180984026)]
既有适合小白学习的零基础资料,也有适合3年以上经验的小伙伴深入学习提升的进阶课程,涵盖了95%以上大数据知识点,真正体系化!
由于文件比较多,这里只是将部分目录截图出来,全套包含大厂面经、学习笔记、源码讲义、实战项目、大纲路线、讲解视频,并且后续会持续更新


 3076
3076


 被折叠的 条评论
为什么被折叠?
被折叠的 条评论
为什么被折叠?
 到【灌水乐园】发言


