


先自我介绍一下,小编浙江大学毕业,去过华为、字节跳动等大厂,目前阿里P7
深知大多数程序员,想要提升技能,往往是自己摸索成长,但自己不成体系的自学效果低效又漫长,而且极易碰到天花板技术停滞不前!
因此收集整理了一份《2024年最新Java开发全套学习资料》,初衷也很简单,就是希望能够帮助到想自学提升又不知道该从何学起的朋友。
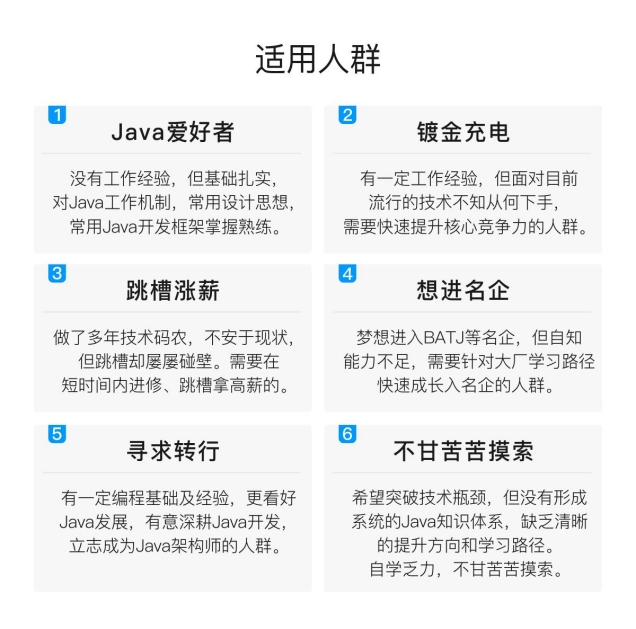

既有适合小白学习的零基础资料,也有适合3年以上经验的小伙伴深入学习提升的进阶课程,涵盖了95%以上Java开发知识点,真正体系化!
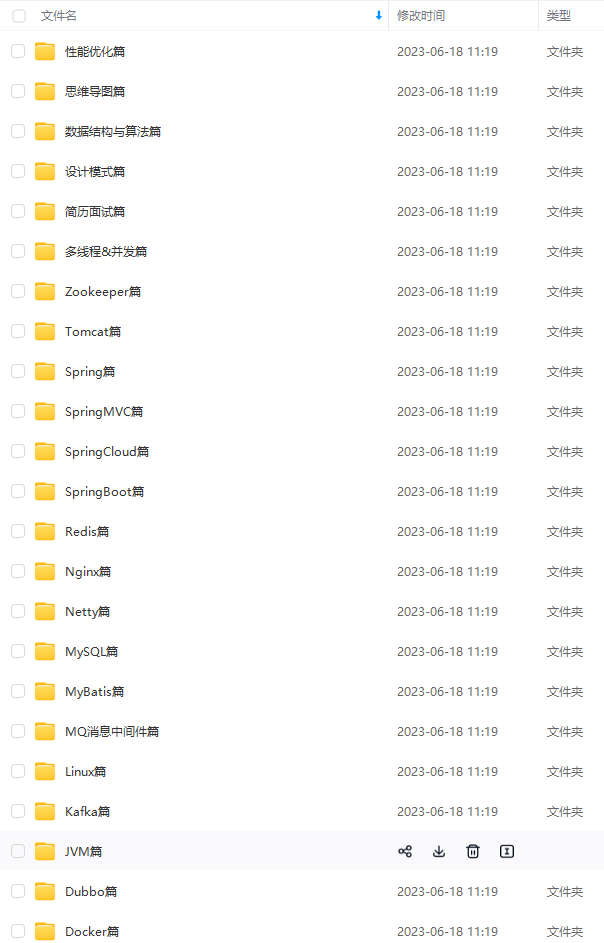
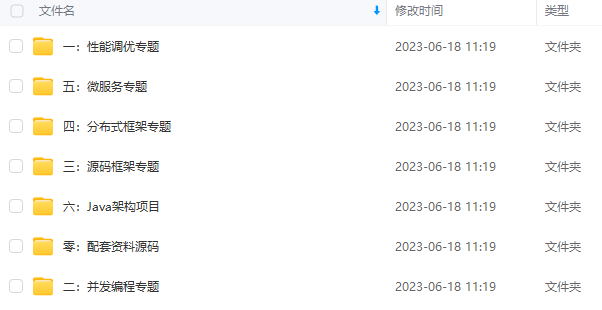
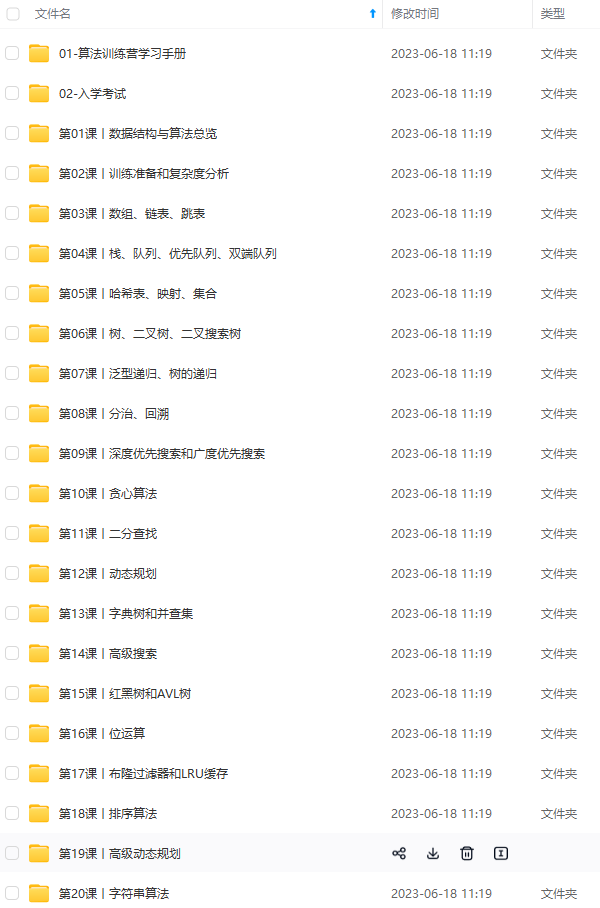
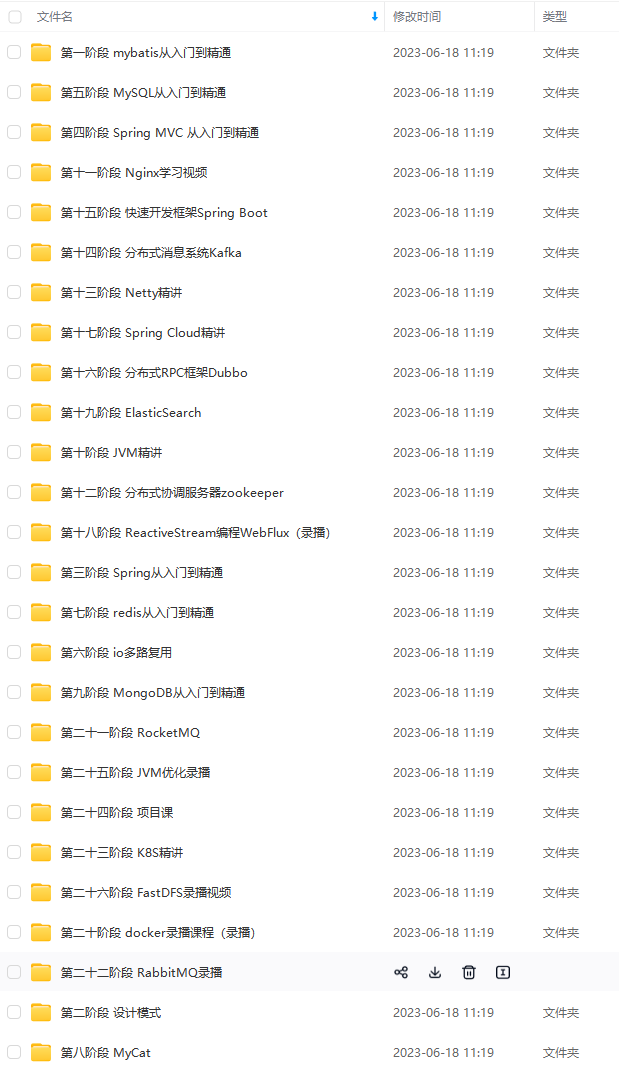
由于文件比较多,这里只是将部分目录截图出来,全套包含大厂面经、学习笔记、源码讲义、实战项目、大纲路线、讲解视频,并且后续会持续更新
如果你需要这些资料,可以添加V获取:vip1024b (备注Java)

正文
-
(last.next == null && last.item != null)
*/
// 双向链表指向尾节点的指针
transient Node last;
}
从以上源码可以看出,LinkedList 的属性比较少。分别是:
-
size : 双向链表的节点个数
-
first: 双向链表指向头节点的指针
-
last: 双向链表指向尾节点的指针
注意:first 和 last 是由引用类型Node连接的,这是它的一个内部类。
Node源码剖析
private static class Node {
// item表示当前存储元素
E item;
// next表示当前节点的后置节点
Node next;
// prev表示当前节点的前置节点
Node prev;
Node(Node prev, E element, Node next) {
this.item = element;
this.next = next;
this.prev = prev;
}
}
LinkedList 是通过双向链表实现的,而双向链表就是通过Node类来实现的,Node类中通过item变量存储当前元素,通过next变量指向当前节点的下一个节点,通过prev变量指向当前节点的上一个节点。
二、构造方法及其源码剖析
1. 无参构造方法
源码剖析
/**
- Constructs an empty list.
*/
public LinkedList() {
}
LinkedList 的无参构造就是构造一个空的list集合
2. Collection<? extends E>型构造方法
源码剖析
/**
-
Constructs a list containing the elements of the specified
-
collection, in the order they are returned by the collection’s
-
iterator.
-
@param c the collection whose elements are to be placed into this list
-
@throws NullPointerException if the specified collection is null
*/
public LinkedList(Collection<? extends E> c) {
this();
addAll©;
}
从源码中分析可得:
构造一个包含指定集合的元素的列表,按照它们由集合的迭代器返回的顺序。
三、常用方法及其源码剖析
1. add() 方法
add(E e) 方法,将指定的元素追加到此列表的末尾
源码剖析
/**
-
Appends the specified element to the end of this list.
-
This method is equivalent to {@link #addLast}.
-
@param e element to be appended to this list
-
@return {@code true} (as specified by {@link Collection#add})
*/
public boolean add(E e) {
linkLast(e);
return true;
}
其中,调用了linkLast()方法,设置元素e为最后一个元素
/**
- Links e as last element.
*/
void linkLast(E e) {
// 获取链表的最后一个节点
final Node l = last;
// 创建一个新节点
final Node newNode = new Node<>(l, e, null);
// 使新的一个节点为最后一个节点
last = newNode;
// 如果最后一个节点为null,则表示链表为空,则将newNode赋值给first节点
if (l == null)
first = newNode;
else
// 否则尾节点的last指向 newNode
l.next = newNode;
// 元素的个数加1
size++;
// 修改次数自增
modCount++;
}
总结:
- 第一步,获取链表的最后一个节点
- 第二步,创建一个新节点
- 第三步,使新的一个节点为最后一个节点
- 第四步,如果最后一个节点为null,则表示链表为空,则将newNode赋值给first节点;否则尾节点的last指向 newNode
add(int index, E element) 方法,在指定位置插入元素
源码剖析
/**
-
Inserts the specified element at the specified position in this list.
-
Shifts the element currently at that position (if any) and any
-
subsequent elements to the right (adds one to their indices).
-
@param index index at which the specified element is to be inserted
-
@param element element to be inserted
-
@throws IndexOutOfBoundsException {@inheritDoc}
*/
public void add(int index, E element) {
// 检查索引index的位置
checkPositionIndex(index);
// 如果index==size,直接在链表的最后插入元素,相当于add(E e)方法
if (index == size)
linkLast(element);
else
// 否则调用node方法将index位置的节点找出,接着调用linkBefore 方法
linkBefore(element, node(index));
}
总结:
- 首先检查索引index的位置,看下标是否越界
- 如果index==size,直接在链表的最后插入元素,相当于add(E e)方法
- 否则调用node方法将index位置的节点找出,接着调用linkBefore 方法
其中,调用checkPositionIndex()方法,检查索引index的位置
源码剖析
private void checkPositionIndex(int index) {
if (!isPositionIndex(index))
throw new IndexOutOfBoundsException(outOfBoundsMsg(index));
}
在增加元素的时候,调用了linkBefore()方法,在非null节点succ之前插入元素e
源码剖析
/**
- Inserts element e before non-null Node succ.
*/
void linkBefore(E e, Node succ) {
// assert succ != null;
// 指定节点的前驱
final Node pred = succ.prev;
// 创建新的节点,前驱节点为succ的前驱节点,后续节点为succ,则e元素就是插入在succ之前的
final Node newNode = new Node<>(pred, e, succ);
// 构建双向链表,succ的前驱节点为新的节点
succ.prev = newNode;
// 如果前驱节点为null,则把newNode赋值给first
if (pred == null)
first = newNode;
else
// 构建双向列表
pred.next = newNode;
// 元素的个数加
size++;
// 修改次数自增
modCount++;
}
总结:
- 指定节点的前驱
- 创建新的节点,前驱节点为succ的前驱节点,后续节点为succ,则e元素就是插入在succ之前的
- 构建双向链表,succ的前驱节点为新的节点
- 如果前驱节点为null,则把newNode赋值给first;否则构建双向列表
2. remove() 方法
remove() 方法 删除这个列表的头(第一个元素)
源码剖析
/**
-
Retrieves and removes the head (first element) of this list.
-
@return the head of this list
-
@throws NoSuchElementException if this list is empty
-
@since 1.5
*/
public E remove() {
return removeFirst();
}
其中,调用了removeFirst()方法,删除并返回第一个元素
源码剖析
/**
-
Removes and returns the first element from this list.
-
@return the first element from this list
-
@throws NoSuchElementException if this list is empty
*/
public E removeFirst() {
final Node f = first;
if (f == null)
throw new NoSuchElementException();
return unlinkFirst(f);
}
remove(int index) 方法,删除指定位置的元素
源码剖析
/**
-
Removes the element at the specified position in this list. Shifts any
-
subsequent elements to the left (subtracts one from their indices).
-
Returns the element that was removed from the list.
-
@param index the index of the element to be removed
-
@return the element previously at the specified position
-
@throws IndexOutOfBoundsException {@inheritDoc}
*/
public E remove(int index) {
// 检查索引index的位置
checkElementIndex(index);
// 调用node方法获取节点,接着调用unlink(E e)方法
return unlink(node(index));
}
总结:
- 检查索引index的位置
- 调用node方法获取节点,接着调用unlink(E e)方法
其中,调用了unlink()方法
源码剖析
/**
- Unlinks non-null node x.
*/
E unlink(Node x) {
// assert x != null;
// 获得节点的三个属性
final E element = x.item;
final Node next = x.next;
final Node prev = x.prev;
// 进行移除该元素之后的操作
if (prev == null) {
// 删除的是第一个元素
first = next;
} else {
prev.next = next;
x.prev = null;
}
if (next == null) {
// 删除的是最后一个元素
last = prev;
} else {
next.prev = prev;
x.next = null;
}
// 把item置为null,让垃圾回收器回收
x.item = null;
// 移除一个节点,size自减
size–;
modCount++;
return element;
}
3. set() 方法
set(int index, E element)方法,将指定下标处的元素修改成指定值
源码剖析
/**
-
Replaces the element at the specified position in this list with the
-
specified element.
-
@param index index of the element to replace
-
@param element element to be stored at the specified position
-
@return the element previously at the specified position
-
@throws IndexOutOfBoundsException {@inheritDoc}
*/
public E set(int index, E element) {
checkElementIndex(index);
// 通过node(int index)找到对应下标的元素
Node x = node(index);
// 取出该节点的元素,供返回使用
E oldVal = x.item;
// 用新元素替换旧元素
x.item = element;
// 返回旧元素
return oldVal;
}
总结:
先通过node(int index)找到对应下标的元素,然后修改Node中item的值。
4. get() 方法
get(int index) 返回此列表中指定位置的元素
源码剖析
public E get(int index) {
// 检查索引index的位置
checkElementIndex(index);
// 调用node()方法
return node(index).item;
}
在此调用了node()方法
源码剖析
/**
- Returns the (non-null) Node at the specified element index.
*/
// 这里查询使用的是先从中间分一半查找
Node node(int index) {
// assert isElementIndex(index);
// 从前半部分进行查找
if (index < (size >> 1)) {
Node x = first;
for (int i = 0; i < index; i++)
x = x.next;
return x;
} else {
// 从后半部分进行查找
Node x = last;
for (int i = size - 1; i > index; i–)
x = x.prev;
return x;
}
}
总结:
这里查询使用的是先从中间分一半查找,根据下标是否超过链表长度的一半,来选择从前半部分开始遍历查找,还是从后半部分开始遍历查找。
- 如果index小于size的一半,就从首节点开始遍历,一直获取x的下一个节点
- 如果index大于或等于size的一半,就从尾节点开始遍历,一直获取x的上一个节点
四、双端队列操作方法的源码剖析
offerFirst(E e) 方法,将指定的元素插入到此集合列表的前面,也就是将将元素添加到首部
源码剖析
/**
-
Inserts the specified element at the front of this list.
-
@param e the element to insert
-
@return {@code true} (as specified by {@link Deque#offerFirst})
-
@since 1.6
*/
分享
这次面试我也做了一些总结,确实还有很多要学的东西。相关面试题也做了整理,可以分享给大家,了解一下面试真题,想进大厂的或者想跳槽的小伙伴不妨好好利用时间来学习。学习的脚步一定不能停止!

Spring Cloud实战

Spring Boot实战

面试题整理(性能优化+微服务+并发编程+开源框架+分布式)
网上学习资料一大堆,但如果学到的知识不成体系,遇到问题时只是浅尝辄止,不再深入研究,那么很难做到真正的技术提升。
需要这份系统化的资料的朋友,可以添加V获取:vip1024b (备注Java)

一个人可以走的很快,但一群人才能走的更远!不论你是正从事IT行业的老鸟或是对IT行业感兴趣的新人,都欢迎加入我们的的圈子(技术交流、学习资源、职场吐槽、大厂内推、面试辅导),让我们一起学习成长!
半,就从尾节点开始遍历,一直获取x的上一个节点
四、双端队列操作方法的源码剖析
offerFirst(E e) 方法,将指定的元素插入到此集合列表的前面,也就是将将元素添加到首部
源码剖析
/**
-
Inserts the specified element at the front of this list.
-
@param e the element to insert
-
@return {@code true} (as specified by {@link Deque#offerFirst})
-
@since 1.6
*/
分享
这次面试我也做了一些总结,确实还有很多要学的东西。相关面试题也做了整理,可以分享给大家,了解一下面试真题,想进大厂的或者想跳槽的小伙伴不妨好好利用时间来学习。学习的脚步一定不能停止!
[外链图片转存中…(img-CJzPQd4u-1713140742362)]
Spring Cloud实战
[外链图片转存中…(img-Bgkvg1Kv-1713140742362)]
Spring Boot实战
[外链图片转存中…(img-RstRE8k8-1713140742362)]
面试题整理(性能优化+微服务+并发编程+开源框架+分布式)
网上学习资料一大堆,但如果学到的知识不成体系,遇到问题时只是浅尝辄止,不再深入研究,那么很难做到真正的技术提升。
需要这份系统化的资料的朋友,可以添加V获取:vip1024b (备注Java)
[外链图片转存中…(img-BbtcLxtU-1713140742364)]
一个人可以走的很快,但一群人才能走的更远!不论你是正从事IT行业的老鸟或是对IT行业感兴趣的新人,都欢迎加入我们的的圈子(技术交流、学习资源、职场吐槽、大厂内推、面试辅导),让我们一起学习成长!


 327
327

 被折叠的 条评论
为什么被折叠?
被折叠的 条评论
为什么被折叠?
 到【灌水乐园】发言


