


最近一个时期可以看到我的博客文章都是围绕系统截屏展开的,从Spectale到FlameShot再到X11/Xlib,及至最近的libX11,都是在设法找到工作中遇到的一个比较严重的Bug的根源——截屏的时候截取到的(有时甚至很多时候)不是当前屏幕的内容。问题的细节及复现过程描述如下:
问题细节
一开始的时候系统中只有Spectacle,有些人在使用飞书截屏的时候发现截取的屏幕并不是当前的屏幕。进而不使用飞书、而直接通过键盘的“截屏”按键(笔者电脑是Fn+PrtSrc)发现反复截屏后也会出现同样问题(截屏按键调用的是Spectacle),于是将此问题上报。
笔者在进行测试时,将问题现象更进一步细化。使用飞书截屏的时候非常容易复现,而不使用飞书的时候概率低得多。一度以为是飞书截屏导致了问题,直到有一次完全不启动飞书,通过截屏键反复截屏,最终也复现了问题,这才确定飞书只是问题的催化剂,而并不是问题的根因。
为了验证是否是Spectacle自身的问题,使用了另外一个截屏工具——Flameshot。测试中发现Flameshot截屏出现问题的概率远高于Spectacle,基本上几次就会出现。
由于Spectacle和Flameshot都是基于Qt的,为了排除Qt的影响,写了一个基于Xlib的XWindow程序,完全与Qt无关,结果经过测试,问题现象仍然相同。
而且不论是Spectacle、Flameshot还是Xlib,重启后的几次一般不出问题,但几次之后一旦出现问题,基本上就一直出现同样的问题了(偶尔会消失,但很快又出现问题)。还有一点,有时感觉上是截取的几秒之前的屏幕;而更多时候一旦出现问题,似乎是掉进了一个环形缓冲,截取的内容是循环出现的。
从现象上分析,应该是图层的内容合成有问题,也有可能是获取的屏幕内容的序列不对。可能是Xorg的问题,也可能是Compositor的问题,还可能是显卡等相关驱动的问题。
问题探索
问题探索的过程无需多说了,可以参见之前的一系列文章。最终由应用一直分析到了上一篇文章,即《X11 Xlib截屏问题及深入分析五 —— XOpenDisplay函数源码分析(2)》。这只是冰山一角,再往下分析,需要研究Xlib、Xorg0Server、Xcb、显卡驱动等等内容……
问题解决
在百度搜索关键字“xorg 截屏”,无意间发现了解决方法!在此要特别非常感谢以下链接中博主分享的内容:
解决kde/flameshot/spectacle on x11 截屏错乱问题 - oaksharks - 博客园
这篇博客中提到的问题和我实际遇到的完全一致,提供的解决方法也完全有效。应该说,如果没有这篇文章,至少还需要几个月甚至空拍是半年的时间才能从源码上分析清楚,那时候黄花菜都凉了……
现将以上博客中提到的解决方法,结合我实际操作的过程记录在此,供后来同样遇到此问题的人参考,为他们提供方便,无需重走我的复杂而艰辛的探索过程。
先把原贴全部贴出来:
解决kde/flameshot/spectacle on x11 截屏错乱问题
现象:
截屏截不到应用,一进入截图页面应用就跳转,要么跳转到其他应用,要不跳转到已经关闭的应用。不管是flameshot或者spectacle 都是这样,其他用户发现的这个问题参考:
- https://bbs.archlinuxcn.org/viewtopic.php?id=12182
- https://github.com/flameshot-org/flameshot/issues/1677
原因以及解决建议:
原因: x11 使用了 intel的驱动导致的。
建议: 卸载intel的驱动,使用其他驱动代替。解决过程:
卸载xf86-video-intel并确保目录/etc/X11/xorg.conf.d/没有关于intel的配置
sudo pacman -Rns xf86-video-intel

ls -l /etc/X11/xorg.conf.d/  # 检查此目录没有关于intel的配置
卸载后重启卡开机界面黑屏了。切换到tty2,按ctl+alt+f2 手动启动x:
startx根据报错日志查看,/var/log、Xorg.0.log 发现日志提示 Failed to load driver intel,推测应该是X的配置中是用了intel的驱动,然后由被卸载了导致的,查看配置文件 /etc/X11/xorg.conf:
...
Section "Device"
    Identifier     "Device0"
    Driver         "intel"
    VendorName     "Intel Corporation"
    BusID          "PCI:0:2:0"
EndSection

...
X的配置文件中显示显卡设备用的是intel的Driver。
在https://wiki.archlinux.org/title/Intel_graphics#Installation 中看到:
- 安装了mesa 这个包就有驱动了。
- 一般不推荐使用xf86-video-intel可以使用modesetting 这个驱动代替。
一个可行的方法是把"Device"中的"Driver"改成"modesetting",我是重新生成了一下X的配置文件:
sudo mv /etc/X11/xorg.conf /etc/X11/xorg.conf.bak
sudo systemctl stop sddm  # 必须在x停止的情况下才能重新生成配置文件,通过停掉sddm 关闭X
sudo xorg -configure # 生成配置文件到 /root/xorg.conf.new

sudo mv /root/xorg.conf.new /etc/X11/xorg.conf
检查新生成的文件:
....
Section "Device"
        Identifier  "Card0"
        Driver      "modesetting"
        BusID       "PCI:0:2:0"
EndSection

...
新的配置文件已经不在使用intel驱动了,重启。
重启发现磁盘clean日志之后直接就黑屏了,再切换到tty2,查看系统日志:jounalctl -f日志中提示是关于nouveau的错误。查看当前是否加载了这个模块:
lsmod |grep nouveau由于不打算使用nvidia显卡,直接屏蔽这个驱动,添加配置文件 /etc/modprobe.d/blacklist_nouveau.conf,内容:
blacklist nouveau

options nouveau modeset=0
重启,正常启动,也不在加载nouveau模块,flameshot功能正常了。
参考:
https://bbs.archlinuxcn.org/viewtopic.php?id=12182
https://github.com/flameshot-org/flameshot/issues/1677
https://wiki.archlinux.org/title/Flameshot
https://wiki.archlinux.org/title/Intel_graphics#Installation
对照以上文章中的解决过程,列出笔者实际的解决过程:
1. 通过Ctrl+Alt+F2/F3/F4/F5/F6打开控制台,输入root用户名和密码,登录
2. 将/etc/X11/xorg.conf.d/20-intel
root [ ~ ]# mv /etc/X11/xorg.conf.d/20-intel.conf /etc/X11/xorg.conf.d/20-intel.conf.bak3. 停止sddm(由于笔者的/etc/X11/下并没有xorg.conf文件,因此不需要备份原始文件)
systemctl stop sddm4. 生成配置文件
root [ ~ ]# Xorg -configure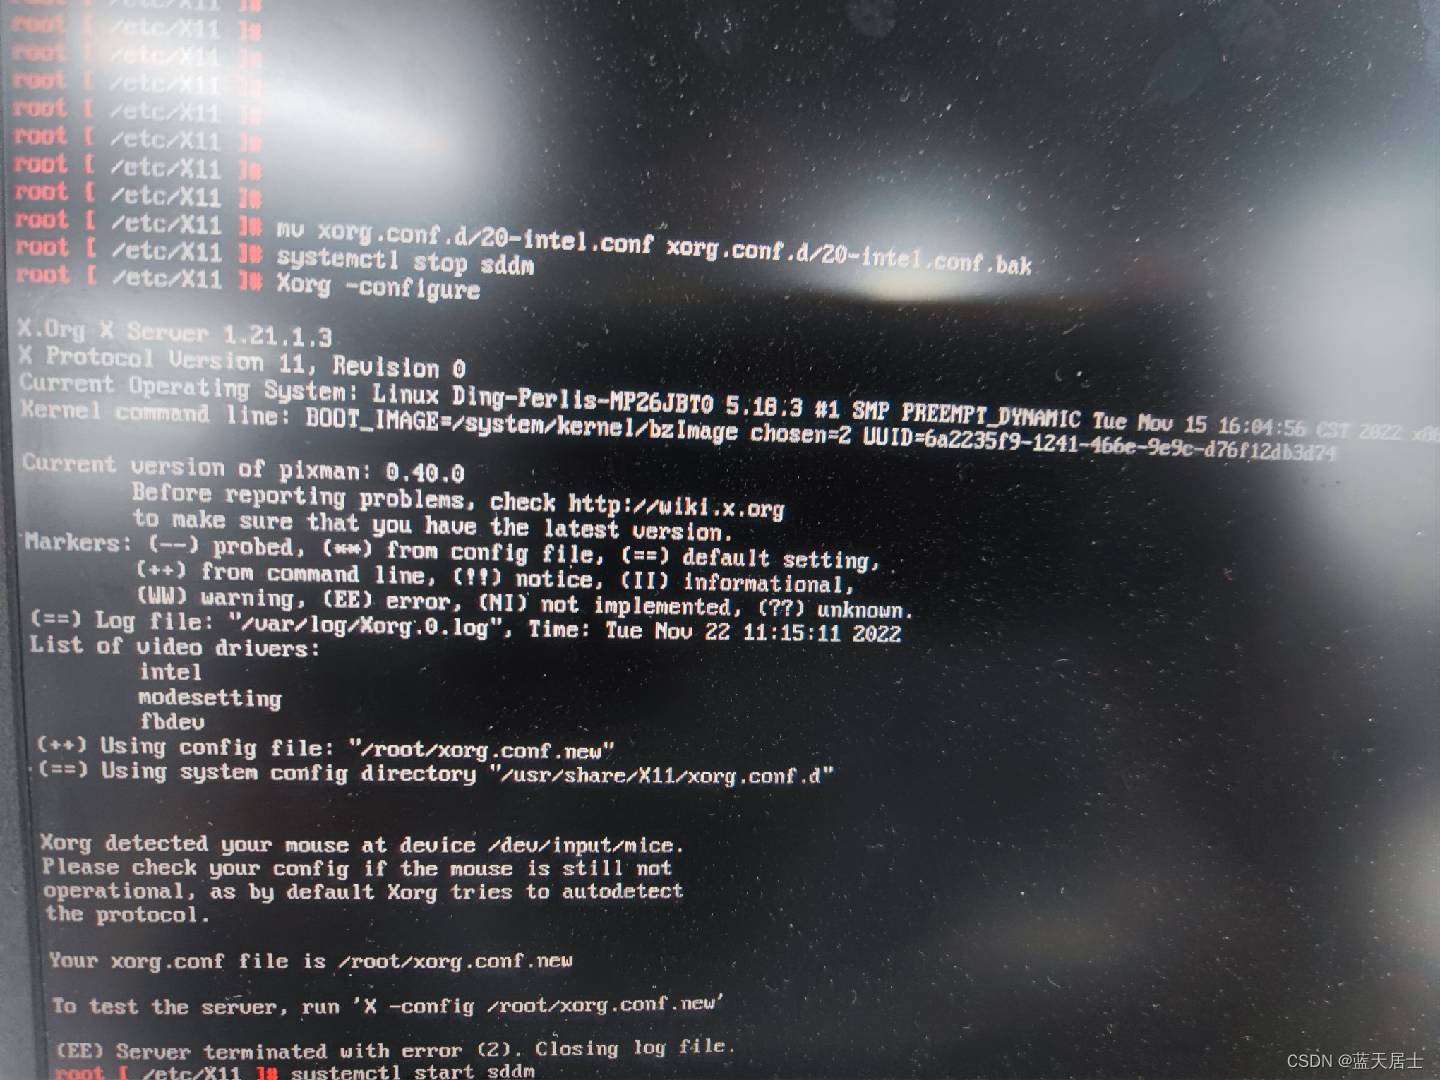
5. 重命名配置文件
root [ ~ ]# mv /root/xorg.conf.new /etc/X11/xorg.confxorg.conf初始文件内容如下:
Section "ServerLayout"
Identifier "X.org Configured"
Screen 0 "Screen0" 0 0
InputDevice "Mouse0" "CorePointer"
InputDevice "Keyboard0" "CoreKeyboard"
EndSection
Section "Files"
ModulePath "/usr/lib/xorg/modules"
FontPath "/usr/share/fonts/X11/misc"
FontPath "/usr/share/fonts/X11/TTF"
FontPath "/usr/share/fonts/X11/OTF"
FontPath "/usr/share/fonts/X11/Type1"
FontPath "/usr/share/fonts/X11/100dpi"
FontPath "/usr/share/fonts/X11/75dpi"
EndSection
Section "Module"
Load "glx"
EndSection
Section "InputDevice"
Identifier "Keyboard0"
Driver "kbd"
EndSection
Section "InputDevice"
Identifier "Mouse0"
Driver "mouse"
Option "Protocol" "auto"
Option "Device" "/dev/input/mice"
Option "ZAxisMapping" "4 5 6 7"
EndSection
Section "Monitor"
Identifier "Monitor0"
VendorName "Monitor Vendor"
ModelName "Monitor Model"
EndSection
Section "Device"
### Available Driver options are:-
### Values: <i>: integer, <f>: float, <bool>: "True"/"False",
### <string>: "String", <freq>: "<f> Hz/kHz/MHz",
### <percent>: "<f>%"
### [arg]: arg optional
#Option "Accel" # [<bool>]
#Option "AccelMethod" # <str>
#Option "Backlight" # <str>
#Option "CustomEDID" # <str>
#Option "DRI" # <str>
#Option "Present" # [<bool>]
#Option "ColorKey" # <i>
#Option "VideoKey" # <i>
#Option "Tiling" # [<bool>]
#Option "LinearFramebuffer" # [<bool>]
#Option "HWRotation" # [<bool>]
#Option "VSync" # [<bool>]
#Option "PageFlip" # [<bool>]
#Option "SwapbuffersWait" # [<bool>]
#Option "TripleBuffer" # [<bool>]
#Option "XvPreferOverlay" # [<bool>]
#Option "HotPlug" # [<bool>]
#Option "ReprobeOutputs" # [<bool>]
#Option "XvMC" # [<bool>]
#Option "ZaphodHeads" # <str>
#Option "VirtualHeads" # <i>
#Option "TearFree" # [<bool>]
#Option "PerCrtcPixmaps" # [<bool>]
#Option "FallbackDebug" # [<bool>]
#Option "DebugFlushBatches" # [<bool>]
#Option "DebugFlushCaches" # [<bool>]
#Option "DebugWait" # [<bool>]
#Option "BufferCache" # [<bool>]
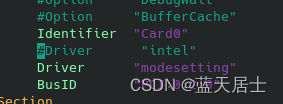
Identifier "Card0"
Driver "intel"
BusID "PCI:0:2:0"
EndSection
Section "Screen"
Identifier "Screen0"
Device "Card0"
Monitor "Monitor0"
SubSection "Display"
Viewport 0 0
Depth 1
EndSubSection
SubSection "Display"
Viewport 0 0
Depth 4
EndSubSection
SubSection "Display"
Viewport 0 0
Depth 8
EndSubSection
SubSection "Display"
Viewport 0 0
Depth 15
EndSubSection
SubSection "Display"
Viewport 0 0
Depth 16
EndSubSection
SubSection "Display"
Viewport 0 0
Depth 24
EndSubSection
EndSection
5. 修改默认驱动
将以上/etc/X11/xorg.conf文件中的Section:"Device"中的Driver项由"Intel"修改为"modesetting"。
6. 重启
执行以上步骤后,再次测试,问题就不存在了。
当然,这其实不是最好的解决方法。真正最好的解决方法是看懂Intel的源码并且改正过来,但是那恐怕需要很长的时间了。


 被折叠的 条评论
为什么被折叠?
被折叠的 条评论
为什么被折叠?
 到【灌水乐园】发言


