


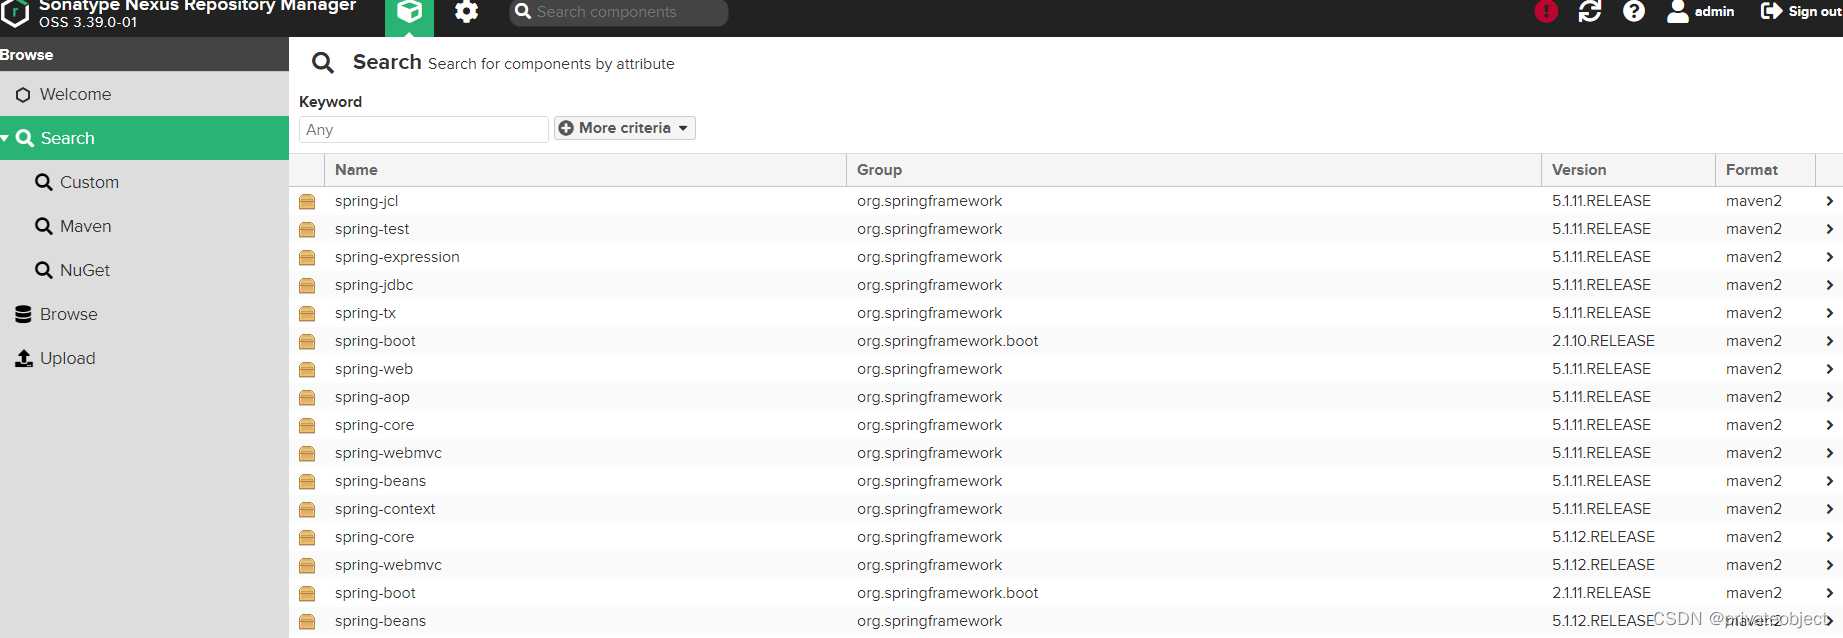
Nexus 是Maven仓库管理器,使用Maven,可以从Maven中央仓库 下载所需要的构件(artifact),但这通常不是一个好的做法,你应该在本地架设一个Maven仓库服务器,在代理远程仓库的同时维护本地仓库,以节省带宽和时间,Nexus就可以满足这样的需要。此外,他还提供了强大的仓库管理功能,构件搜索功能,它基于REST,友好的UI是一个extjs的REST客户端,它占用较少的内存,基于简单文件系统而非数据库。这些优点使其日趋成为最流行的Maven仓库管理器
参考
重点参考linux下搭建maven私服
Nexus仓库搭建及配置详解
windows 10系统下Nexus的下载安装
windows10安装nexus
CentOS 7 安装nexus
Maven 私服 Nexus 总是弹出错误框?禁用 Outreach 服务吧
docker 搭建nexus3私服
Maven 私服 Nexus 界面配置
centos7下安装Maven
使用 maven 自动将源码打包并发布
手动上传SNAPSHOT文件到Maven私服Nexus的方法
nexus如何上传快照SNAPSHOT
Maven命令行窗口指定settings.xml
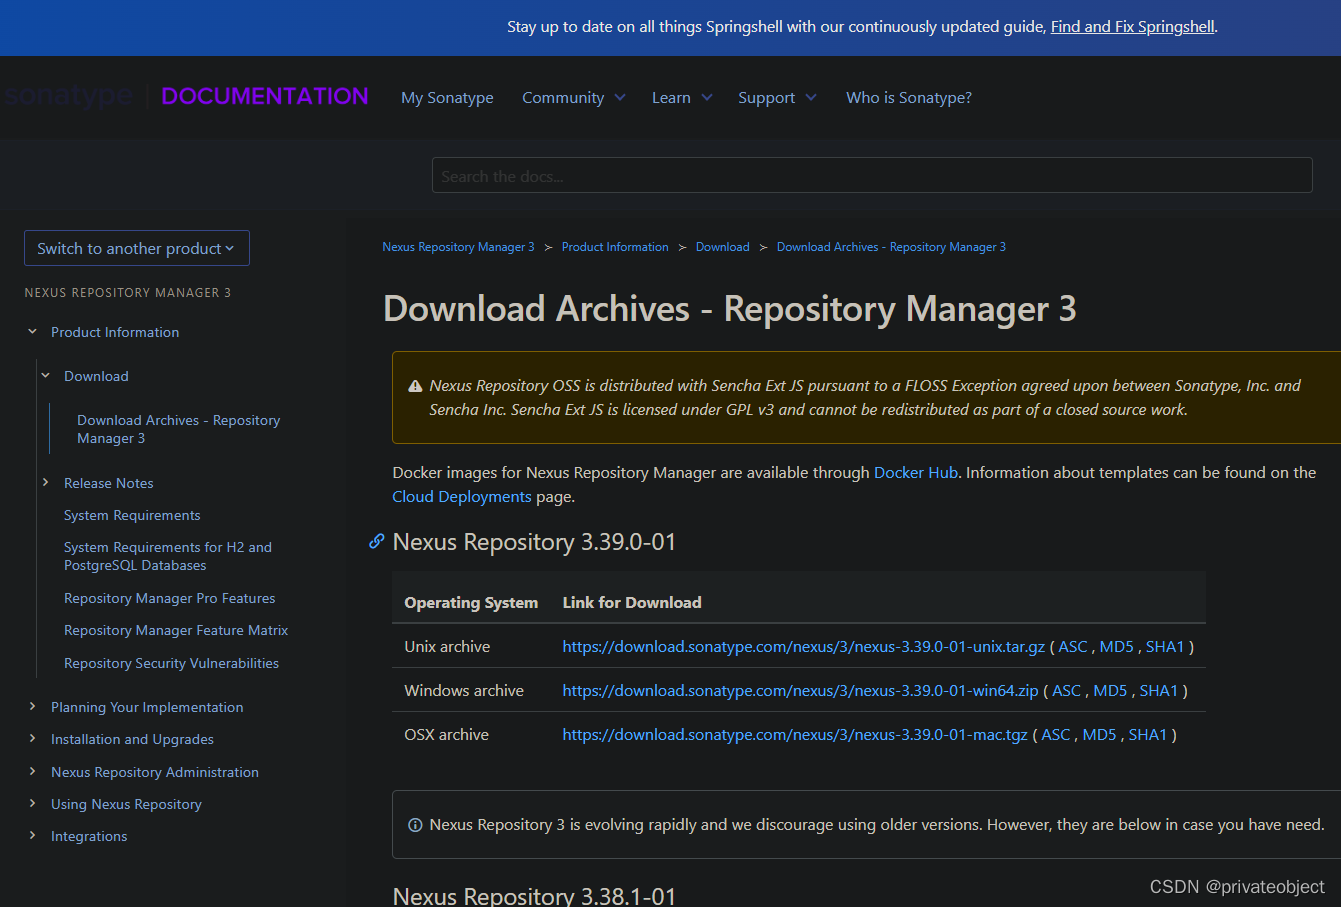
下载nexus
链接1:https://www.sonatype.com/products/repository-oss-download
链接2:https://help.sonatype.com/repomanager3/product-information/download/download-archives—repository-manager-3
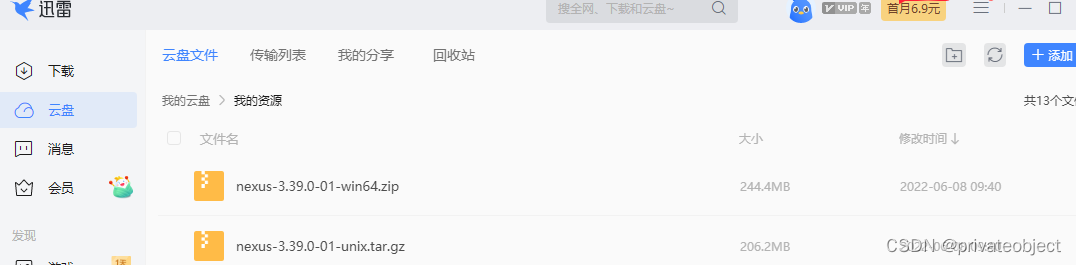
我用的是链接2下载,使用迅雷下载,迅雷的云盘下载非常快(mac版下载比较慢-没成功)。

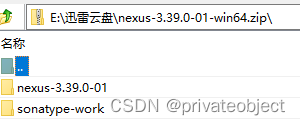
window安装
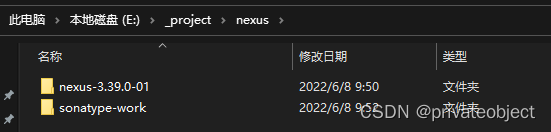
解压并创建工作目录
cmd启动
E:\_project\nexus\nexus-3.39.0-01\bin>nexus.exe /run
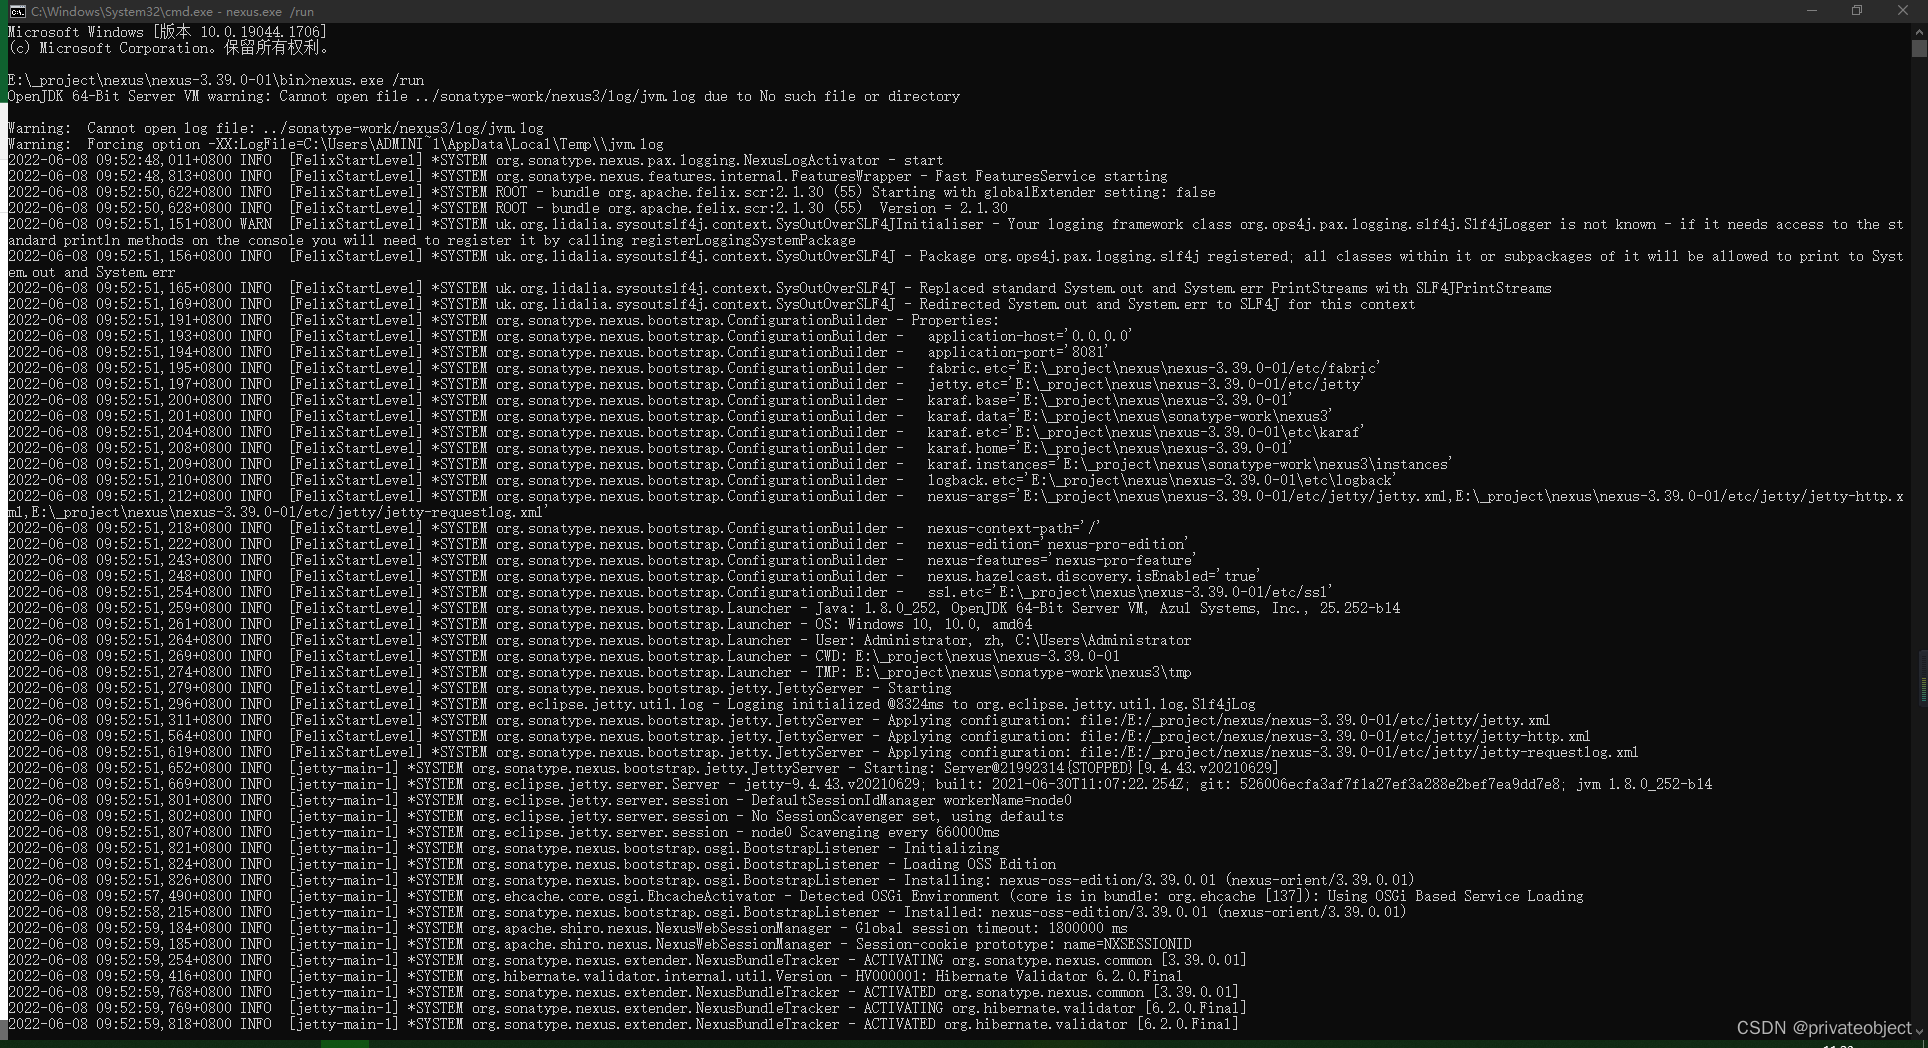
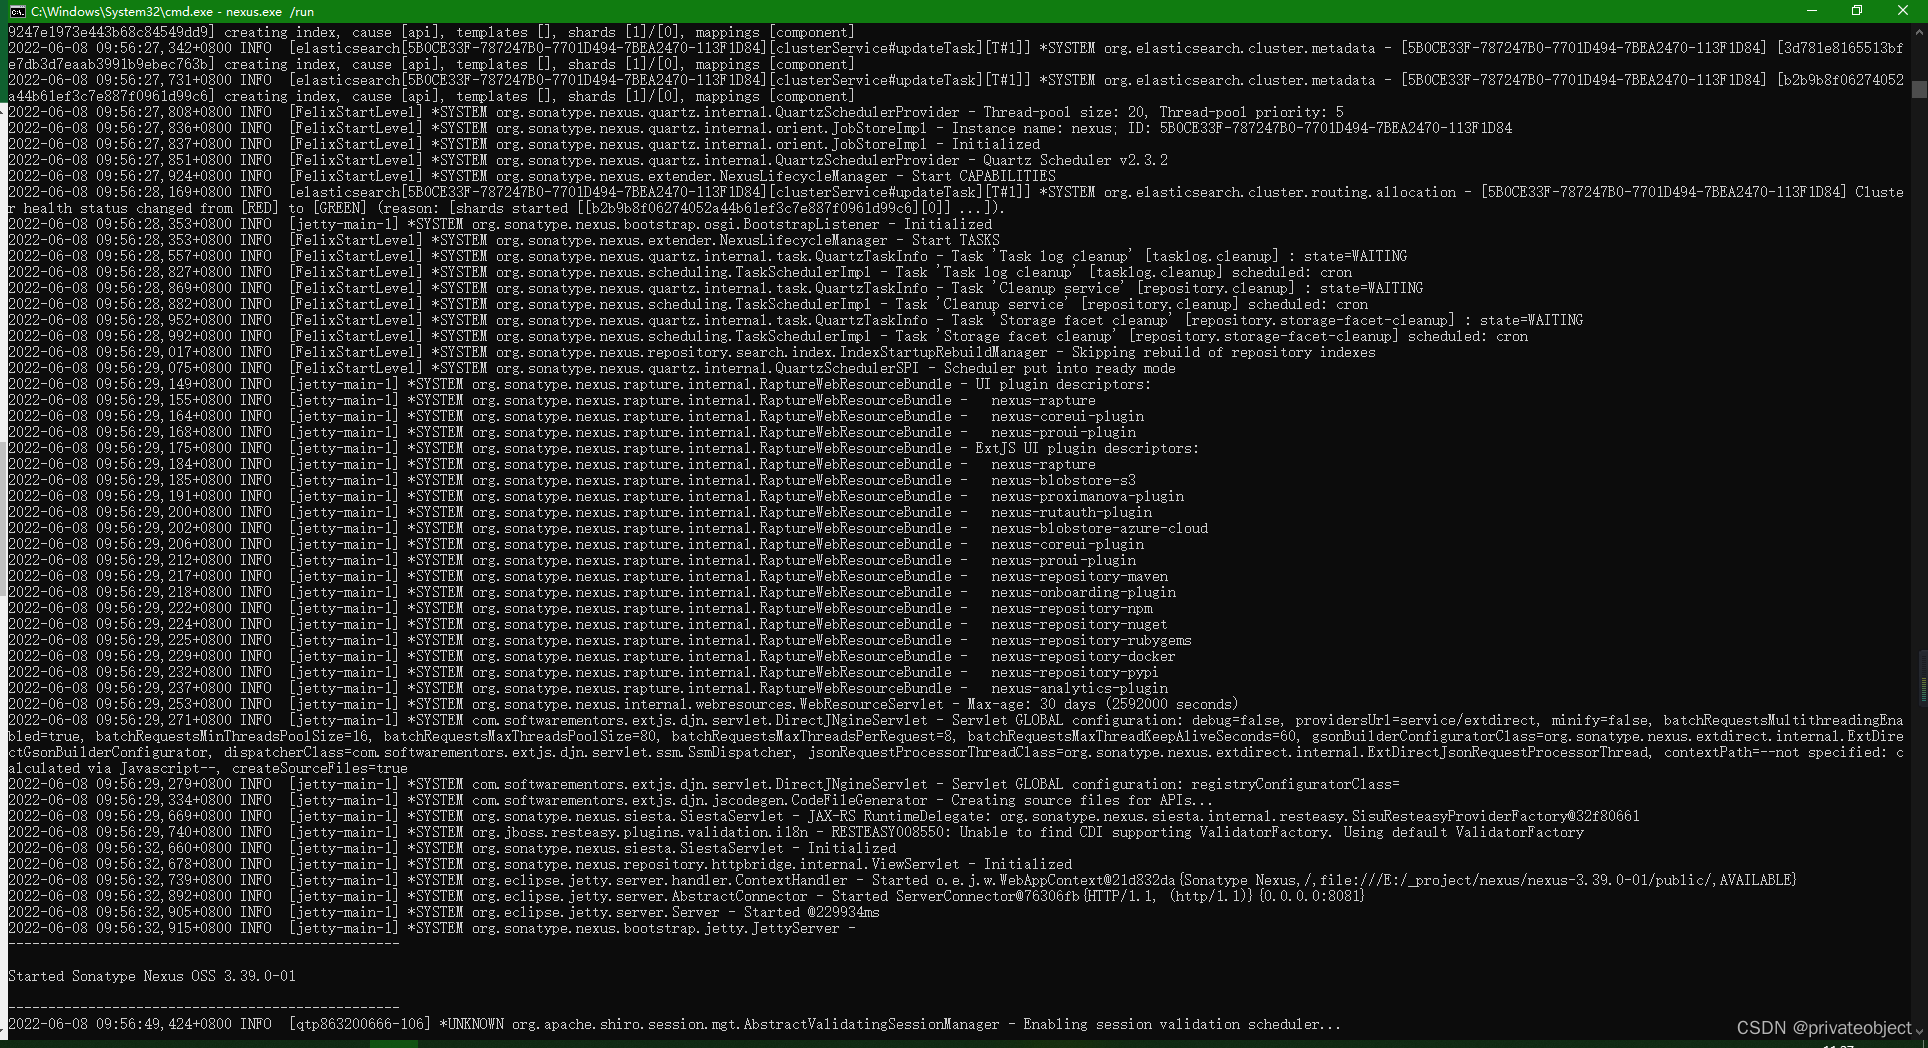
启动成功,会打印admin密码文件路径,admin.password。

默认密码admin123或
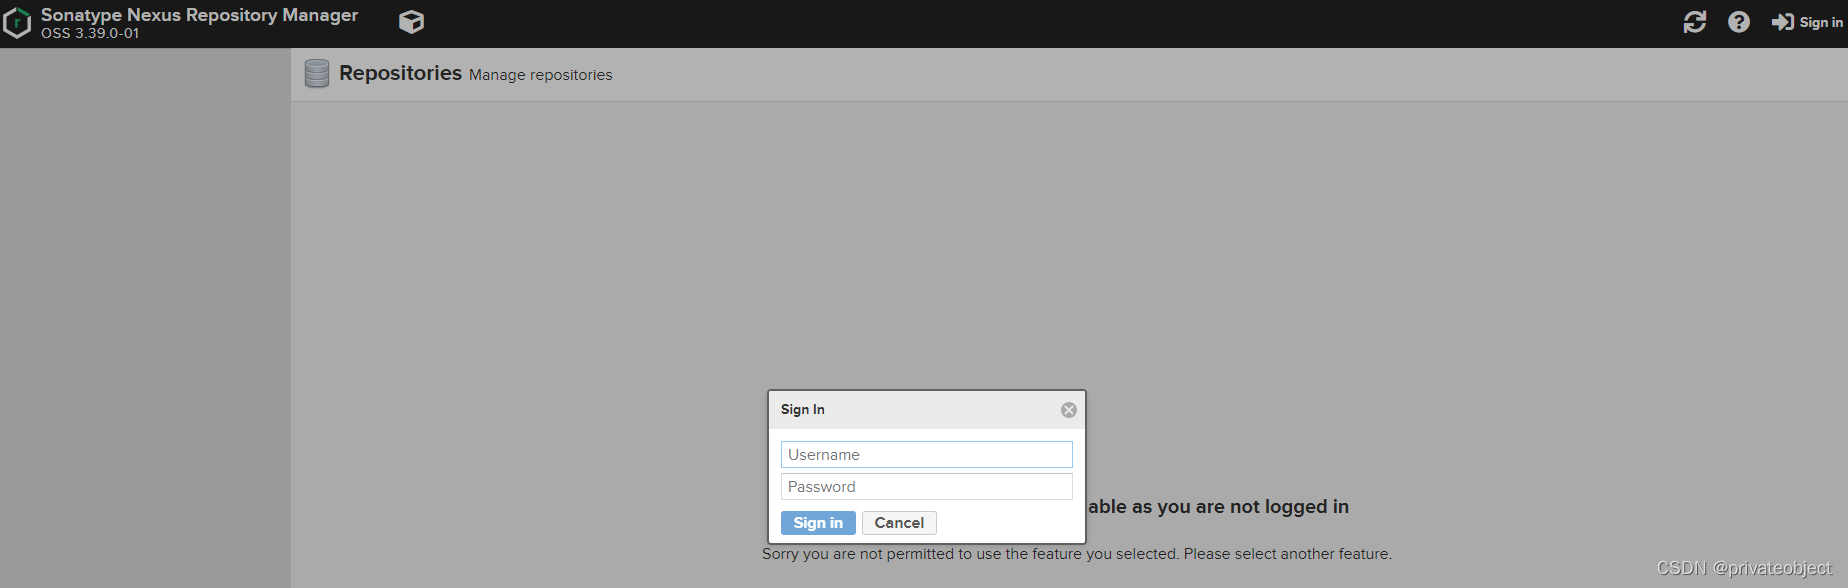
访问
登录地址http://localhost:8081/,第一次登录会提示初始密码的文件地址,用初始密码登录时候,会提示修改初始密码

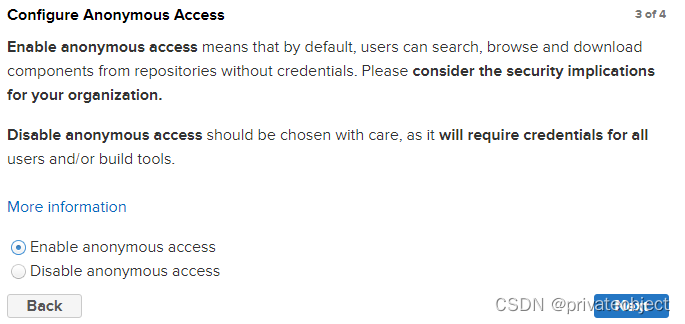
中间忘了截图,修改密码后,选择禁用游客访问,再次访问会提示登录
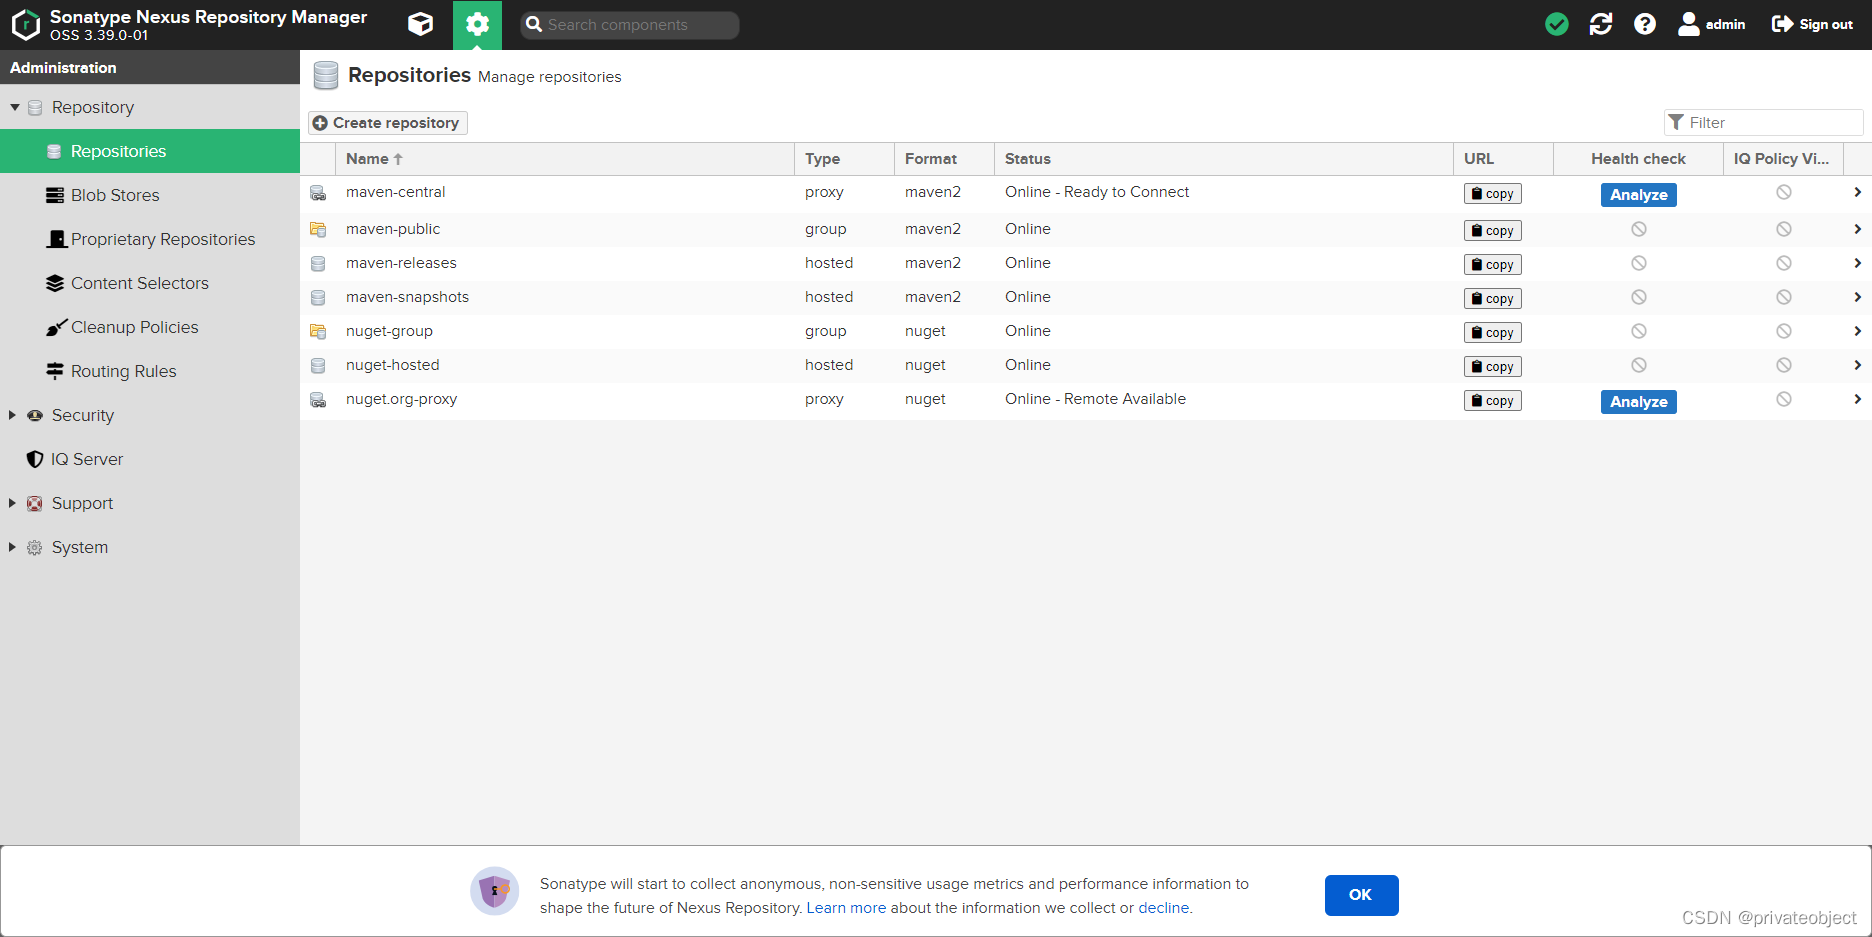
管理页面
停止服务
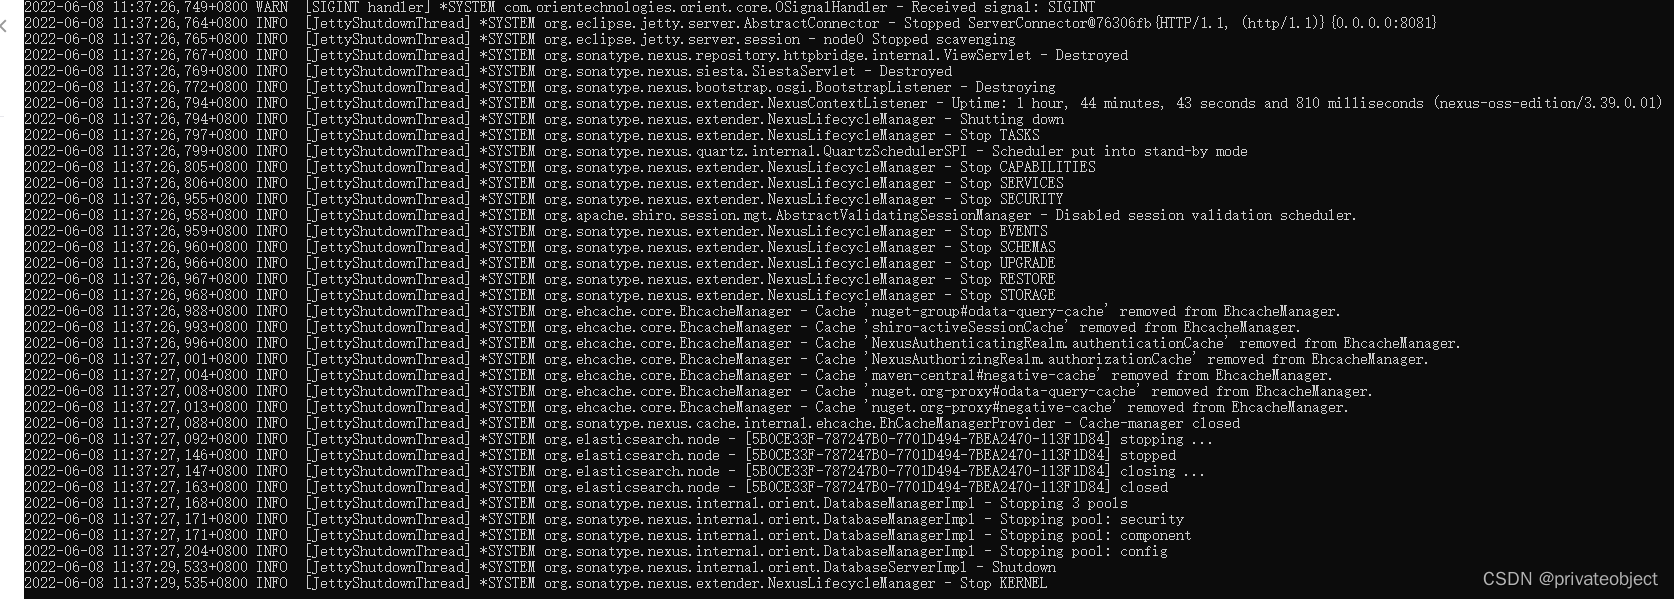
说明
window主要是自己电脑使用,不做过多说明。Linux服务器内安装使用才是重点。
笔记-待定:nexus-3.39.0-01\system\org\sonatype\nexus\nexus-rapture\3.39.0-01\nexus-rapture-3.39.0-01.jar\static\rapture\
centos安装
查看java版本
服务器在安装nacos的是变更过java版本,没有的自行搜索安装
Linux-centos上安装nacos并延迟自启

安装maven
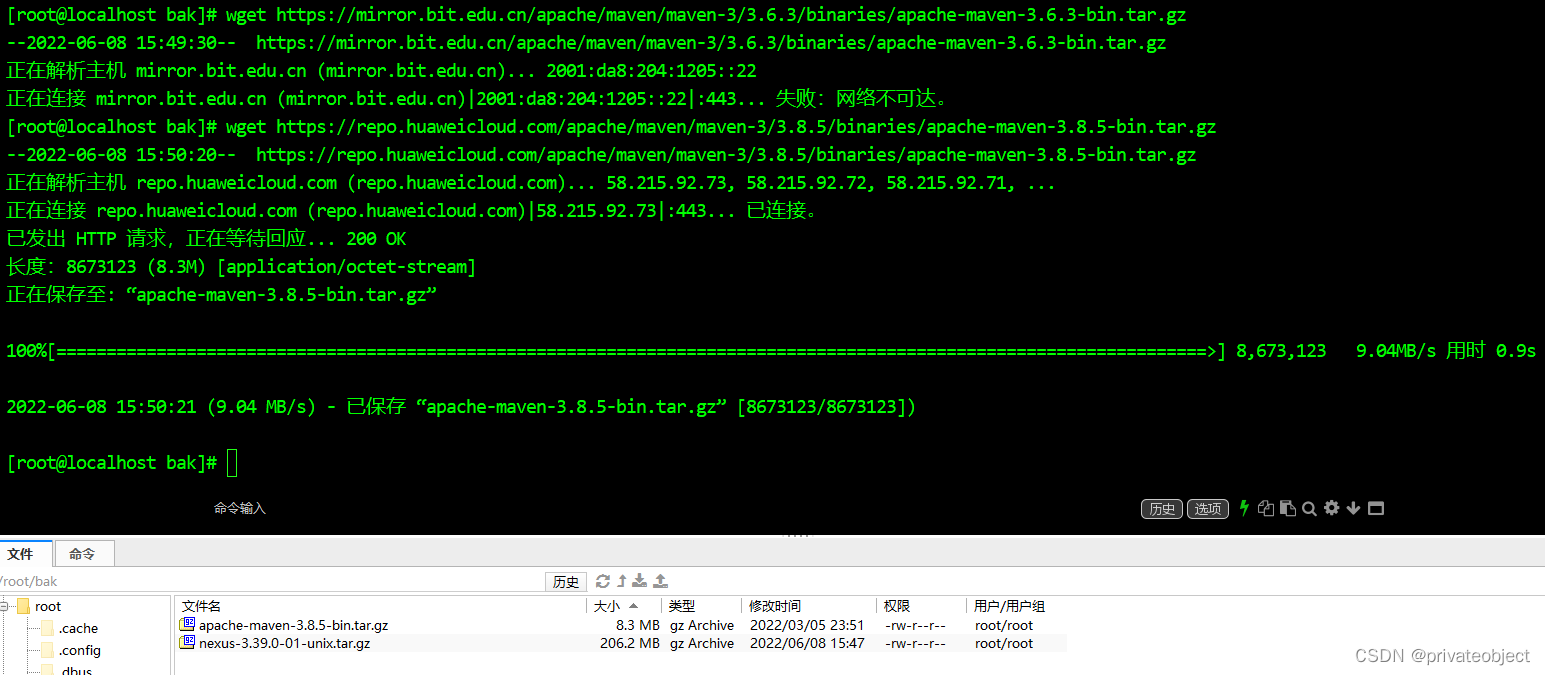
下载
使用华为镜像网站
wget https://repo.huaweicloud.com/apache/maven/maven-3/3.8.5/binaries/apache-maven-3.8.5-bin.tar.gz
解压
解压到指定目录
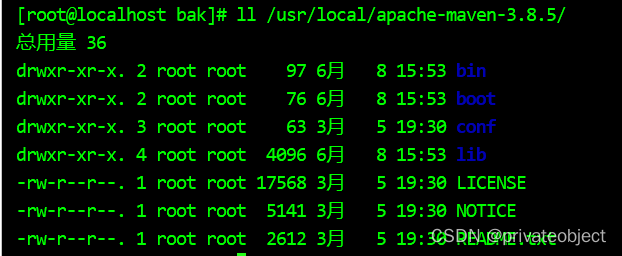
 tar -zxvf apache-maven-3.8.5-bin.tar.gz -C /usr/local/
 ll /usr/local/apache-maven-3.8.5/
配置
环境变量
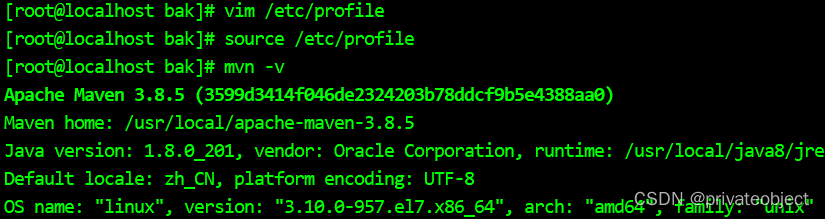
vim /etc/profile
source /etc/profile
mvn -v
mkdir /opt/data/mvnRpo
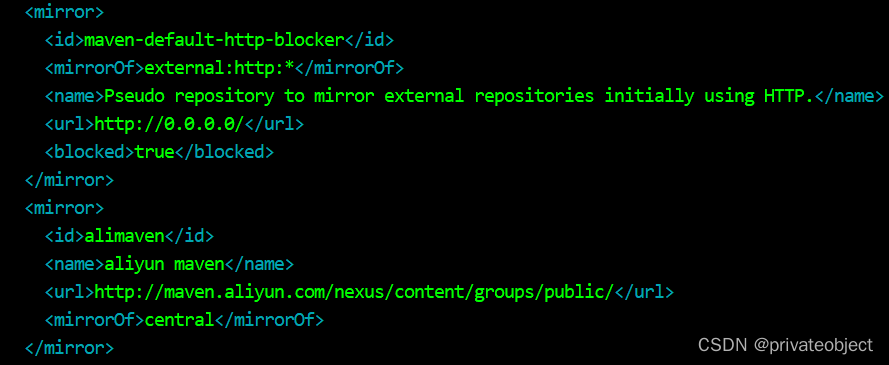
vim /usr/local/apache-maven-3.8.5/conf/settings.xml
<localRepository>/opt/data/mvnRpo</localRepository>
<mirror>
     <id>alimaven</id>
     <name>aliyun maven</name>
     <url>http://maven.aliyun.com/nexus/content/groups/public/</url>
     <mirrorOf>central</mirrorOf>
</mirror>

上传nexus并部署
上传

解压
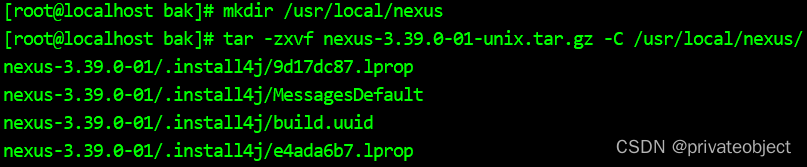
mkdir /usr/local/nexus
tar -zxvf nexus-3.39.0-01-unix.tar.gz -C /usr/local/nexus/
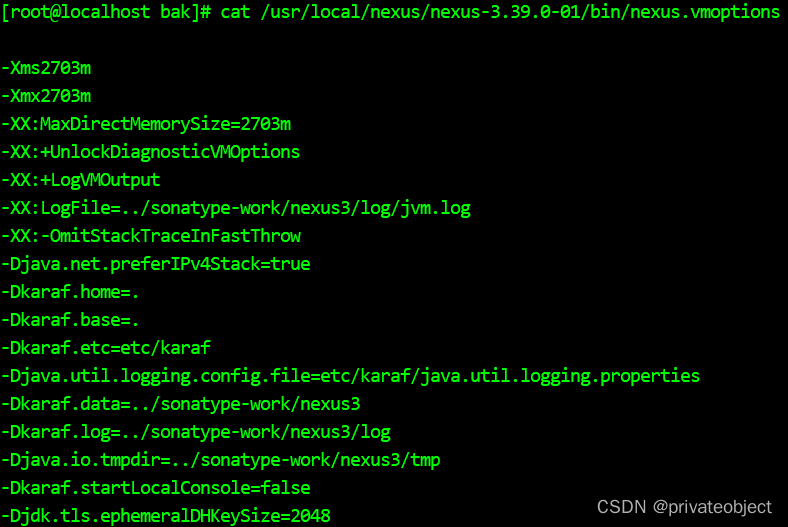
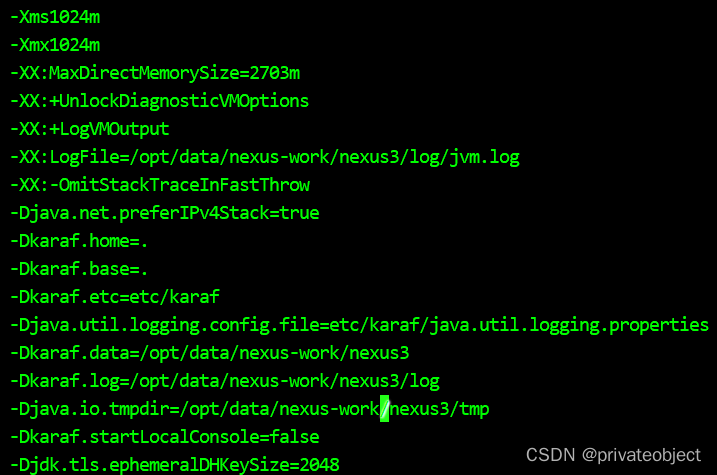
修改默认配置
cat /usr/local/nexus/nexus-3.39.0-01/bin/nexus.vmoptions
mkdir /opt/data/nexus-work
vim /usr/local/nexus/nexus-3.39.0-01/bin/nexus.vmoptions
cd /usr/local/nexus/nexus-3.39.0-01/bin/
./nexus start
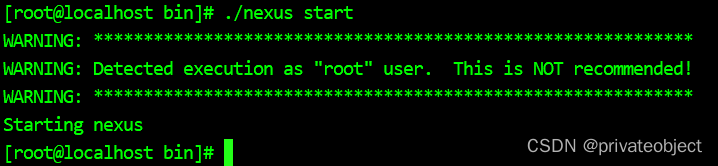
此时会有一个警告,意思是不推荐用root用户启动,不过此警告不影响使用
Nexus默认的端口是8081,可以在sonatype-work/nexus3/etc/nexus.properties中修改
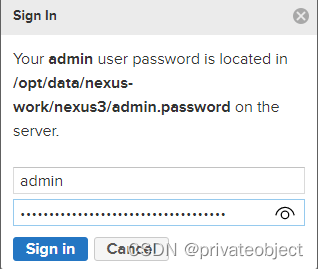
右上角那个登录会有一个默认的admin账号,初始密码保存在/usr/software/nexus/sonatype-work/nexus3/admin.password文件中,登录进去会让你重置密码
开启端口
firewall-cmd --permanent --add-port=8081/tcp
firewall-cmd --reload

访问
http://192.168..:8081/,使用服务器ip访问
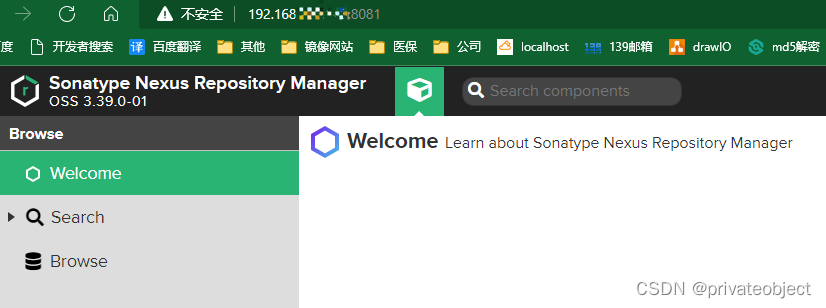
第一次登陆
搭建maven私服
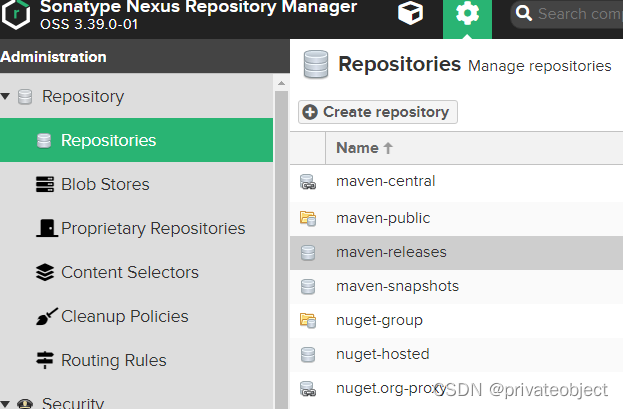
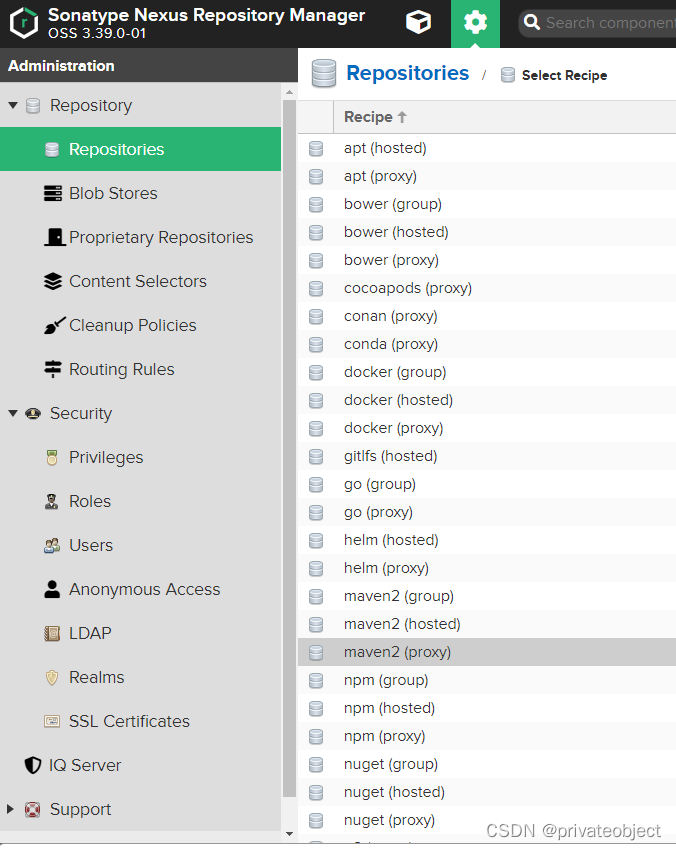
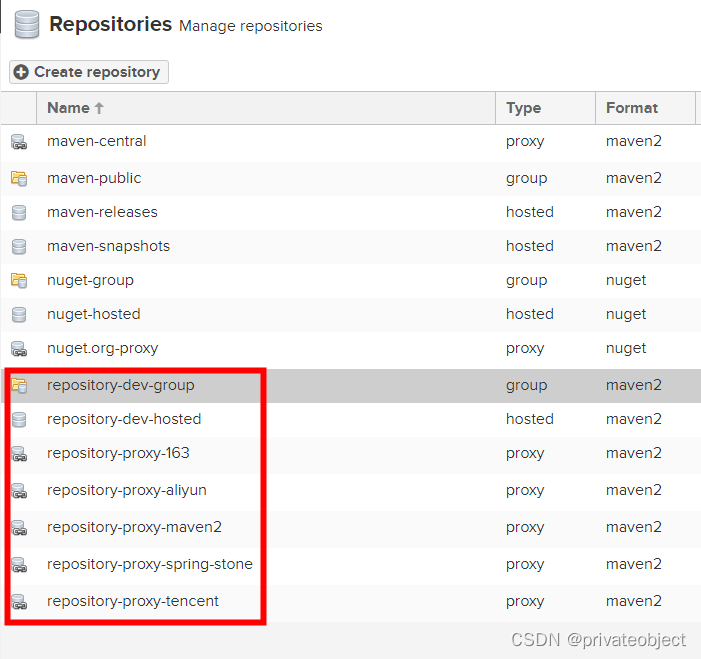
创建一个user和一个hosted仓库、proxy仓库和group仓库
网上摘抄的一些关于上面名词的说明:
- component name的一些说明:
1)maven-central:maven中央库,默认从https://repo1.maven.org/maven2/拉取jar
2)maven-releases:私库发行版jar
3)maven-snapshots:私库快照(调试版本)jar
4)maven-public:仓库分组,把上面三个仓库组合在一起对外提供服务,在本地maven基础配置settings.xml中使用。 - Nexus默认的仓库类型有以下四种:
1)group(仓库组类型):又叫组仓库,用于方便开发人员自己设定的仓库;
2)hosted(宿主类型):内部项目的发布仓库(内部开发人员,发布上去存放的仓库);
3)proxy(代理类型):从远程中央仓库中寻找数据的仓库(可以点击对应的仓库的Configuration页签下Remote Storage Location属性的值即被代理的远程仓库的路径);
4)virtual(虚拟类型):虚拟仓库(这个基本用不到,重点关注上面三个仓库的使用);
Policy(策略):表示该仓库为发布(Release)版本仓库还是快照(Snapshot)版本仓库; - Public Repositories下的仓库
1)3rd party: 无法从公共仓库获得的第三方发布版本的构件仓库,即第三方依赖的仓库,这个数据通常是由内部人员自行下载之后发布上去;
2)Apache Snapshots: 用了代理ApacheMaven仓库快照版本的构件仓库
3)Central: 用来代理maven中央仓库中发布版本构件的仓库
4)Central M1 shadow: 用于提供中央仓库中M1格式的发布版本的构件镜像仓库
5)Codehaus Snapshots: 用来代理CodehausMaven 仓库的快照版本构件的仓库
6)Releases: 内部的模块中release模块的发布仓库,用来部署管理内部的发布版本构件的宿主类型仓库;release是发布版本;
7)Snapshots:发布内部的SNAPSHOT模块的仓库,用来部署管理内部的快照版本构件的宿主类型仓库;snapshots是快照版本,也就是不稳定版本 - 所以自定义构建的仓库组代理仓库的顺序为:Releases,Snapshots,3rd party,Central。也可以使用oschina放到Central前面,下载包会更快。
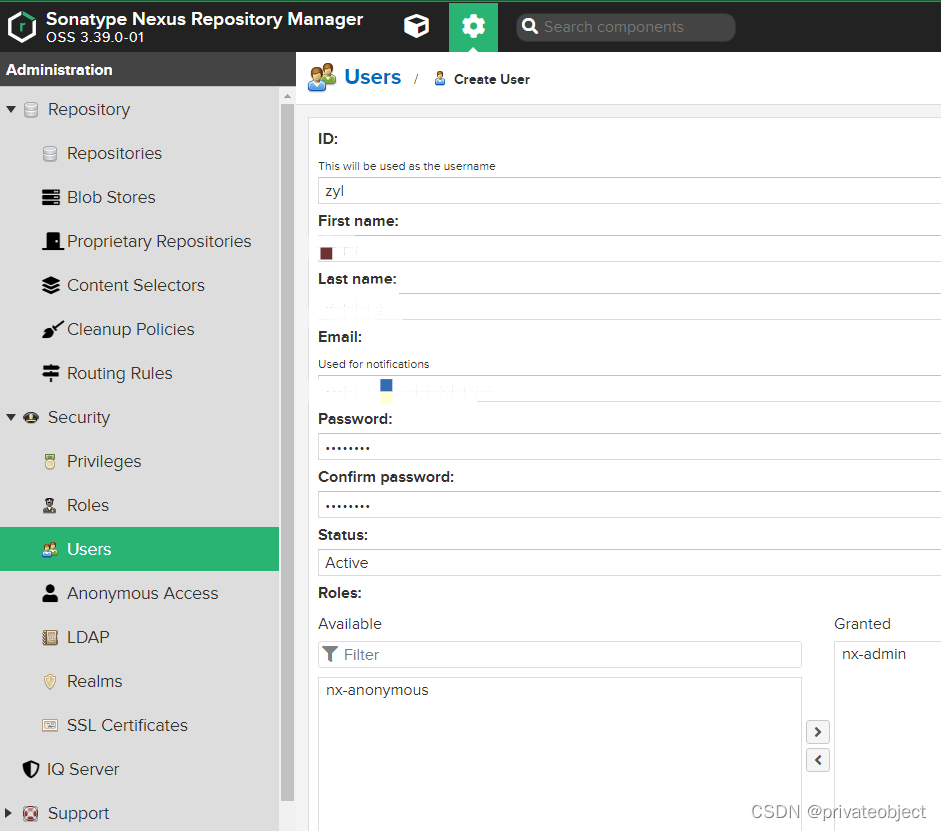
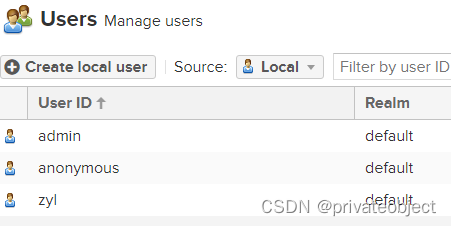
创建用户
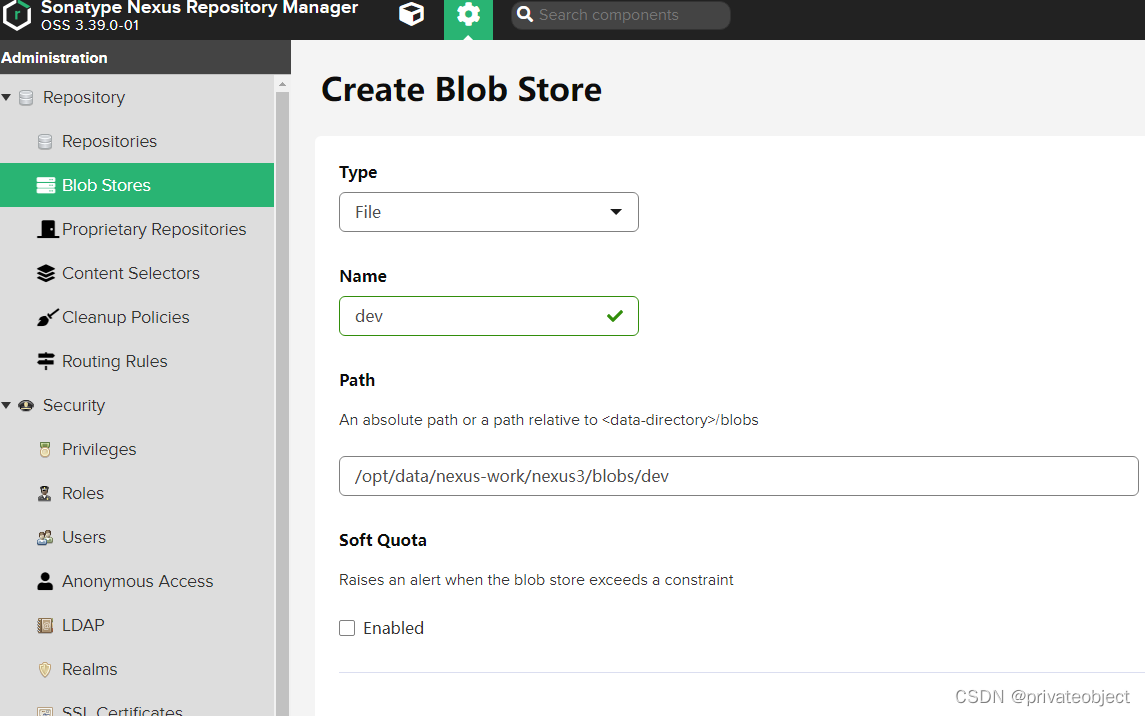
创建文件保存目录
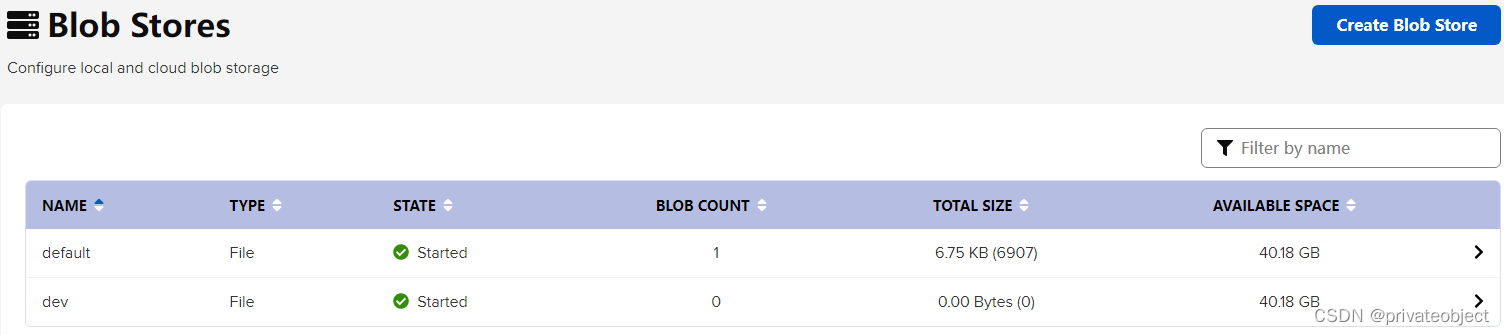
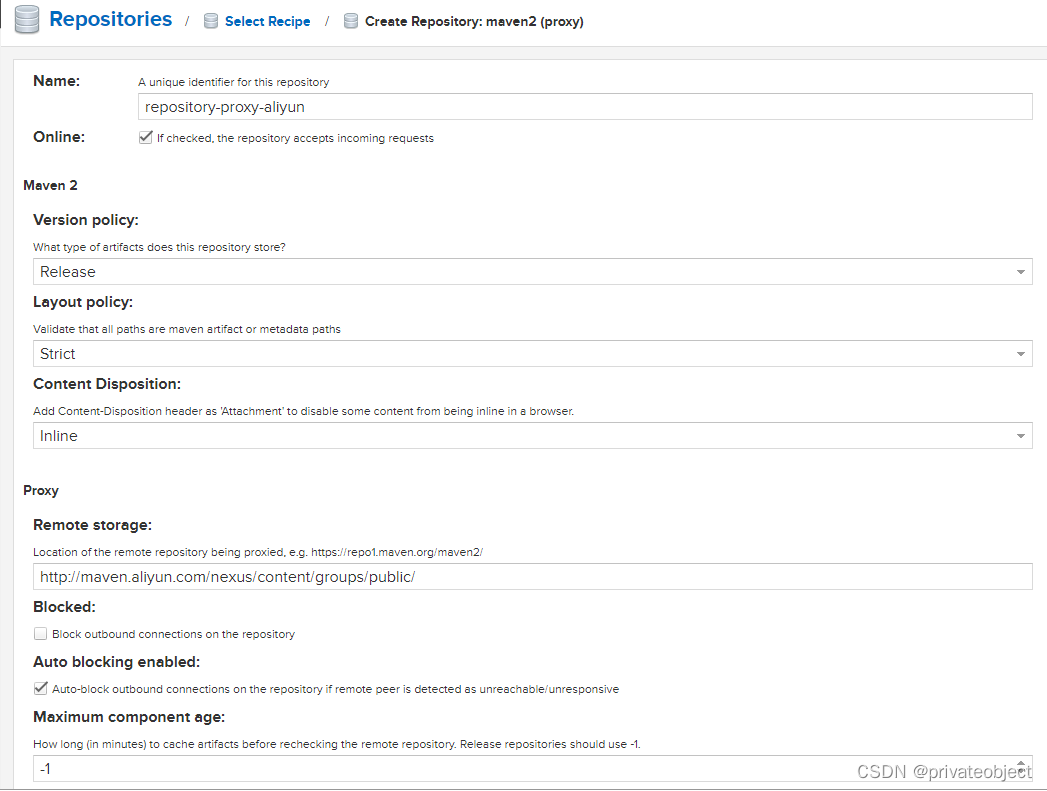
创建Proxy Repository(代理仓库)
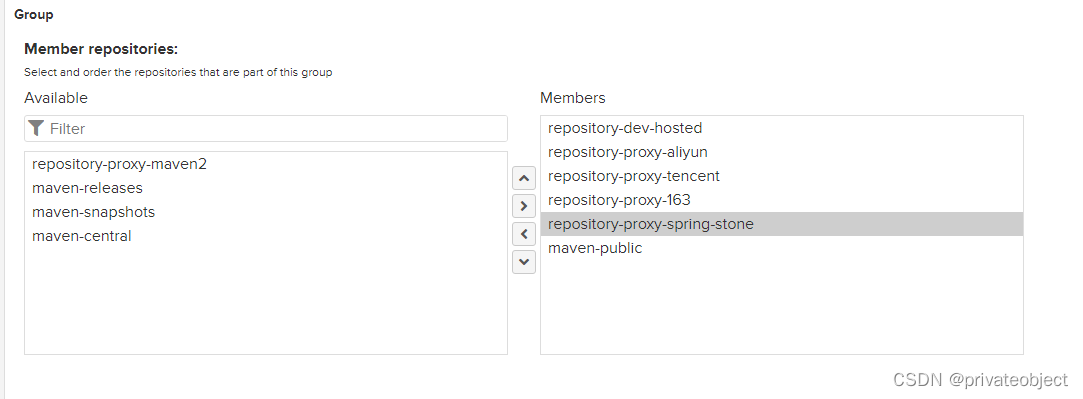
代理仓库可以建多个,用来指定多个远程仓库地址,比如除了maven仓库地址还可以指定阿里云的仓库地址,在国内的话,最好是阿里云的地址在前,其他的排后面(在组仓库里可以指定成员和其顺序)

创建hosted reposity(宿主仓库)
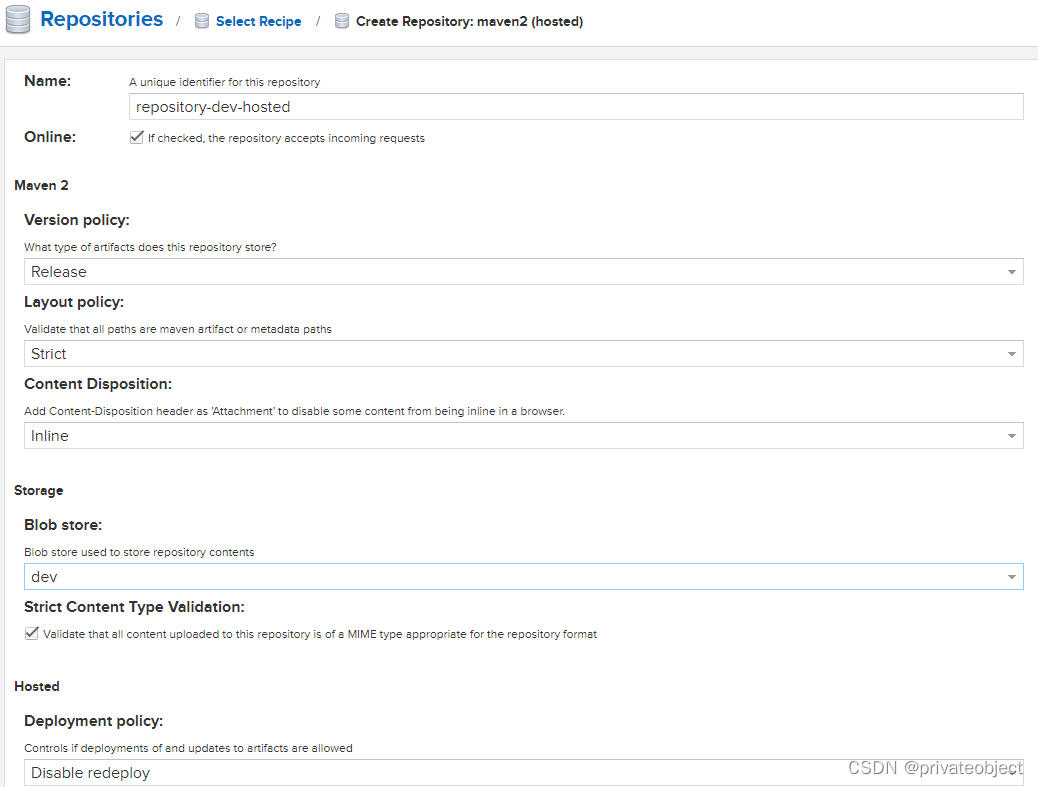
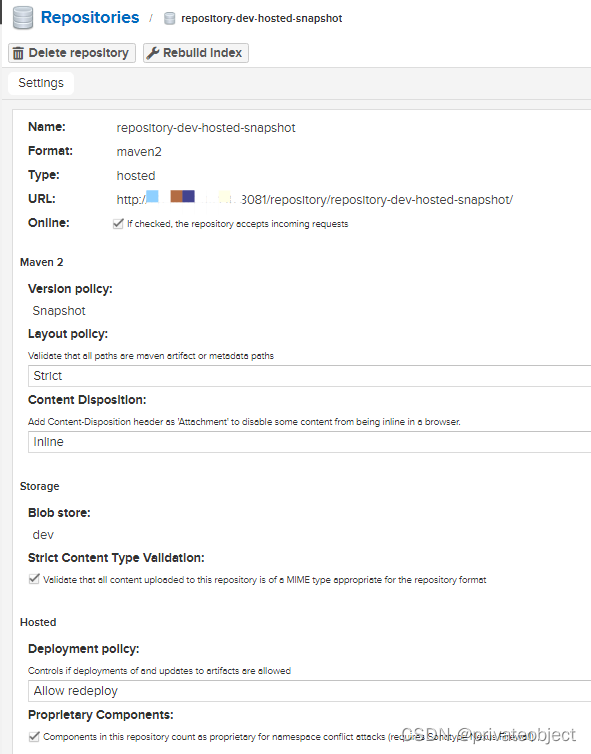
创建hosted reposity-SNAPSHOT(快照宿主仓库)
SNAPSHOT版的jar只能通过mvn命令上传
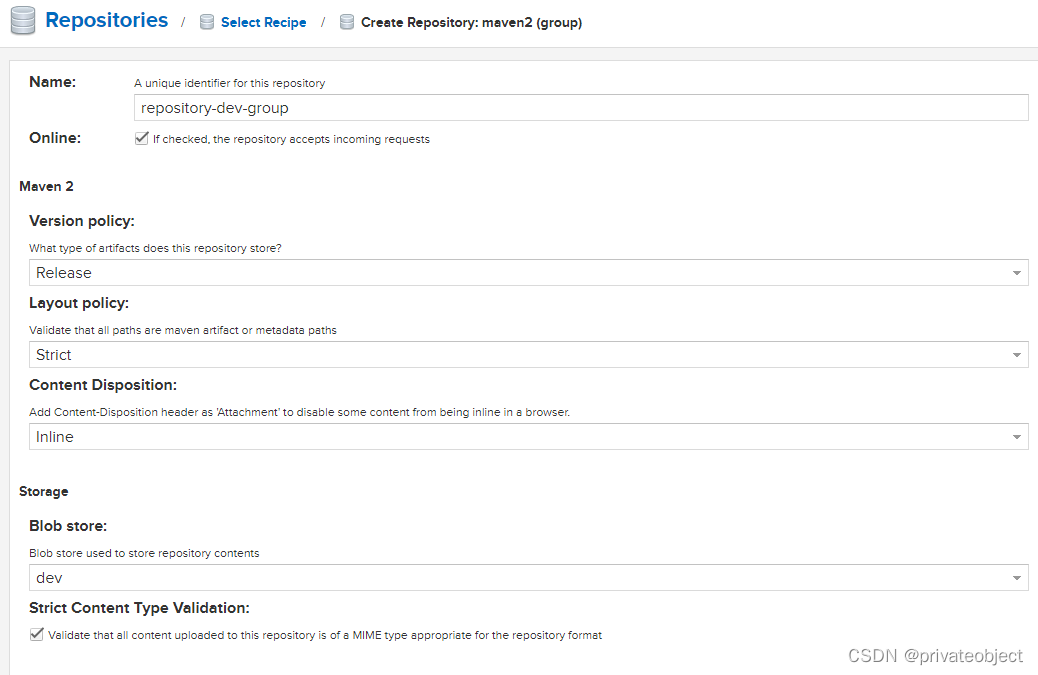
创建group reposity(组仓库)
使用maven私服
修改setting.xml
<!--新建一个本地仓库地址,用来测试在本地没有jar包的情况下,私服上面jar包下载情况-->
<localRepository>D:\_frame\apache-maven-repo</localRepository>
<!--nexus服务器-->
<servers>
    <server>
        <id>nexus</id>
        <username>admin</username>
        <password>密码</password>
    </server>
    <server>
        <id>releases</id>
        <username>admin</username>
        <password>密码</password>
    </server>
    <server>
        <id>snapshots</id>
        <username>admin</username>
        <password>密码</password>
    </server>
</servers>
<!--私服仓库镜像-->
<mirrors>
	<mirror>
        <id>nexus</id>
        <name>nexus repository</name>
        <url>http://192.168.*.*:8081/repository/repository-dev-group/</url>
        <mirrorOf>central</mirrorOf>
    </mirror>
</mirrors>
上传jar包
上传jar包之前需要将宿主仓库的上传权限打开,默认是关闭的
如图打开
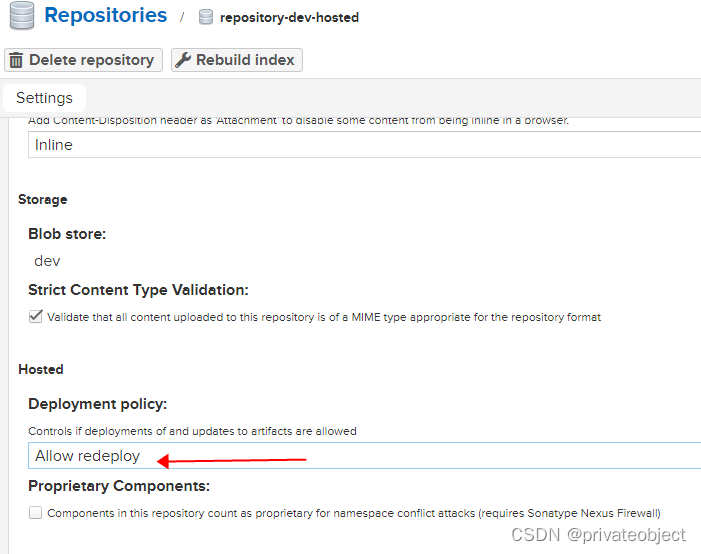
上传
项目的pom.xml添加打包配置
<properties>
    <start-class>**.*Application</start-class>
</properties>
<build>
	<finalName>**-${**.version}</finalName>
    <plugins>
        <plugin>
            <groupId>org.apache.maven.plugins</groupId>
            <artifactId>maven-source-plugin</artifactId>
            <!-- 绑定source插件到Maven的生命周期,并在生命周期后执行绑定的source的goal -->
            <executions>
                <execution>
                    <!-- 绑定source插件到Maven的生命周期 -->
                    <phase>compile</phase>
                    <!--在生命周期后执行绑定的source插件的goals -->
                    <goals>
                        <goal>jar-no-fork</goal>
                    </goals>
                </execution>
            </executions>
        </plugin>
        <plugin>
            <groupId>org.springframework.boot</groupId>
            <artifactId>spring-boot-maven-plugin</artifactId>
            <configuration>
                <mainClass>${start-class}</mainClass>
                <includeSystemScope>true</includeSystemScope>
            </configuration>
            <executions>
                <execution>
                    <goals>
                        <goal>repackage</goal>
                    </goals>
                </execution>
            </executions>
        </plugin>
        <plugin>
            <groupId>org.apache.maven.plugins</groupId>
            <artifactId>maven-jar-plugin</artifactId>
            <executions>
                <execution>
                    <id>default-jar</id>
                    <phase>package</phase>
                    <goals>
                        <goal>jar</goal>
                    </goals>
                </execution>
            </executions>
        </plugin>
        <plugin>
            <groupId>org.apache.maven.plugins</groupId>
            <artifactId>maven-deploy-plugin</artifactId>
            <configuration>
                <skip>true</skip>
            </configuration>
        </plugin>
    </plugins>
</build>
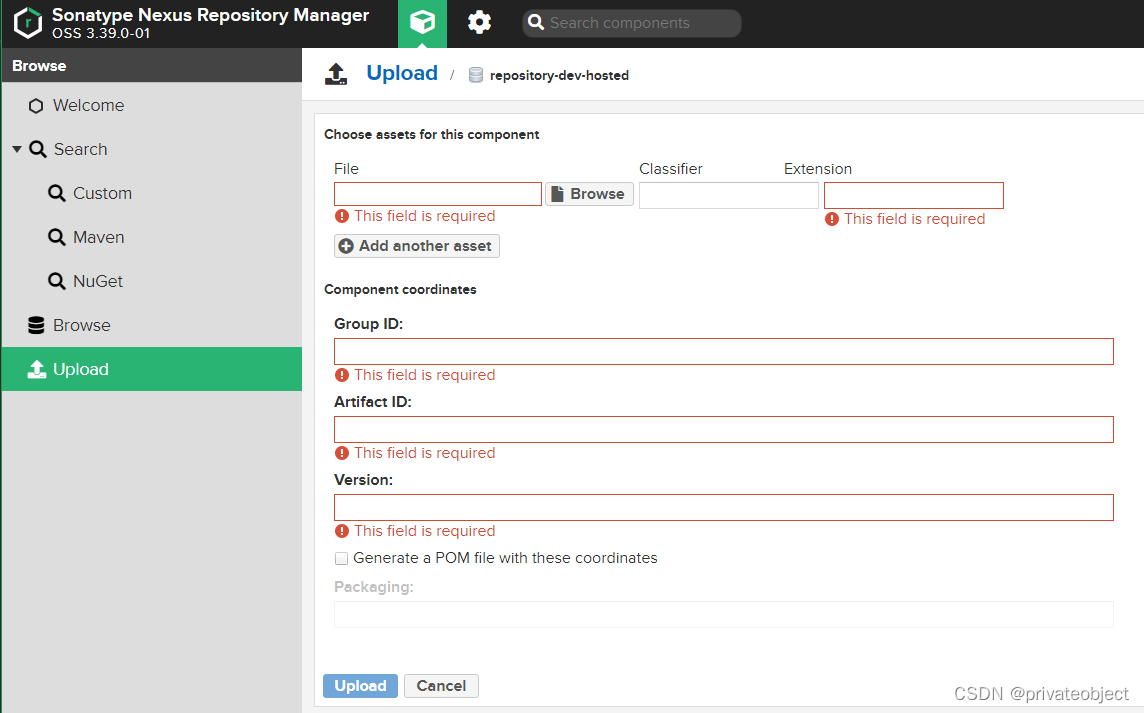
页面上传
只支持 release版的jar直接使用nexus上传

命令上传
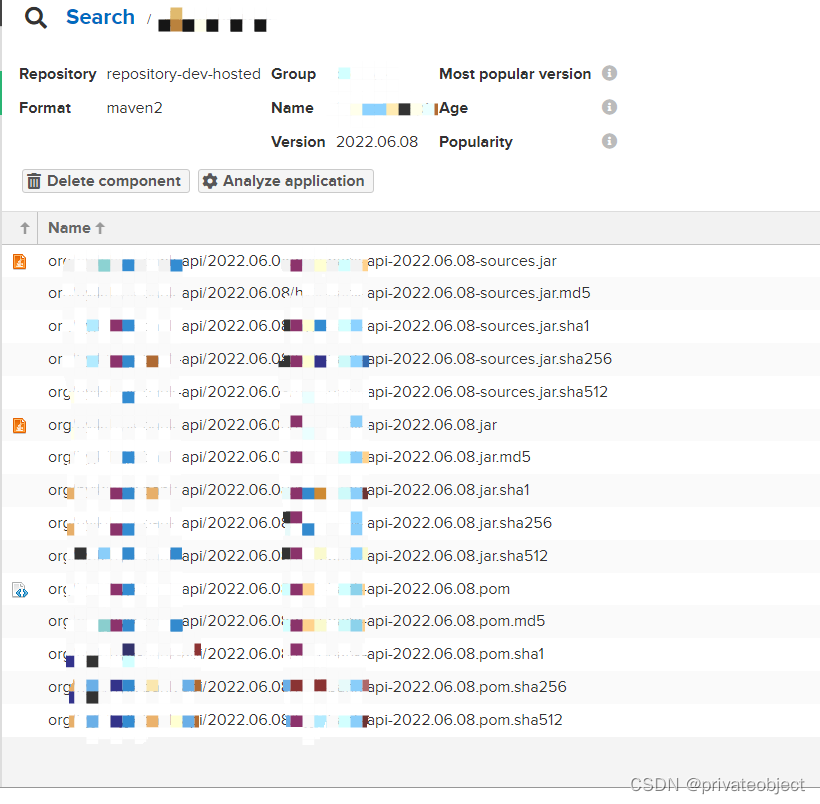
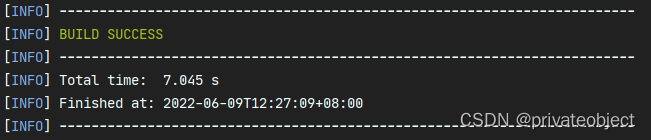
release版上传截图,成功操作

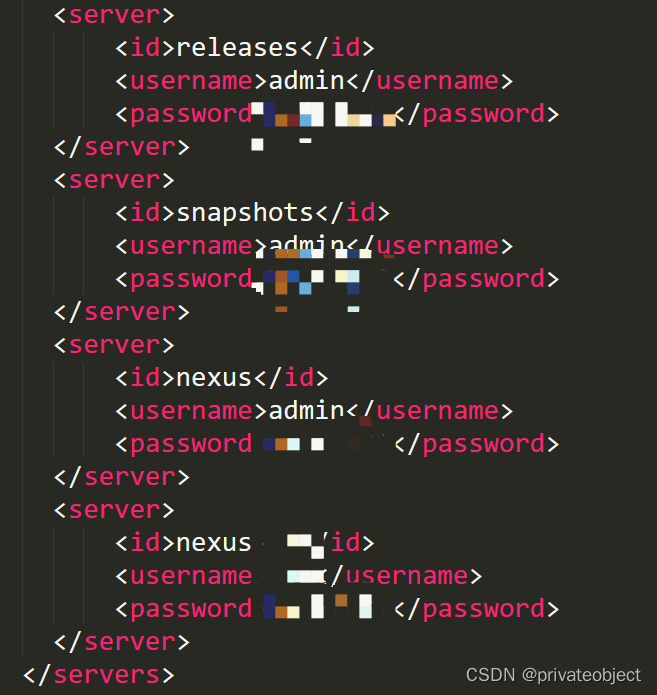
settings.xml下添加账号密码配置:id是为了标识这个server
mvn --settings C:\Users\Administrator\.m2\settings-*.xml deploy:deploy-file -DgroupId=*.* -DartifactId=*-* -Dversion=2022.06.09 -Dpackaging=jar -Dfile=D:\_project\***\target\**-2022.06.09.jar -Dsources=D:\_project\***\target\**-2022.06.09-sources.jar -DpomFile=D:\_frame\apache-maven-repo\***\2022.06.09\***-2022.06.09.pom -Durl=http://***:8081/repository/repository-dev-hosted/ -DrepositoryId=releases -e -X
参数解释:
-DgroupId,-DartifactId,-Dversion三个参数对应jar包的三个参数,也就是在pom文件中依赖的时候需要的三个参数,可以自定义写
-Dpackaging:打包类型
-Dfile: jar包位置
-Durl: 私服仓库地址
-DrepositoryId: 要上传的服务id,这个id就是上面配置的server的id
上面这些参数都是和控制台里的那些选择对应好的,很容易理解
快照版本上传
快照SNAPSHOT版,只能使用命令上传
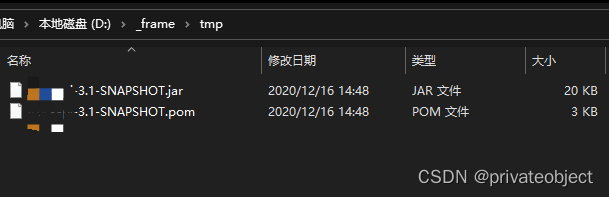
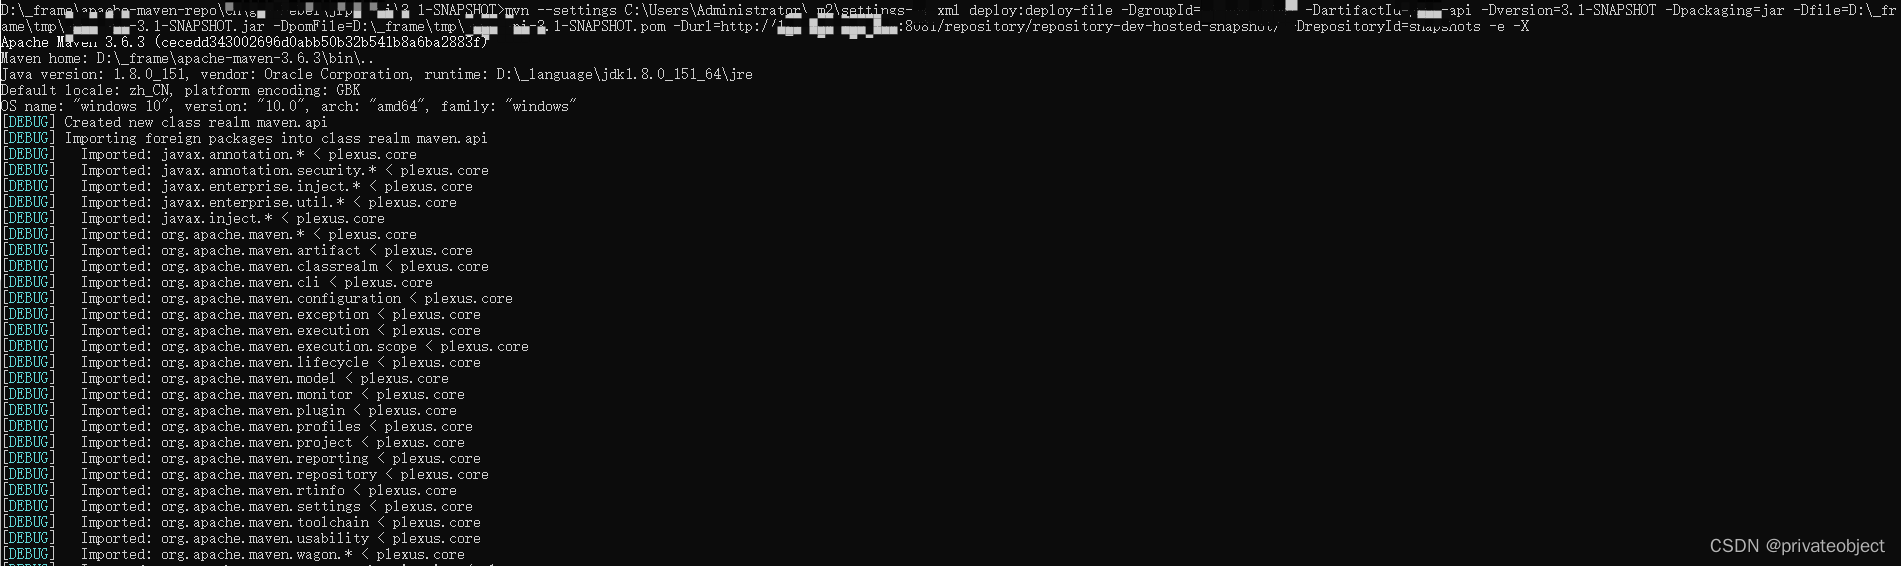
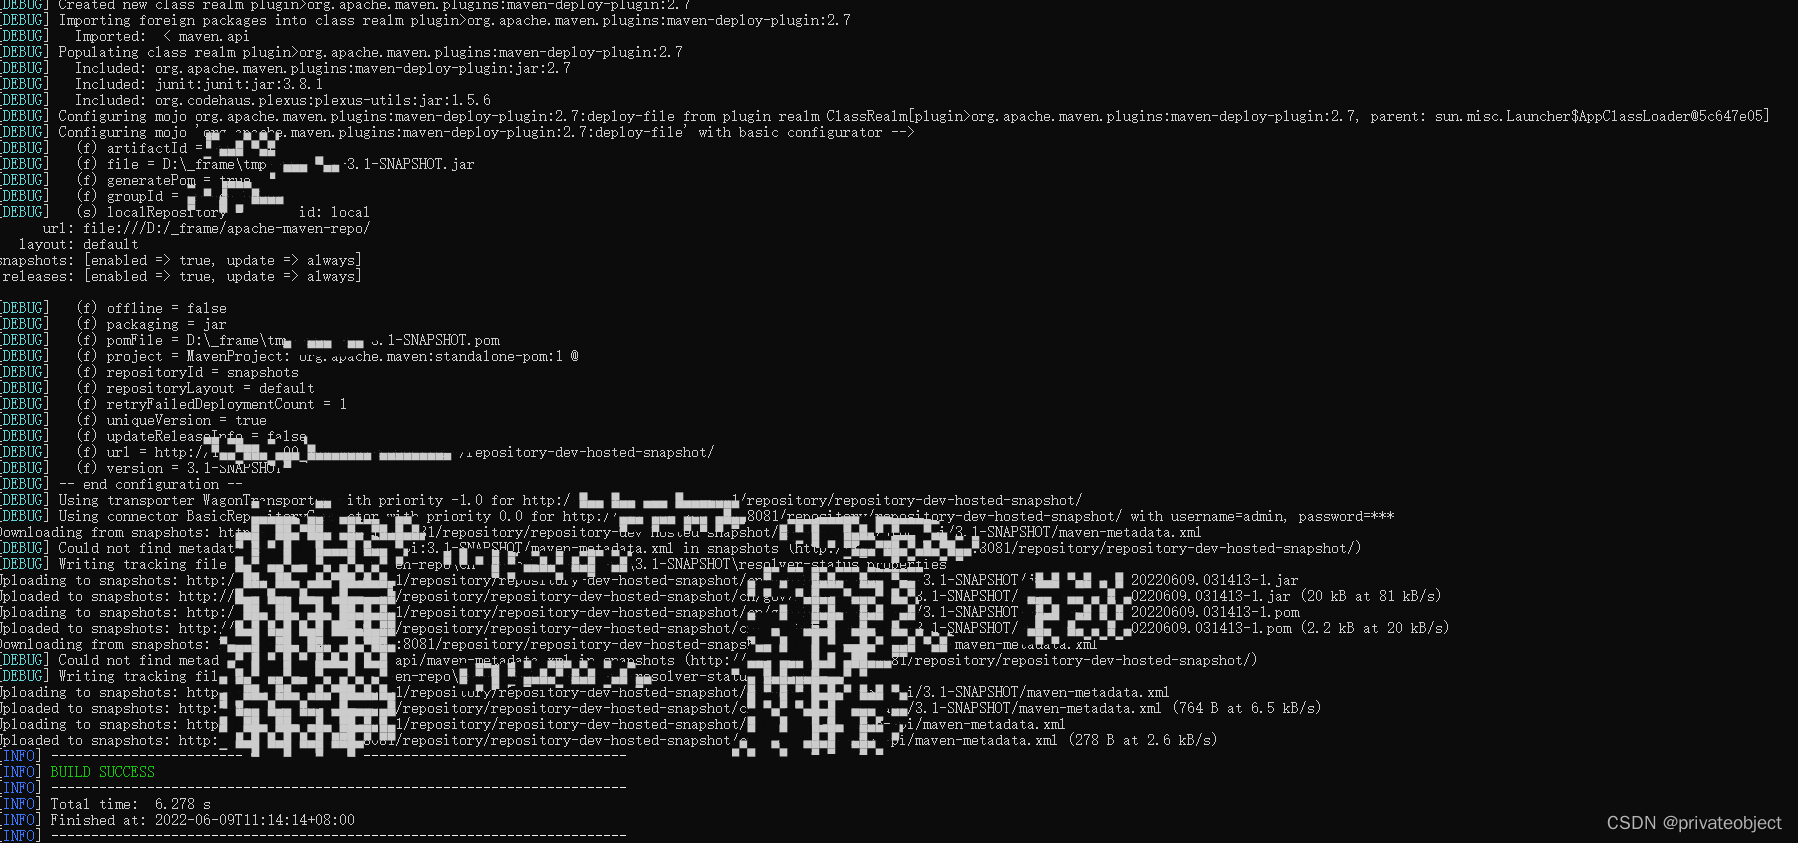
使用mvn命令,指定setting.xml文件和server id、仓库url
mvn --settings C:\Users\Administrator\.m2\settings-*.xml deploy:deploy-file -DgroupId=** -DartifactId=** -Dversion=3.1-SNAPSHOT -Dpackaging=jar -Dfile=D:\_frame\tmp\j**-3.1-SNAPSHOT.jar -DpomFile=D:\_frame\tmp\**-3.1-SNAPSHOT.pom -Durl=http://**:8081/repository/repository-dev-hosted-snapshot/ -DrepositoryId=snapshots -e -X
上传成功截图

报错
上传报错,修改操作命令解决
 Failed to execute goal org.apache.maven.plugins:maven-deploy-plugin:2.8.2:deploy-file (default-cli) on project **: Failed to deploy artifacts: Could not transfer artifact **:**:jar:2022.06.08 from/to
nexus-jk (http://.../repository/repository-dev-hosted/): Transfer failed for http://....jar 401 Unauthoriz
ed -> [Help 1]


 3827
3827


 被折叠的 条评论
为什么被折叠?
被折叠的 条评论
为什么被折叠?
 到【灌水乐园】发言


