


最近在做关于滑动网格的需求,正好用到了GridView实现对应的功能。

1、GridView 关键属性
GridView相关的属性比较多,下面是一些关键的属性:
cellHeight: 表格中单个格子的高度
cellWeight: 表格中单个格子的宽度
currentIndex: 当前焦点所在的索引
delegate: 代理,即格子内的实现方式
layoutDirection: 所有格子的排列顺序
model: 表格的数据
2、GridView实现滑动表格
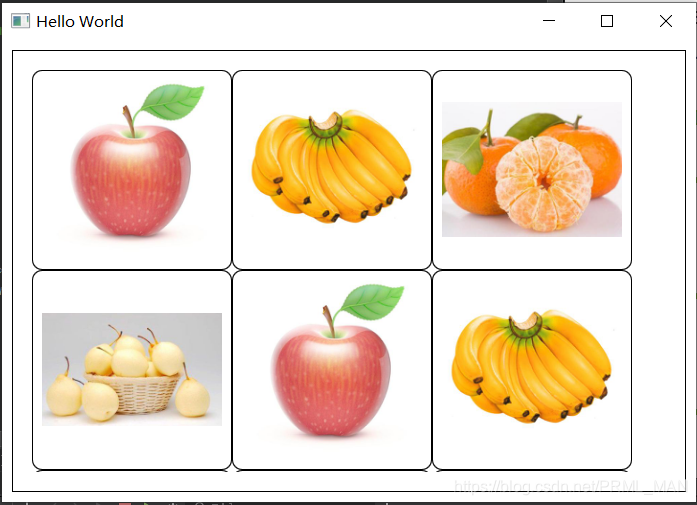
实现思路:
1、创建一个GridView,设置格子的大小
2、创建一个model(即数据库),一个delegate(格子内的显示形式)
实现代码:
main.qml
import QtQuick 2.12
import QtQuick.Window 2.12

Window {
    id:root
    width: 640
    height: 480
    visible: true
    title: qsTr("Hello World")

    Rectangle {
        anchors.fill:        parent
        anchors.margins:     10
        border.color:        "black"

        GridView {
            id:              grid
            anchors.fill:    parent
            cellWidth:       200
            cellHeight:      200
            anchors.margins: 20
            model:           ShowModel{}
            delegate:        ShowDelegate{}
            clip:            true  // 超出边界的进行裁剪,即不显示,默认为false
            boundsBehavior:  Flickable.StopAtBounds  // 滑动不超出父框的大小
        }
    }
}
ShowModel.qml
import QtQuick 2.0

ListModel {
    id: fruitModel
    ListElement {
        name:"apple"
        picSrc: "pic/apple.jpg"
        cost: 2
    }

    ListElement {
        name:"banana"
        picSrc: "pic/香蕉.jpg"
        cost: 2
    }

    ListElement {
        name:"orange"
        picSrc:"pic/橘子.jpg"
        cost: 2
    }

    ListElement {
        name:"pair"
        picSrc:"pic/梨.jpg"
        cost: 2
    }
    ListElement {
        name:"apple"
        picSrc: "pic/apple.jpg"
        cost: 2
    }

    ListElement {
        name:"banana"
        picSrc: "pic/香蕉.jpg"
        cost: 2
    }

    ListElement {
        name:"orange"
        picSrc:"pic/橘子.jpg"
        cost: 2
    }

    ListElement {
        name:"pair"
        picSrc:"pic/梨.jpg"
        cost: 2
    }
}
ShowDelegate.qml
import QtQuick 2.0

Rectangle {
    width: grid.cellWidth
    height: grid.cellHeight
    anchors.margins: 10
    radius: 10
    border.color: "black"
    Image{
        anchors.horizontalCenter:   parent.horizontalCenter
        anchors.verticalCenter:     parent.verticalCenter
        source:                     model.picSrc
        sourceSize.width:           parent.width * 0.90
        sourceSize.height:          parent.height * 0.90
    }

    MouseArea {
        anchors.fill: parent
        onClicked: {
            console.log(parent.width, parent.height)
        }
    }
}


 599
599


 被折叠的 条评论
为什么被折叠?
被折叠的 条评论
为什么被折叠?
 到【灌水乐园】发言


