


- pom文件加入启动依赖
<dependency>
  <groupId>org.springframework.boot</groupId>
  <artifactId>spring-boot-starter-thymeleaf</artifactId>
</dependency>
- yml文件配置前缀 后缀 关闭缓存
spring:
  thymeleaf:
    cache: false
    prefix: classpath:/templates/
    suffix: .html
- 在resources目录下创建templates文件夹 创建thymeleaf.html
<!DOCTYPE html>
<!-- 头部加入thymeleaf命名空间 th标签引入 -->
<html xmlns:th="http://www.thymeleaf.org">
<head>
    <meta charset="UTF-8">
    <title>Title</title>
</head>
<body>
<!-- 服务器处理thymeleaf页面时 会读取th:text指定的值替换原本标签体的值 -->
<p th:text="经过服务器处理后可以看见的内容">直接在浏览器打开可以看见的内容</p>
</body>
</html>
- 编写测试controller
@RequestMapping("/thymeleaf")
public String thymeleaf(){
    System.out.println(1111);
    return "thymeleaf";
}
- 启动项目 测试

- 常用th标签使用
<!DOCTYPE html>
<html xmlns:th="http://www.thymeleaf.org">
<head>
<meta charset="UTF-8">
<title>Title</title>
</head>
<style>
div{
width: 100px;
height: 50px;
}
</style>
<body>
<!-- 服务器处理thymeleaf页面时 会读取th:text指定的值替换原本标签体的值 -->
<p th:text="经过服务器处理后可以看见的内容">直接在浏览器打开可以看见的内容</p>
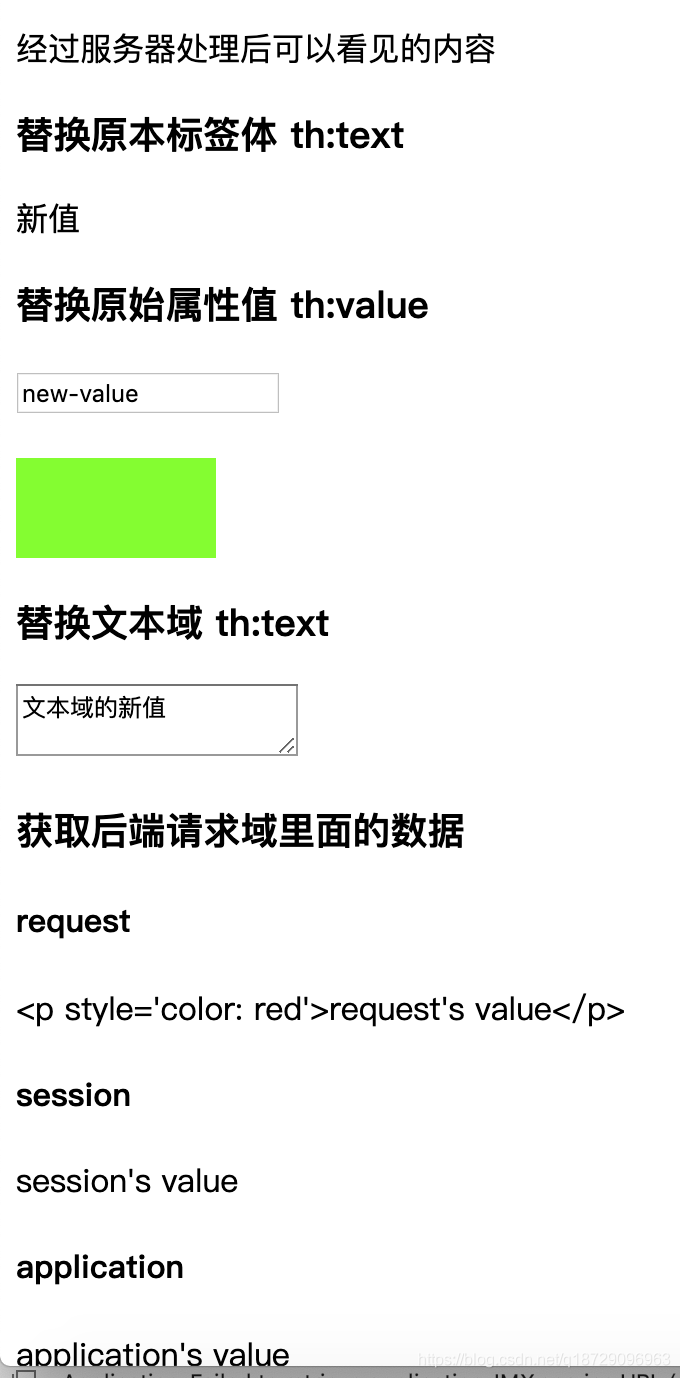
<h3>替换原本标签体 th:text</h3>
<p th:text="新值">原始值</p>
<h3>替换原始属性值 th:value</h3>
<input value="old-value" th:value="new-value">
<br>
<br>
<div style="height: 50px;width: 100px; background-color: blue" th:style="'height: 50px;width: 100px; background-color: chartreuse'"></div>
<h3>替换文本域 th:text</h3>
<textarea th:text="文本域的新值">文本域的原始值</textarea>
<h3>获取后端请求域里面的数据</h3>
<h4>request</h4>
<p th:text="${param1}"></p>
<h4>session</h4>
<p th:text="${session.param2}"></p>
<h4>application</h4>
<p th:text="${application.param3}"></p>
<h3>解析URL地址 @{}相当于前置添加了 ${pageContext.request.contextPath}</h3>
<!-- img标签的src属性 a标案的href属性 其他标签的 th:text th:value 属性-->
<!-- 备注一下 才发现 th:text标签不能有空格 暂时没研究为什么怎么搞? -->
<a th:href="@{/thymeleaf}" th:text="轻轻地我走了正如我轻轻的来">轻轻地我走了 正如我轻轻的来</a>
<h3>直接执行表达式 在页面上 不是在th:标签上使用了</h3>
<p>有转义效果的: [[${param1}]]</p>
<p>无转义效果的: [(${param1})]</p>
<h3>if判断的使用</h3>
<p th:if="${#strings.isEmpty(param1)}"> request里面的 param1 为空</p>
<p th:if="${ not #strings.isEmpty(param1)}"> request里面的 param1 不为空</p>
<h3>for循环的使用</h3>
<table>
<tr th:each="num: ${list}">
<td th:text="${num}"></td>
</tr>
</table>
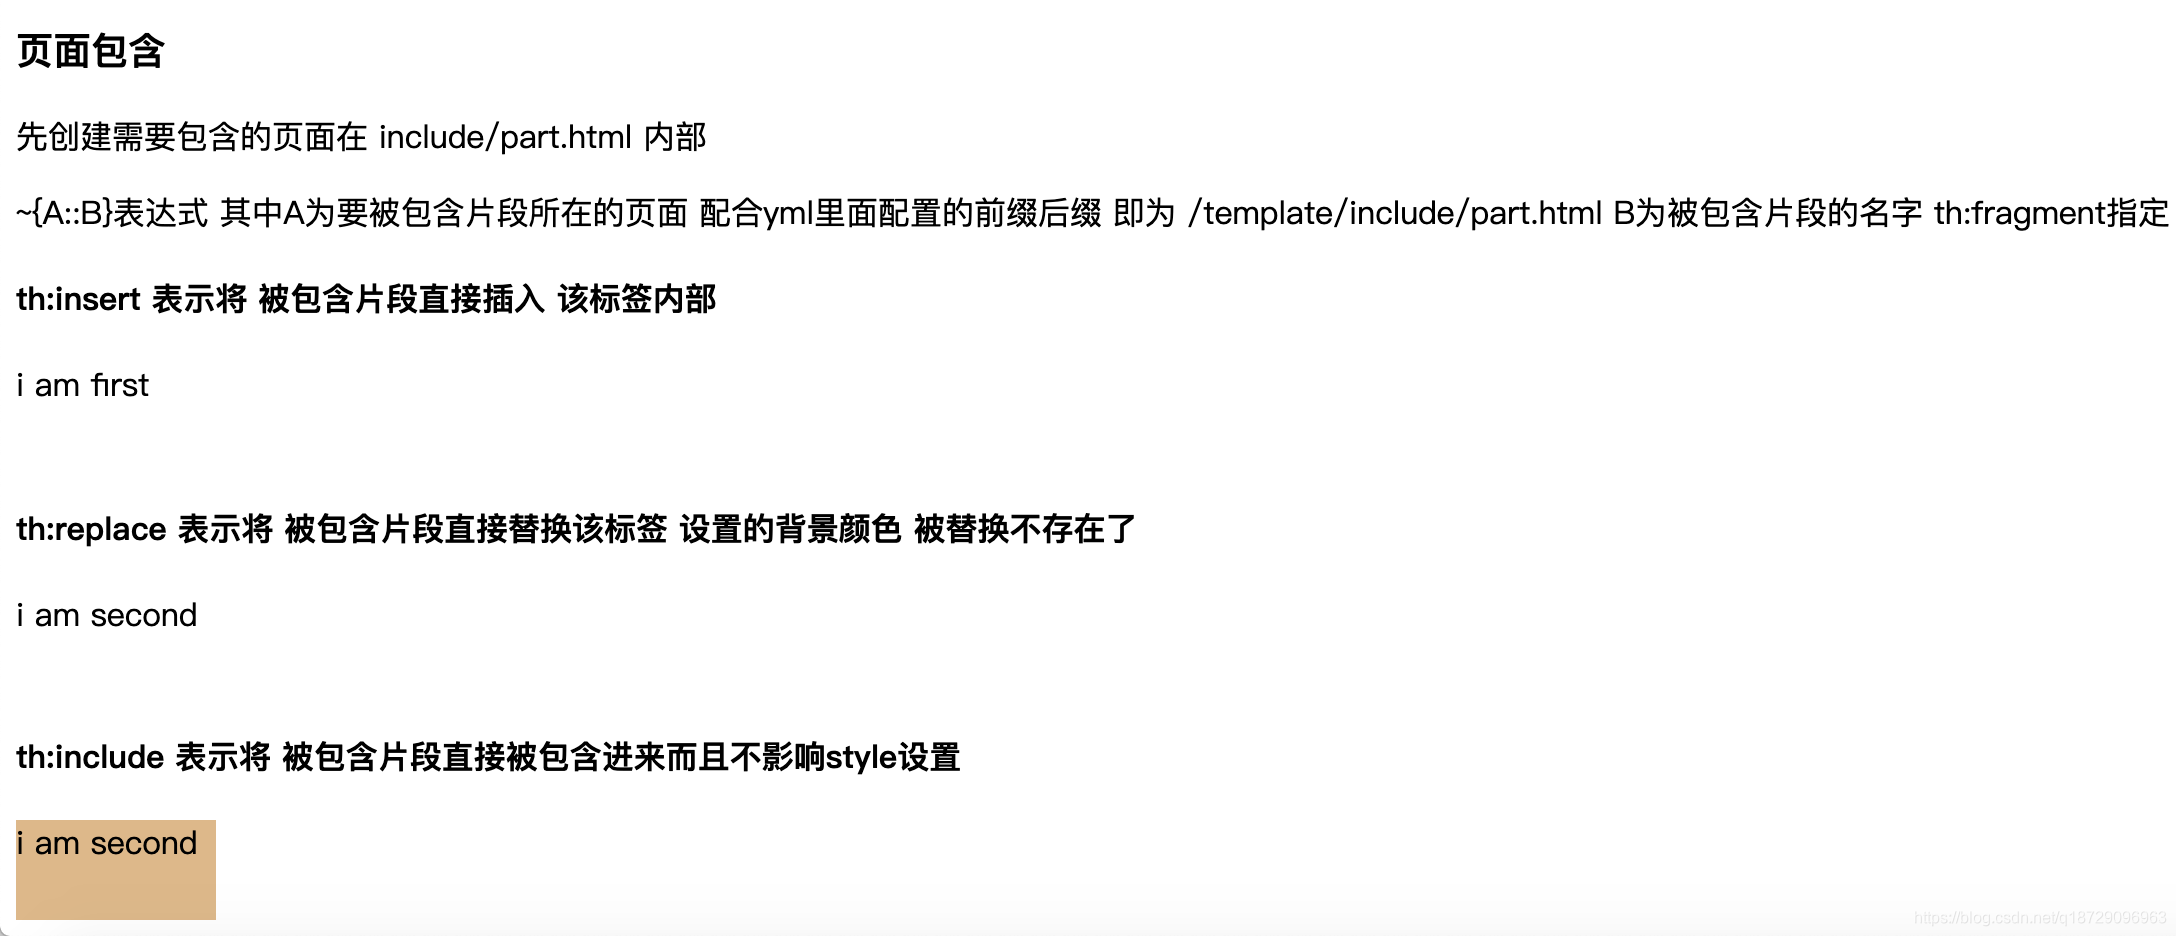
<h3>页面包含</h3>
<p>先创建需要包含的页面在 include/part.html 内部</p>
<p>~{A::B}表达式 其中A为要被包含片段所在的页面 配合yml里面配置的前缀后缀 即为 /template/include/part.html B为被包含片段的名字 th:fragment指定</p>
<h4>th:insert 表示将 被包含片段直接插入 该标签内部</h4>
<div th:insert="~{include/part :: myfirst}"></div>
<h4>th:replace 表示将 被包含片段直接替换该标签 设置的背景颜色 被替换不存在了</h4>
<div style="background-color: chartreuse" th:replace="~{include/part :: mysecond}"></div>
<h4>th:include 表示将 被包含片段直接被包含进来而且不影响style设置</h4>
<div style="background-color: burlywood" th:include="~{include/part :: mythird}"></div>
</body>
</html>
页面显示效果:


 5710
5710


 被折叠的 条评论
为什么被折叠?
被折叠的 条评论
为什么被折叠?
 到【灌水乐园】发言


