


文章目录
前提概要(踩坑宝典)
由于工作中一直用Eclipse比较多,所以就想把Spring源码导入到Eclipse中玩玩,每天晚上下班回去搞一点.哪知各种报错一堆问题,有的问题提示都没有,其中一个关于Kotlin(JetBrains的)的搞了很久,都快放弃Eclipse直接导入到Idea,甚至怀疑JetBrains开发的这个Kotlin插件"故意"不兼容Eclipse.个人比较轴,就是想把源码导入到Eclipse中.各种尝试(痛并快乐着)....
- 参考官方文档,出现问题不要立刻去百度或者论坛,容易浪费时间和精力,各种答案扰乱节奏.
- 搭建的环境一定也要参考官方,不是必须的插件不必要安装.(如果不是很熟悉软件最好不要用最新版本,否则问题一堆,都不知道出在哪里…)
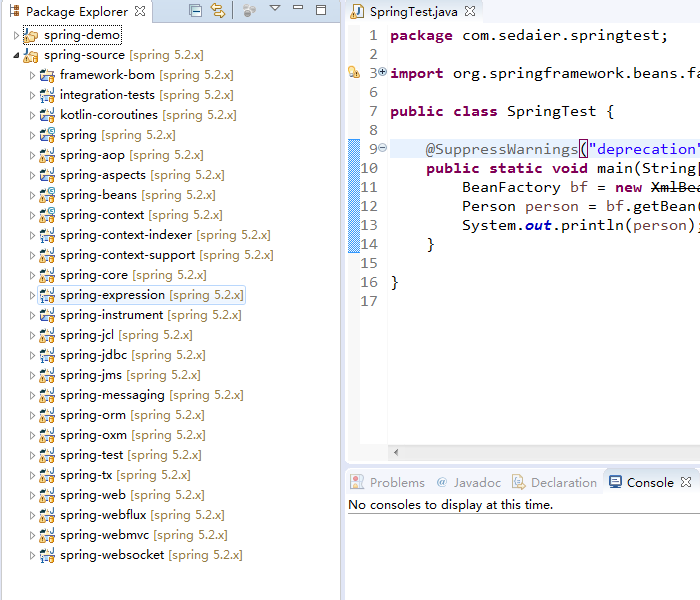
Eclipse导入成功
路径
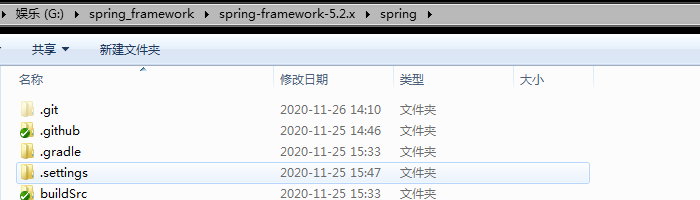
导入目录
集成环境
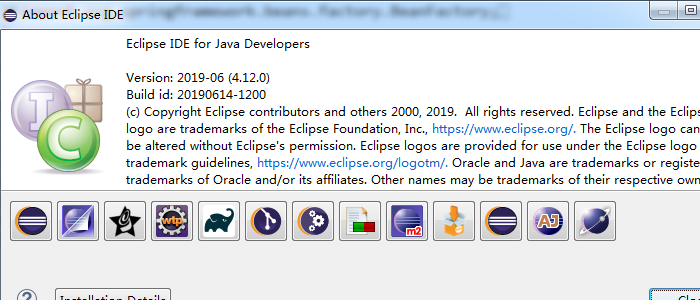
Eclipse
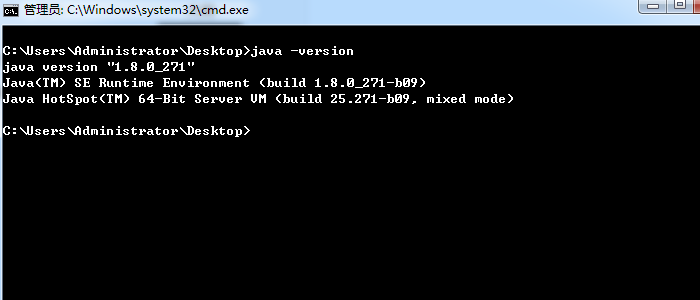
JDK
OracleJdk-1.8-271
//在安装jdk1.8的时候,出现安装了之后不能显示的版本不一致的问题
AspectJ

Kotlin
Groovy
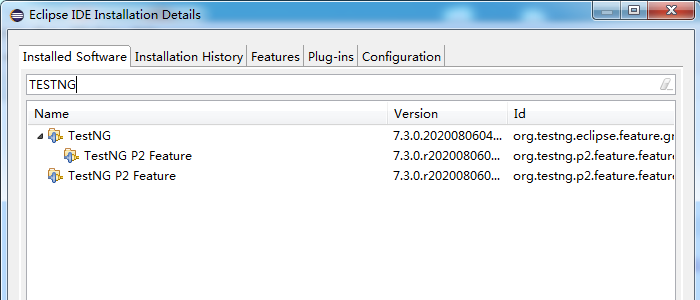
TestNg
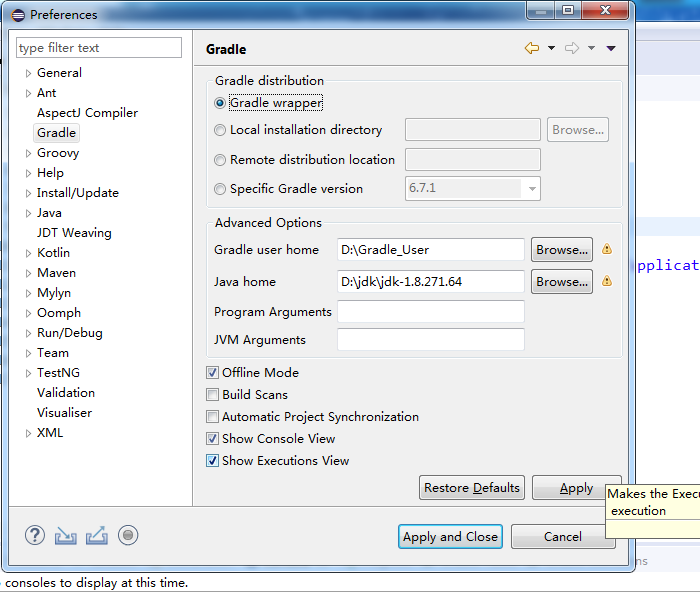
Gradle

Windows安装JDK1.8
//修改JDK环境变量后没有生效
1.在安装JDK1.8时(已经安装了多个版本的JDK),自动会将java.exe、javaw.exe、javaws.exe三个可执行文件复制到了C:\Windows\System32目录,这个目录在WINDOWS环境变量中的优先级高于JAVA_HOME设置的环境变量优先级,将java.exe,javaw.exe,javaws.exe删除即可。
2.Path中Oracle在java前面,Oracle也带有JDK的,所以你运行java -version其实查看到的是Oracle中的java版本,把你的%JAVA_HOME%\bin;%JAVA_HOME%\jre\bin;移动到最前面就没问题了,也不会对Oracle造成影响的。
3.不行再刷新一下环境变量
进入DOS命令提示符,输入:set PATH=C: ,关闭DOS窗口。再次打开DOS窗口,输入:echo %PATH% ,可以发现“我的电脑”->“属性”->“高级”->“环境变量”中设置的 PATH 值已经生效。
4.开启新的命令行窗口,再执行java -version(设置完了之后,有时会忘记重新打开cmd窗口)
where java命令
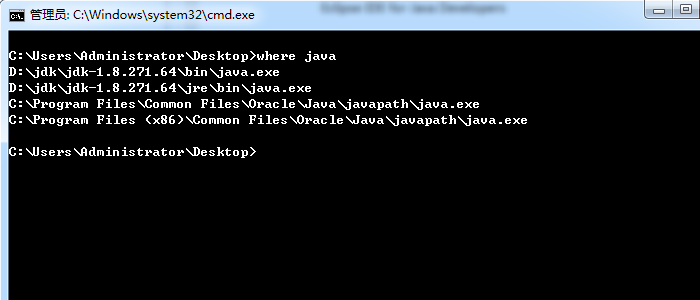
该命令可以查看,具体path中的jdk的路径展示,优先级高的在最前面
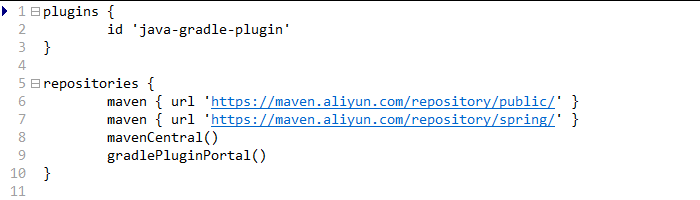
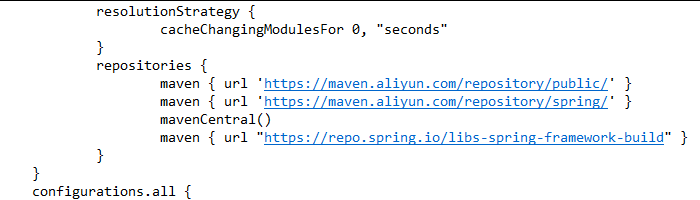
Gradle添加阿里云
spring-framework-5.2.x/build.gradle
spring-framework-5.2.x/settings.gradle
spring-framework-5.2.x/buildSrc/build.gradle
库中添加依赖库,加速下载依赖速度
maven { url 'https://maven.aliyun.com/repository/public/' }
maven { url 'https://maven.aliyun.com/repository/spring/' }

导入步骤
参考文档
spring-framework-5.2.x/import-into-eclipse.md
# Spring Framework - Eclipse/STS Project Import Guide
#JDK8最新版本
#Eclipse4.12版本(预装了gradle也就是Buildship)
This document will guide you through the process of importing the Spring Framework
projects into Eclipse or the Spring Tool Suite (_STS_). It is recommended that you
have a recent version of Eclipse. As a bare minimum you will need Eclipse with full Java 8 support, Eclipse Buildship, the Kotlin plugin, and the Groovy plugin.
The following instructions have been tested against STS 4.3.2(based on Eclipse 4.12)with Eclipse Buildship.The instructions should work with the latest Eclipse distribution as long as you install Buildship. Note that STS 4 comes with Buildship preinstalled.
## Steps
_When instructed to execute `./gradlew` from the command line, be sure to execute it within your locally cloned `spring-framework` working directory._
#一定要以JDK1.8启动Eclipse
1. Ensure that Eclipse launches with JDK 8.
- For example, on Mac OS this can be configured in the `Info.plist` file located in the `Contents` folder of the installed Eclipse or STS application (e.g., the `Eclipse.app` file).
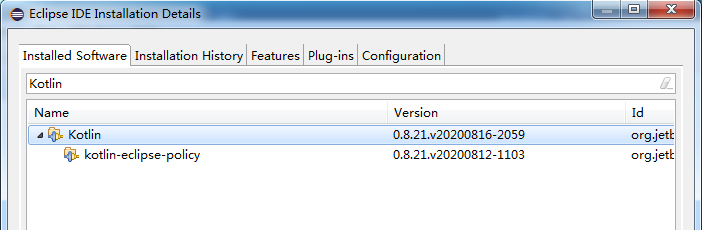
#安装Kotlin插件(不成功多安装几次)
1. Install the [Kotlin Plugin for Eclipse](https://marketplace.eclipse.org/content/kotlin-plugin-eclipse) in Eclipse.
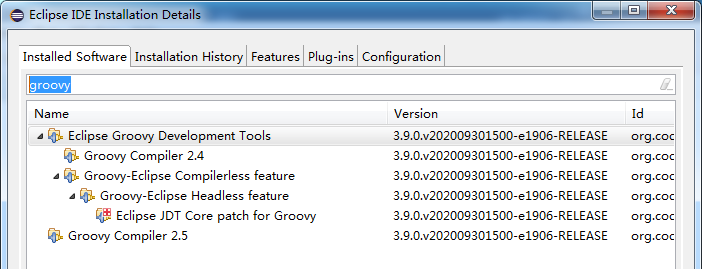
#安装groovy插件,手册只能安装2.4的,可以选择在安装一个安装2.5版插件(不成功多安装几次)
1. Install the [Eclipse Groovy Development Tools](https://github.com/groovy/groovy-eclipse/wiki) in Eclipse.
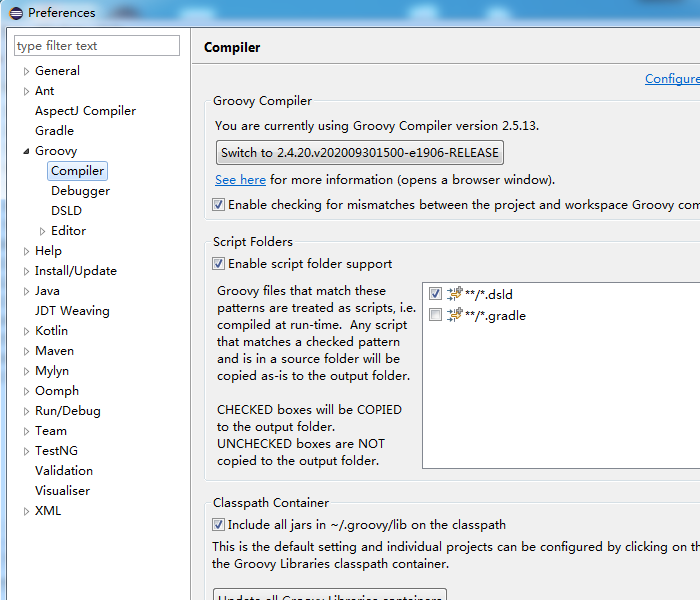
#调整groovy到2.5版
1. Switch to Groovy 2.5 (Preferences -> Groovy -> Compiler -> Switch to 2.5...) in Eclipse.
1. Change the _Forbidden reference (access rule)_ in Eclipse from Error to Warning
(Preferences -> Java -> Compiler -> Errors/Warnings -> Deprecated and restricted API -> Forbidden reference (access rule)).
#安装AspectJ插件
1. Optionally install the [AspectJ Development Tools](https://marketplace.eclipse.org/content/aspectj-development-tools) (_AJDT_) if you need to work with the `spring-aspects` project. The AspectJ Development Tools available in the Eclipse Marketplace have been tested with these instructions using STS 4.5 (Eclipse 4.14).
#安装TestNG插件
1. Optionally install the [TestNG plugin](https://testng.org/doc/eclipse.html) in Eclipse if you need to execute TestNG tests in the `spring-test` module.
#在源码目录打开cmd窗口(本地已安装了Gradle和配置gradle的环境变量),执行 gradlew :spring-oxm:check ,不需要带./
1. Build `spring-oxm` from the command line with `./gradlew :spring-oxm:check`.
#在源码目录打开cmd窗口,执行 gradlew eclipseBuildship ,不需要带./
1. To apply project specific settings, run `./gradlew eclipseBuildship` from the command line.
#导入Gradle项目
1. Import into Eclipse (File -> Import -> Gradle -> Existing Gradle Project -> Navigate to the locally cloned `spring-framework` directory -> Select Finish).
- If you have not installed AJDT, exclude the `spring-aspects` project from the import, if prompted, or close it after the import.
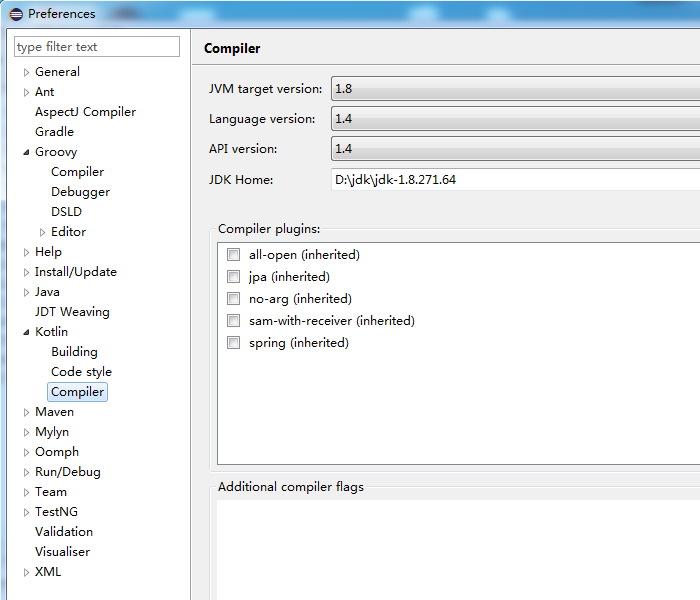
#设置gradle的java home
- If you run into errors during the import, you may need to set the _Java home_ for Gradle Buildship to the location of your JDK 8 installation in Eclipse (Preferences -> Gradle -> Java home).
Demo
application.xml
<?xml version="1.0" encoding="UTF-8"?>
<beans xmlns="http://www.springframework.org/schema/beans"
	   xmlns:xsi="http://www.w3.org/2001/XMLSchema-instance"
	   xsi:schemaLocation="http://www.springframework.org/schema/beans
	   					   http://www.springframework.org/schema/beans/spring-beans-3.0.xsd">
	<bean id="person" class="com.sedaier.springtest.Person">
		<constructor-arg index="0">
			<value>zhangshang</value>
		</constructor-arg>
		<constructor-arg index="1">
			<value>10</value>
		</constructor-arg>
	</bean>
</beans>
src
Person.java
package com.sedaier.springtest;

public class Person {
	private String name;
	private String age;

	public Person(String name, String age) {
		this.name = name;
		this.age = age;
	}

	public String getName() {
		return name;
	}
	public void setName(String name) {
		this.name = name;
	}
	public String getAge() {
		return age;
	}
	public void setAge(String age) {
		this.age = age;
	}

	@Override
	public String toString() {
		return "Person [name=" + name + ", age=" + age + "]";
	}
}
SpringTest.java
package com.sedaier.springtest;

import org.springframework.beans.factory.BeanFactory;
import org.springframework.beans.factory.xml.XmlBeanFactory;
import org.springframework.core.io.ClassPathResource;

public class SpringTest {

	@SuppressWarnings("deprecation")
	public static void main(String[] args) {
		BeanFactory bf = new XmlBeanFactory(new ClassPathResource("application.xml"));
		Person person = bf.getBean(Person.class);
		System.out.println(person);
	}

}


 176
176


 被折叠的 条评论
为什么被折叠?
被折叠的 条评论
为什么被折叠?
 到【灌水乐园】发言


