


1、引入三个依赖,其中第三个是为了优化页面用;
<!-- swagger2-->
        <dependency>
            <groupId>io.springfox</groupId>
            <artifactId>springfox-swagger2</artifactId>
            <version>${swagger.version}</version>
        </dependency>

        <!--swaggerUI框架-->
        <dependency>
            <groupId>com.github.xiaoymin</groupId>
            <artifactId>swagger-bootstrap-ui</artifactId>
            <version>1.9.4</version>
        </dependency>
2、编写配置类;
package com.imooc.config;

import org.springframework.context.annotation.Bean;
import org.springframework.context.annotation.Configuration;
import springfox.documentation.builders.ApiInfoBuilder;
import springfox.documentation.builders.PathSelectors;
import springfox.documentation.builders.RequestHandlerSelectors;
import springfox.documentation.service.ApiInfo;
import springfox.documentation.service.Contact;
import springfox.documentation.spi.DocumentationType;
import springfox.documentation.spring.web.plugins.Docket;
import springfox.documentation.swagger2.annotations.EnableSwagger2;

/**
 * @author Created by wcg
 * @Date 2019/11/7 21:39
 */
@Configuration
@EnableSwagger2
public class Swagger2 {
    //http://localhost:8088/swagger-ui.html 原路径
    //http://localhost:8088/doc.html bootstarp路径
    //配置swagger2核心配置 docket,主要是添加要扫描controller的路径
    @Bean
    public Docket createResApi(){
        return new Docket(DocumentationType.SWAGGER_2)
                .apiInfo(apiInfo())
                .select().apis(RequestHandlerSelectors
                            .basePackage("com.imooc.controller"))
                .paths(PathSelectors.any())
                .build();

    }
    private ApiInfo apiInfo(){
        return new ApiInfoBuilder()
                .title("天天吃货,电商平台接口api").
                contact(new Contact("imooc","https://www.imooc.com","abc@imooc.com"))
                        .description("专门为天天吃货提供的api文档")
                .version("1.0.1")
                .termsOfServiceUrl("https://www.imooc.com")
                .build();

    }
}
上边代码中的类主要描述了文档的基本信息,以及访问路径:
//http://localhost:8088/swagger-ui.html (这是原路径是swagger本身的路径配置好,直接就可以进行访问;)
//http://localhost:8088/doc.html ( bootstarp路径是优化后的页面的路径);
3、增加注释,用于中文进行直观的页面展示,主要有以下几个:
1、@ApiIgnore 就是将配置中扫描的包下的controller进行排除,这样文档页面就不会进行展示对应的controller了;

2、@Api(value = “注册登陆”,tags = “注册登陆的相关接口”),这个注释添加到要展示的controller类上,以及相关中文注释;

3、@ApiOperation(value = “用户名是否存在”,notes = “用户名是否存在”,httpMethod = “GET”) 主要放置在方法前边,用于展示对应接口的信息,以及请求方式;

4、@ApiModel(value = “用户对象BO”, description = “从客户端,由用户传入的数据封装在此entity中”) 这个主要是放在BO类上(BO类在这个项目就是为了接收参数的封装类),

5、@ApiModelProperty(value = “用户名”,name = “usernmae”,example = “imooc”,required = true) 这个主要是放在BO类中的属性前边,用于描述具体参数信息
package com.imooc.pojo.po;

import io.swagger.annotations.ApiModel;
import io.swagger.annotations.ApiModelProperty;

/**
 * @author Created by wcg
 * @Date 2019/11/7 19:35
 */
@ApiModel(value = "用户对象BO", description = "从客户端,由用户传入的数据封装在此entity中")
public class UserBO {
    @ApiModelProperty(value = "用户名",name = "usernmae",example = "imooc",required = true)
    private String username;

    @ApiModelProperty(value = "密码",name = "password",example = "123456",required = true)
    private String password;

    @ApiModelProperty(value = "确认密码",name = "confirmPassword",example = "123456",required = false)
    private String confirmPassword;
好了主要是就是这几个最主要的注释,那么让我们来看一下最终的成果页面吧:
· 1、输入http://localhost:8088/doc.html进入首页,会看到咱们在配置类中定制的基本信息:

2、看下具体的接口情况:

3、当然也可以在线输入参数,点击发送进行测试接口:

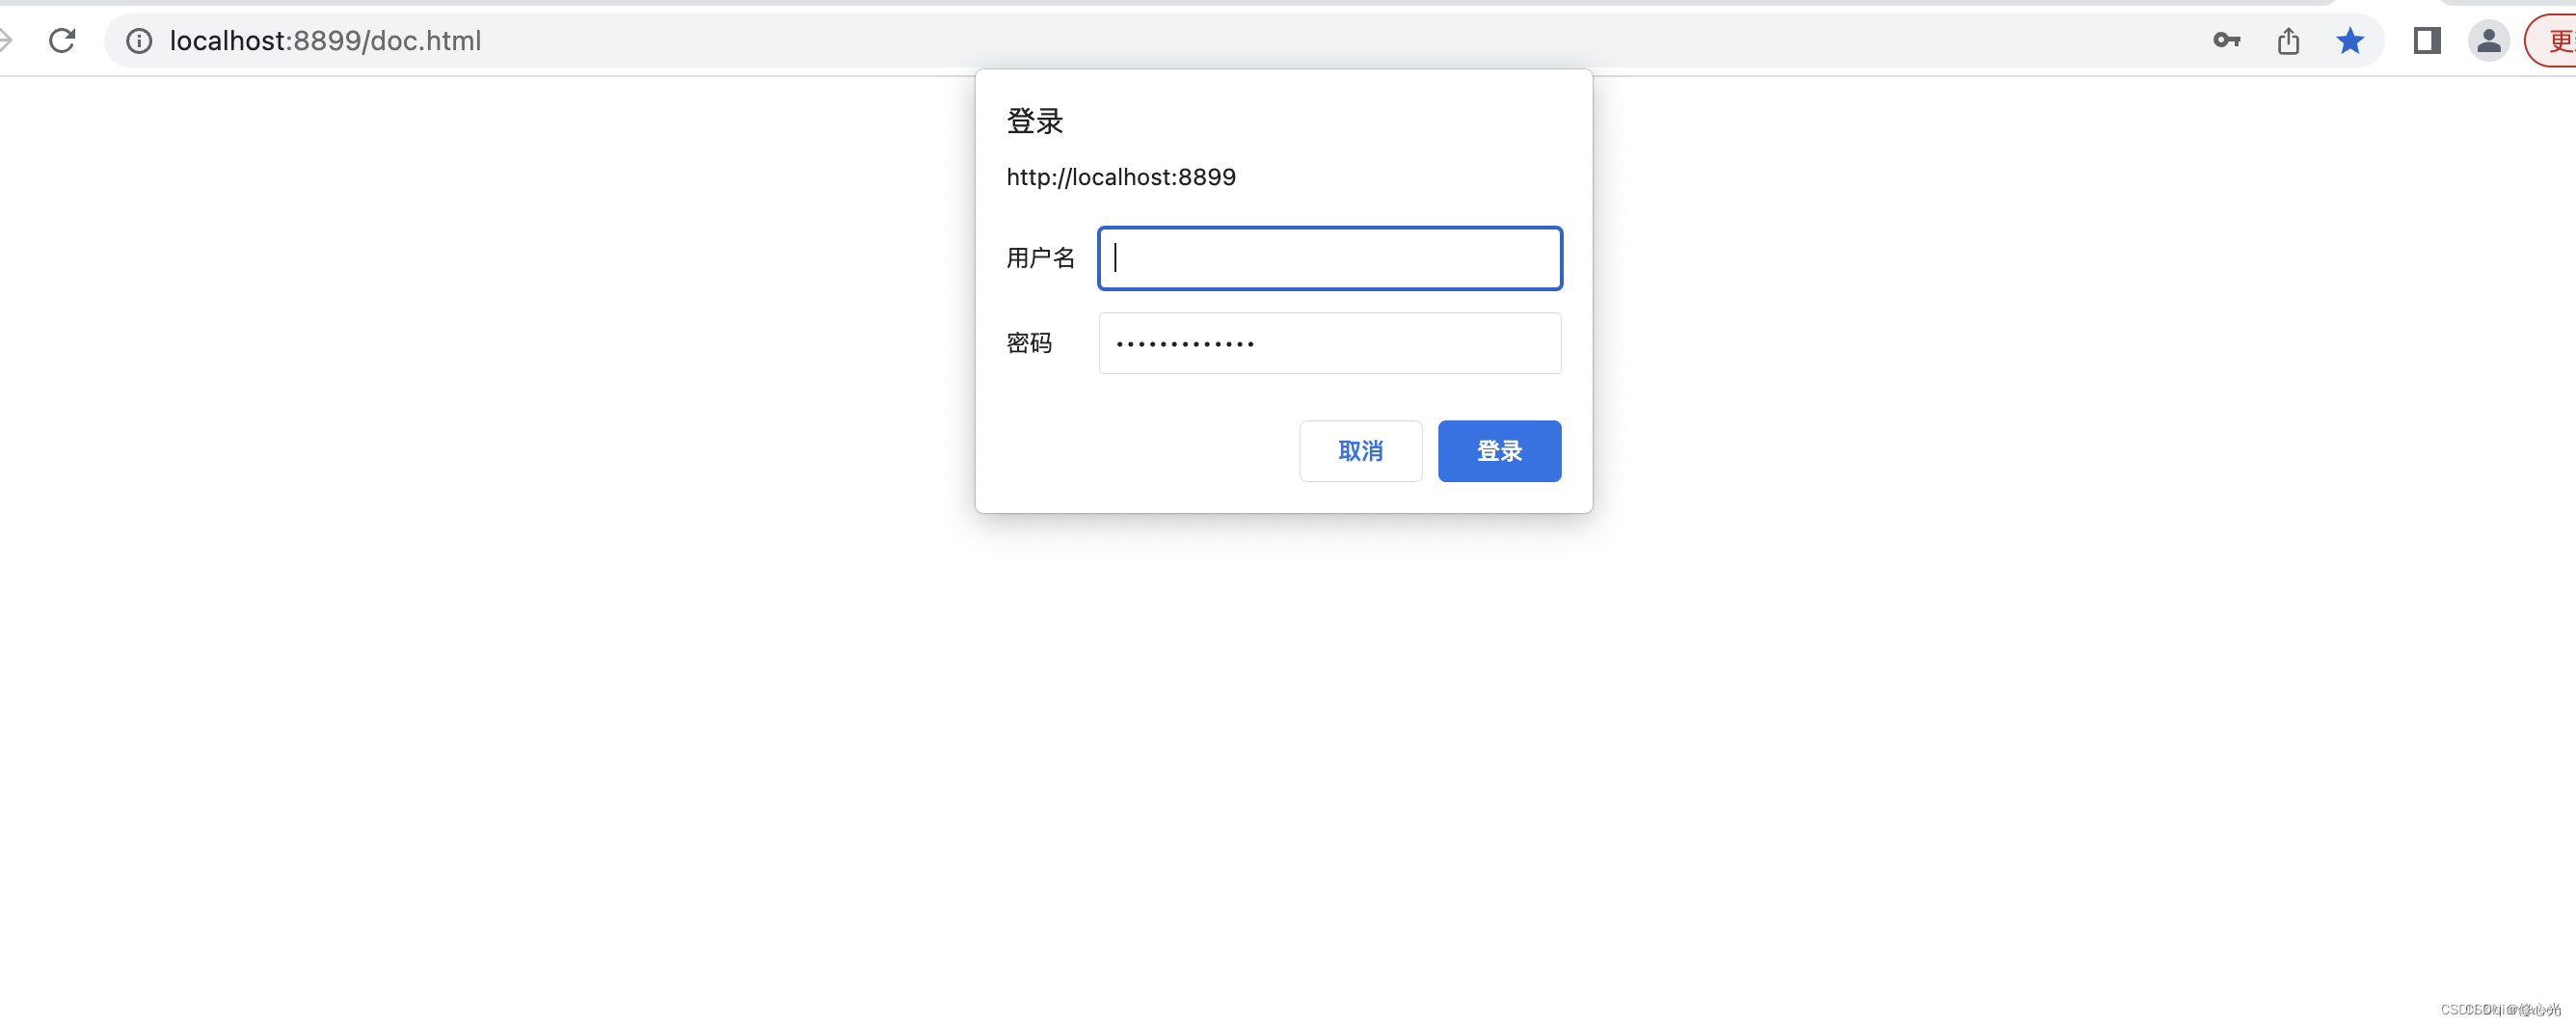
4、如果你部署环境之后,还想继续访问,但是又怕别人直接访问不安全,可以对swagger文档页面设置一个访问密码
①、在配置文件增加配置:
swagger:
  production: false
  basic:
    enable: true
    username: admin
    password: XXXXXXX
②、在swagger配置类增加注释:

③、重新启动,输入账号、密码访问
好了,就这么些了,完全够你在大部分的项目进行实用了!


 1209
1209


 被折叠的 条评论
为什么被折叠?
被折叠的 条评论
为什么被折叠?
 到【灌水乐园】发言


