


UITableView是我们最常用的开发控件之一, 有了UITableView, 那就肯定会有UITableViewCell了, 但在Cell里面会有很多坑, 比如根据内容自动缩放, 下面让我们来看看怎么做吧
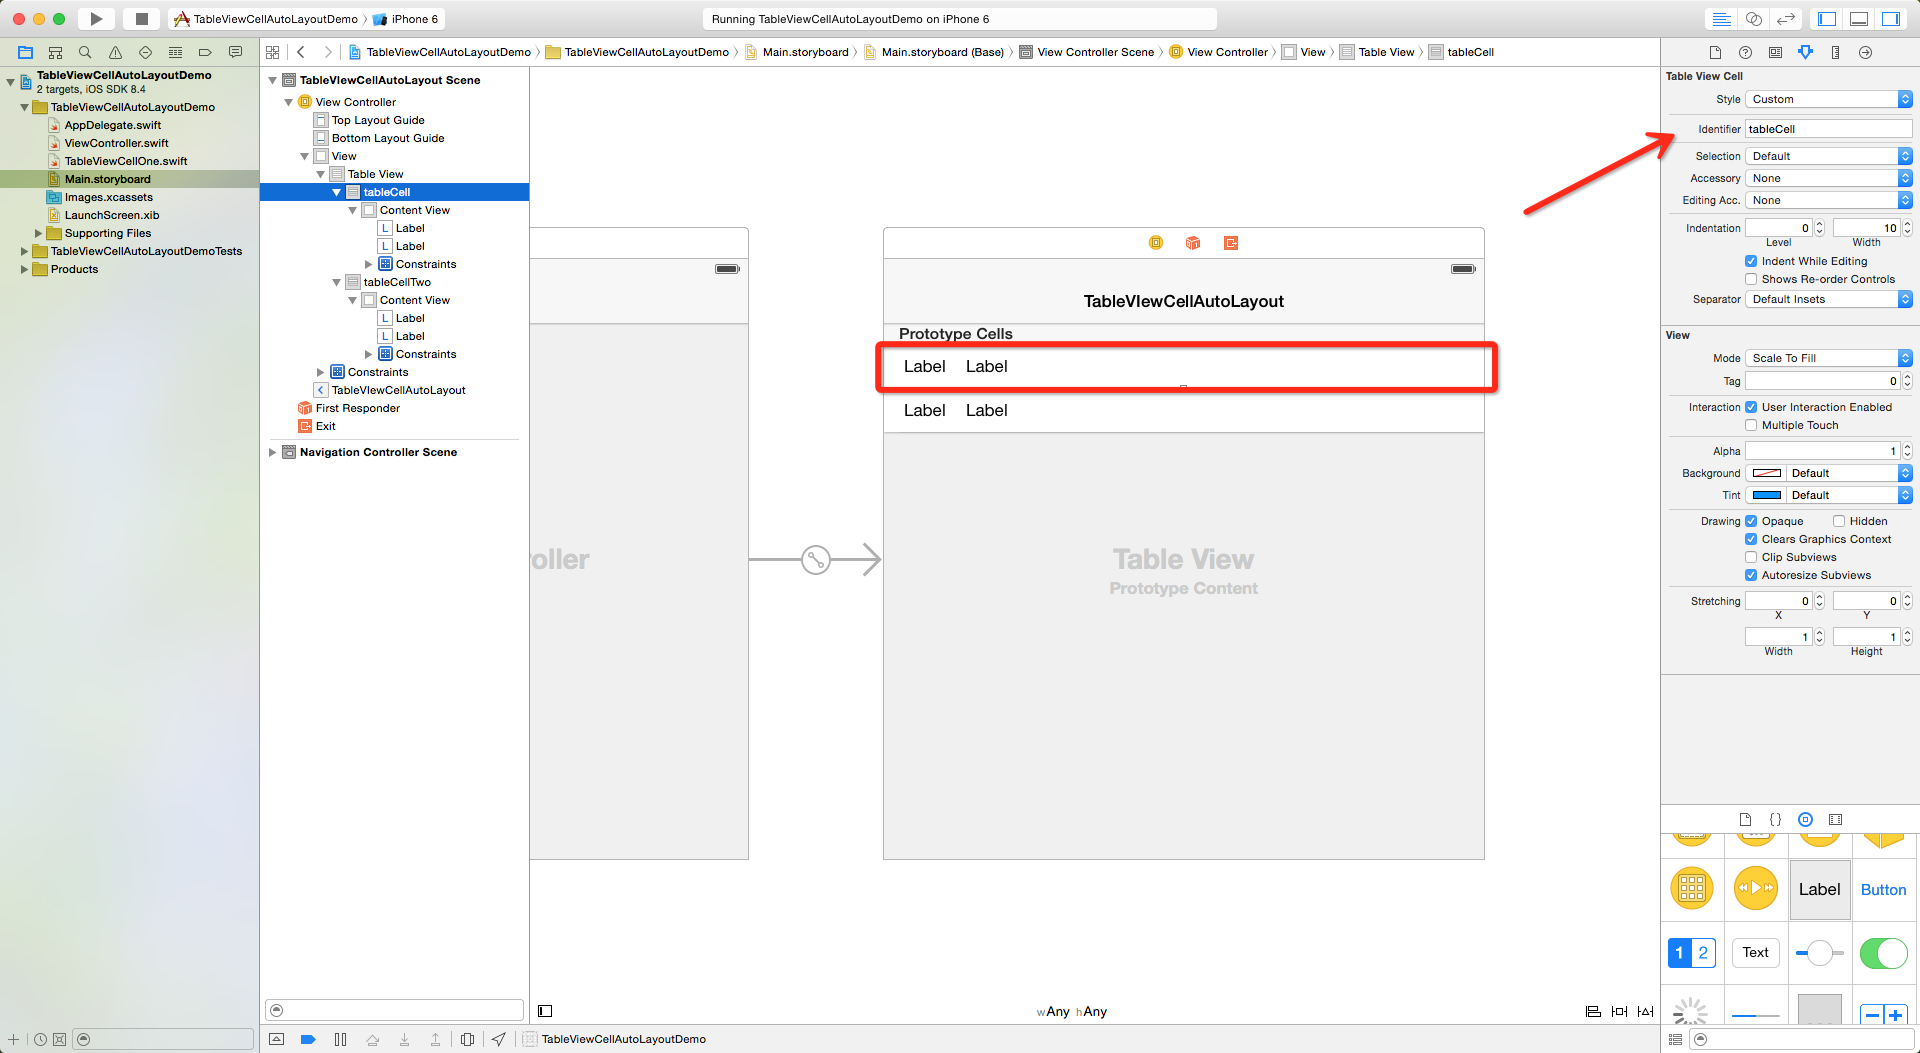
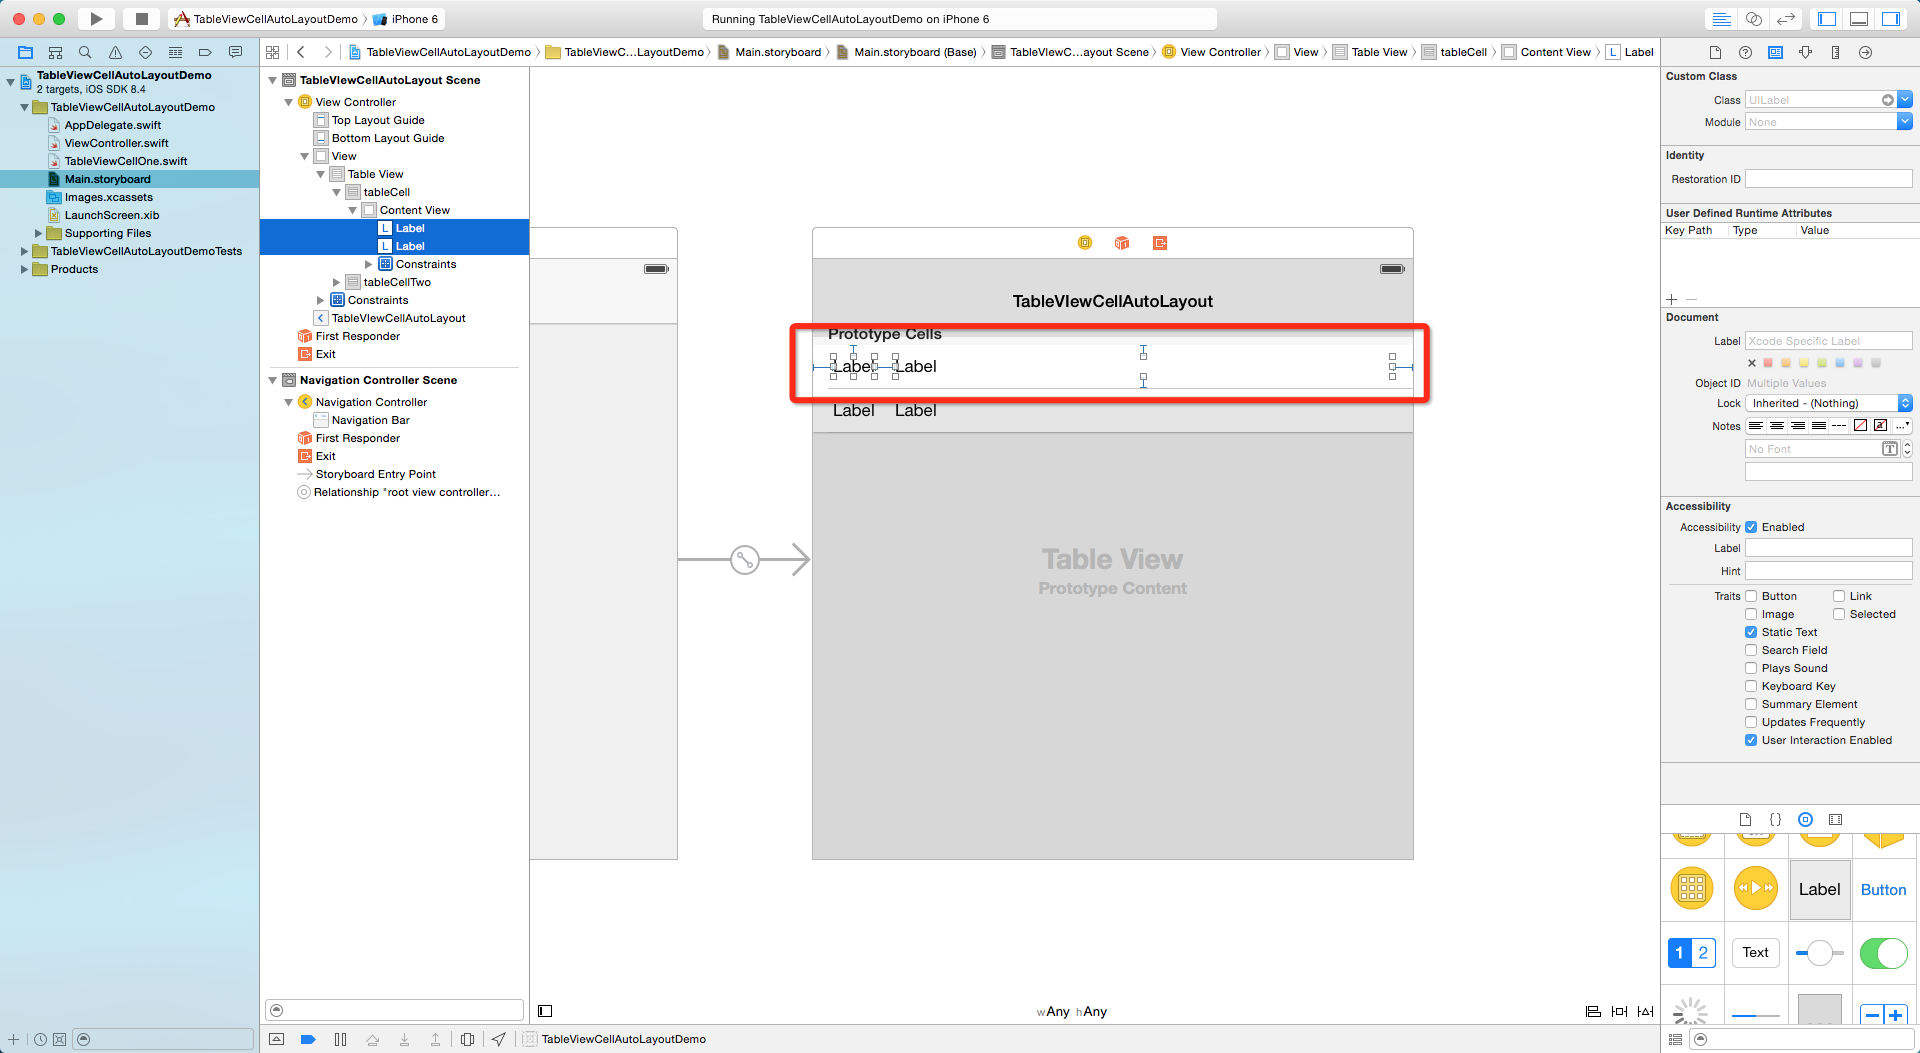
1.界面布局
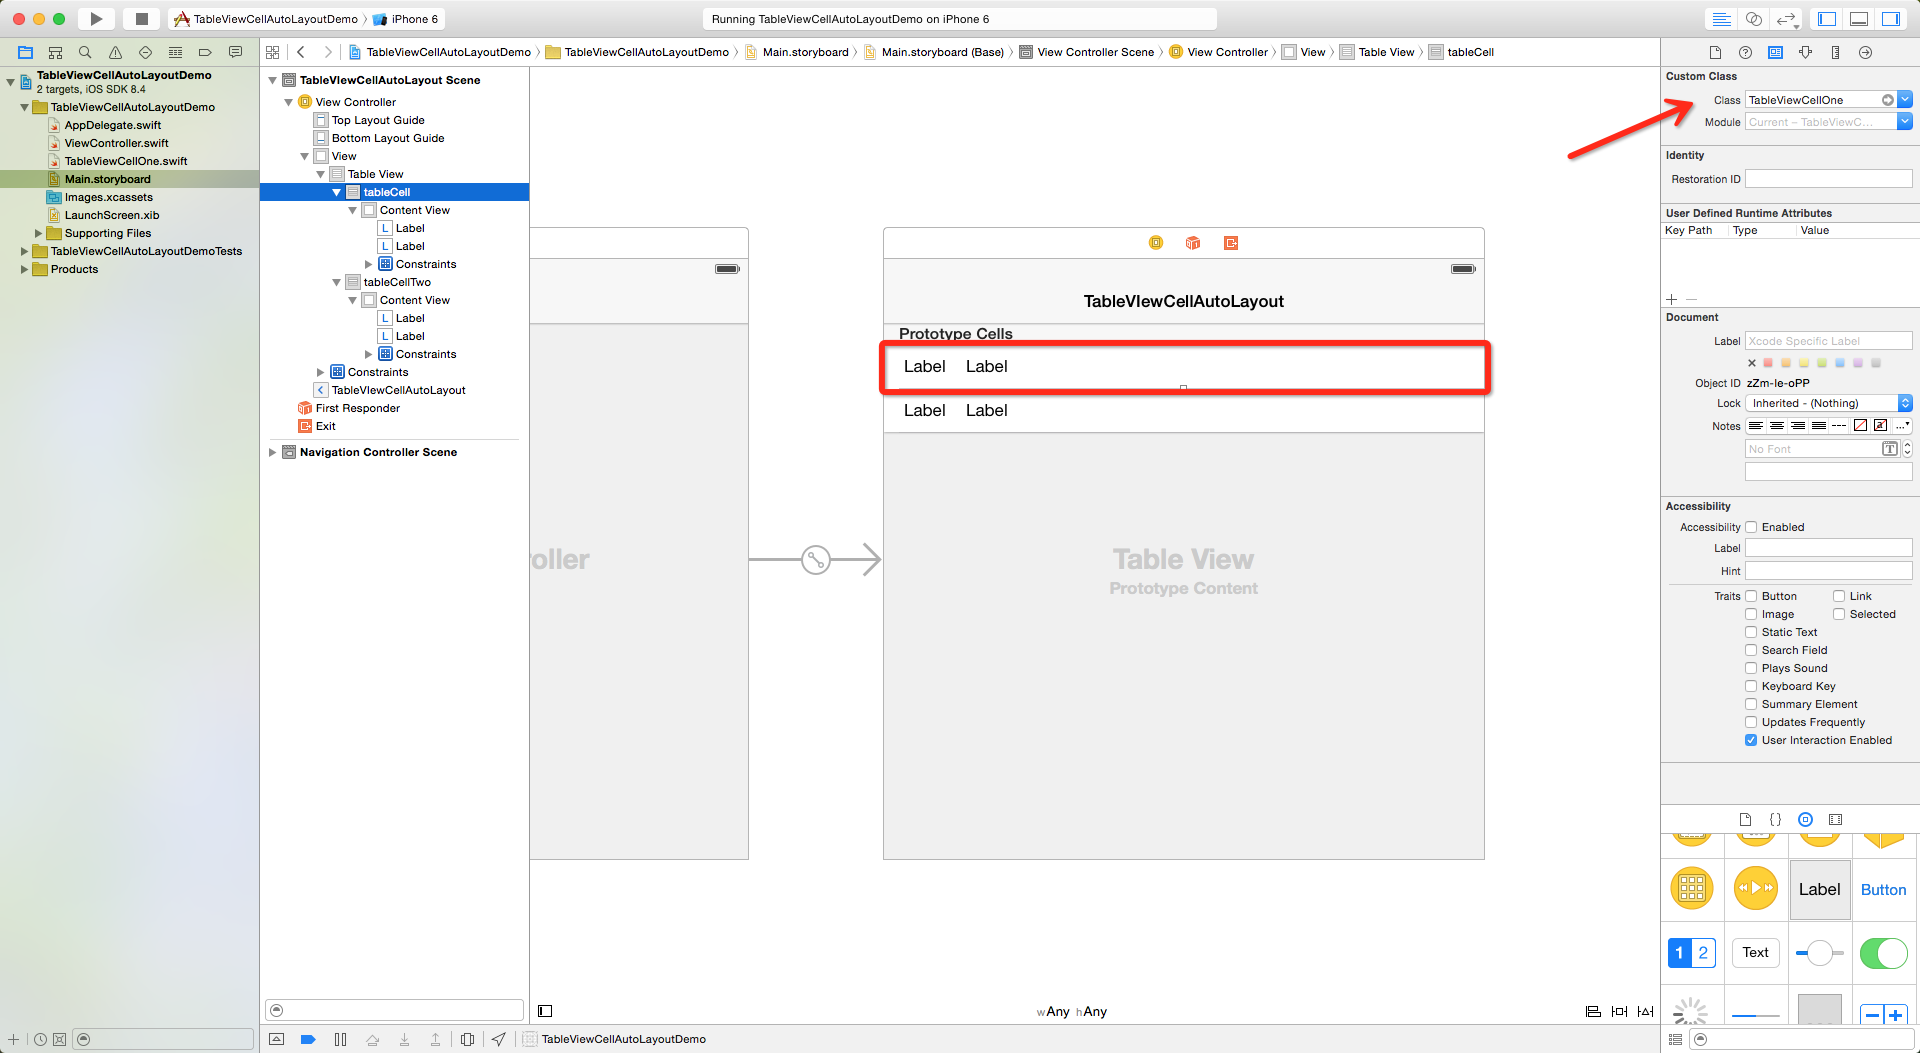

2.自定义Cell
在这里面, 我们要自定义一个Cell的类
// 绑定第一个Cell样式的title
@IBOutlet weak var title: UILabel!

// 绑定第一个Cell样式的detail
@IBOutlet weak var detail: UILabel!

// 绑定第二个Cell样式的titleTwo
@IBOutlet weak var titleTwo: UILabel!

// 绑定第二个Cell样式的detailTwo
@IBOutlet weak var detailTwo: UILabel!
3.实现代码
// 1.绑定TableView
@IBOutlet weak var tableView: UITableView!

override func viewDidLoad() {
    super.viewDidLoad()

    // 2.设置TableViewCell的估计高度
    tableView.estimatedRowHeight = 44

    // 3.设置TableView每行的高度为自动适应
    tableView.rowHeight = UITableViewAutomaticDimension
}

// 4.设置多少组的Cell
func numberOfSectionsInTableView(tableView: UITableView) -> Int {
    return 1
}

// 5.设置多少个Cell
func tableView(tableView: UITableView, numberOfRowsInSection section: Int) -> Int {
    return 5
}

// 6.设置Cell的数据源
func tableView(tableView: UITableView, cellForRowAtIndexPath indexPath: NSIndexPath) -> UITableViewCell {
    // 6.1.实例化Cell
    var cell = TableViewCellOne()

    if indexPath.row != 3 {
        // 6.2.获取对应的Identifier的TableViewCell
        cell = tableView.dequeueReusableCellWithIdentifier("tableCell", forIndexPath: indexPath) as! TableViewCellOne

        // 6.3.设置title的内容
        cell.title.text = "用户名称: "

        // 6.4.设置detail的内容
        cell.detail.text = "我是大叔"

        // 6.5.返回设置好的Cell
        return cell
    } else {
        // 6.7.获取对应的Identifier的TableViewCell
        cell = tableView.dequeueReusableCellWithIdentifier("tableCellTwo", forIndexPath: indexPath) as! TableViewCellOne

        // 6.8.设置titleTwo的内容
        cell.titleTwo.text = "个人介绍: "

        // 6.9.设置detailTwo的内容
        cell.detailTwo.text = "武侯区武饿哦uasodas空间阿卡家 萨卡说了句爱上可怜的价位哦亲我饿哦i代理静安寺来得及阿斯利康的就阿斯顿静安寺来得及阿斯顿今晚iuqwoeuoiasjas开讲啦思考逻辑阿斯利康就阿斯利康就啊失联客机啊失联客机阿斯顿进口拉丝奥斯丁"
    }

    // 6.10.返回设置好的Cell
    return cell
}

// 7.设置Cell的点击方法
func tableView(tableView: UITableView, didSelectRowAtIndexPath indexPath: NSIndexPath) {
    // 7.1.取消tableViewCell的点击效果
    self.tableView.deselectRowAtIndexPath(indexPath, animated: true)
}
4.最终效果
项目工程地址: 链接: http://pan.baidu.com/s/1hqCQNQG 密码: vhpg


 863
863


 被折叠的 条评论
为什么被折叠?
被折叠的 条评论
为什么被折叠?
 到【灌水乐园】发言


