


目标:识别6、7、8 手势
步骤:
1.制作数据集
2.在线训练/自己训练
3.测试
# 环境依赖
pip install opencv
pip install tensorflow
pip install cvzone
pip install mediaflow
数据集制作:
通过opencv打开摄像头并且截取根据cvzone检测出来的手部关节点以及边界框数据得到的手部截图。
# make datasets
import math
import os.path

import cv2
import numpy as np


from cvzone.HandTrackingModule import HandDetector


# 调用摄像头,并展示窗口
cap = cv2.VideoCapture(0)
detector = HandDetector(maxHands=1)

folder6 = "./images/eight"
imgsize = 300
counter = 0

while True:
    success, img = cap.read()
    hands, img = detector.findHands(img)

    if hands:
        hand = hands[0]
        x, y, w, h = hand['bbox']
        img_white = np.ones((imgsize, imgsize, 3), np.uint8) * 255


        a_y = 0.09*y
        a_x = 0.09*x
        imgcrop = img[y - int(a_y):y + h + int(a_y), x - int(a_x):x + w + int(a_x)]

        aspectRatio = h / w

        if aspectRatio > 1:
            k = imgsize / h
            wcal = math.ceil(k * w)
            resized_img = cv2.resize(imgcrop, (wcal, imgsize))

            w_offset = math.ceil((imgsize - wcal) / 2)
            img_white[:, w_offset:wcal + w_offset] = resized_img
        else:
            k = imgsize/w
            hcal = math.ceil(k*h)
            resized_img = cv2.resize(imgcrop, (imgsize, hcal))
            h_offset = math.ceil((imgsize - hcal) / 2)
            img_white[h_offset:hcal+h_offset, :] =resized_img

        cv2.imshow('imgcrop', img_white)
    cv2.imshow('image', img)
    key = cv2.waitKey(1)

    if key == ord("s"):
        counter += 1
        cv2.imwrite(os.path.join(folder6,f'{counter}.jpg'),img_white)
        print(counter)
通过在线训练网站,进行在线训练。
也可自选分类模型训练,只有6,7,8三个数字分类标签比较容易制作。
在线训练网址:https://teachablemachine.withgoogle.com/
通过在线训练网址得到训练结果的h5文件和label标签
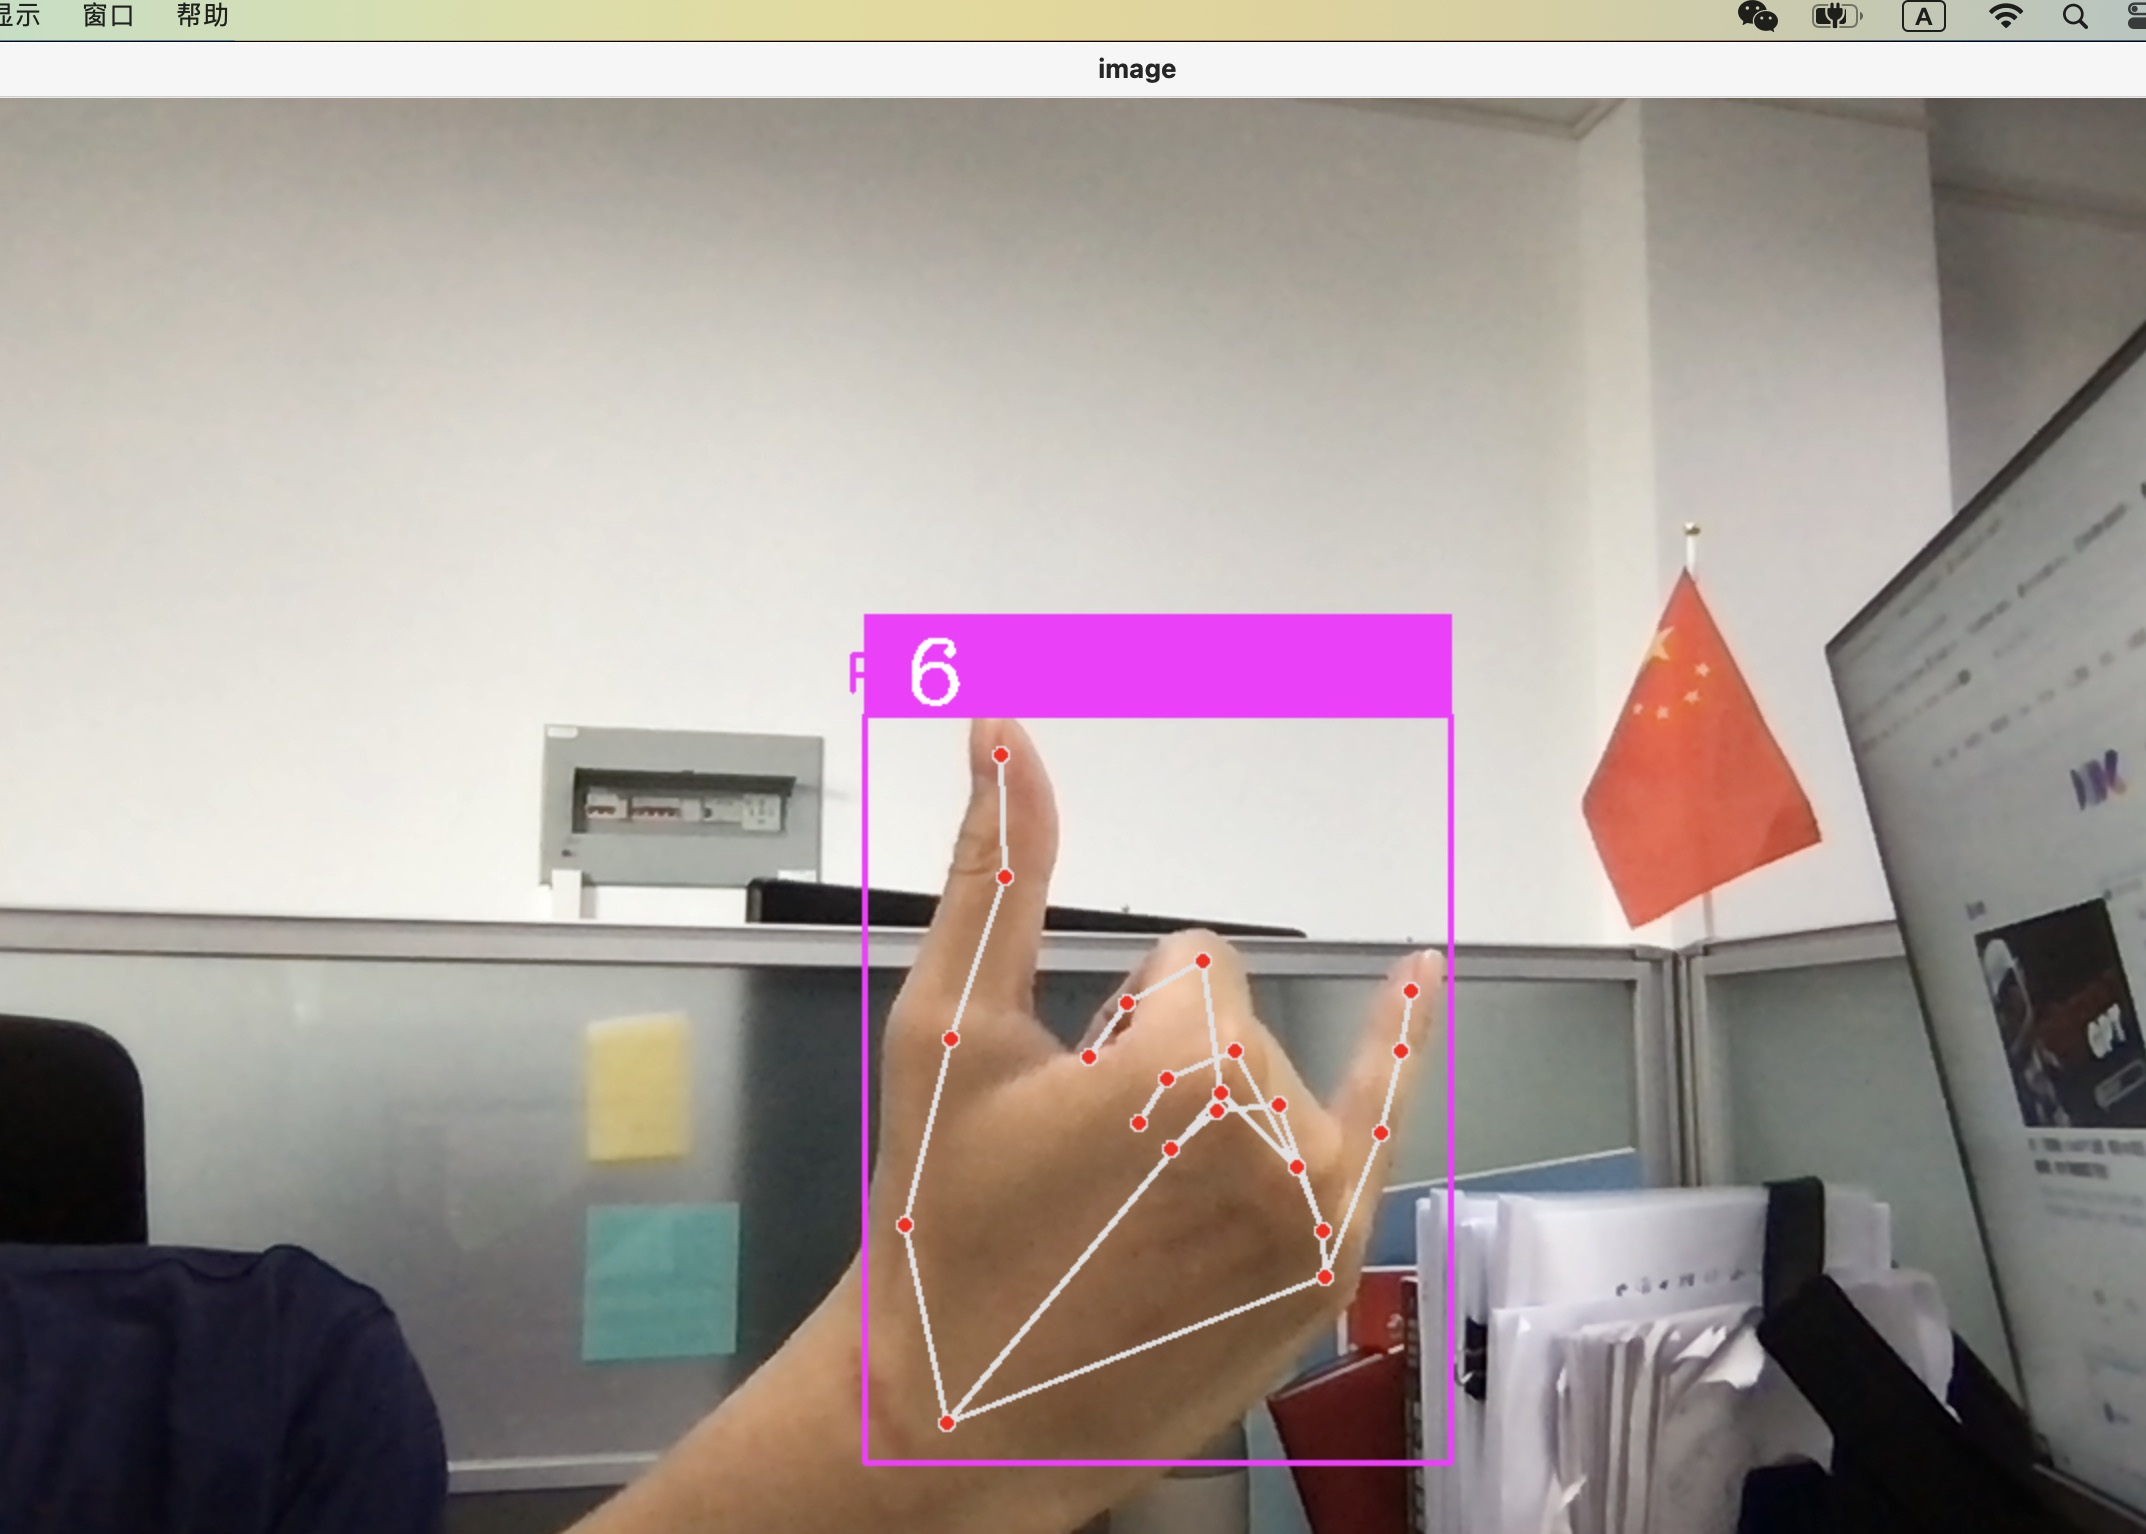
测试并用opencv可视化调用摄像头:
import math
import os.path

import cv2
import numpy as np


from cvzone.HandTrackingModule import HandDetector
from cvzone.ClassificationModule import Classifier

# 调用摄像头,并展示窗口
cap = cv2.VideoCapture(0)
detector = HandDetector(maxHands=1)
classifier = Classifier('model/keras_model.h5', 'model/labels.txt')

offset = 20
imgsize = 300
labels = ["6", "7", "8"]

while True:
    success, img = cap.read()
    hands, img = detector.findHands(img)

    if hands:
        hand = hands[0]
        x, y, w, h = hand['bbox']
        img_white = np.ones((imgsize, imgsize, 3), np.uint8) * 255


        a_y = 0.09*y
        a_x = 0.09*x
        imgcrop = img[y - offset:y + h + offset, x - offset:x + w + offset]

        aspectRatio = h / w

        if aspectRatio > 1:
            k = imgsize / h
            wcal = math.ceil(k * w)
            resized_img = cv2.resize(imgcrop, (wcal, imgsize))

            w_offset = math.ceil((imgsize - wcal) / 2)
            img_white[:, w_offset:wcal + w_offset] = resized_img
            prediction, index = classifier.getPrediction(img_white)
            print(prediction)
        else:
            k = imgsize/w
            hcal = math.ceil(k*h)
            resized_img = cv2.resize(imgcrop, (imgsize, hcal))
            h_offset = math.ceil((imgsize - hcal) / 2)
            img_white[h_offset:hcal+h_offset, :] =resized_img
            prediction, index = classifier.getPrediction(img_white)
            print(prediction)

        cv2.rectangle(img, (x - offset, y - offset - 50), (x + w + offset, y - offset), (255, 0, 255), thickness=-1)
        cv2.putText(img, labels[index], (x, y - 26), cv2.FONT_HERSHEY_COMPLEX, 1.5, (255, 255, 255), 2)
        cv2.rectangle(img, (x - offset, y - offset), (x + w + offset, y + h + offset), (255, 0, 255), 2)
        # cv2.imshow('imgcrop', img_white)
    cv2.imshow('image', img)
    cv2.waitKey(1)
遇到问题:
1.offset可能会导致x和y的值小于零以致imshow和rectangle不工作,尝试使用x/10和y/10作为偏移量,取得较好效果。
2.数据集制作可以做多一点防止过拟合。


 1112
1112


 被折叠的 条评论
为什么被折叠?
被折叠的 条评论
为什么被折叠?
 到【灌水乐园】发言


