


效果是这样的:

这里的文章标题和查看都可以进行跳转。
其中对应的代码如下:
<template style="height: 100%">
<el-table
:data="this.tableDataList"
height="95%"
style="width: 100%"
:row-style="iRowStyle"
:cell-style="iCellStyle"
:header-row-style="iHeaderRowStyle"
:header-cell-style="iHeaderCellStyle"
:fit="true"
>
<el-table-column
prop="createTime"
label="创建时间"
width="120"
>
</el-table-column>
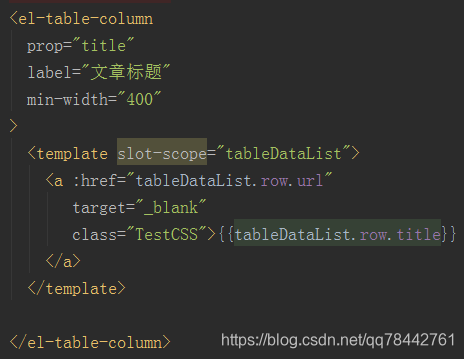
<el-table-column
prop="title"
label="文章标题"
min-width="400"
>
<template slot-scope="tableDataList">
<a :href="tableDataList.row.url"
target="_blank"
class="TestCSS">{{tableDataList.row.title}}
</a>
</template>
</el-table-column>
<el-table-column
prop="visitor"
label="访问量"
width="80"
>
</el-table-column>
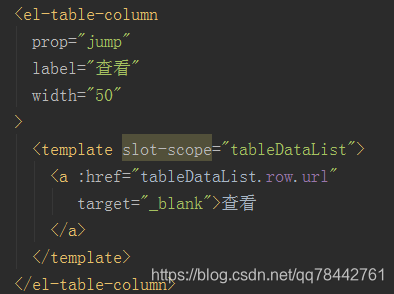
<el-table-column
prop="jump"
label="查看"
width="50"
>
<template slot-scope="tableDataList">
<a :href="tableDataList.row.url"
target="_blank">查看
</a>
</template>
</el-table-column>
<el-table-column
prop="updateTime"
label="更新时间"
width="100"
>
</el-table-column>
</el-table>
</template>此处的tableDataList
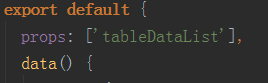
是从父类通过axios传到子组建的
此处row指的是行,并不是axios获取的数据。填写row即可,相当于tableDataList['当前行'],url是tableDataList中一个数据的对象中的键。
这里也是一样的:
通过这种方式就可以在element ui中table添加a标签。


 被折叠的 条评论
为什么被折叠?
被折叠的 条评论
为什么被折叠?
 到【灌水乐园】发言


