


今天在写一个布局文件,要求页面能滑动。于是就想到了用ScrollView来解决,但是运行的时候发现页面中的ListView不能滑动了。分享一下解决方案。(ListView和GridView方法相同,此处用ListView做示例)
首先是.xml文件(注意在ScrollView下不能有多个组件,所以将组件放到一个LinearLayout中):
<?xml version="1.0" encoding="utf-8"?>
<LinearLayout xmlns:android="http://schemas.android.com/apk/res/android"
    xmlns:app="http://schemas.android.com/apk/res-auto"
    xmlns:tools="http://schemas.android.com/tools"
    android:layout_width="match_parent"
    android:layout_height="match_parent"
    android:orientation="vertical"
    app:layout_behavior="@string/appbar_scrolling_view_behavior"
    tools:context="com.example.administrator.listviewscrollview.MainActivity"
    tools:showIn="@layout/activity_main">

    <ScrollView
        android:layout_width="match_parent"
        android:layout_height="match_parent">

        <LinearLayout
            android:layout_width="match_parent"
            android:layout_height="match_parent"
            android:orientation="vertical">

            <Button
                android:layout_width="wrap_content"
                android:layout_height="wrap_content"
                android:text="button1" />

            <Button
                android:layout_width="wrap_content"
                android:layout_height="wrap_content"
                android:text="button2" />

            <Button
                android:layout_width="wrap_content"
                android:layout_height="wrap_content"
                android:text="button3" />

            <Button
                android:layout_width="wrap_content"
                android:layout_height="wrap_content"
                android:text="button4" />

            <Button
                android:layout_width="wrap_content"
                android:layout_height="wrap_content"
                android:text="button5" />

            <com.example.administrator.listviewscrollview.MyListView
                android:id="@+id/list"
                android:layout_width="match_parent"
                android:layout_height="wrap_content"/>

        </LinearLayout>
    </ScrollView>
</LinearLayout>
在布局文件中放了一堆Button用来显示效果,然后再底部用了一个自定义的视图MyListView.接下来是自定义试图MyListView.java文件:
package com.example.administrator.listviewscrollview;

import android.content.Context;
import android.util.AttributeSet;
import android.widget.ListView;

public class MyListView extends ListView {
    public MyListView(Context context) {
        super(context);
    }

    public MyListView(Context context, AttributeSet attrs) {
        super(context, attrs);
    }

    public MyListView(Context context, AttributeSet attrs, int defStyleAttr) {
        super(context, attrs, defStyleAttr);
    }

    @Override
    protected void onMeasure(int widthMeasureSpec, int heightMeasureSpec) {
        heightMeasureSpec=MeasureSpec.makeMeasureSpec(Integer.MAX_VALUE>>2,MeasureSpec.AT_MOST);

        super.onMeasure(widthMeasureSpec, heightMeasureSpec);
    }
}
在MyListView.java中继承了ListView类,重写了OnMeasure()方法。在次方法中方重新定义了ListView的高度。
接下来是MainActivity.java文件(此处省略item文件):
package com.example.administrator.listviewscrollview;

import android.os.Bundle;
import android.support.v7.app.AppCompatActivity;
import android.view.View;
import android.view.ViewGroup;
import android.widget.BaseAdapter;
import android.widget.TextView;

public class MainActivity extends AppCompatActivity {
    private MyListView listView;
    private String[] str = {"a", "b", "c", "d", "1", "2", "3", "4", "5", "6",
            "7", "8", "9", "10", "11", "12", "13", "14", "15", "16", "17",
            "18", "19", "20", "21", "22", "23", "24", "25", "26", "27", "28",
            "29", "30", "31", "32", "33", "34", "35", "36", "37", "38", "39",
            "40", "41", "42", "43"};

    @Override
    protected void onCreate(Bundle savedInstanceState) {
        super.onCreate(savedInstanceState);
        setContentView(R.layout.activity_main);
        listView = (MyListView) this.findViewById(R.id.list);
        listView.setAdapter(new MyAdapter());
    }

    class MyAdapter extends BaseAdapter {
        @Override
        public int getCount() {
            return str.length;
        }

        @Override
        public Object getItem(int position) {
            return null;
        }

        @Override
        public long getItemId(int position) {
            return 0;
        }

        @Override
        public View getView(int position, View convertView, ViewGroup parent) {
            ViewHolder vh;

            if (convertView == null) {
                vh = new ViewHolder();
                convertView = getLayoutInflater().inflate(R.layout.item_layout, null);
                vh.text = (TextView) convertView.findViewById(R.id.item_text);
                convertView.setTag(vh);
            } else {
                vh = (ViewHolder) convertView.getTag();
            }
            vh.text.setText(str[position] + "aaa" + position);
            return convertView;
        }

        class ViewHolder {
            TextView text;
        }
    }
}效果图如下:
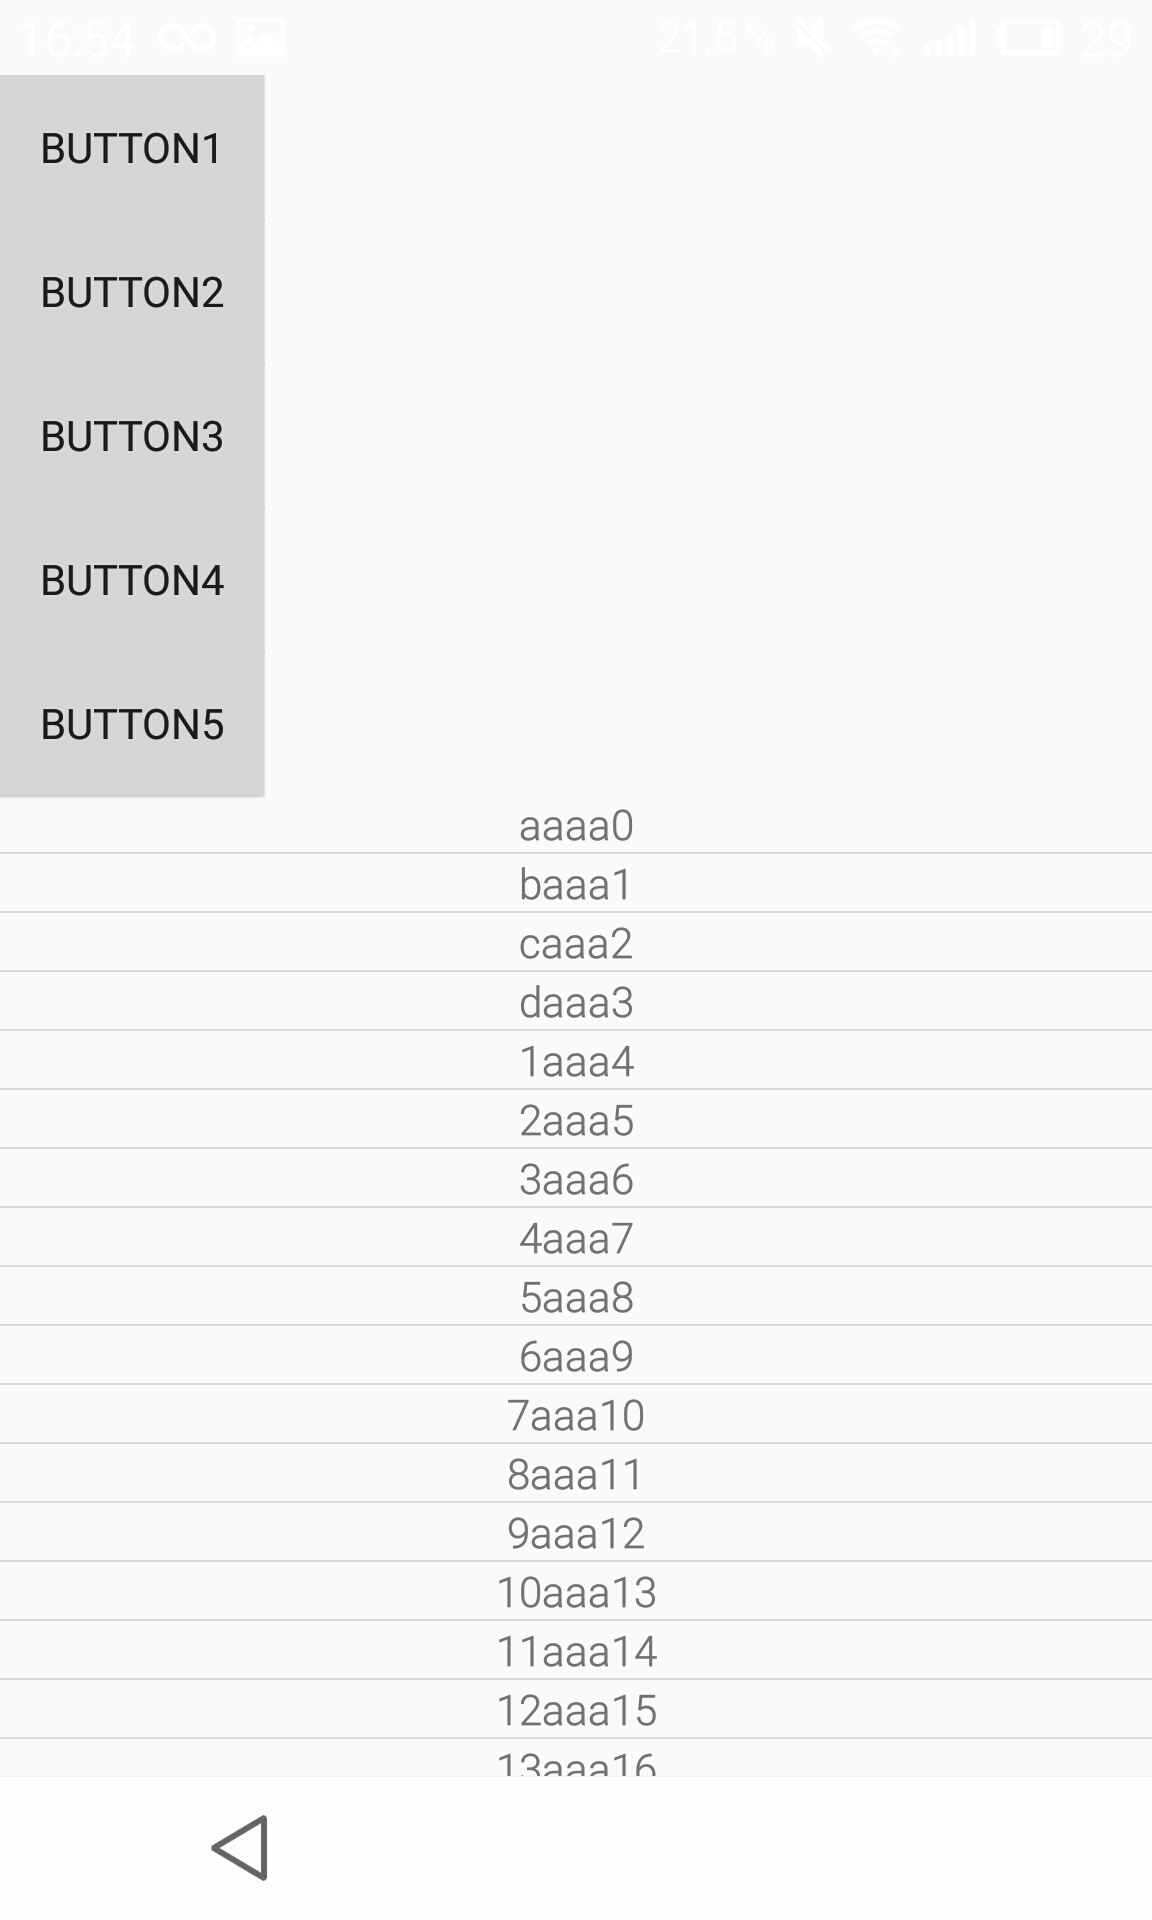
到此为止,已经实现在ScrollView中显示ListView或者GridView的效果。


 802
802


 被折叠的 条评论
为什么被折叠?
被折叠的 条评论
为什么被折叠?
 到【灌水乐园】发言


